Affiliate link disclosure – The BMW Repair Guide uses affiliate links in their site. For more information on affiliate links, please click here.
Repair Summary
The following article gives detailed instructions on replacing the thermostat on a MINI R56 Cooper car. Even though we have used a 2007 MINI Cooper to perform this repair, this article can be applied to any 2006-2013 (second generation) MINI R56/57 vehicle with minor modifications.
A cracked MINI R56 thermostat is a common source of coolant leaks in Cooper and Cooper S vehicles.
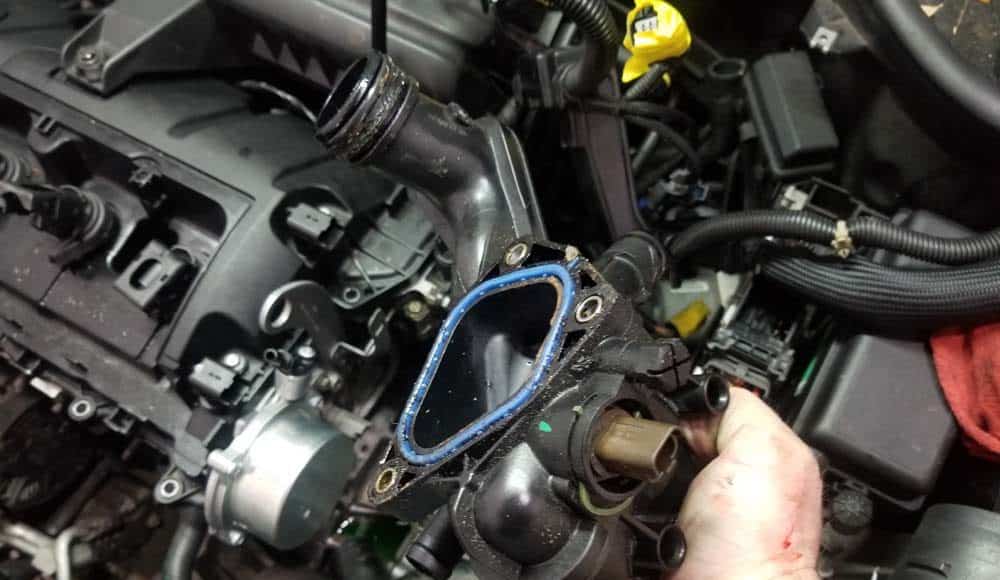
The thermostat on the MINI R56 is located on the left side of the engine, below the main wiring harness. It is composed of a one piece plastic "housing" with a built in thermostat that regulates the amount of coolant being sent to the engine.
The thermostat is simply a mechanical valve that opens and closes depending on the temperature of the engine. When the engine is cold the thermostat remains closed, blocking coolant from circulating through the engine block. As the motor slowly heats up, the thermostat opens allowing fluid to travel in which prevents the engine from overheating. The BMW R56 thermostat allows the engine to warm up correctly and prevents premature wear of critical parts in your vehicle's power plant. If coolant was allowed to flow through a cold engine, the motor would struggle to reach operating temperature and would run very rough until it warmed up.
The MINI R56 thermostat housing is a very common source of engine coolant leaks due to its plastic construction and its close proximity to the exhaust manifold inside the engine compartment. The brutal heat generated by the MINI R56 exhaust manifold takes its toll on the thermostat's plastic housing causing it to crack. Coolant will begin to seep out of these fractures, pooling on top of the transmission and ultimately finding its way to the garage floor. Signs of a leaking MINI R56 thermostat may also include a white residue around the thermostat housing area and low reservoir coolant level that constantly needs replenishment.
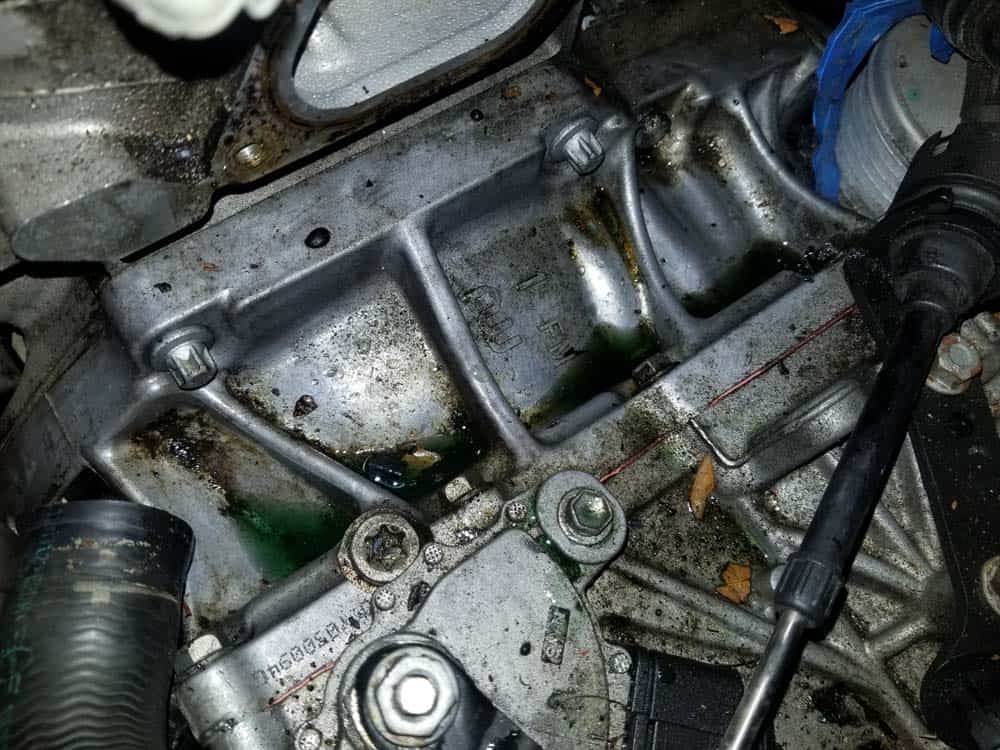
The interior mechanical thermostat can also fail causing it to stick in the open or closed position. A thermostat that has become stuck in the open position will allow coolant to enter a cold engine, causing a rough idle and poor performance until the motor heats up. A thermostat stuck in the closed position is an extremely serious situation since coolant cannot enter a hot engine, causing overheating and possible engine failure. Please be aware there are also many other parts that can fail in the MINI R56 that can cause engine overheating (including the coolant temperature sensor), so a full diagnoses of the coolant system should always be done before attributing it to the the thermostat.
A MINI R56 thermostat replacement is a relatively straightforward procedure that does not require the engine compartment to be put in the service position. It does require that the engine's wiring harness be partially disconnected, so be sure to always disconnect the battery before starting this repair. Not disconnecting the battery prior to starting this repair can cause serious damage to sensitive electronics.


View the detailed parts diagram for this repair.
Includes detailed part diagrams, part numbers and links to purchase all of the required components needed to complete this repair.

Before starting this repair, you must have the following required parts.
All BMW/MINI Vehicles
This is the same factory coolant that would be installed at the dealership. Aftermarket coolants actually cost more than Genuine BMW...so why would you use them? Mixed 50/50 with distilled water, this container makes 2 gallons of factory coolant.
All BMW/MINI Vehicles
High-grade coolant made by the very reputable DRIVETEC for our European friends. Is just as effective as factory coolant for a fraction of the price. (45% off all year round with code: GSF45REW)
Section 1 - Preparing for removing the MINI R56 thermostat
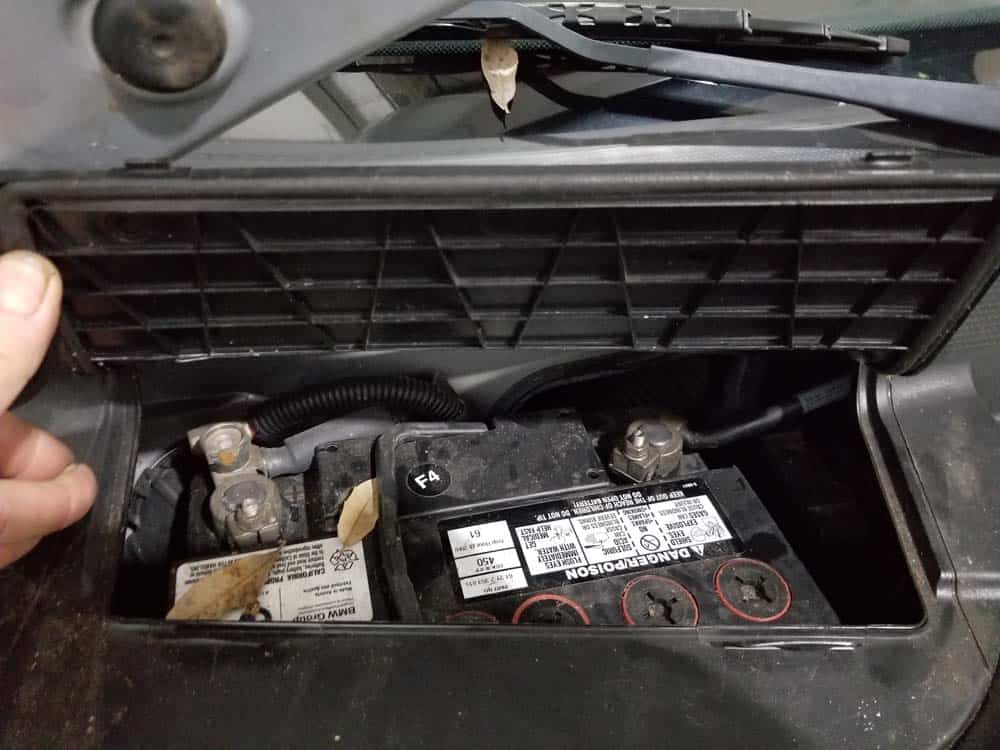
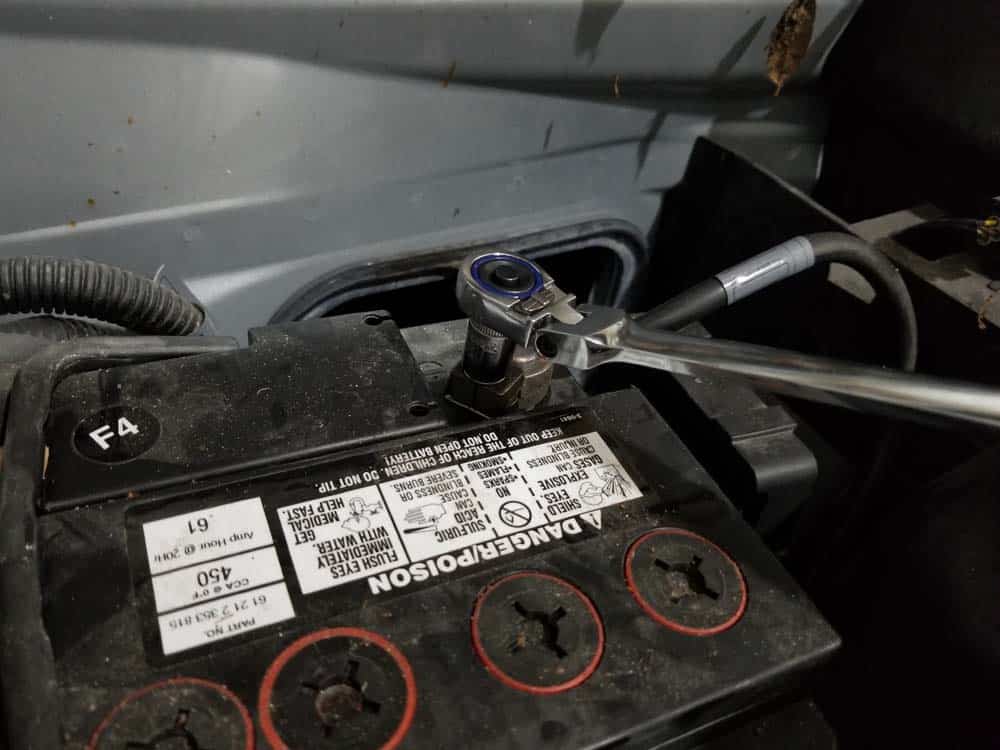
The MINI R56 thermostat is located on the left side of the engine, directly underneath the main wiring harness. In order to gain clear access to the thermostat, the wiring harness must be partially disconnected and folded back out of the way. The MINI does not need to be put in its "service position" to remove the thermostat...it can be easily accessed from the top of the engine compartment.- Before starting the MINI R56 thermostat replacement, you must disconnect the negative terminal from the battery. Since the main wiring harness will need to be disconnected from multiple sensors as well as the DME (engine control module), failure to disconnect the battery could cause catastrophic damage to sensitive electronics.
- Using a 10mm socket wrench, remove the negative terminal from the battery and wrap it in a rag to avoid it from inadvertently touching the terminal.
- In order to get to the MINI R56 thermostat, some parts need to be cleared out of the way. Start by pinching in the plastic tabs and removing the intake manifold tube from the intake manifold pre-box.
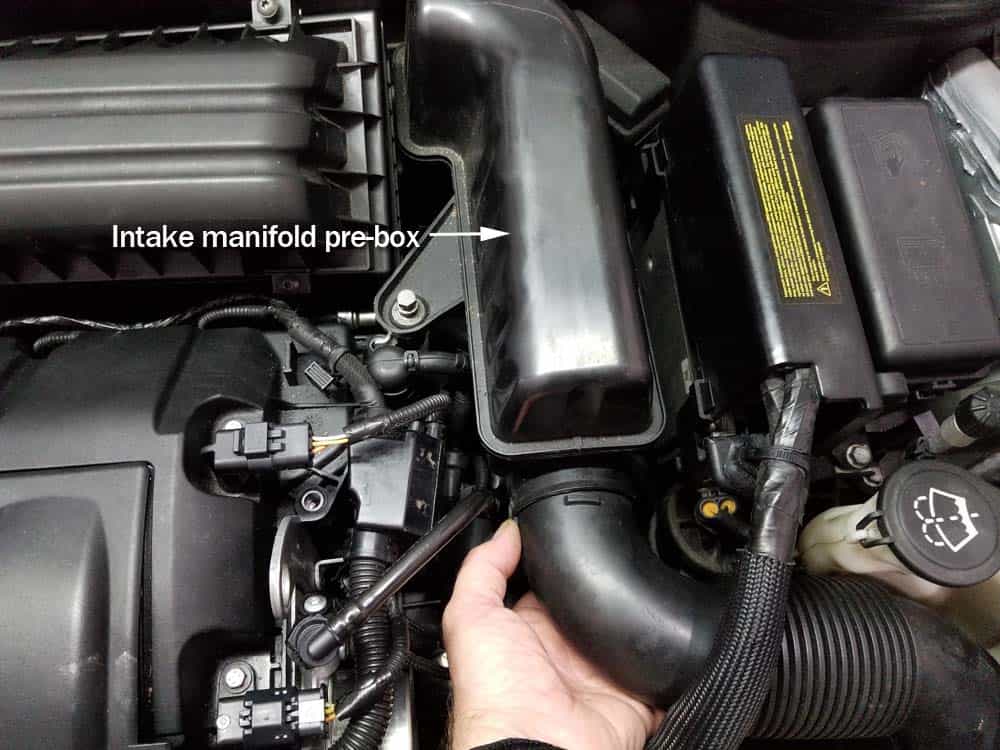
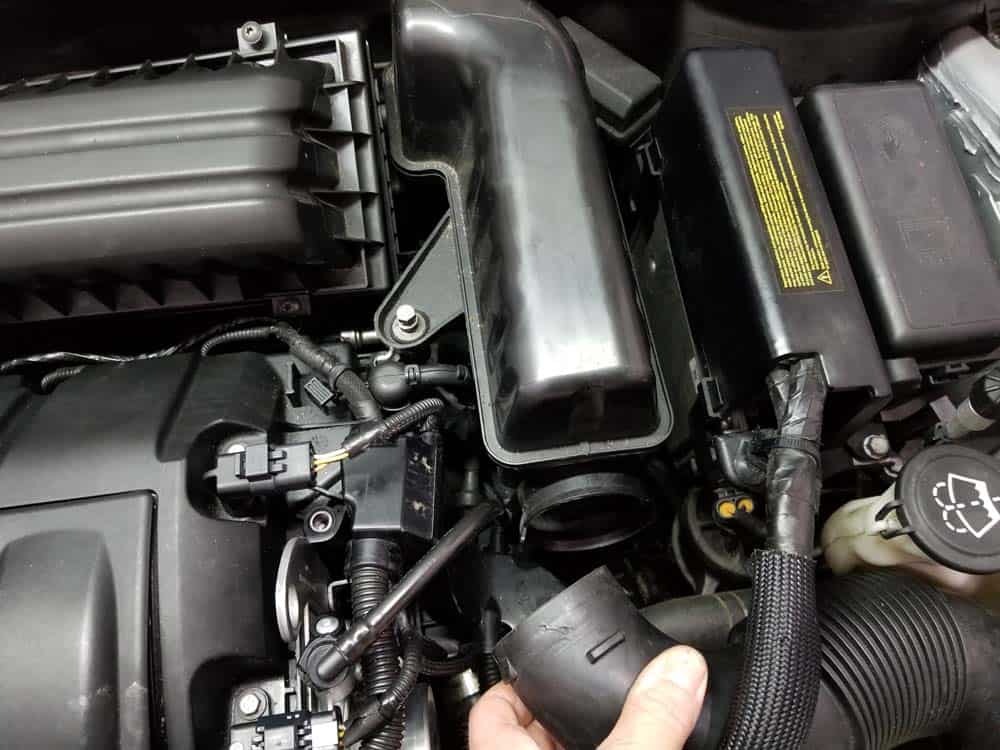
- Using a 10mm socket wrench, remove the bolt anchoring the intake manifold pre-box to the engine. Grasp the pre-box and pull free from the intake muffler.
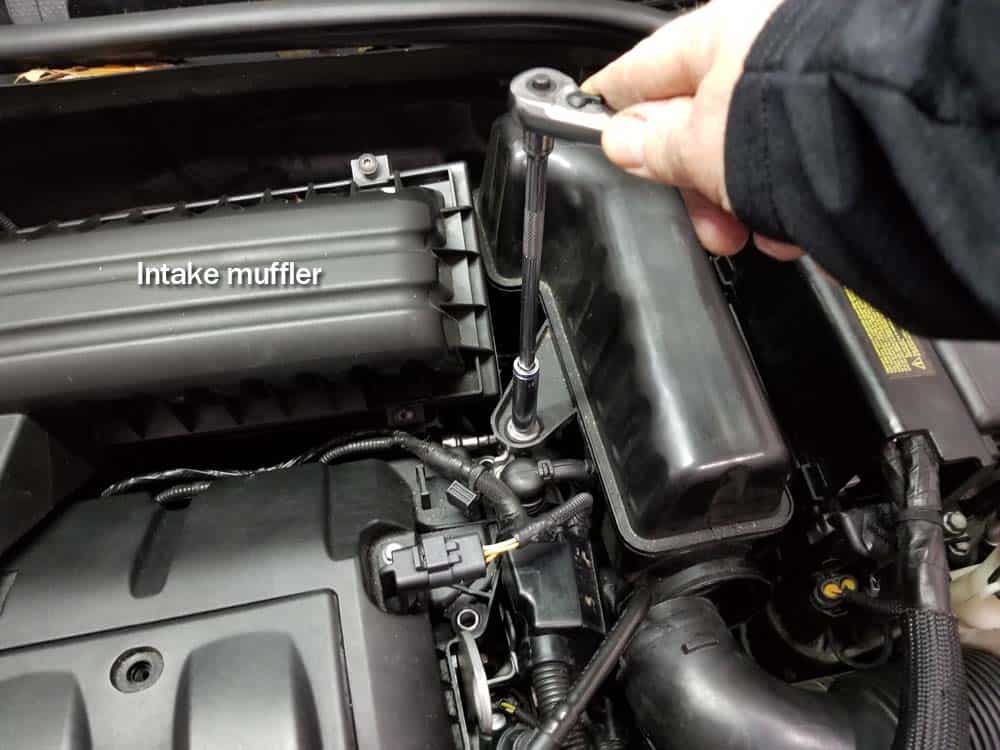
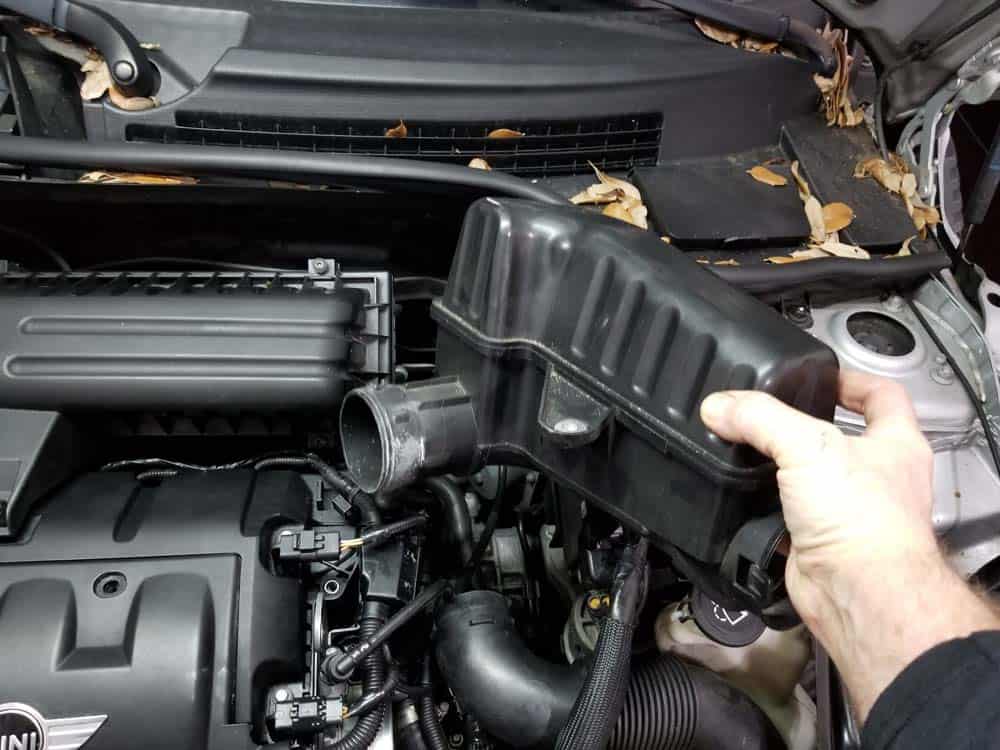
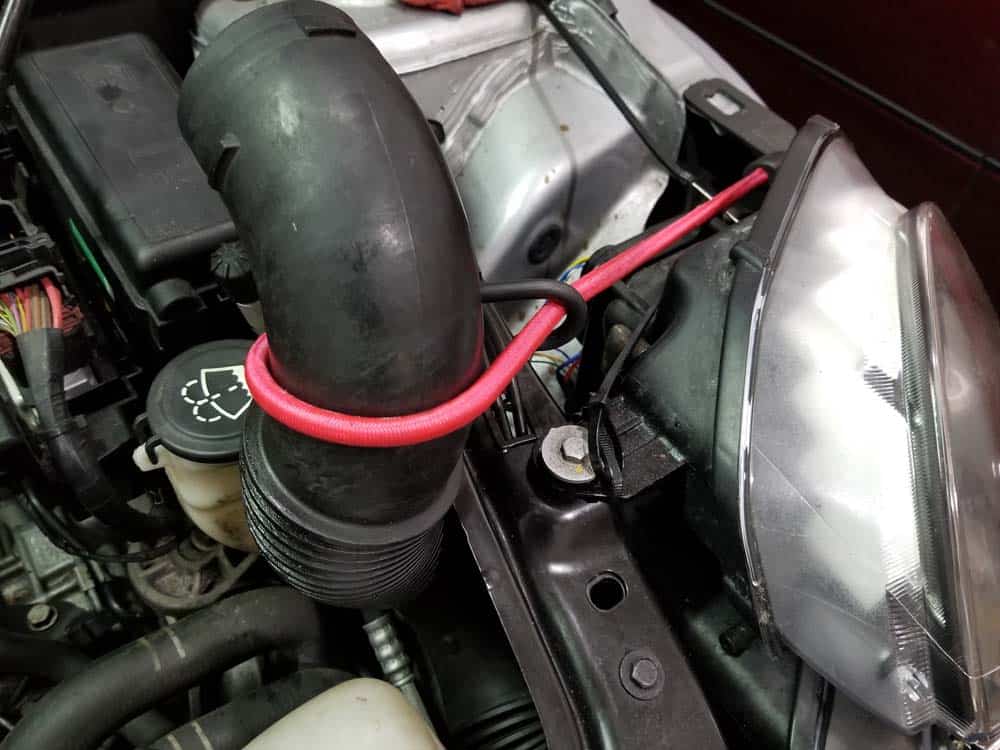
- It is very difficult to remove the intake manifold tube from the front bumper. We strongly suggest just bungee cording it out of the way instead of attempting to remove it.
- Next, the engine wiring harness will need to be cleared out so the thermostat can be accessed. Start by disconnecting the intake and exhaust camshaft sensors on the left side of the valve cover.
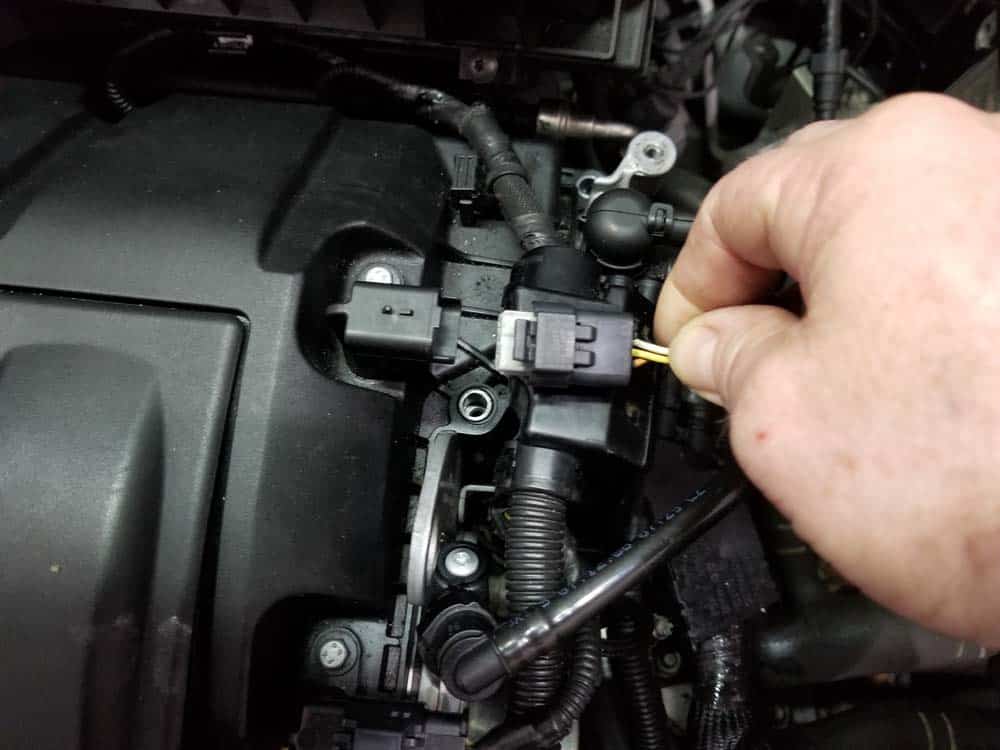
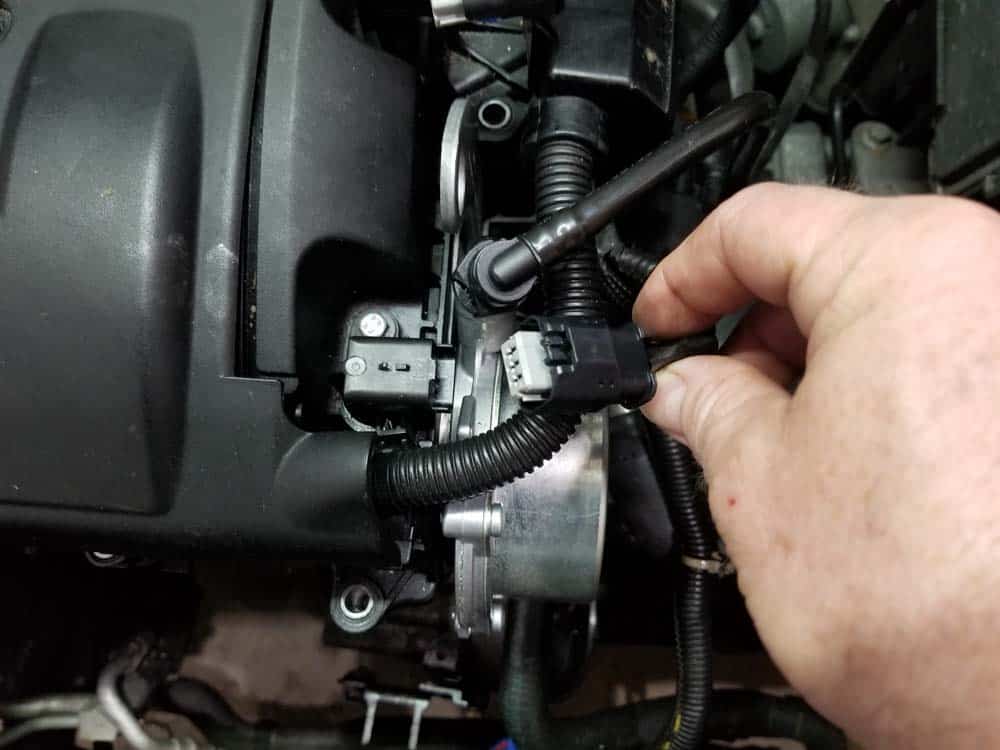
- We highly recommend marking all of your connections with high visibility tape to aid during reassembly.
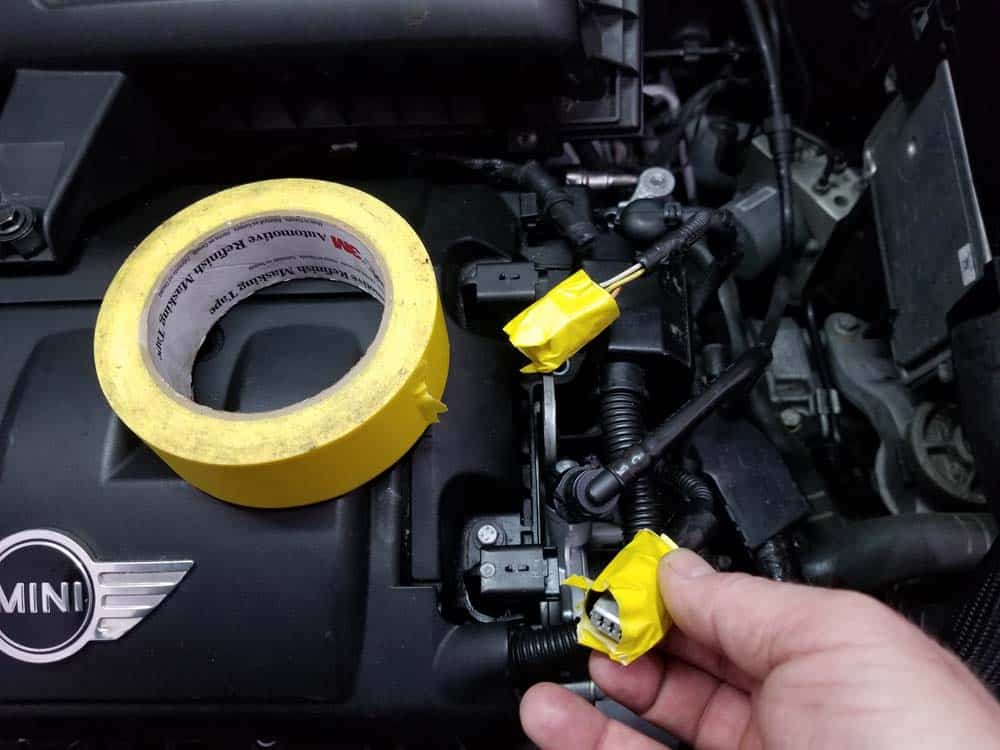
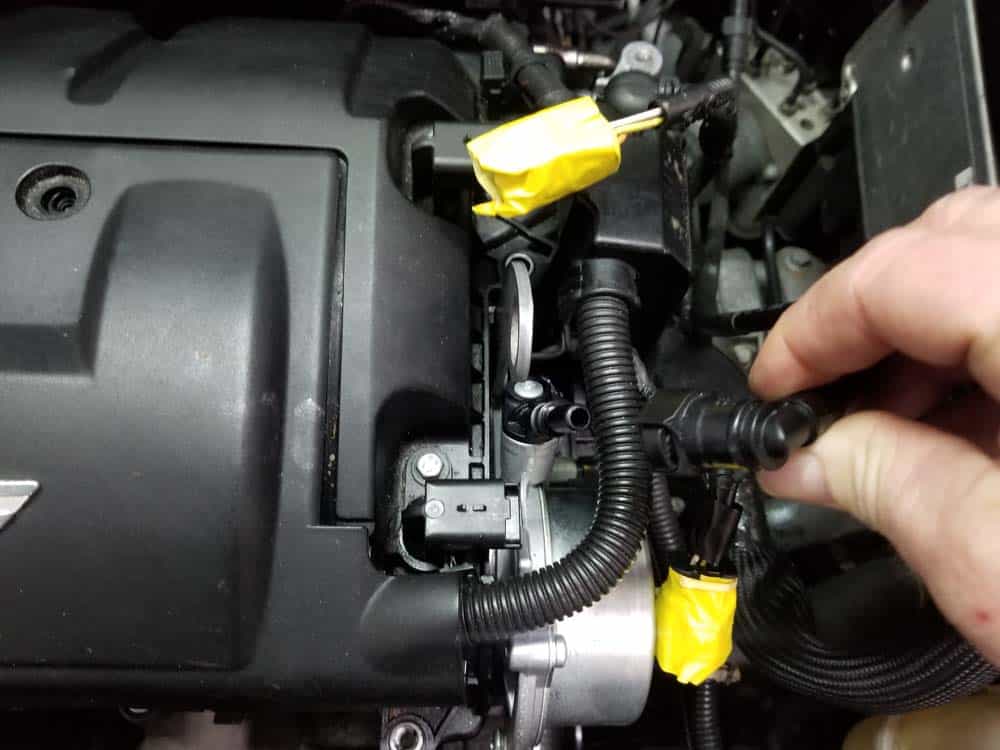
- Remove the vacuum hose from the vacuum pump by squeezing its connection and pulling it free.
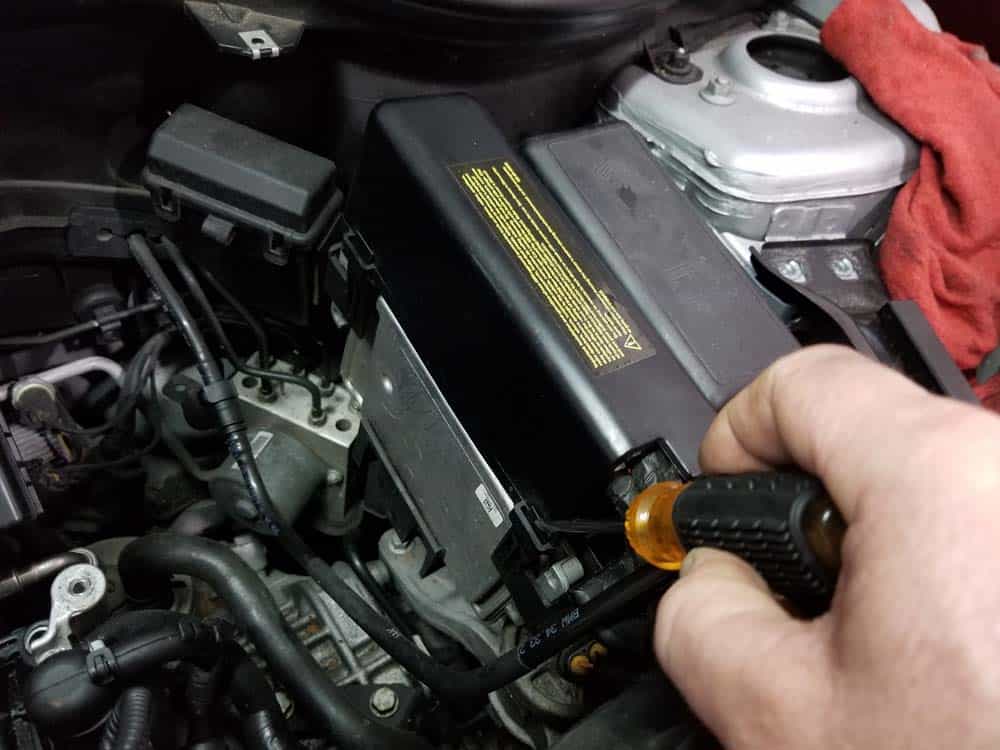
- With the aid of a flat blade screwdriver, remove the protective cover off of the DME control box.
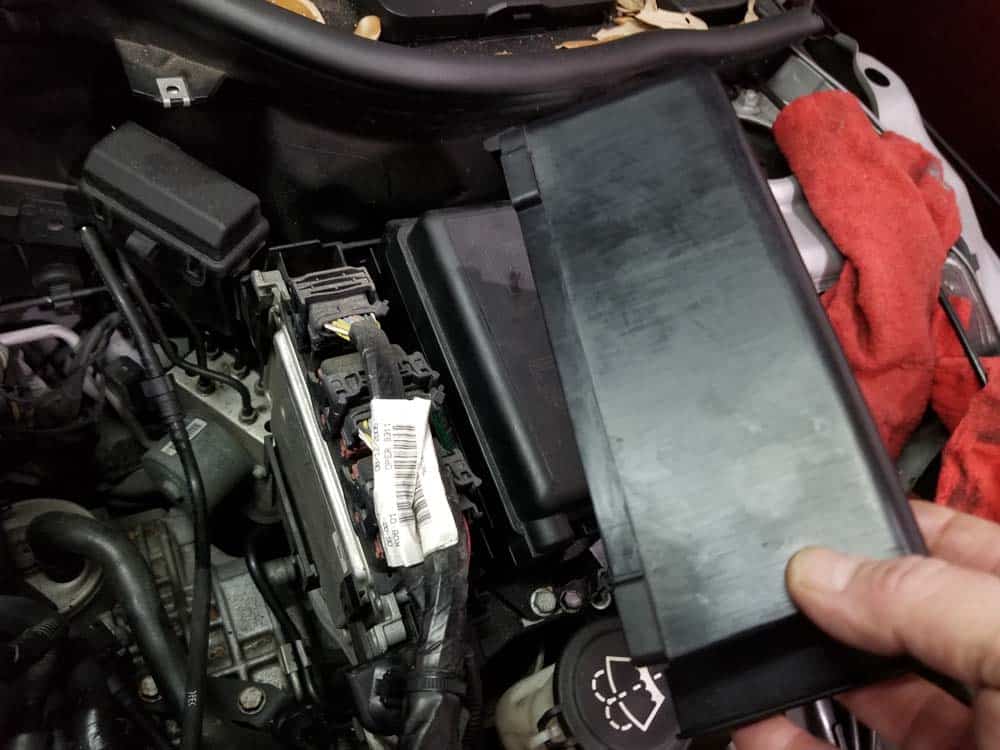
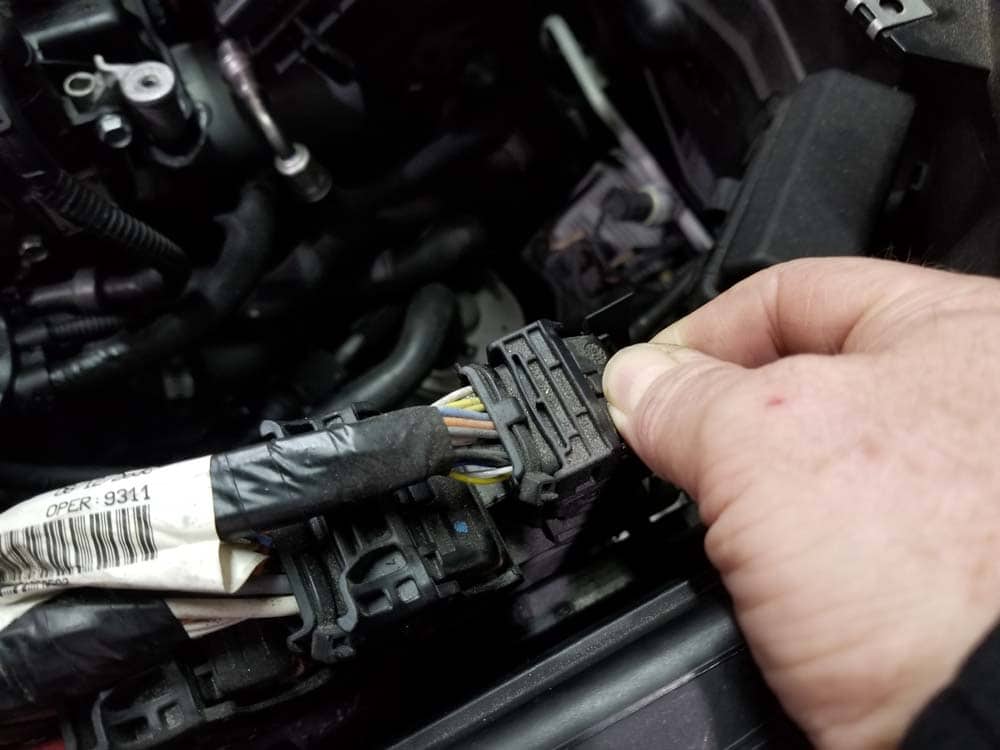
- Remove the first two plugs from the DME by depressing the plastic lock tabs and pulling up the releases.
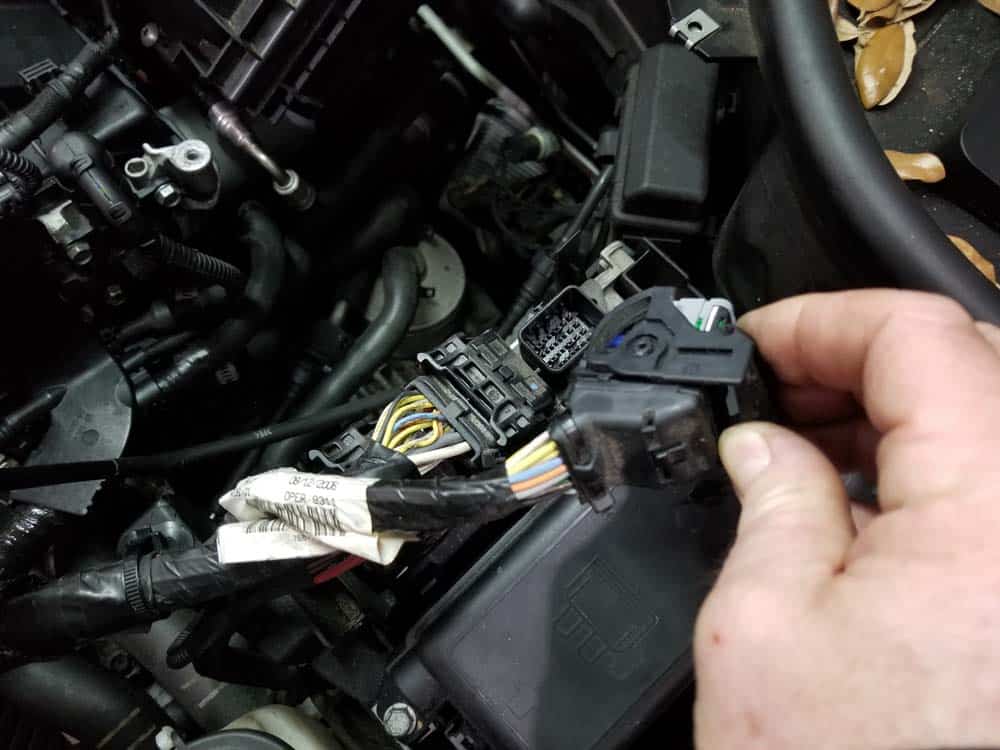
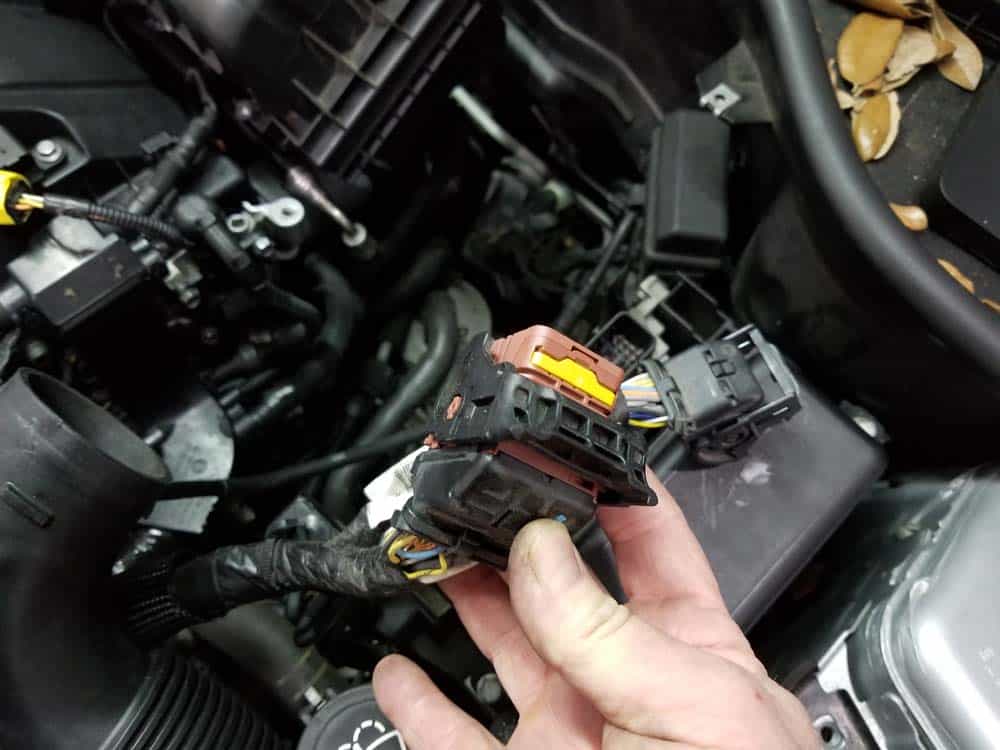
- Pull the wiring harness’ plastic anchor free from the DME bracket.
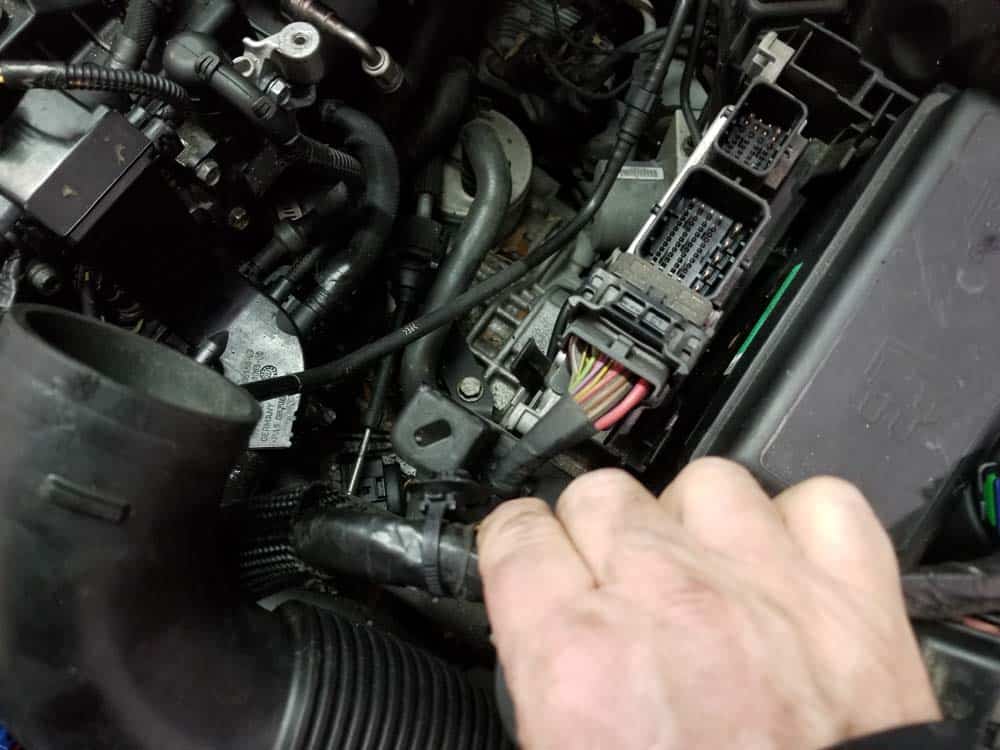
- Disconnect the lower lead on the wiring harness.
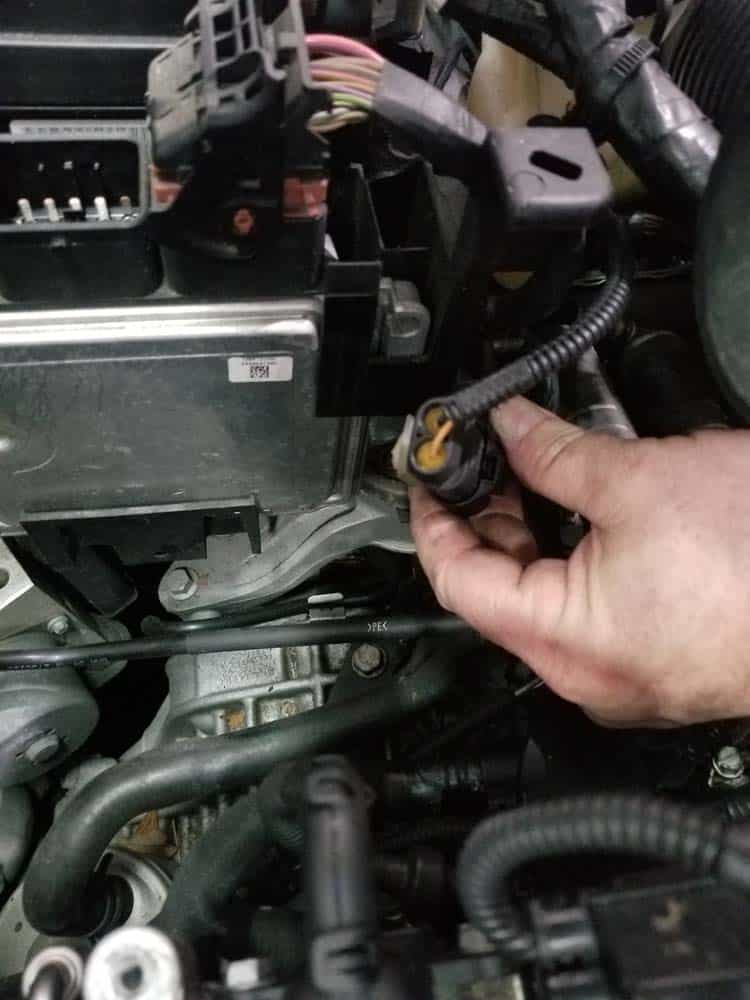
- Next, grab the wiring harness and pull it up and off of the thermostat. The wiring harness has two plastic tabs on the bottom that fit into two holes in the plastic thermostat housing.
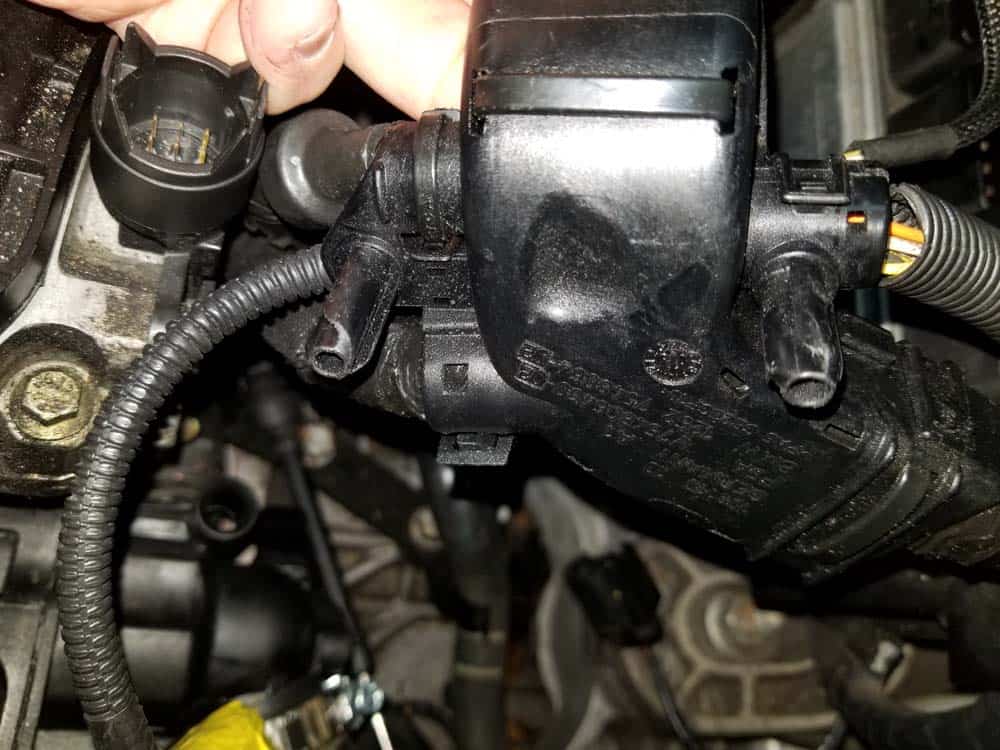
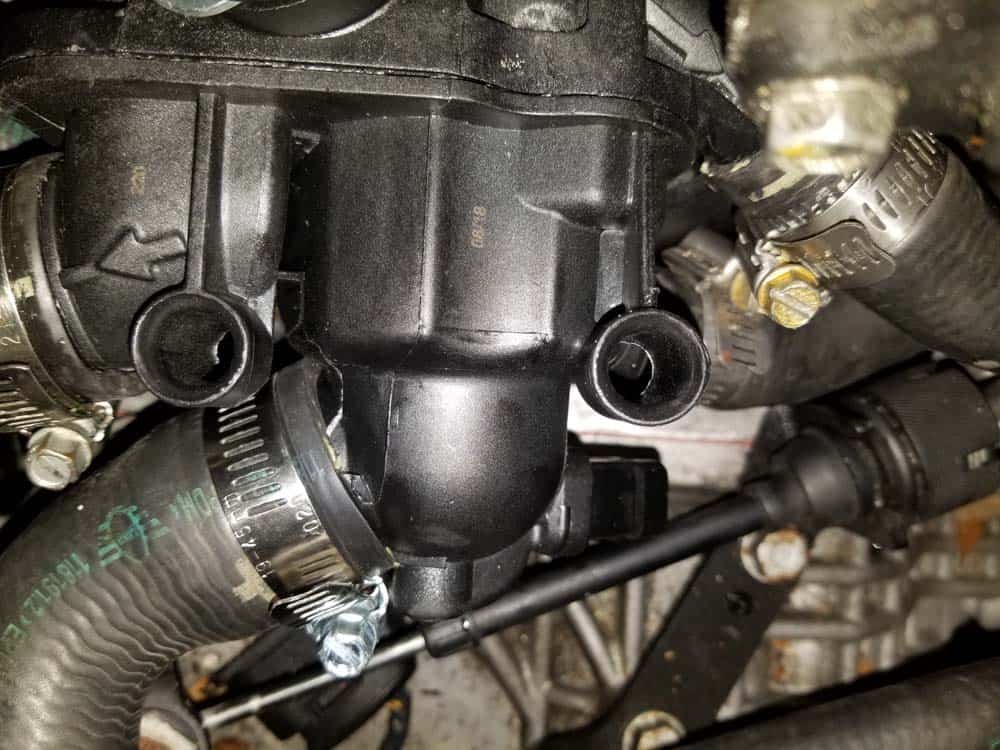
- Disconnect the oil pressure switch from the right side of the engine.
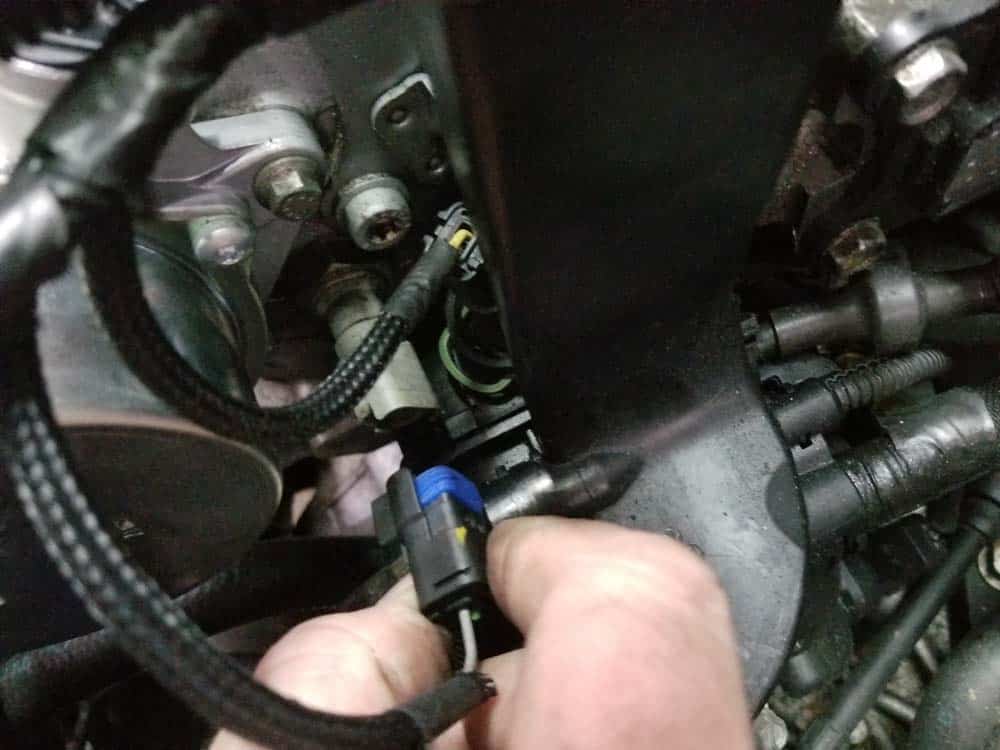
- Disconnect the coolant temperature sensor from the top of the thermostat.
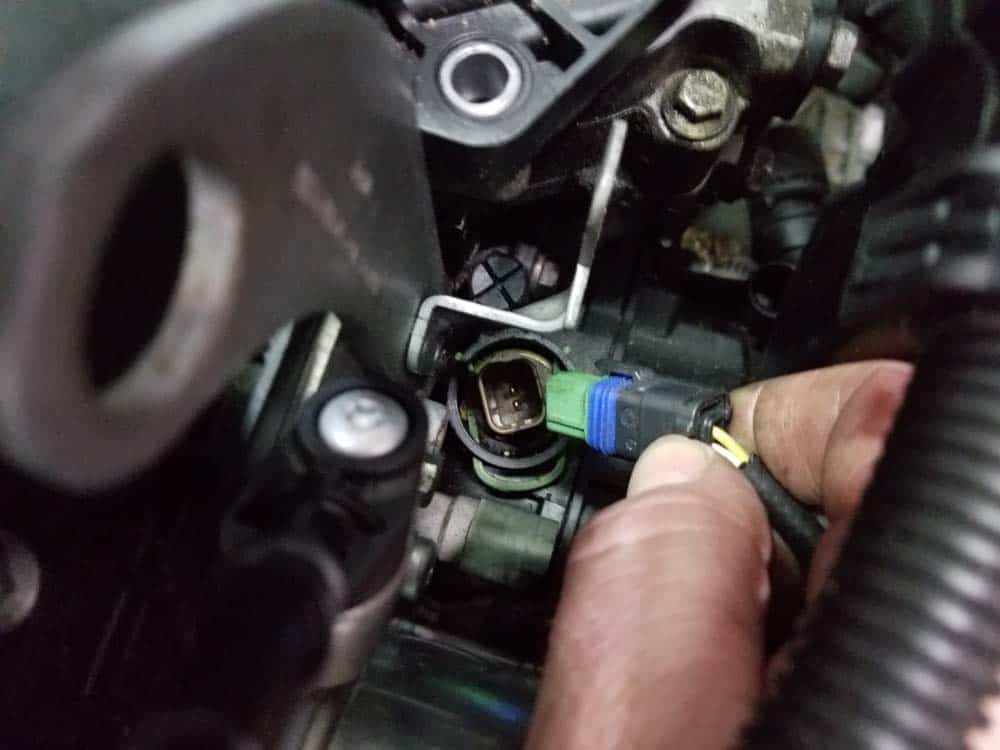
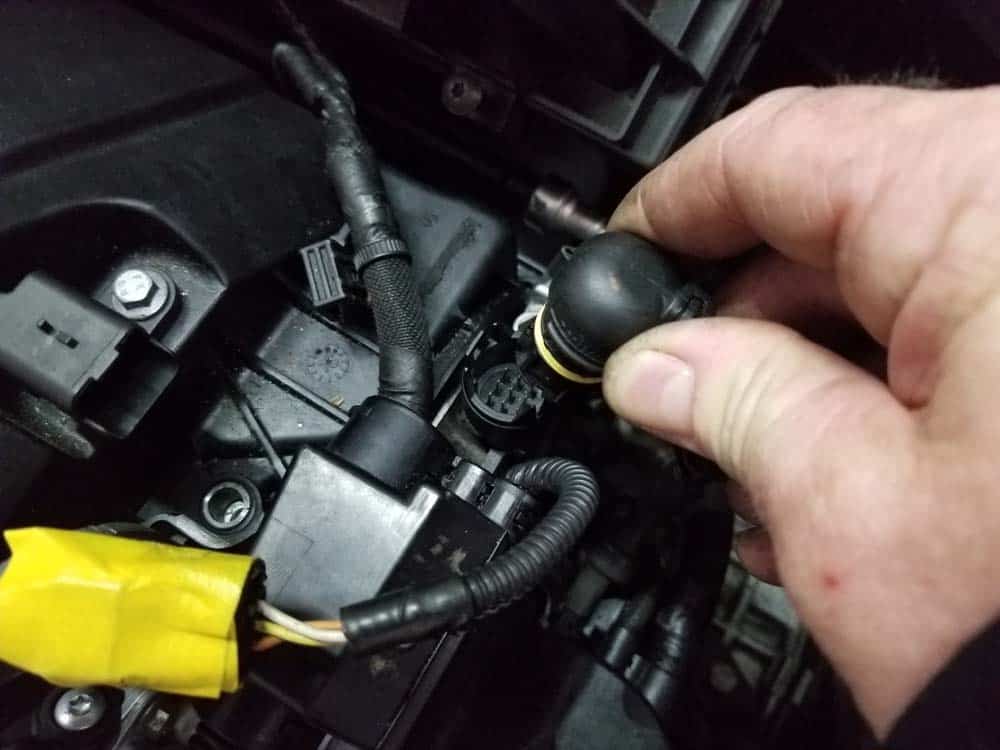
- Disconnect the essentric shaft position sensor by grasping its connector and pulling straight up.
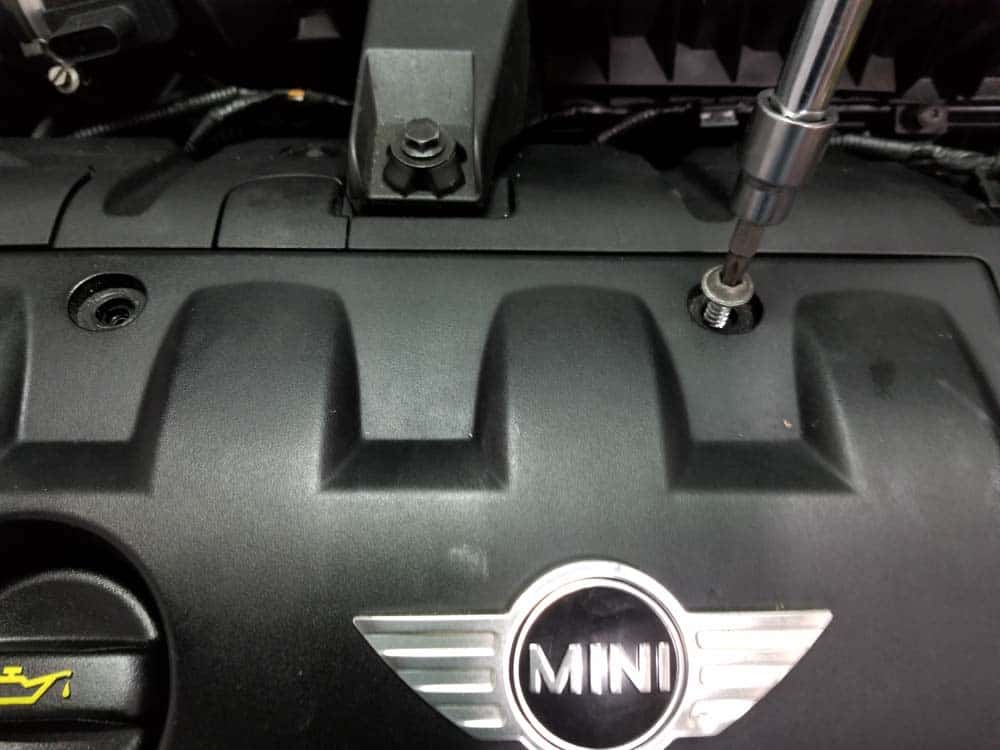
- Moving back to the front of the engine, remove the two engine cover screws with a T30 torx bit. Remove the engine cover from the valve cover.
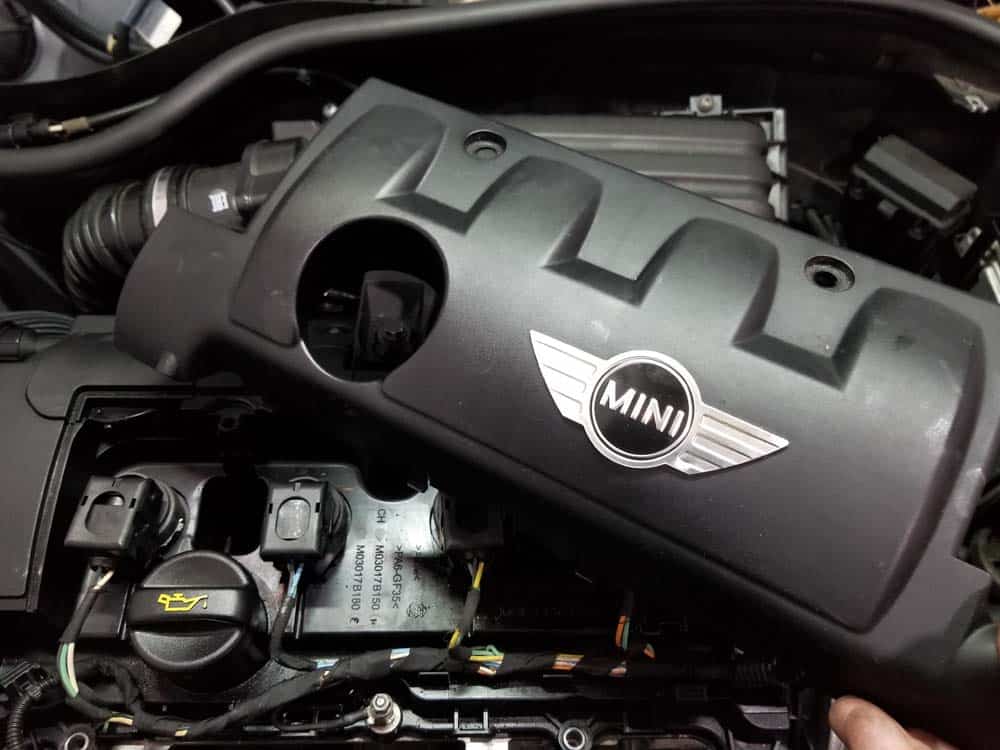
- Disconnect the four ignition coils by lifting their retaining brackets and pulling the sockets free.
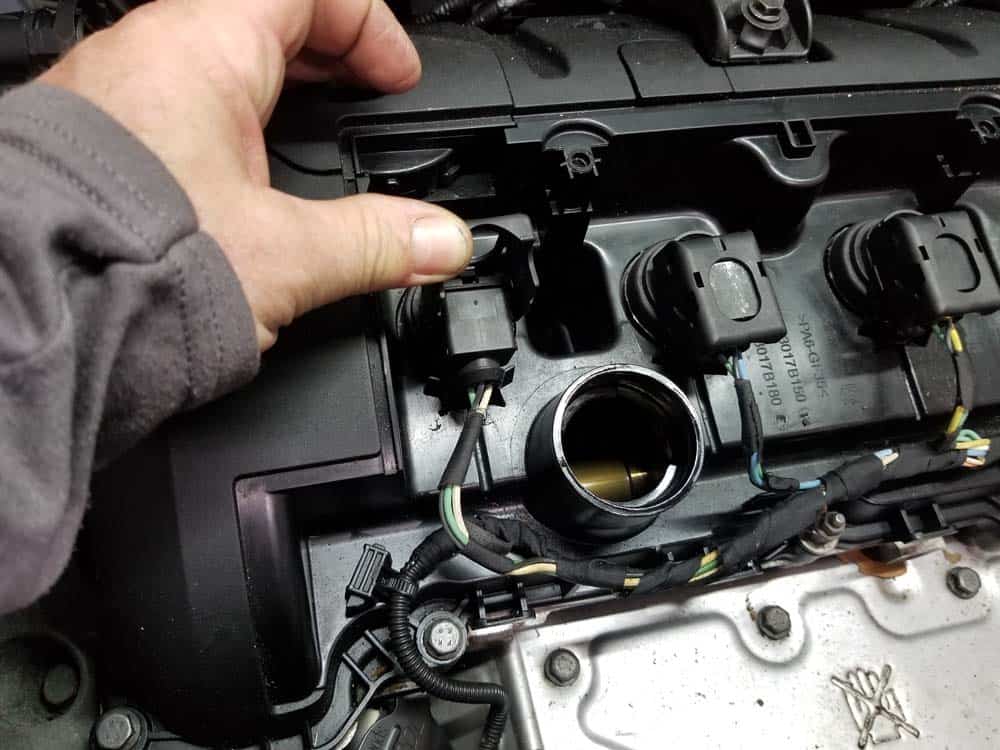
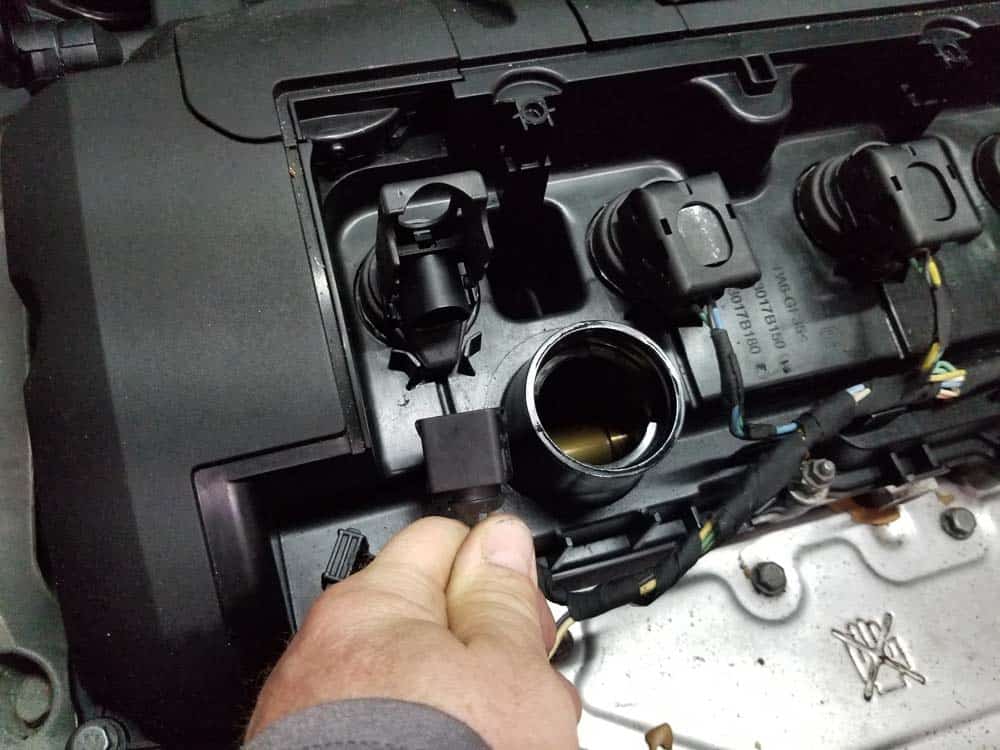
- Disconnect the front exhaust VANOS solenoid by lifting the plastic locking tab and pulling the connection apart.
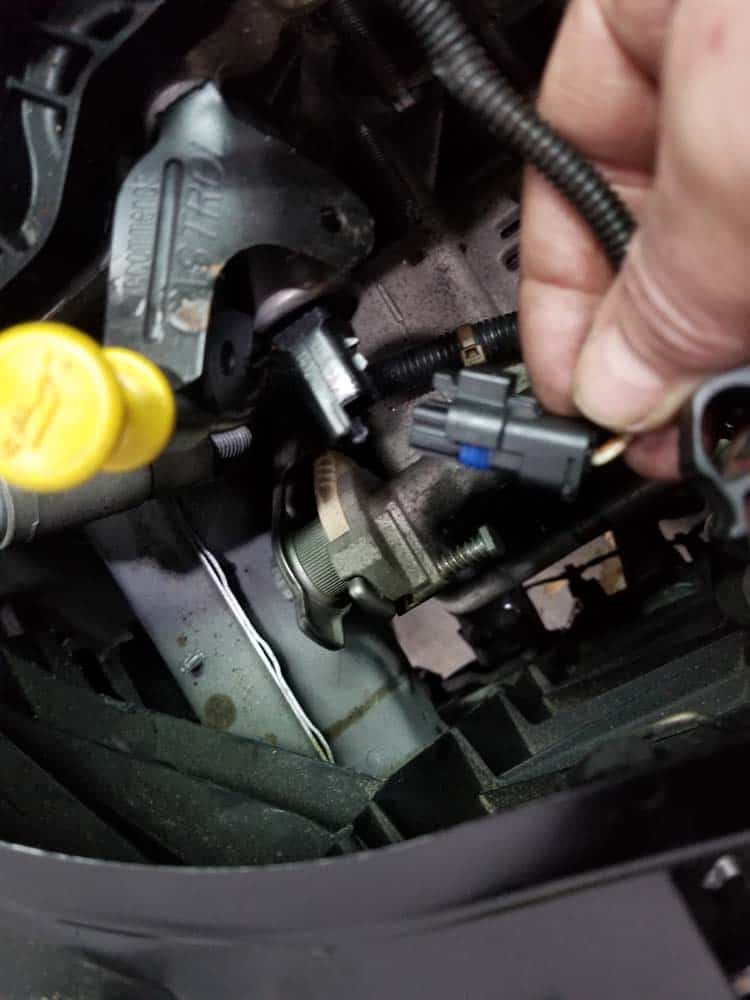
- Remove the harness grounding wire with an 8mm socket wrench.
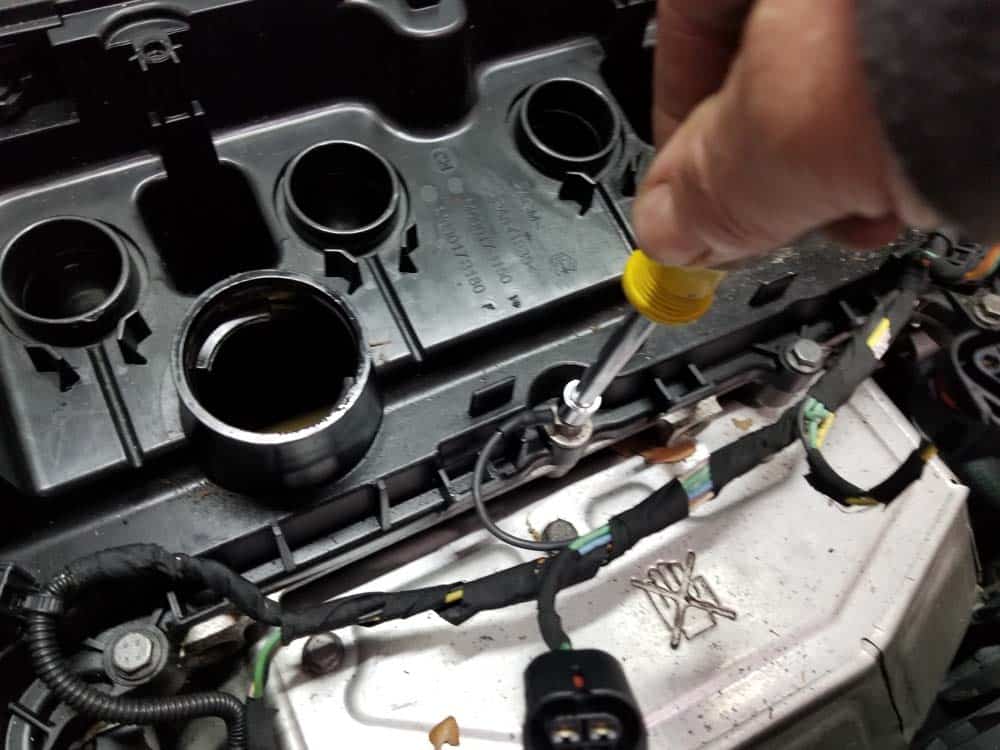
- Unsnap the wiring harness from the front of the valve cover.
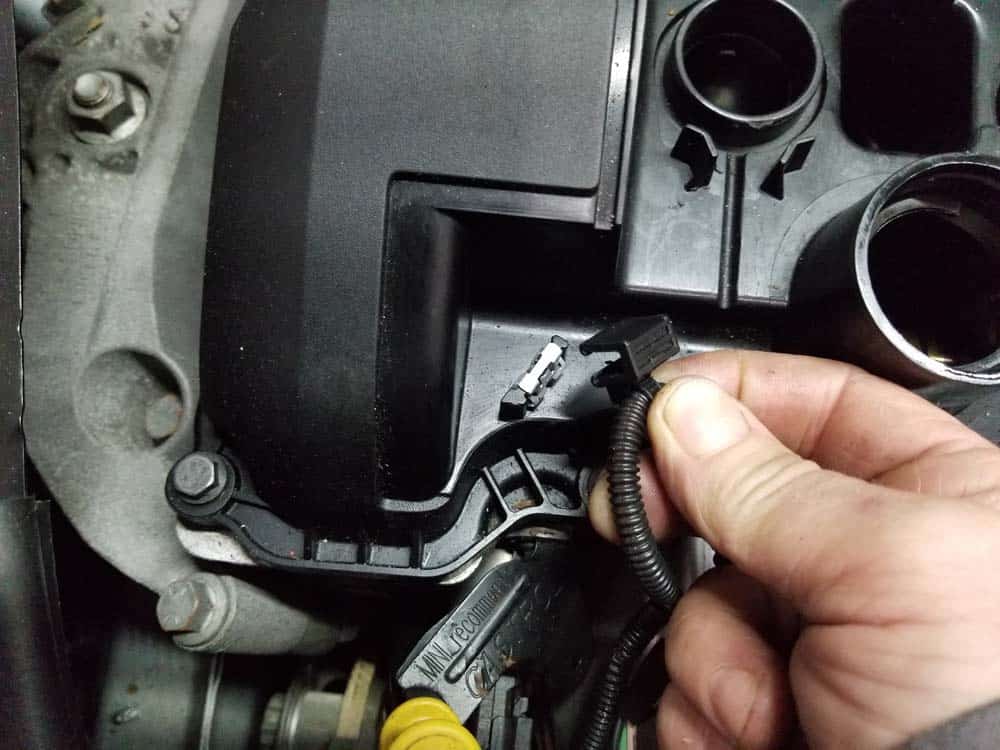
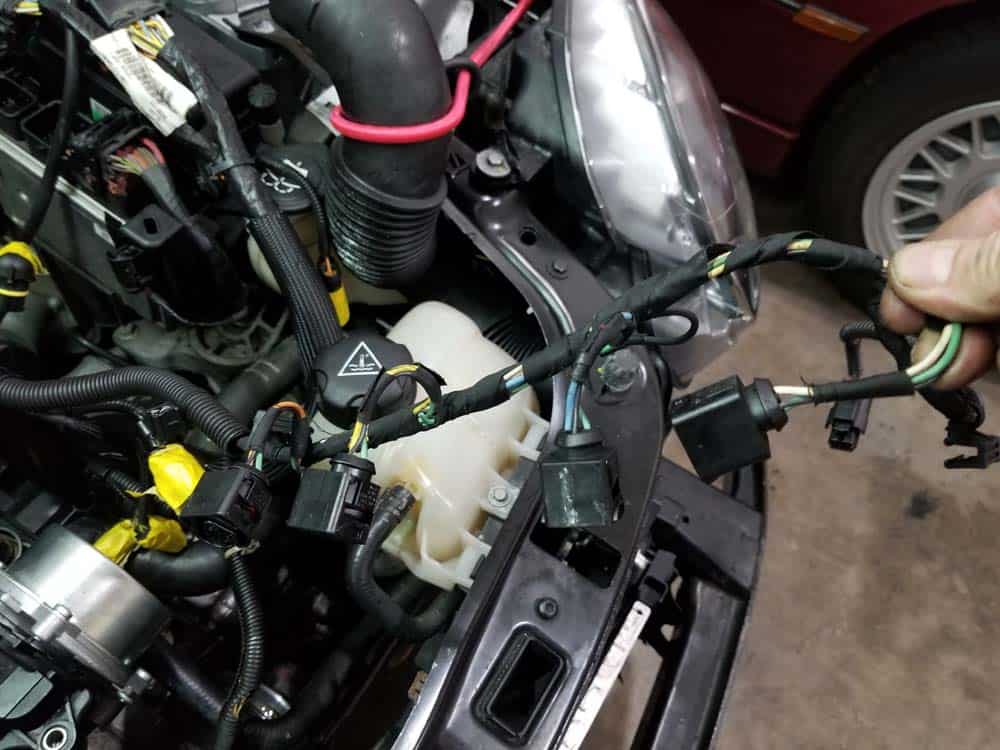
- Fold the wiring harness back towards the rear of the engine compartment and disconnect the thermostat sensor. The sensor is a little tricky to release...try using a metal pick to reach under the connection and pull the locking clip down.
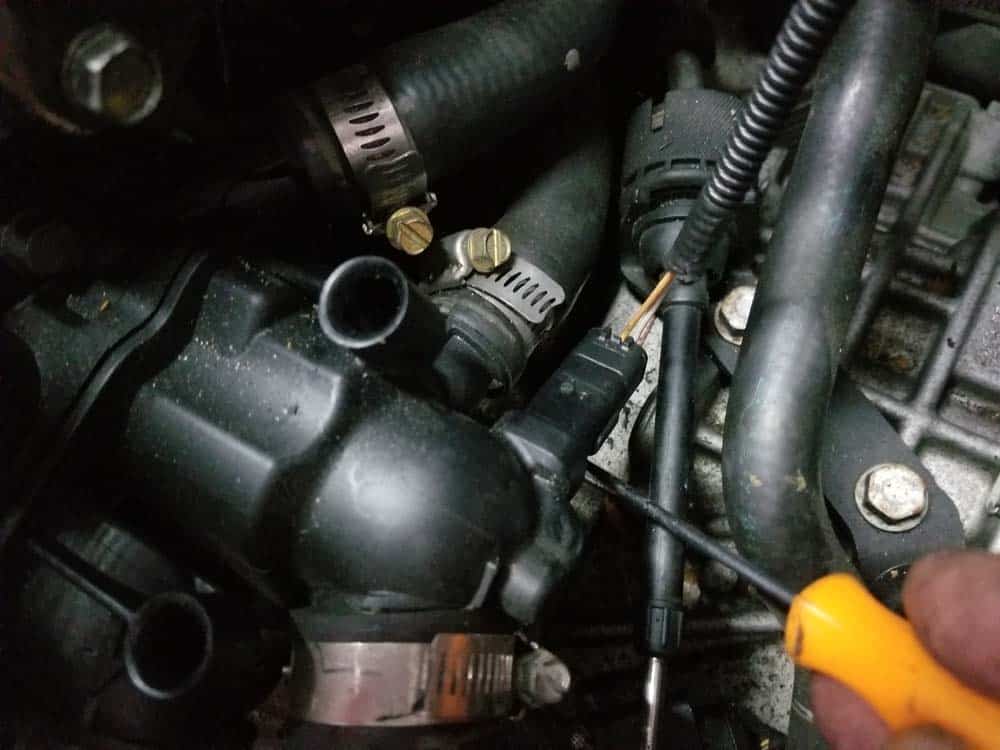
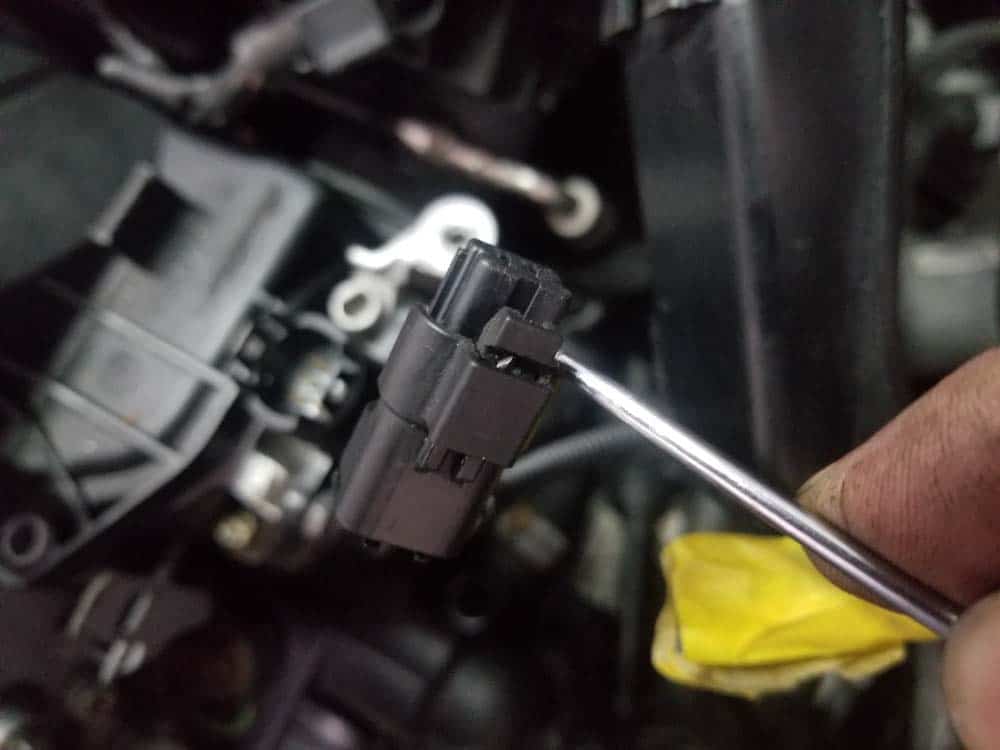
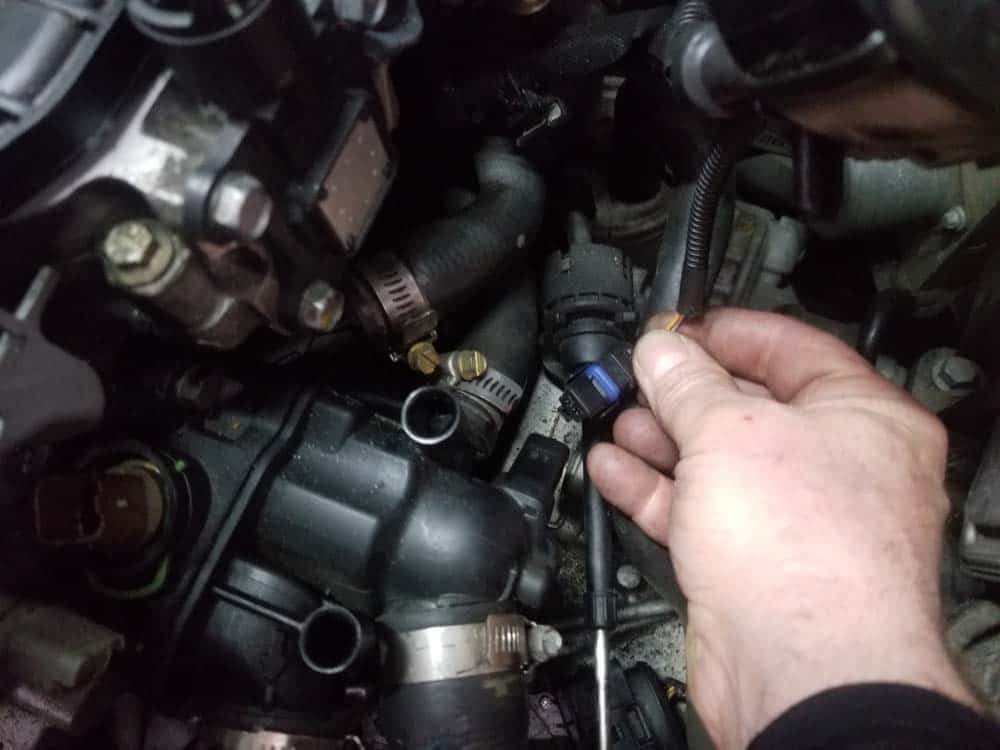
- The wiring harness is now free. Gently fold it back and stow it out of the way. You now have clear access to remove the thermostat.

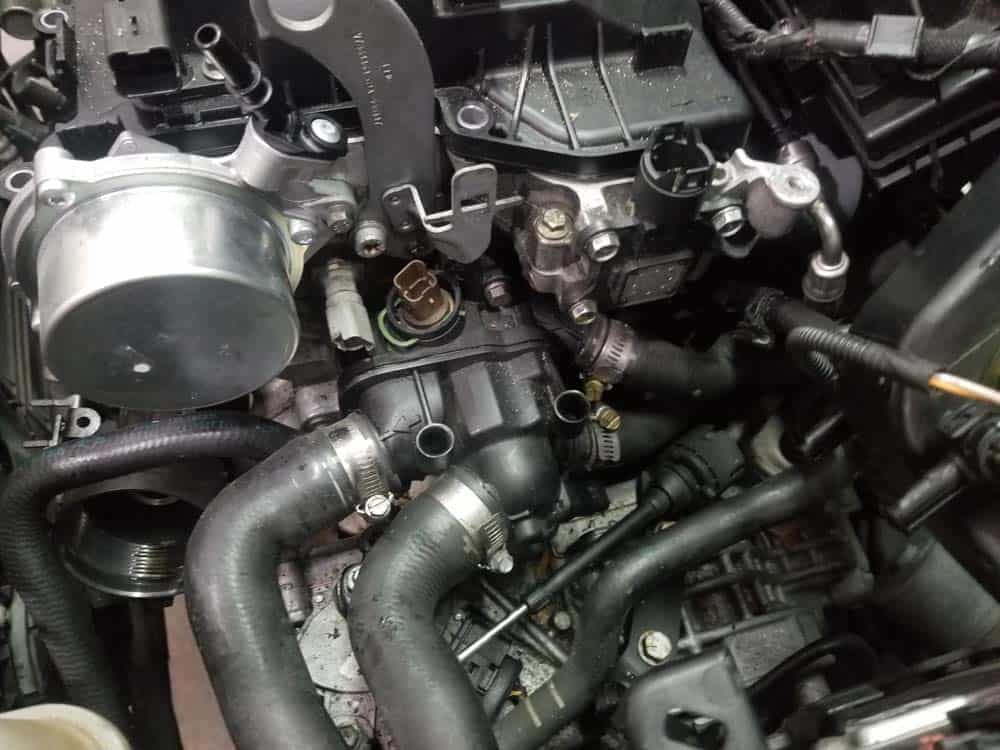
Section 2 - Removing the MINI R56 thermostat
Removing the thermostat requires disconnecting the coolant lines and unbolting it from the side of the engine block. The step that gives many mechanics trouble is removing the thermostat from the rear water supply tube. Use patience and care when disconnecting the water supply tube...breaking it will require having to remove the water pump to install a new one.- Position a drain pan under the thermostat to catch any coolant that drains out of the engine.
- Using a flat blade screwdriver, remove the upper radiator hose from the thermostat.
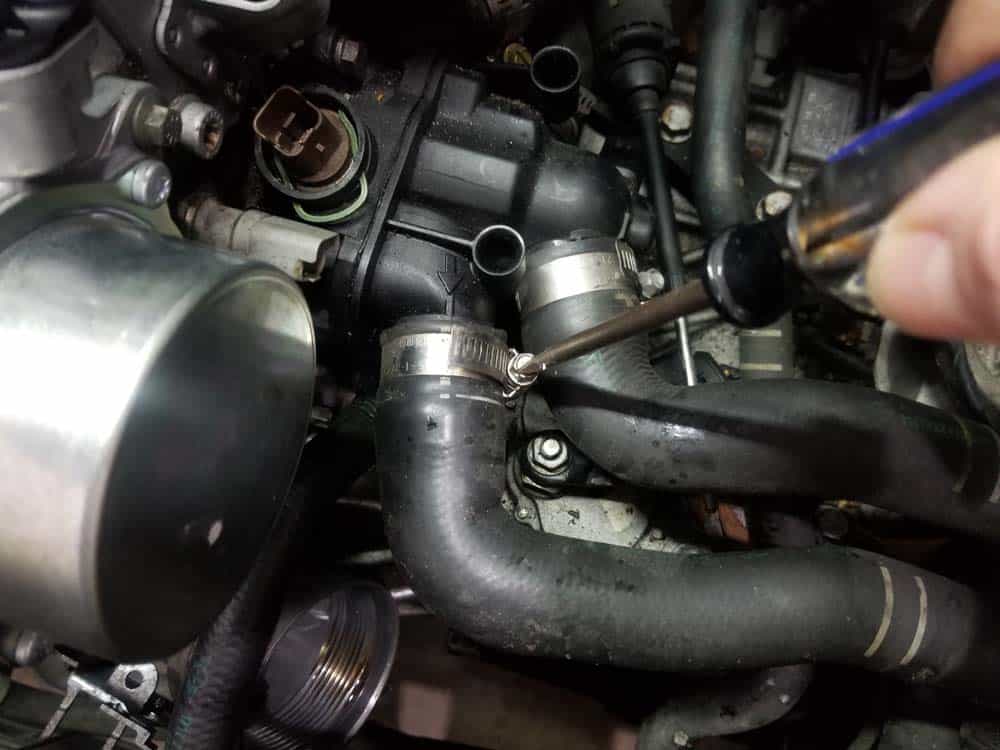
- Remove the lower radiator supply hose from the thermostat.
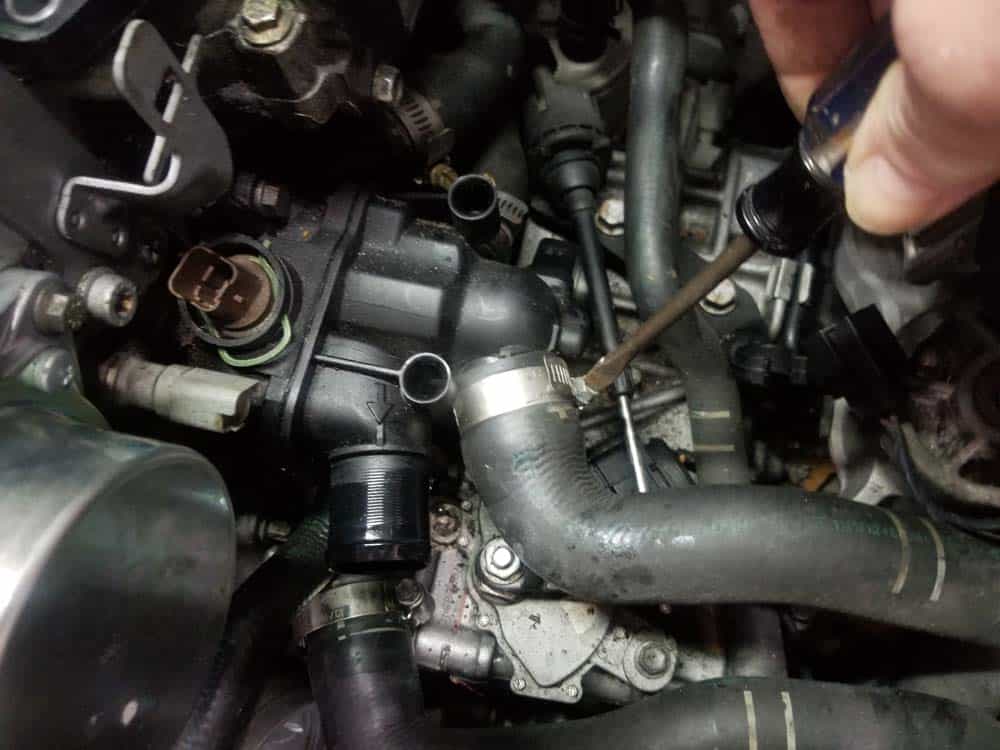
- Remove the expansion tank coolant hose from the front of the thermostat.
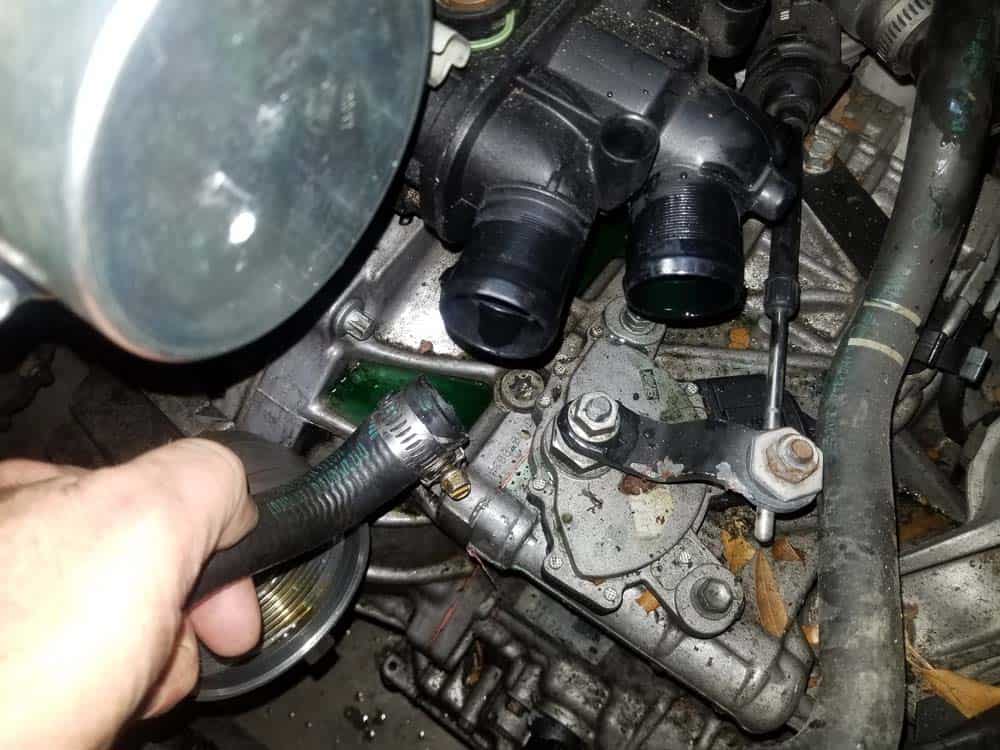
- Moving to the rear of the thermostat, remove the two heater supply and return hoses. Make sure not to mix them up, they both run to the heater core and can easily be installed incorrectly during reassembly. We like to mark ours with tape just to be sure.
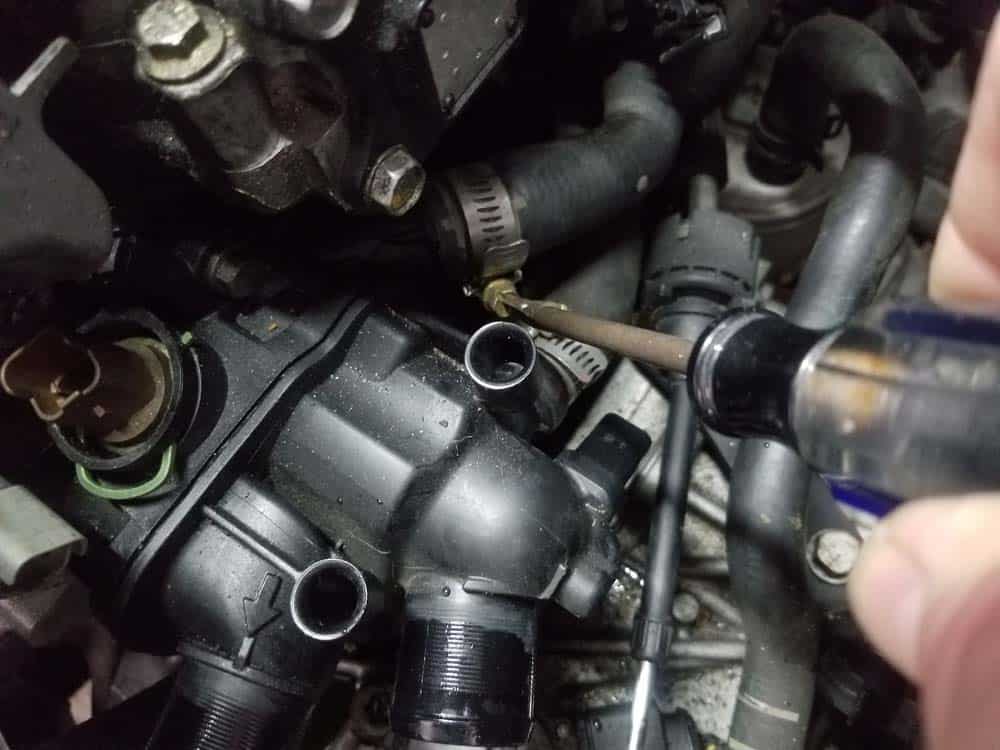
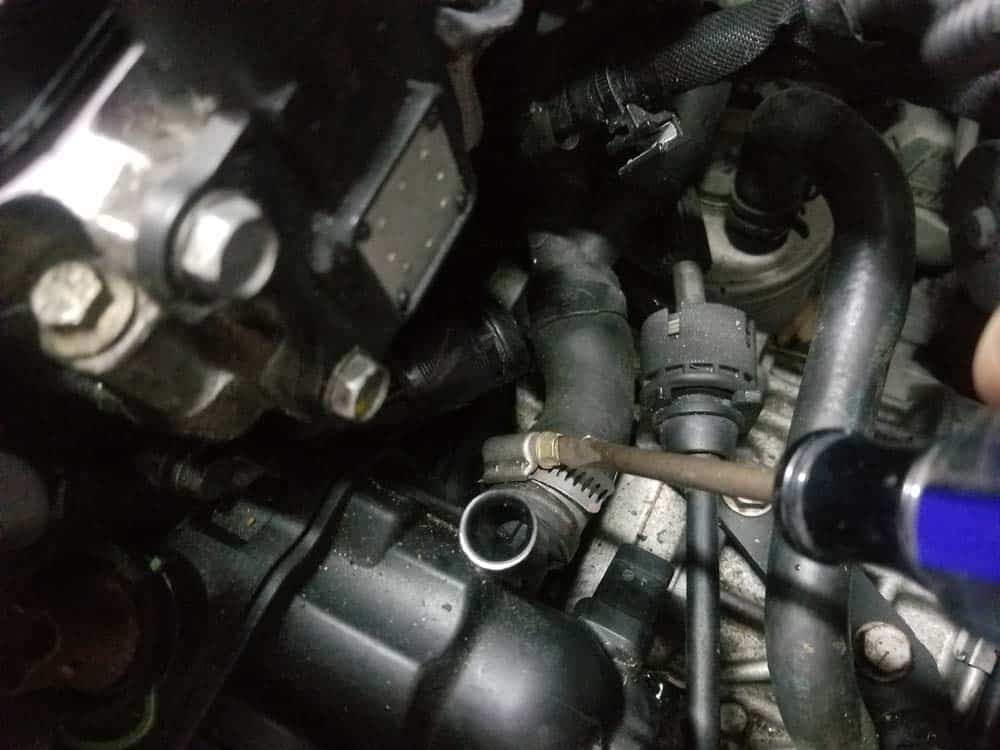
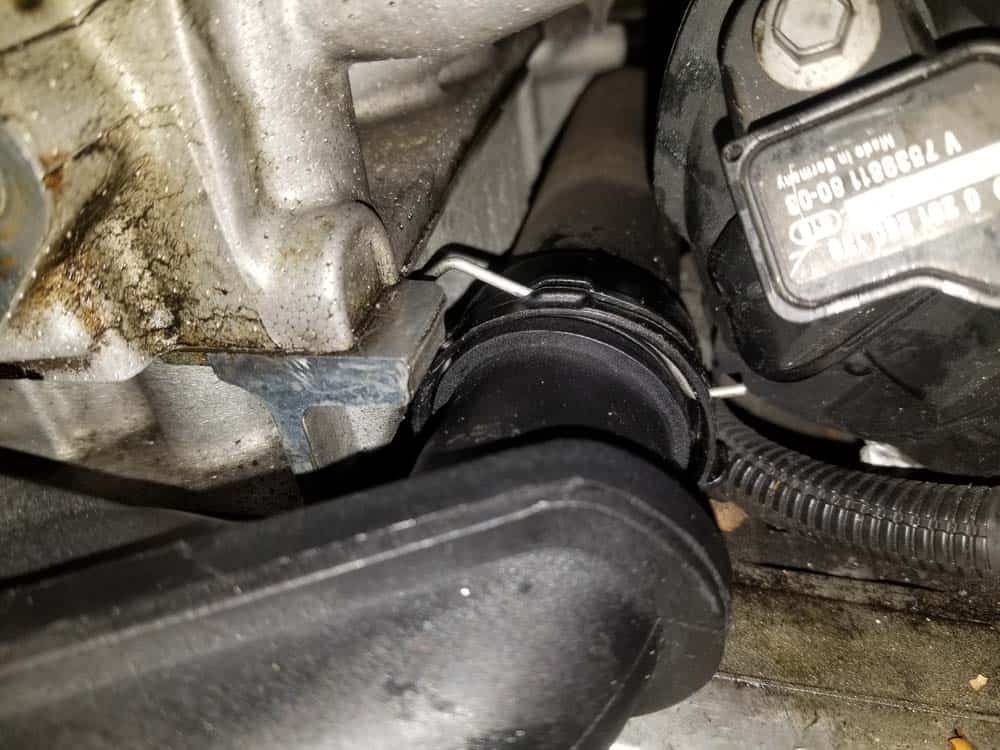
- Finally, the rear water supply pipe needs to be released from the thermostat. The rear water supply pipe runs from the water pump on the right side of the engine to the back of the thermostat. Using a metal pick (or your fingers), pull the metal locking clip up to release the pipe. AVOID pulling the clip off of the pipe...if you do it can be a pain getting it back on.
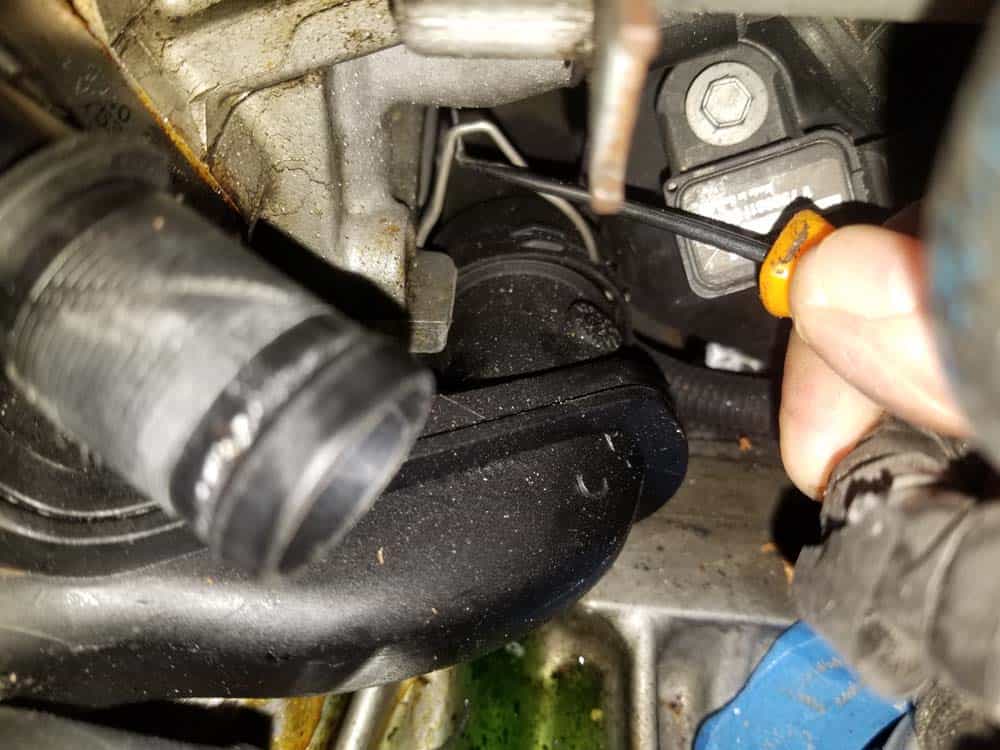
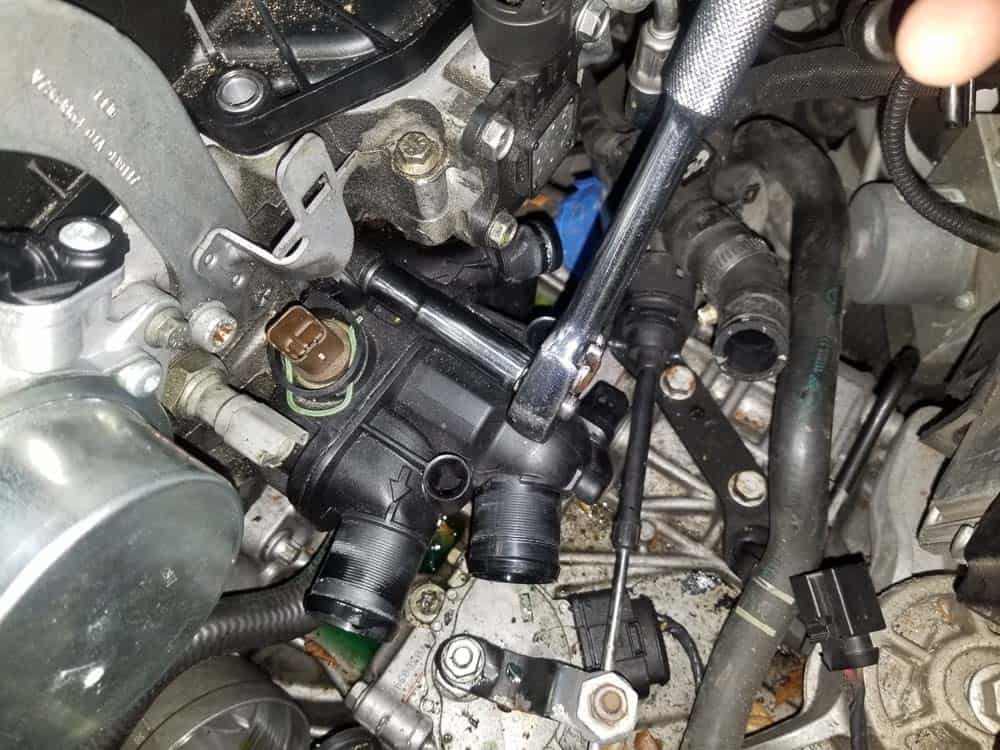
- The thermostat can now be unbolted from the engine and removed from the vehicle. Use a 10mm socket wrench to remove the three thermostat mounting bolts. We suggest using an extension and low profile socket to reach the rear mounting bolt.
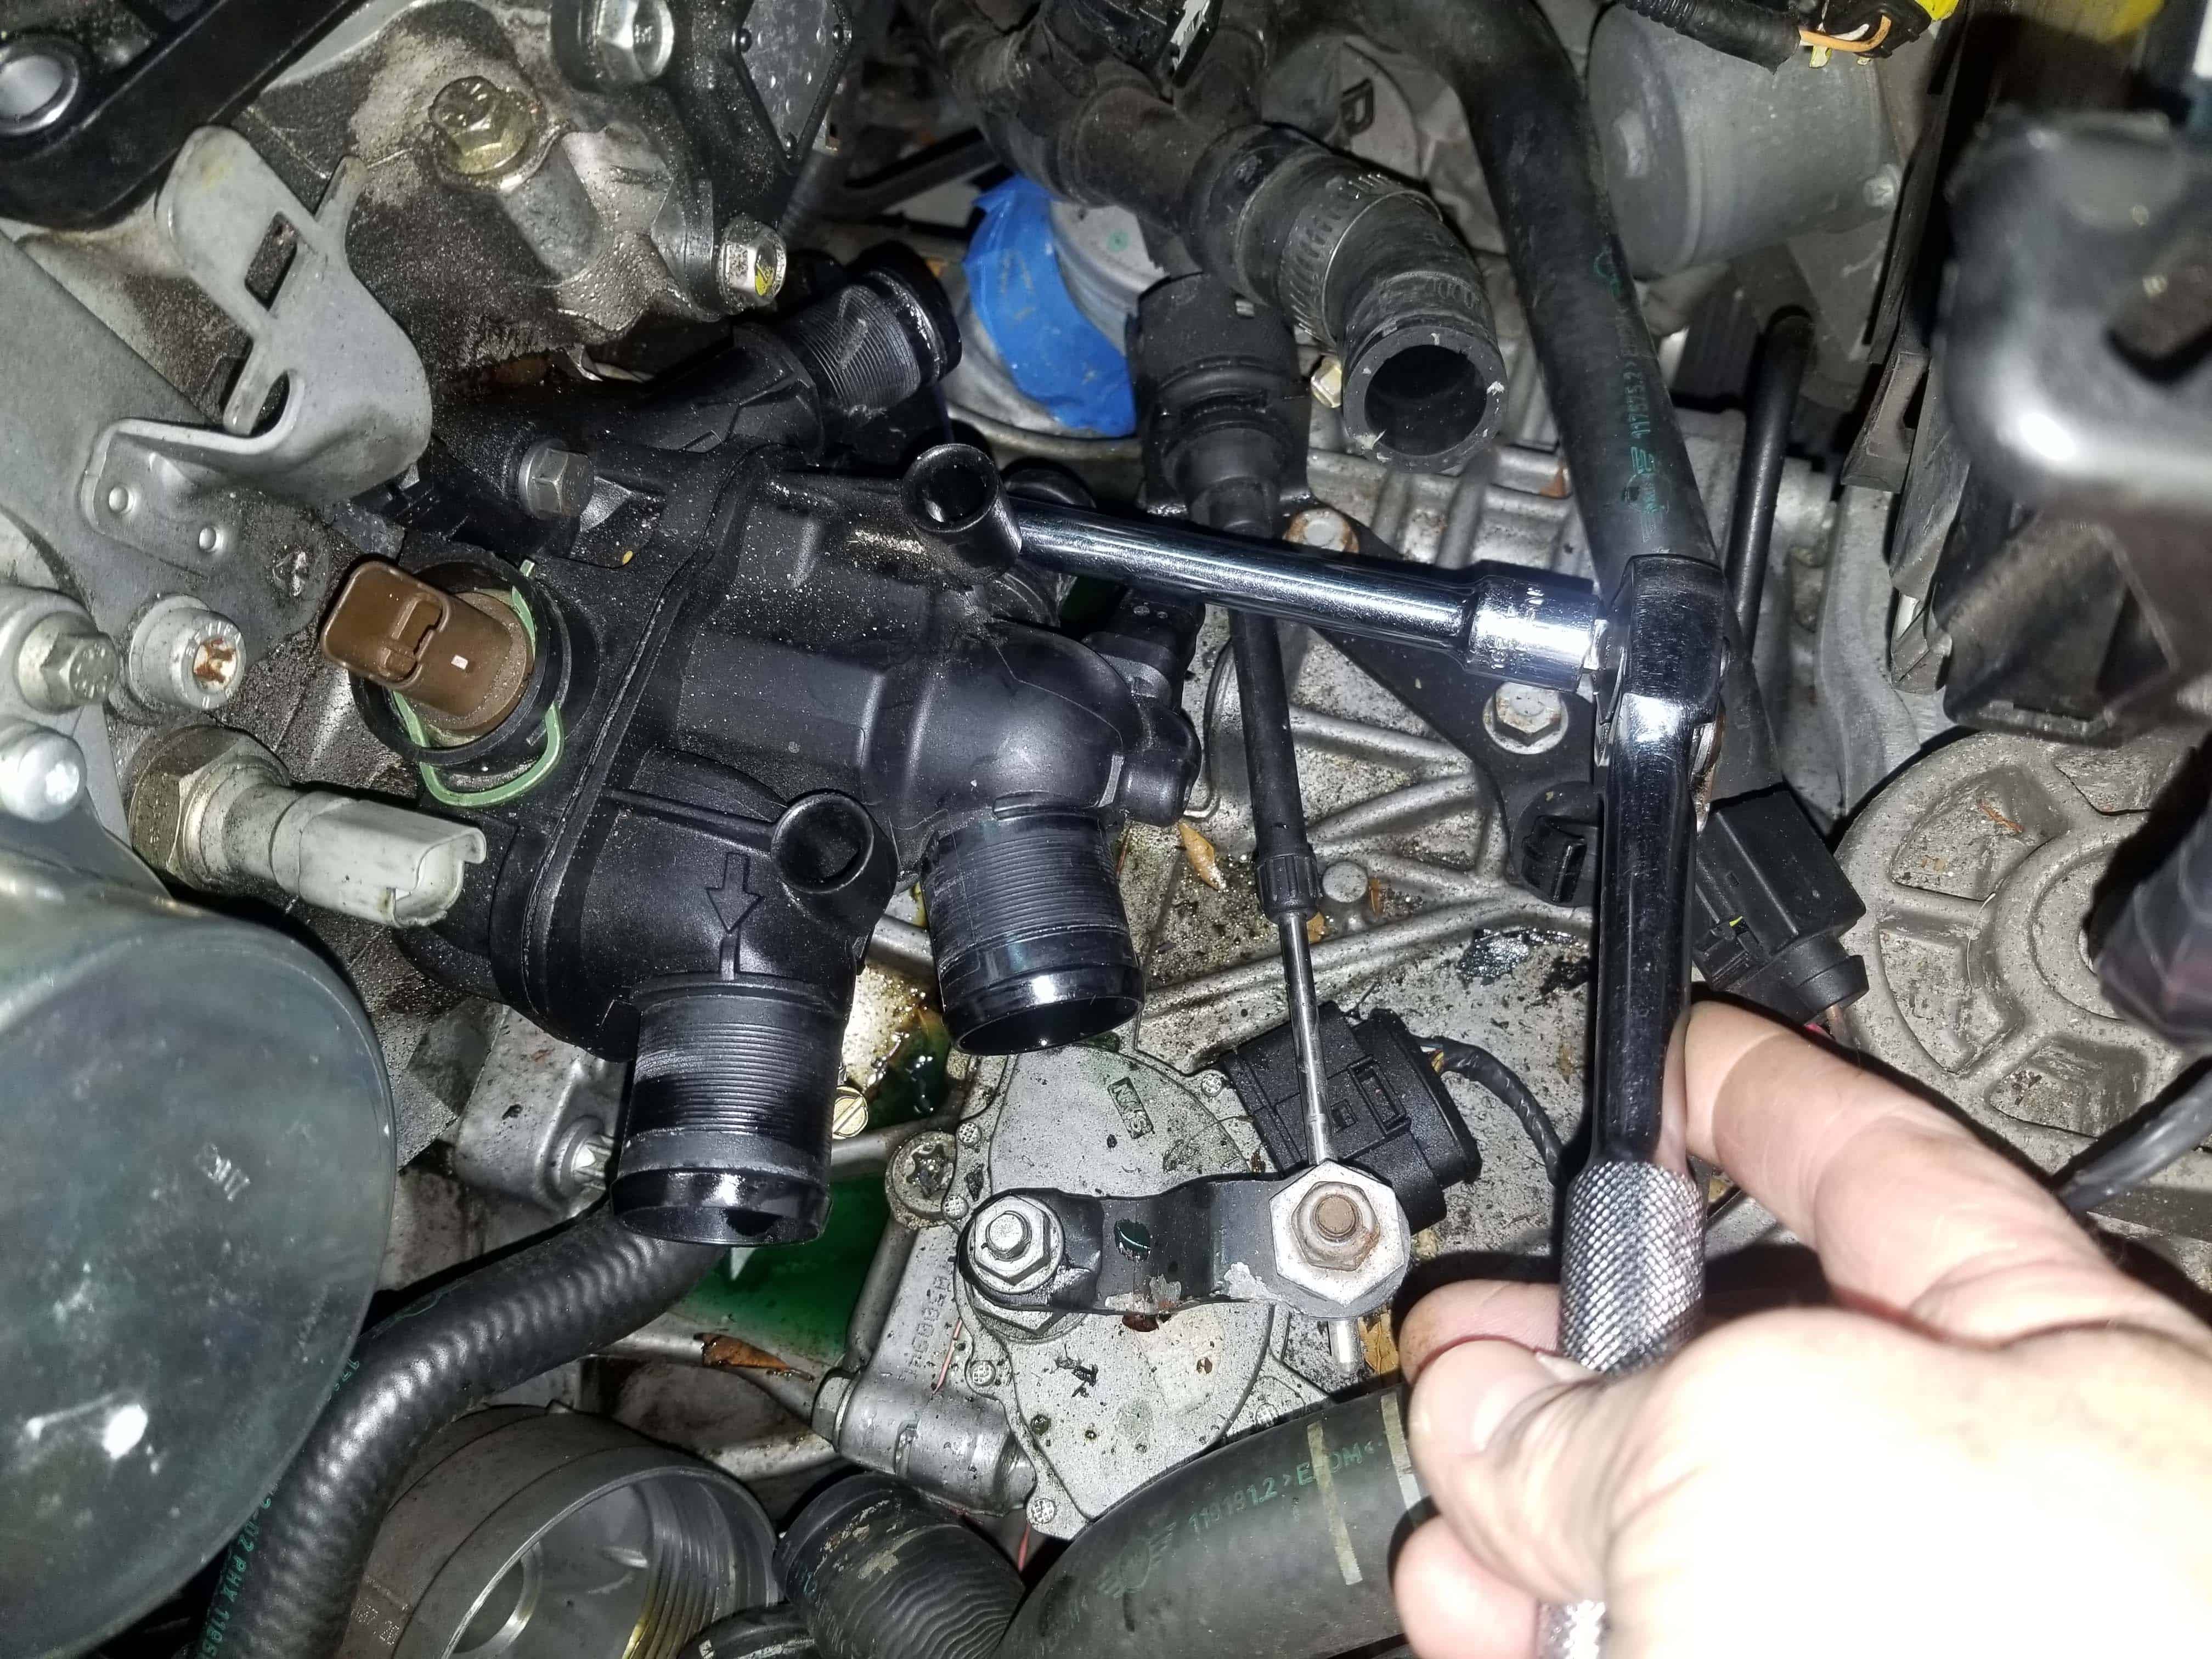
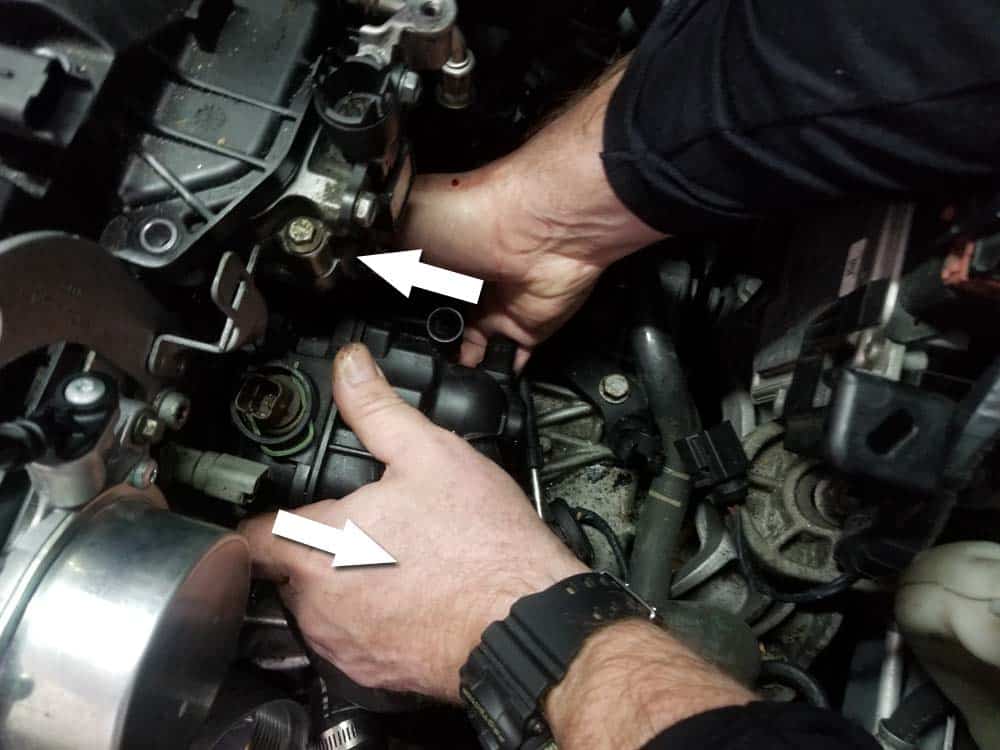
- Grasp the thermostat with both hands and remove from the engine. The thermostat can be very difficult to release from the rear water supply pipe. Try gently rocking back and forth while pulling until it releases.
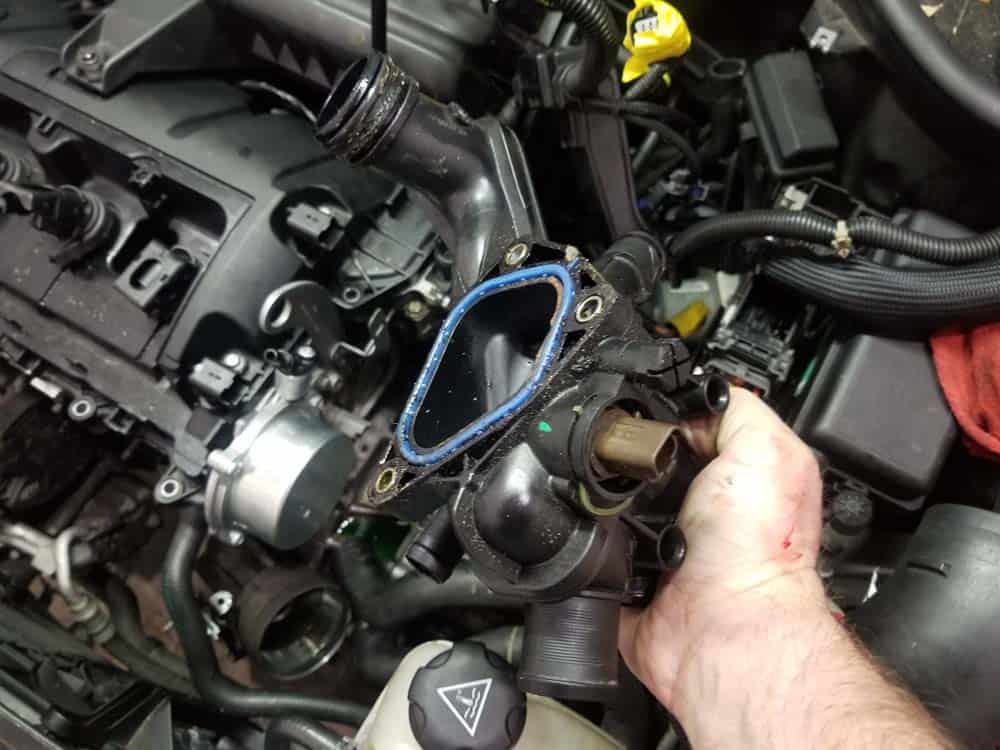
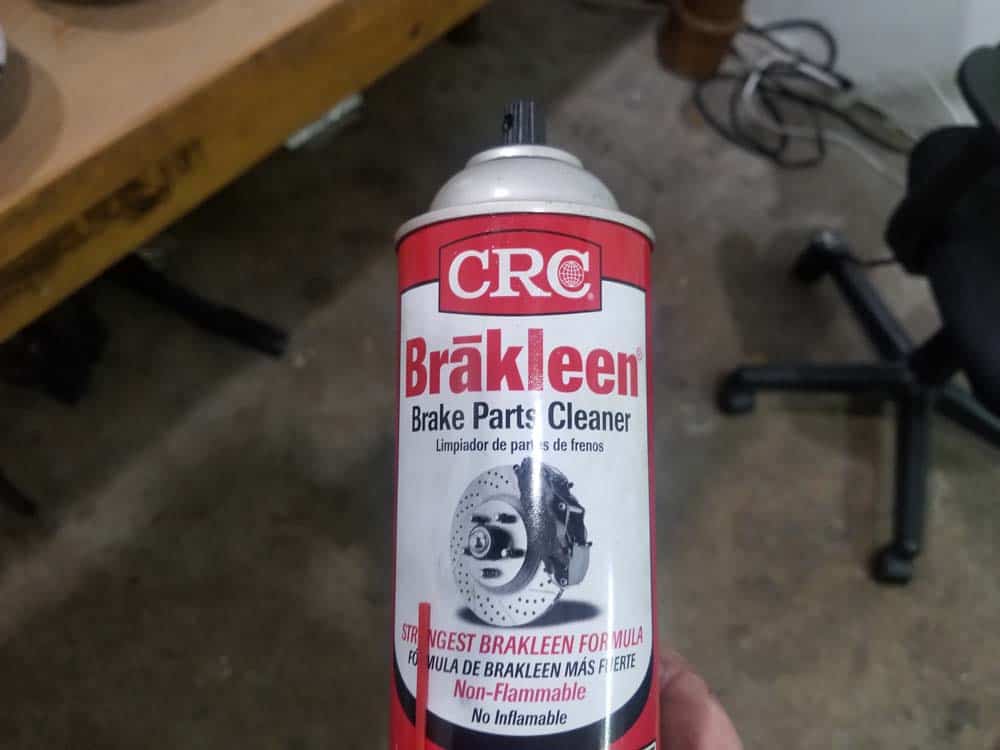
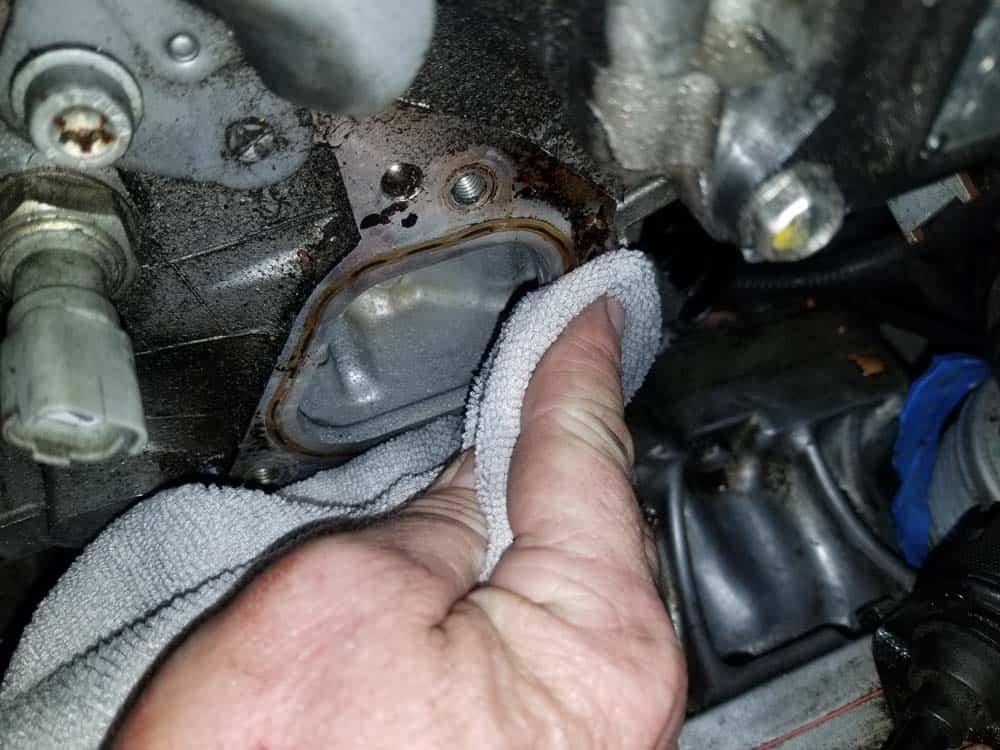
- Liberally soak a clean rag in CRC Brakleen and thoroughly clean the engine block where the thermostat mounts. Make sure to remove any grease or old rubber that may have been left from the thermostat gasket.
- Inspect the new thermostat. Make sure the coolant temperature sensor, bleed screw and gasket are installed. Also verify that there is an o-ring on the water supply pipe inlet on the back of the thermostat.
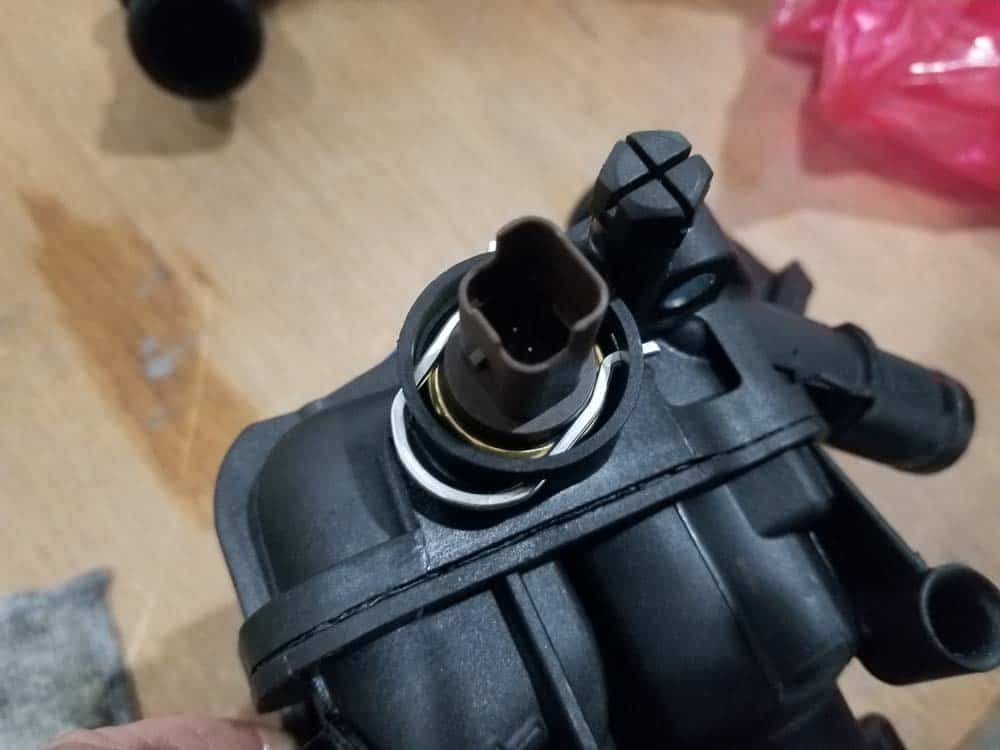
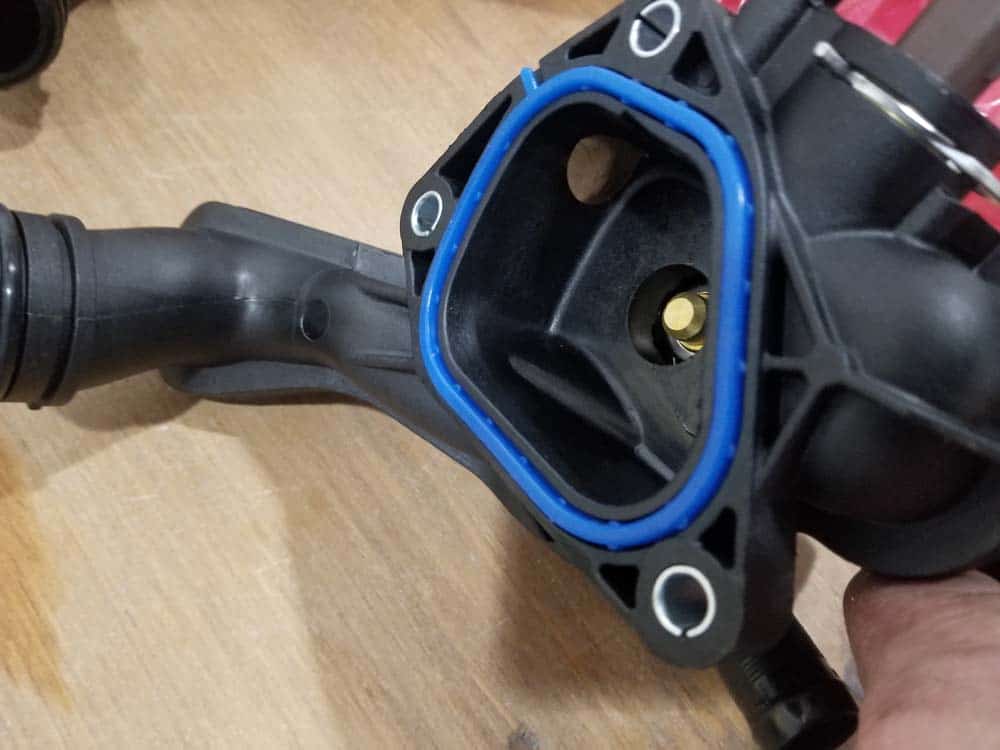
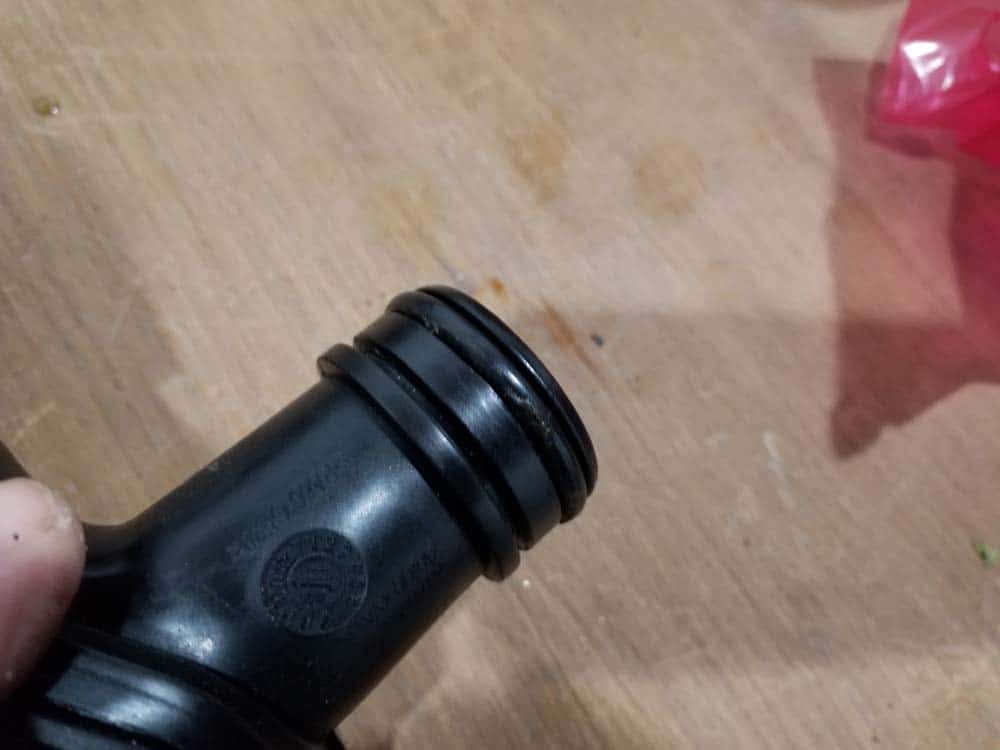
- Install the new thermostat starting with the water supply pipe. The new o-rings fit snug...rock the thermostat back and forth while pushing until the pipe is properly seated on the intake fitting. Lower the metal locking clip and verify it's in the proper locked position.
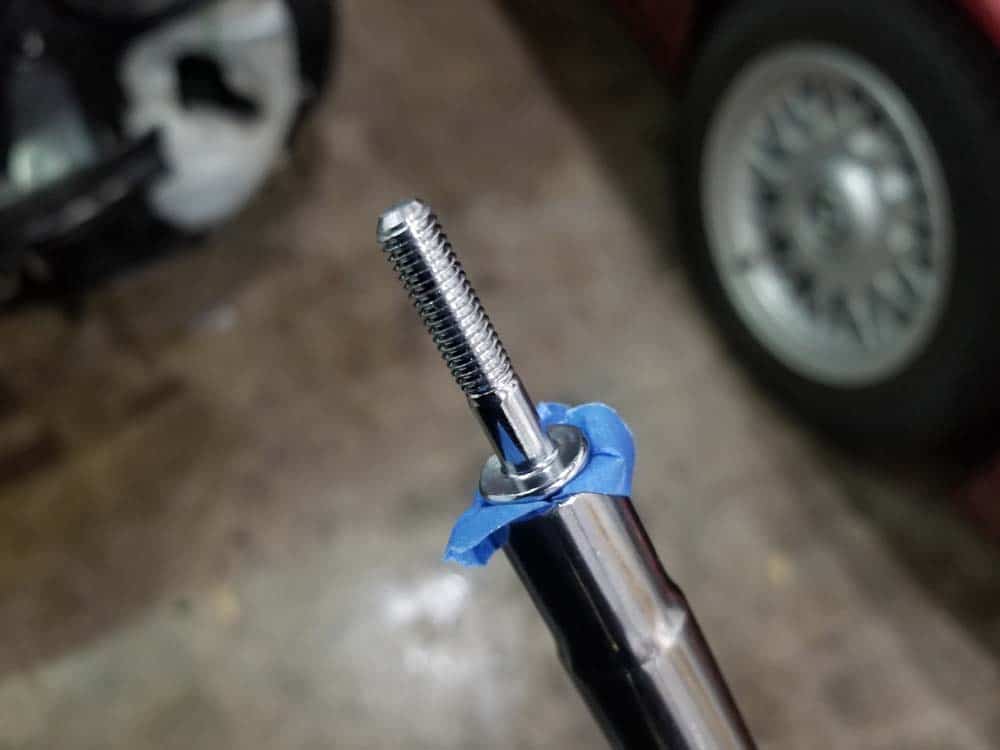
- Install the three thermostat mounting bolts and torque to 8 Nm (6 ft-lb). We suggest inserting a piece of tape in the socket when installing the rear bolt...it is difficult to get started and can easily drop into the engine and disappear.
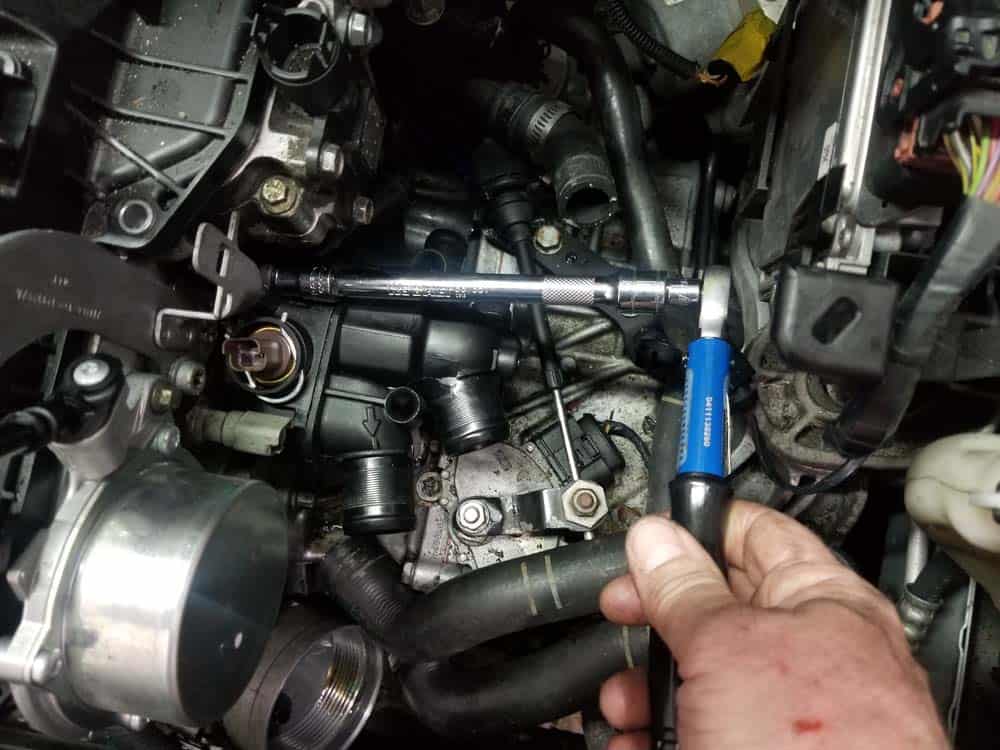
- Replace all of the coolant hoses. Make sure the hose clamps are tightened snugly.
- Reinstall the rest of the engine following the steps in Section 1 in reverse.
Section 3 - Refilling the system with coolant
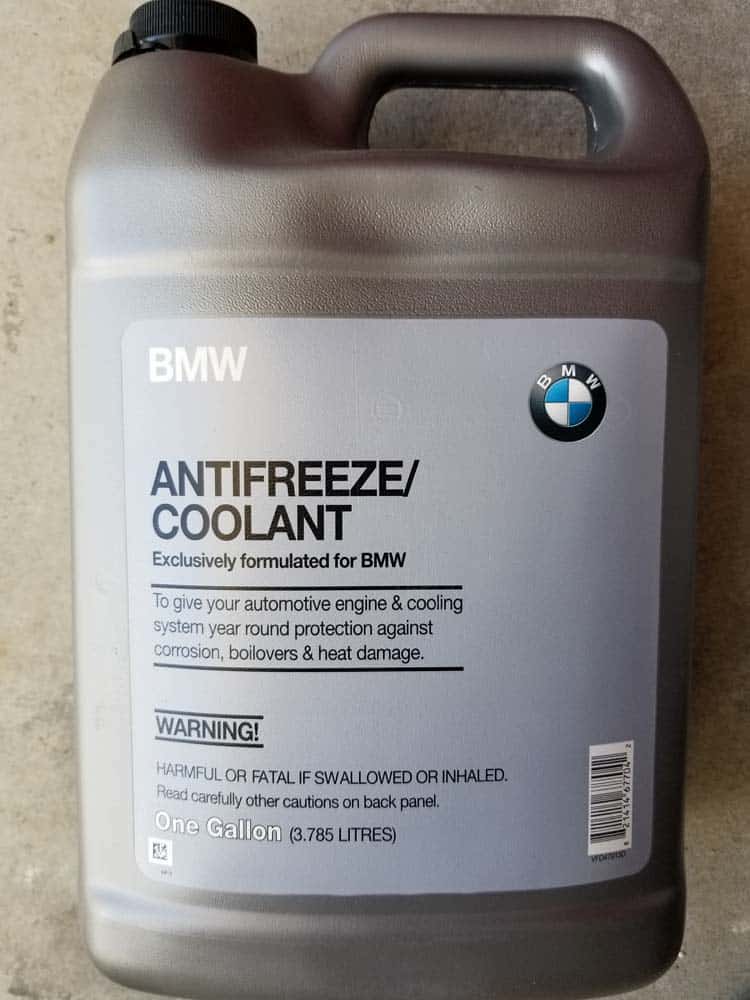
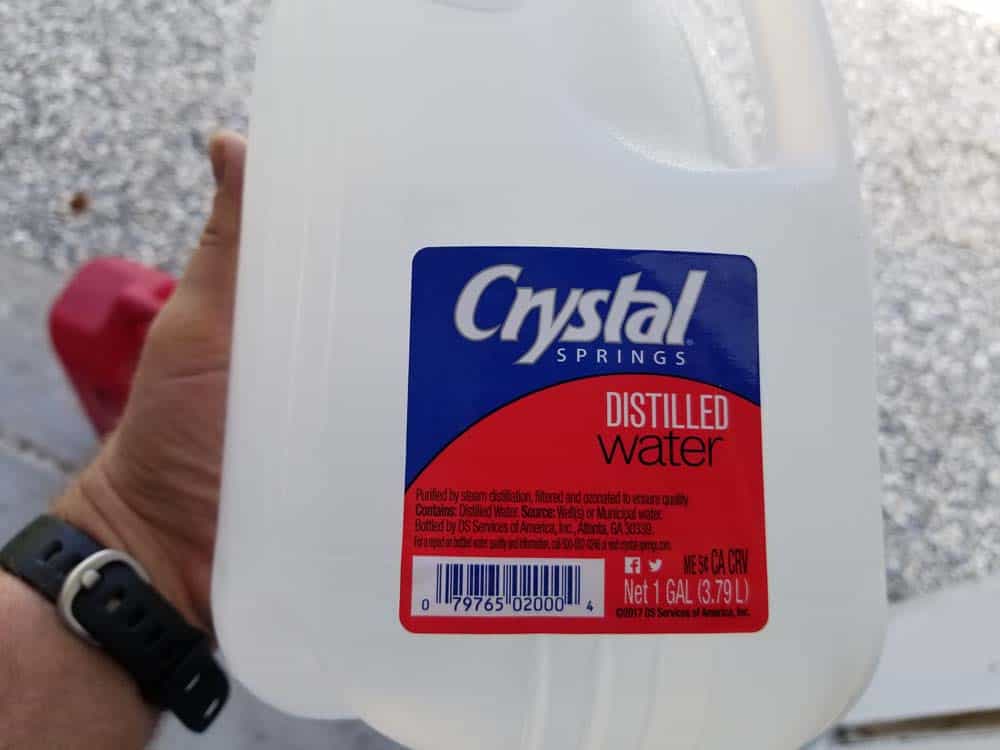
Now that the MINI R56 thermostat has been replaced, you will need to refill the coolant system and bleed it of any trapped air. The BMW Repair Guide recommends using a coolant vacuum fill tool to properly refill the coolant system in your MINI vehicle. If you do not have a vacuum fill tool, you can use the following manual method of filling and bleeding your system. It is very important that any trapped air in the coolant system is bled out to avoid engine overheating.- Only use Genuine MINI or BMW Antifreeze/Coolant mixed 50/50 with distilled water in your vehicle. Using any other brand of antifreeze/coolant in your MINI is strongly discouraged. Genuine MINI (BMW) Antifreeze/Coolant was specifically engineered for your MINI...other brands may not cool or protect your engine correctly.
- Turn the ignition on. Do not start the vehicle.
- Set the HVAC temperature controls to full warm and the fan speed to its lowest setting (this allows coolant to circulate through the heater core).
- Slowly fill the coolant expansion tank until it reaches its maximum level mark. Leave the cap off of the tank.
- Start the engine and run at idle for one minute.
- After one minute, add more coolant to the expansion tank to bring the level back up to the maximum level mark. Replace the cap on the tank.
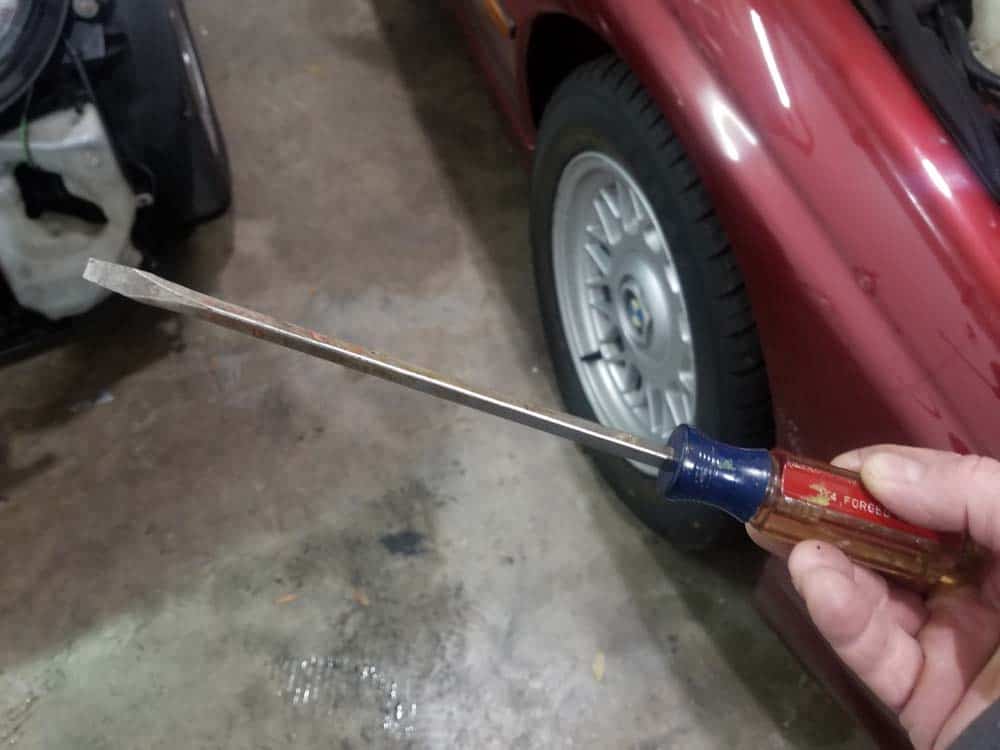
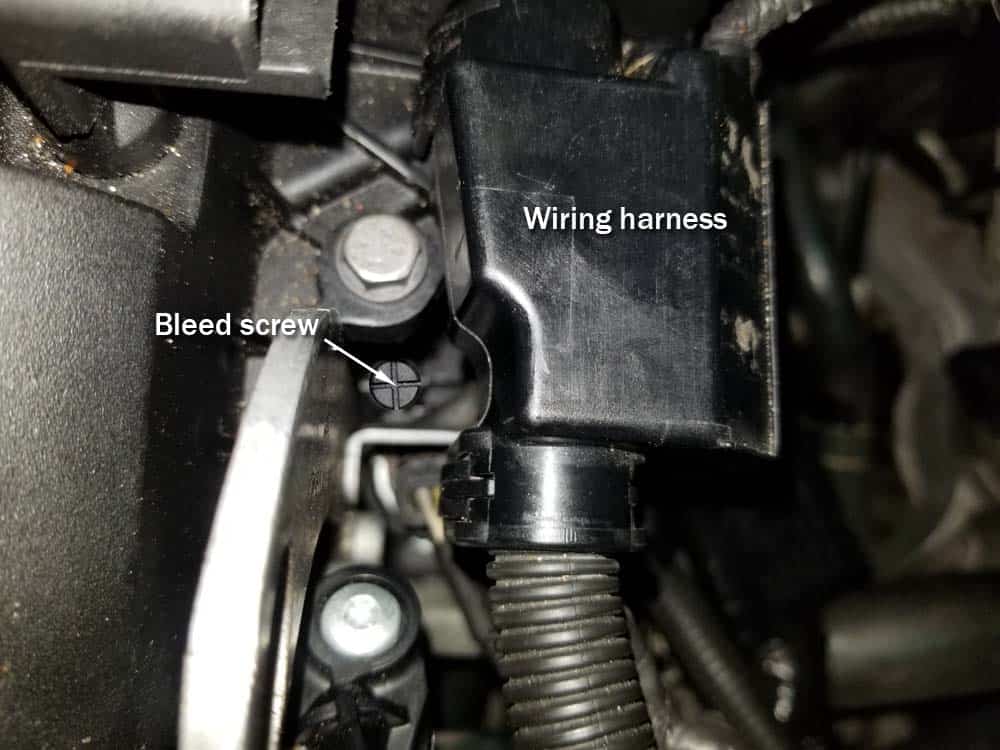
- With the engine running, use a long flat blade screwdriver to loosen the bleed screw on top of the thermostat (it is located behind the wiring harness on the top of the thermostat). When you see a steady stream of coolant flowing from the bleed screw immediately tighten it. The coolant system is now purged of all air and is properly filled.
- Allow the engine to cool and top off the expansion tank if necessary.
MINI R56 Thermostat Replacement Finished

