Affiliate link disclosure – The BMW Repair Guide uses affiliate links in their site. For more information on affiliate links, please click here.
Repair Summary
This article gives detailed instructions on replacing the water pipe in a MINI R56 vehicle. Even though we used a 2007 MINI Cooper to perform this repair, this article can be applied to any 2006-2013 MINI vehicle with minor modifications to the repair steps.
A MINI R56 water pipe replacement may be necessary if you are finding coolant under the vehicle near the rear of the engine.
As we have discussed in our other MINI R56 articles, the BMW/Peugeot Prince engine found in all 2006-2013 Cooper and Cooper S vehicles has had its fair share of issues. One of the more irritating problems that has haunted MINI R56 owners is failure of the coolant system's water pipe.
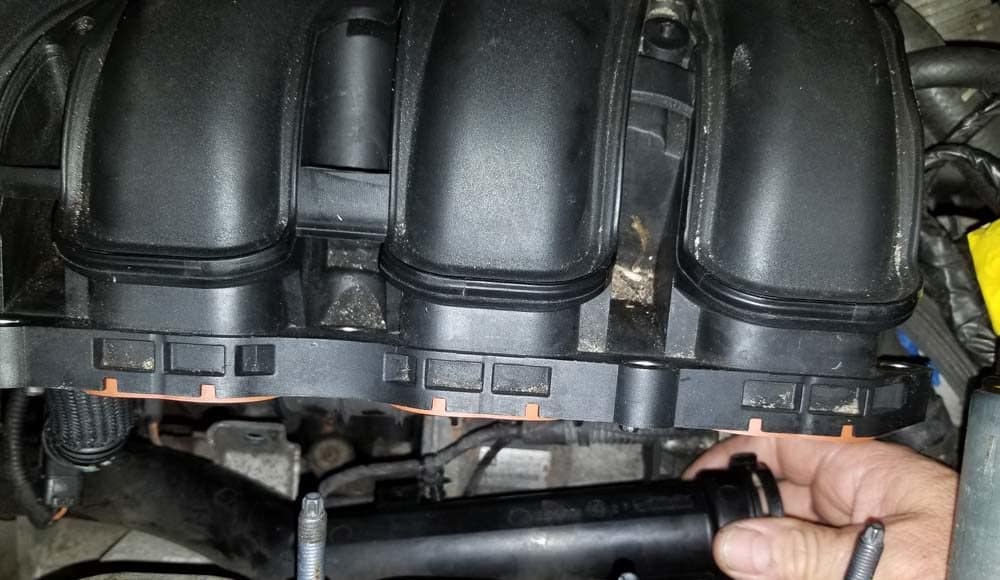
The MINI R56 water pipe is a rigid plastic conduit that runs laterally across the rear of the engine underneath the intake manifold. Its sole function is to deliver coolant from the water pump to the thermostat so it can be channeled into the cylinder head. Due to the compact transverse design of the Prince engine, the water pump and thermostat ended up on opposite sides of the engine compartment - the plastic water pipe completes the connection between the two.
Like all plastic parts in the engine compartment, age and the brutal heat conditions take their toll on the MINI R56 water pipe. Often the water pipe cracks inside the water pump fitting causing its o-ring to leak. In extreme circumstances, the body of the water pipe can fracture causing a complete loss of coolant. A MINI R56 water pipe replacement should be immediately performed at the first signs of failure.
Classic signs that your MINI R56 has a failing water pipe are puddles of coolant on the ground under the rear of the engine and constantly having to "top off" your coolant expansion tank.
Accessing the MINI R56 water pipe
The correct way to extract and reinstall the MINI R56 water pipe is to remove both the thermostat and the intake manifold from the vehicle. The intake manifold must be removed in order to properly install the new water pipe. The water pipe must be grasped with both hands during installation to ensure it is properly seated in the water pump. This is not feasible unless the intake manifold is removed.
As the MINI R56 water pipe becomes old and brittle, it also has a reputation of breaking off inside the water pump while being removed. Trying to extract these bits of plastic and rubber o-ring from the water pump is next to impossible without removing the intake manifold (or the water pump itself).
Removing the intake manifold shouldn't be considered a deterrent to doing the repair but rather an excellent opportunity to replace manifold and throttle body gaskets, the thermostat, as well as service your MINI's fuel injectors. Now is a great time to get all of these high-maintenance items done while you have the thermostat and intake manifold removed from the engine.



View the detailed parts diagram for this repair.
Includes detailed part diagrams, part numbers and links to purchase all of the required components needed to complete this repair.

Before starting this repair, you must have the following required parts.
MINI R56/R57
Located between the water pump and the thermostat housing / MINI Cooper coolant pipe.
Fits all MINI R56/57 models - 06/2010 through 03/2012 require adapter lead (see description)
Typically referred to as the thermostat neck / housing, this part mounts on the highest point on the head and controls the flow back to the pressure tank. Cracking, which usually occurs around the gasket seal and leaks, are symptoms that it's worn out.
All MINI R56/57 vehicles
This gasket fits between the engine head and the composite material intake manifold. Needed when there is an air leak or removing the intake for installation.
All MINI R56/57 vehicles
This single profile gasket mounts to the side of the intake manifold near the throttle housing.
Section 1 - Removing the Intake Manifold
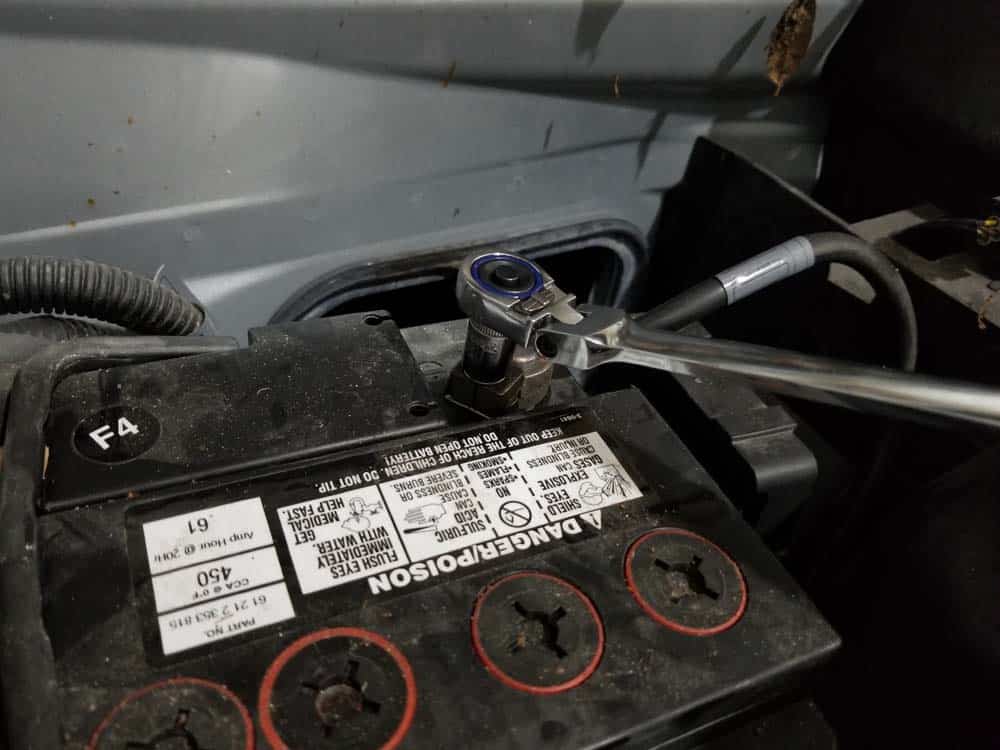
As discussed at the beginning of this article, the correct way to perform a MINI R56 water pipe replacement is to remove the intake manifold. The water pipe must be grasped with both hands during reassembly to make sure it is pressed inside the water pump correctly - this is simply not possible with the intake manifold installed. We urge our readers to not consider removing the intake manifold as an inconvenience, but rather as an excellent opportunity to service other high maintenance parts like the intake manifold gaskets, throttle body gasket and fuel injectors.- Using a 10mm socket wrench, remove the negative terminal from the battery and wrap it in a rag to avoid it from inadvertently touching the terminal.
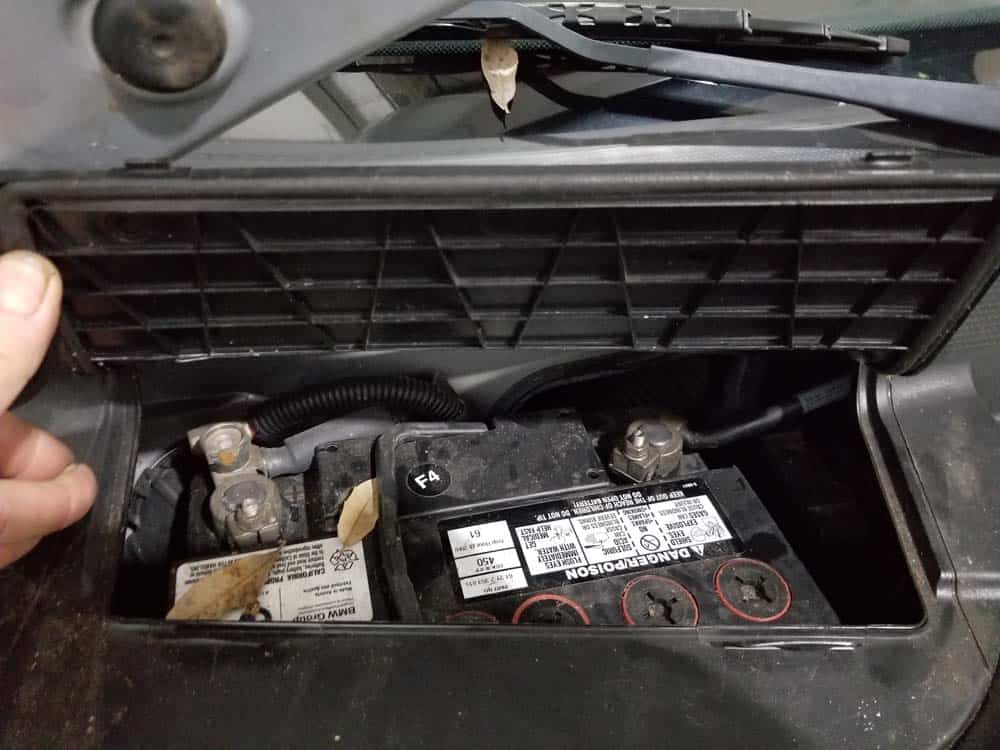
- In order to get to the MINI R56 intake manifold, some engine parts need to be cleared out of the way. Start by pinching in the plastic tabs and removing the intake manifold tube from the intake manifold pre-box.
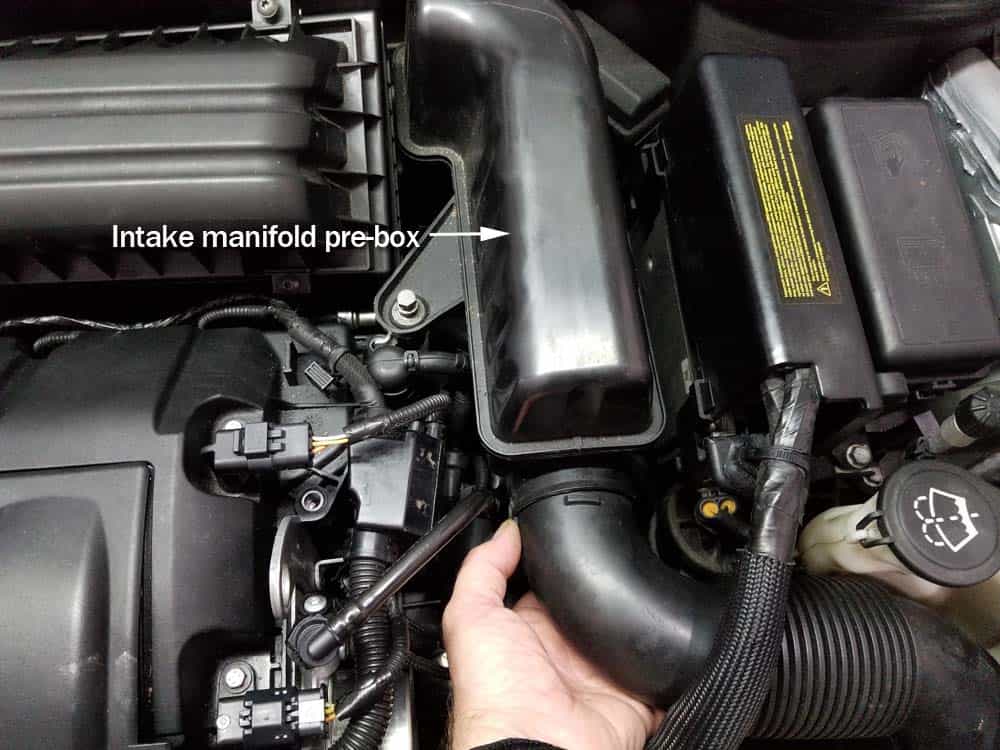
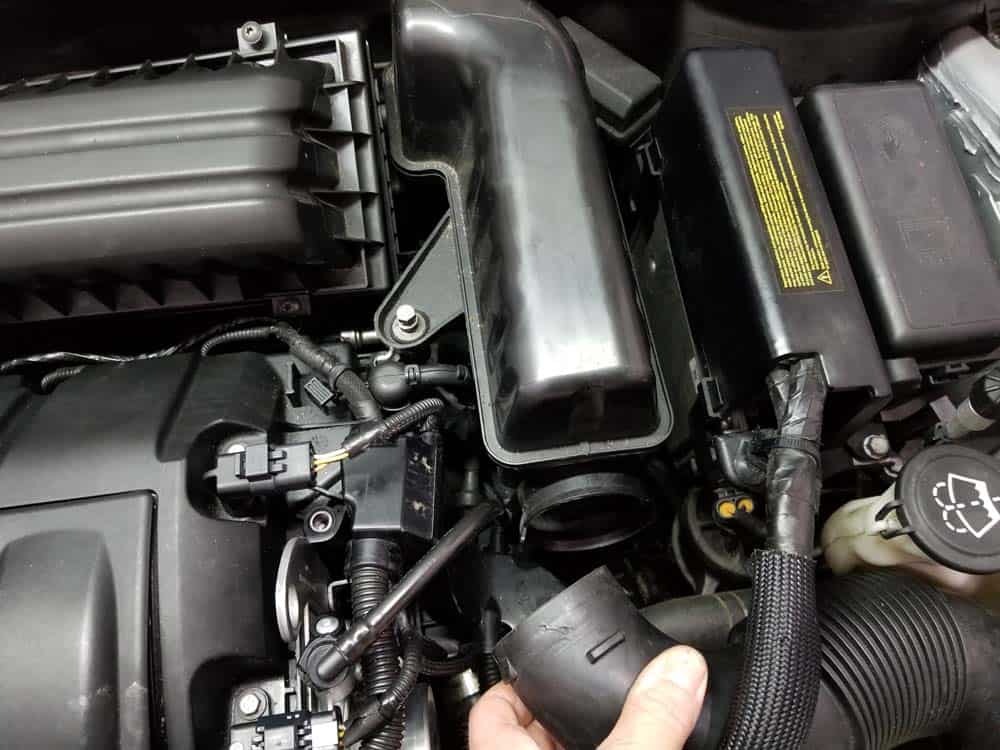
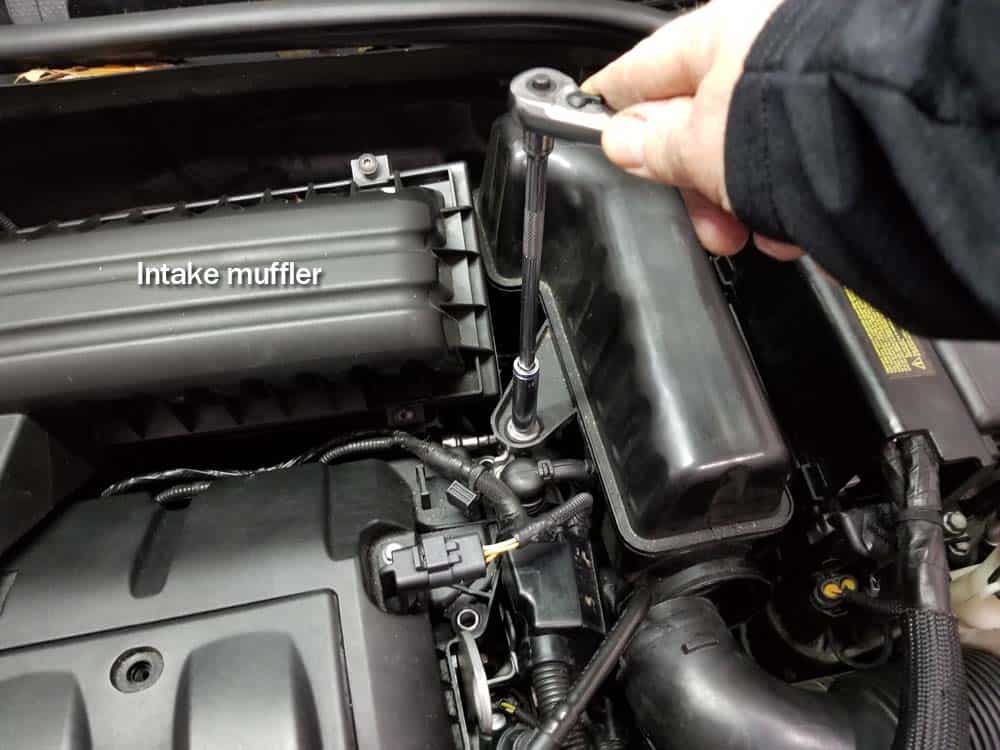
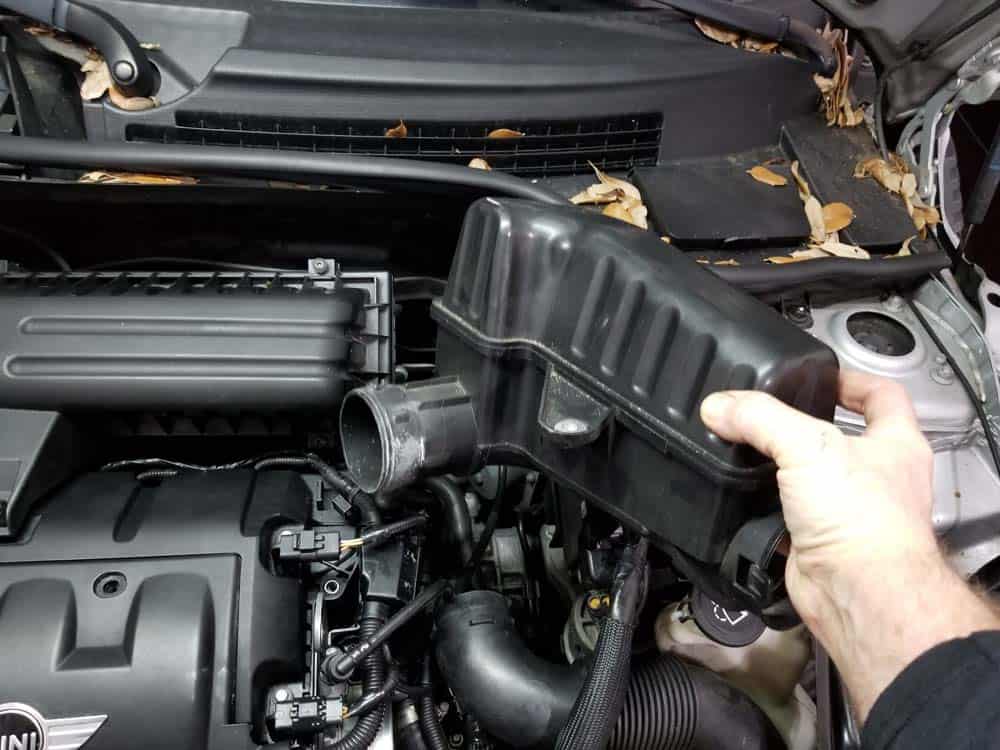
- Using a 10mm socket wrench, remove the bolt anchoring the intake manifold pre-box to the engine. Grasp the pre-box and pull free from the intake muffler.
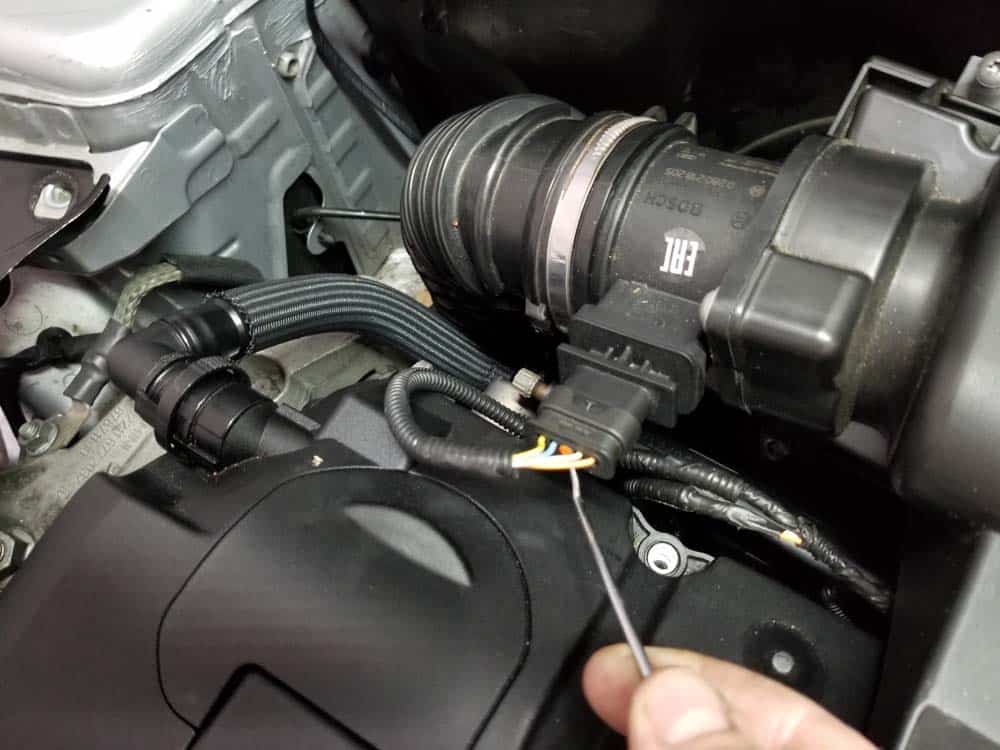
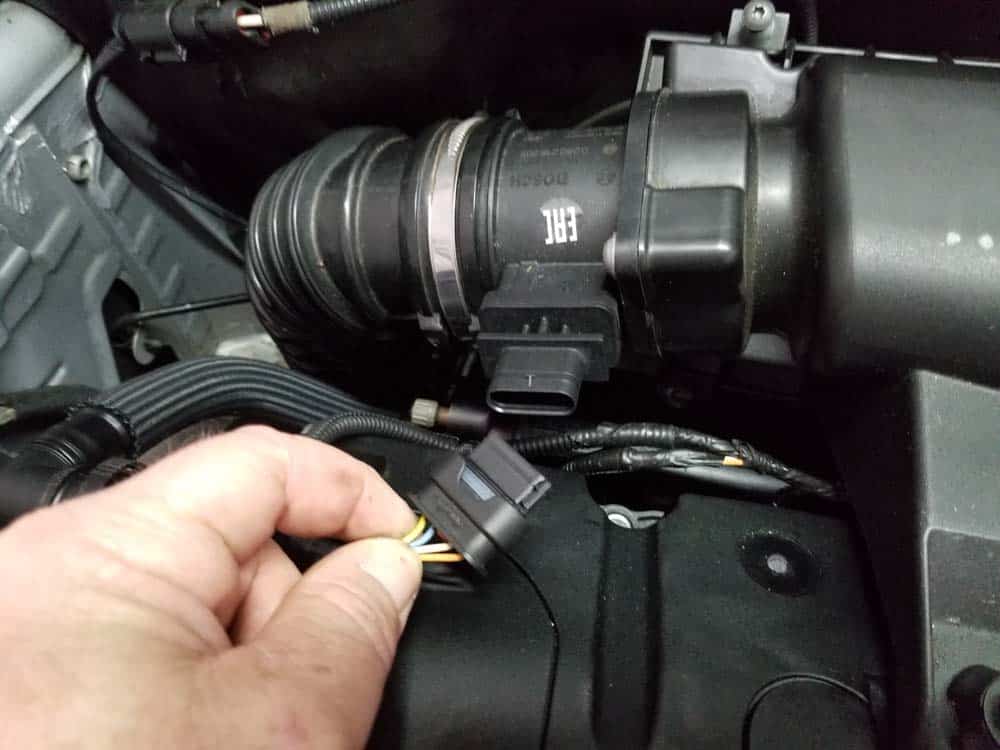
- Disconnect the mass air flow (MAF) sensor. This connection can be a little tricky...the release is under the plug. Try using a metal pick to depress the release then pull the plug free.
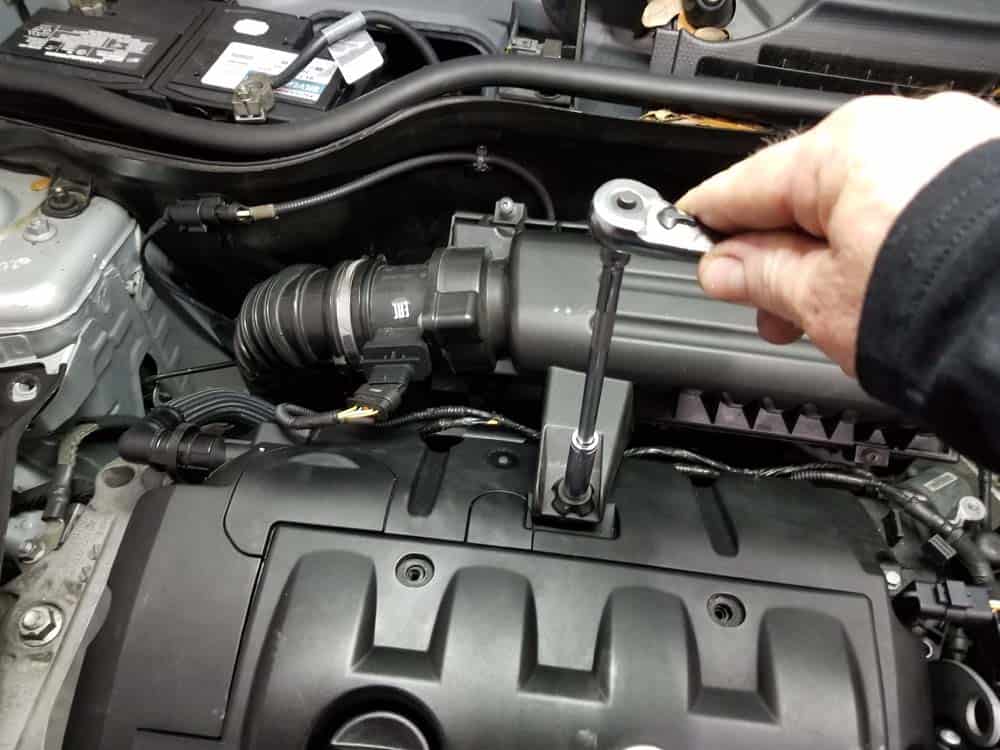
- Use a 10mm socket wrench to loosen the bolt anchoring the intake muffler to the engine.
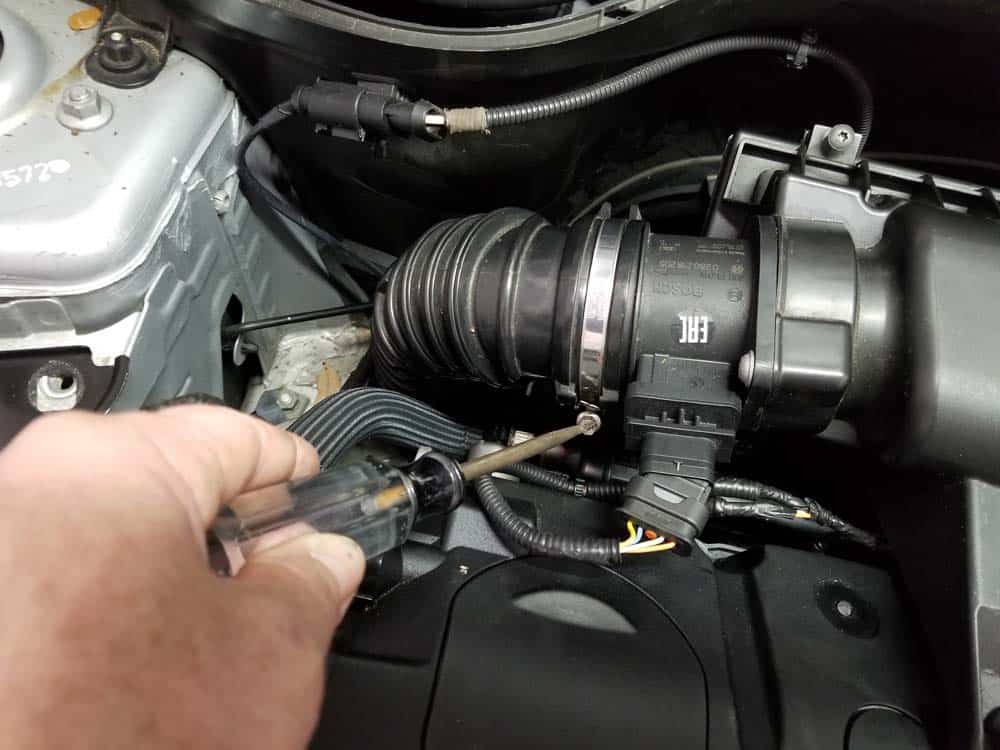
- Loosen the hose clamp connecting the intake muffler to the rubber boot.
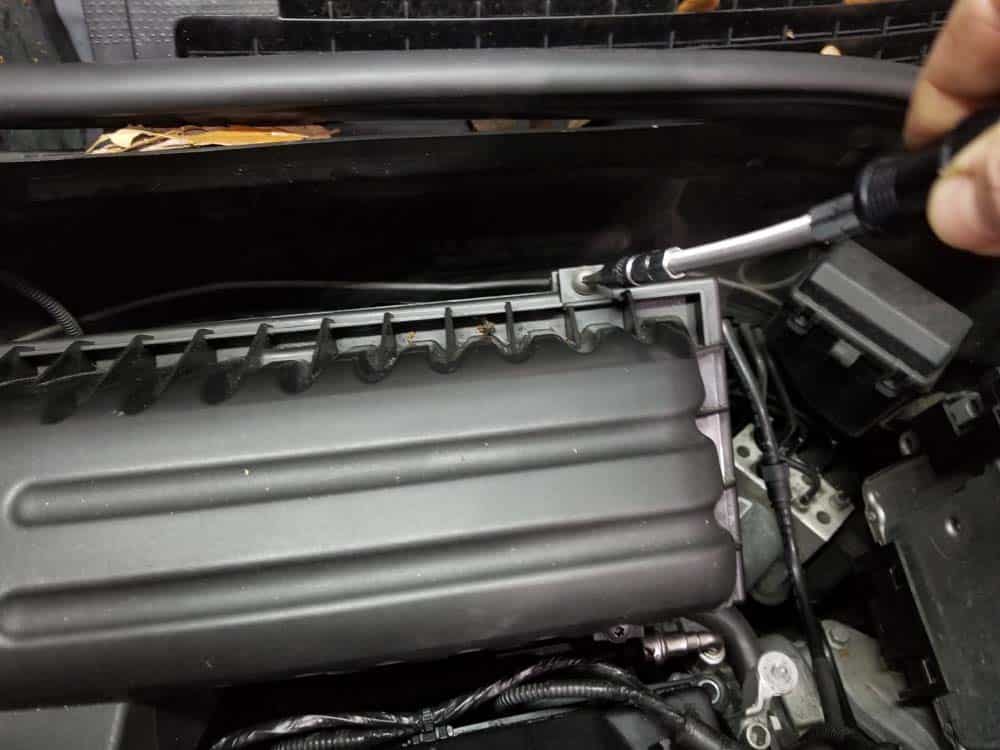
- Use a T25 torx bit to loosen the four intake muffler lid screws. Remove the lid off of the intake muffler.
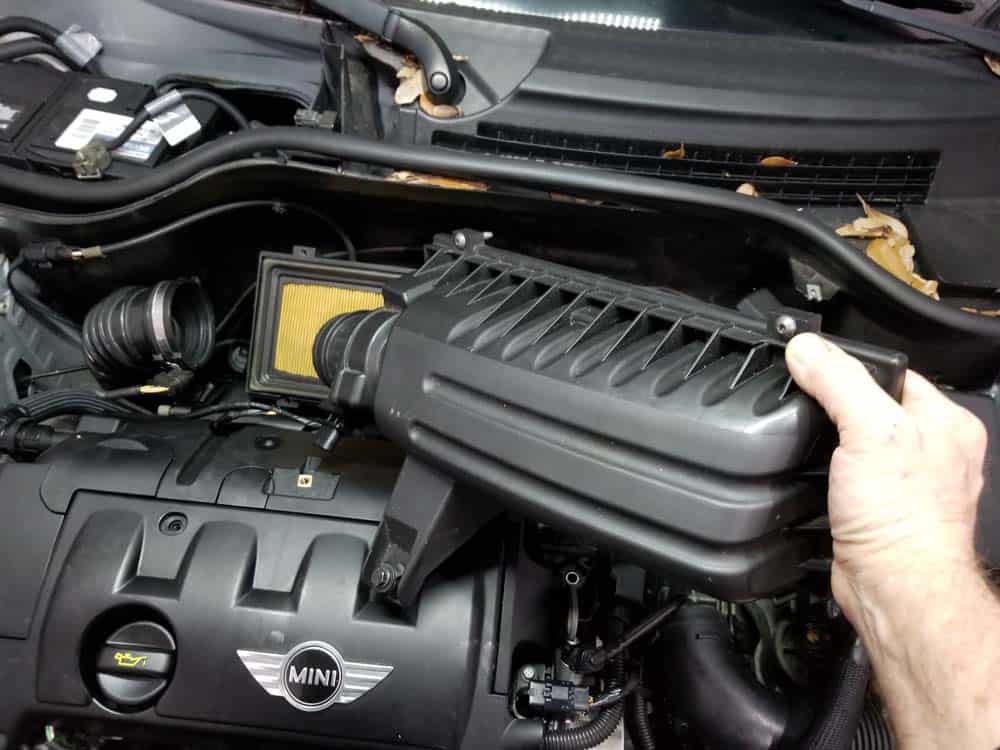
- Grasp the base of the intake muffler and pull it loose from the body of the car. It is held in place by two rubber grommets.
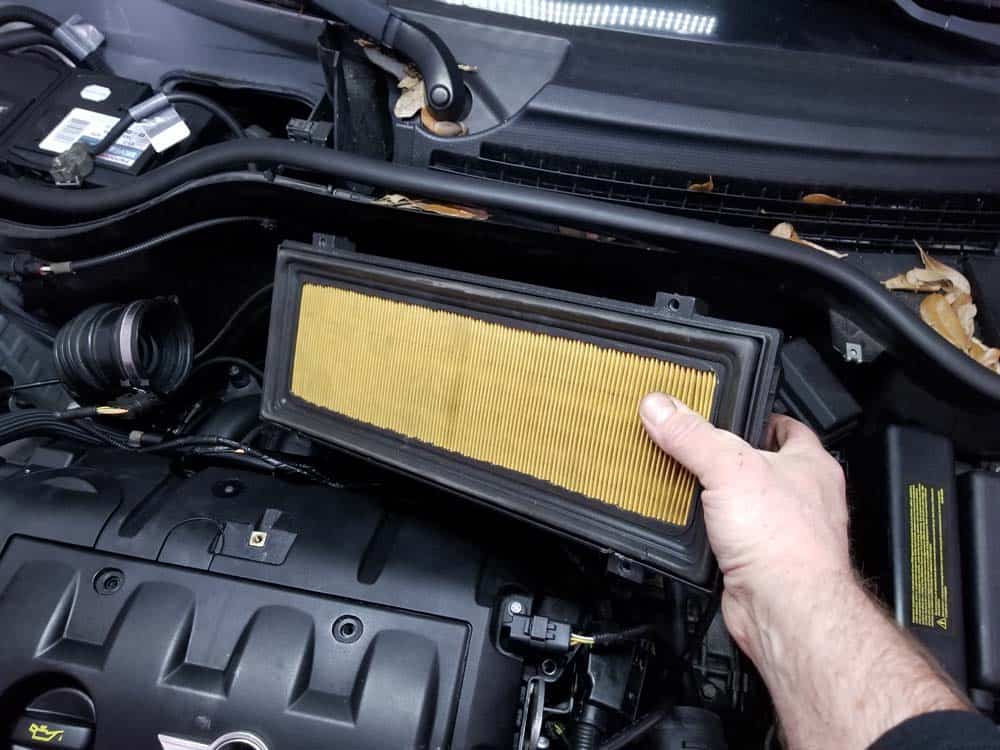
- The next step is to remove the fuel rail from the back of the engine. The fuel rail must be removed to access the upper intake manifold mounting bolts.
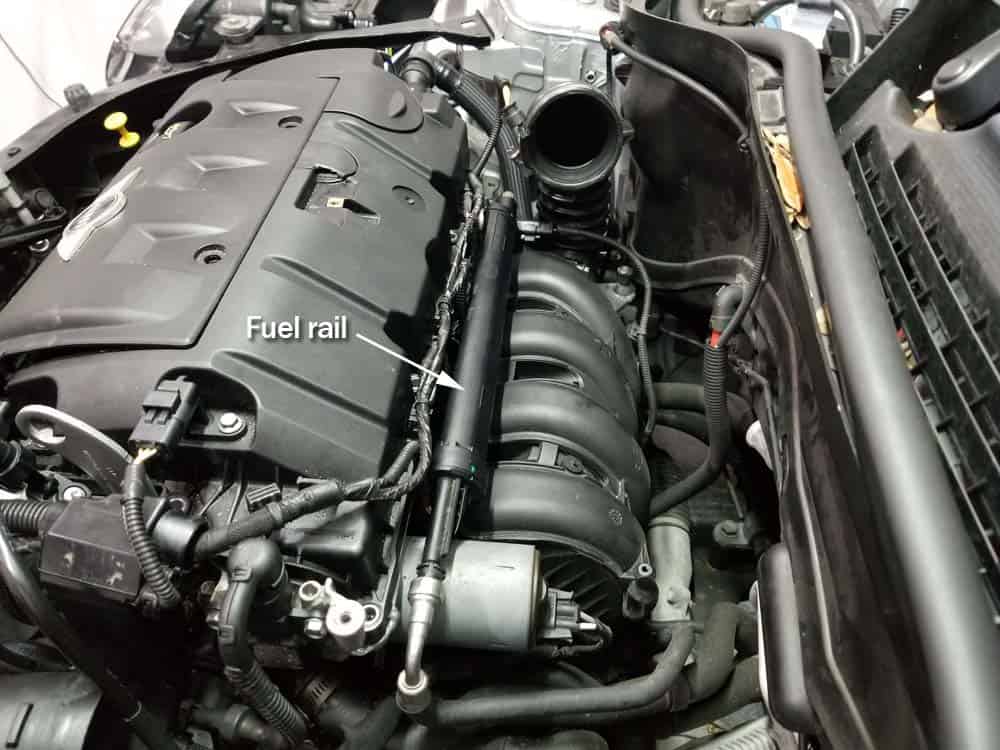
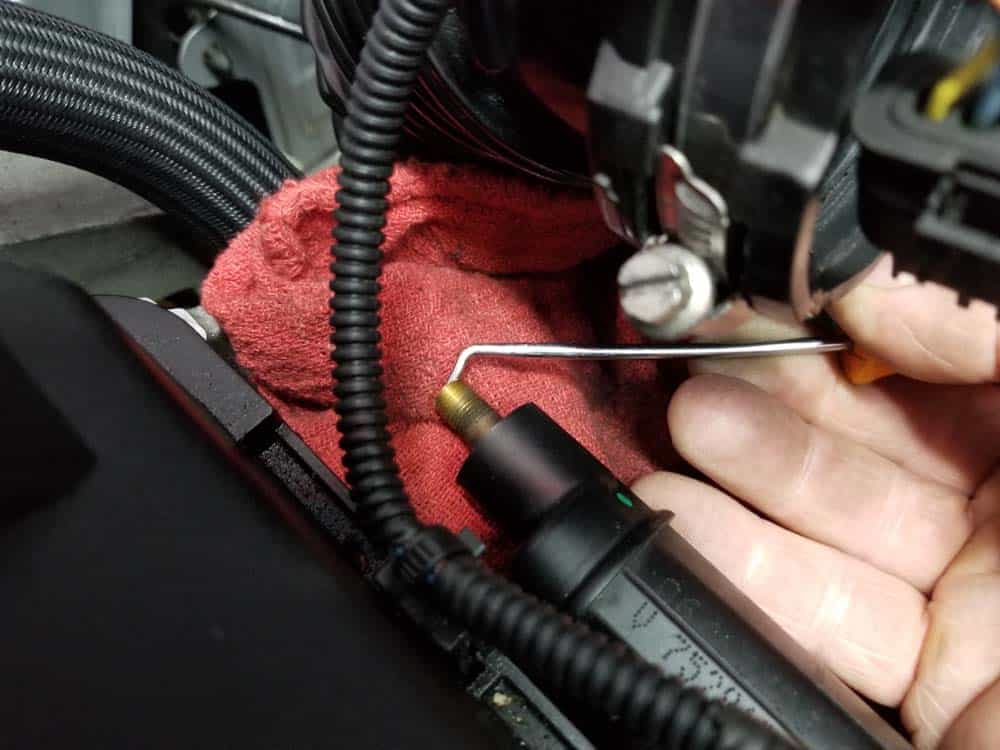
- Before disconnecting the fuel rail, it is good practice to release any fuel pressure that might be left in the system. This is done by simply depressing the Schrader valve located on the end of the rail. First, locate the Schrader valve and remove its protective cap.
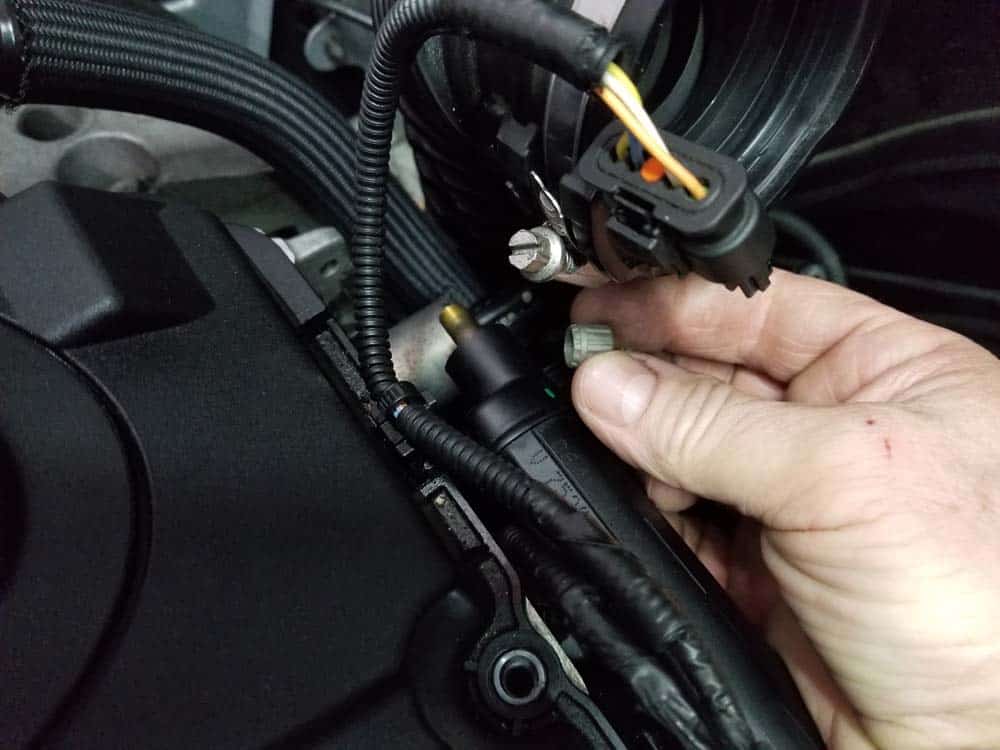
- Lay a rag under the Schrader valve to catch any fuel that may be ejected when releasing the pressure. Press the valve stem in with a small screwdriver or metal pick to release the pressure in the fuel rail (it's like releasing the pressure from a tire valve). Replace the cap when you are finished.
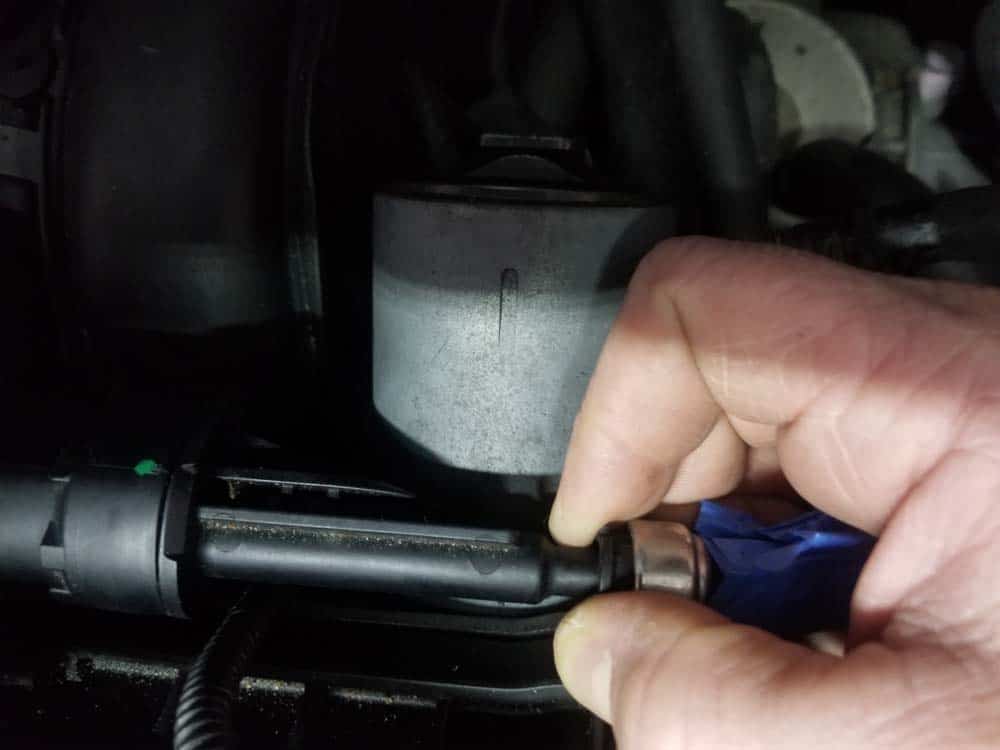
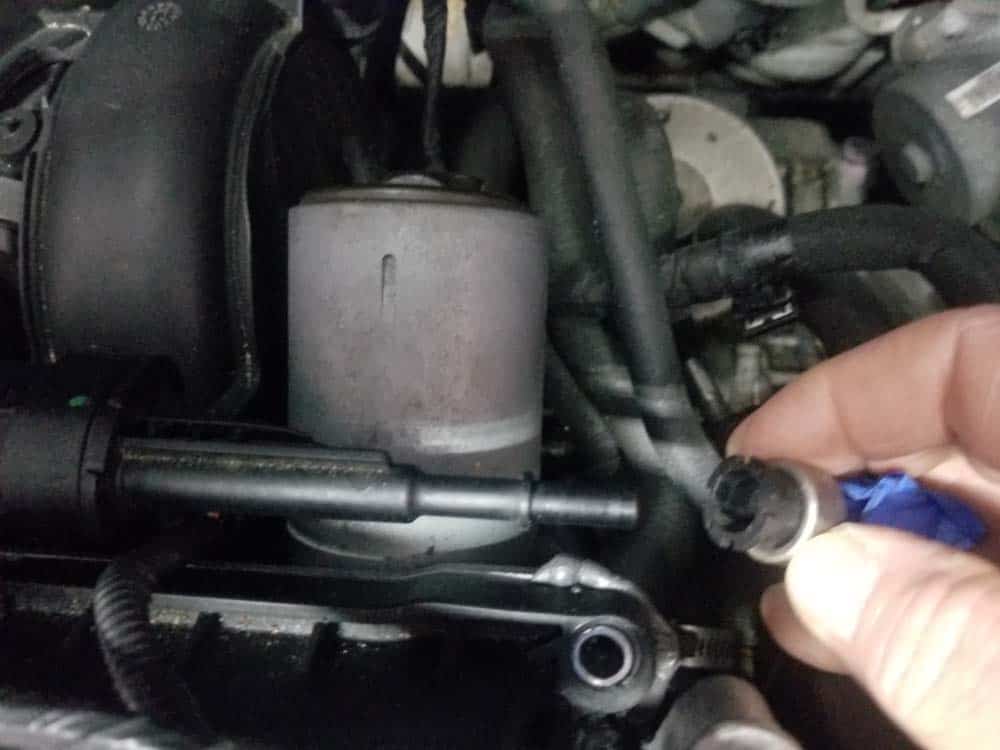
- Remove the fuel line from the end of the fuel rail by retracting the black lock ring and pulling it free as shown below. Have a rag ready to catch any fuel that may spill out.
- The next step requires removing the two T30 bolts anchoring the fuel rail to the cylinder head. The two bolts are difficult to see since they are behind the engine...use an inspection mirror to locate them if necessary.
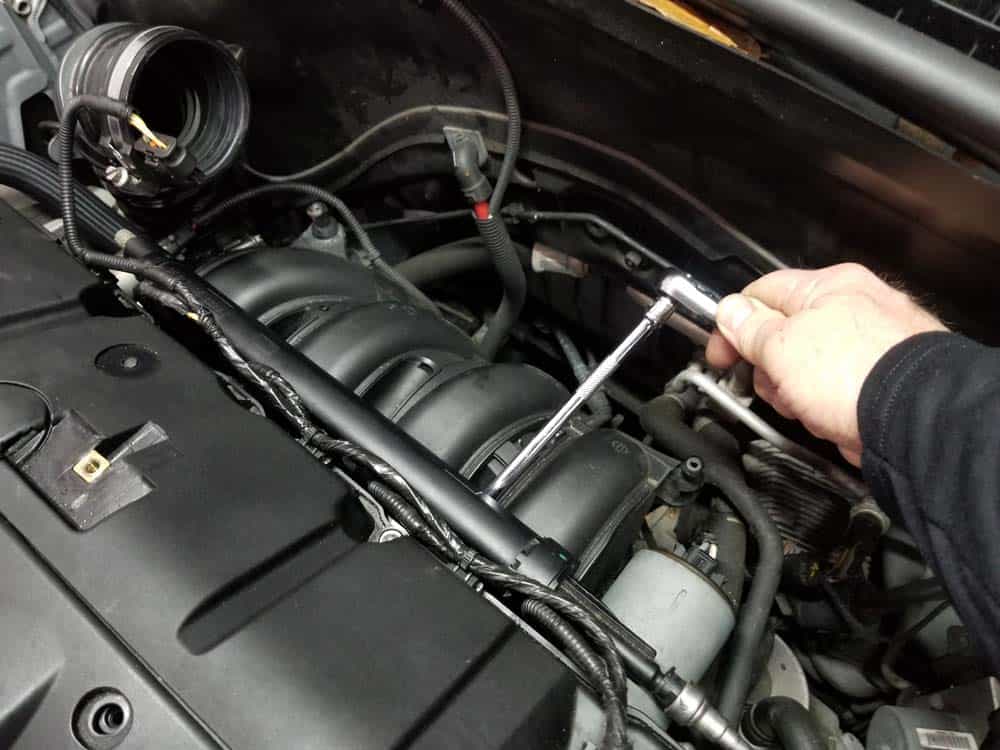
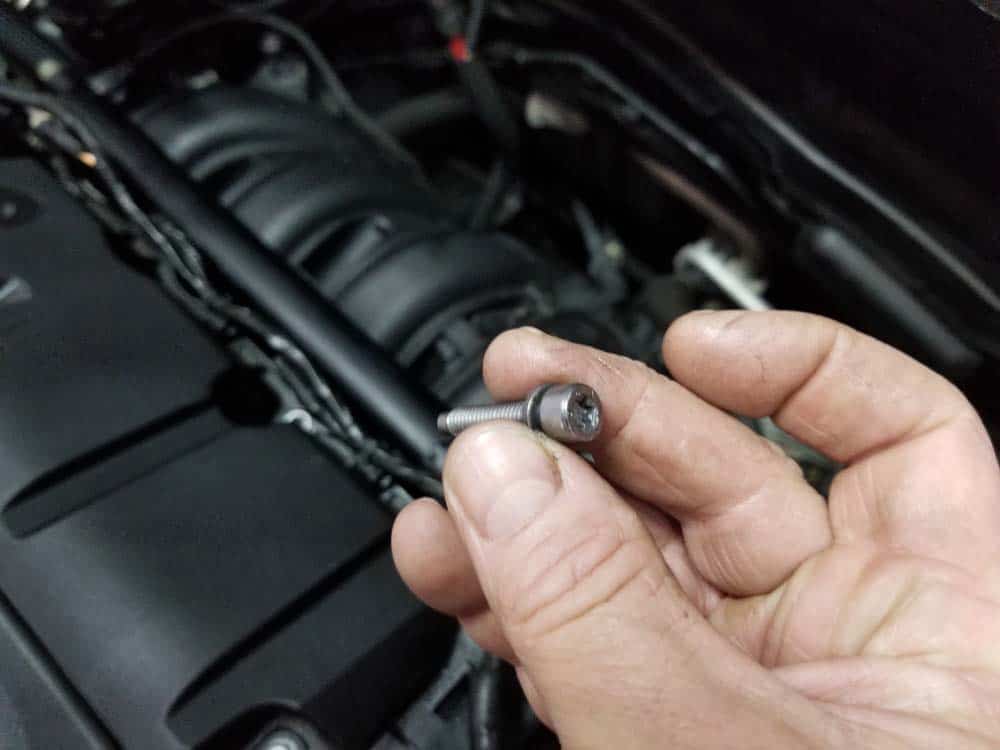
- When you have removed the two T30 mounting bolts, grasp the fuel rail with both hands and pull the injectors free from the cylinder head. You may have to gently rock it back and forth while pulling to get the injectors to release.
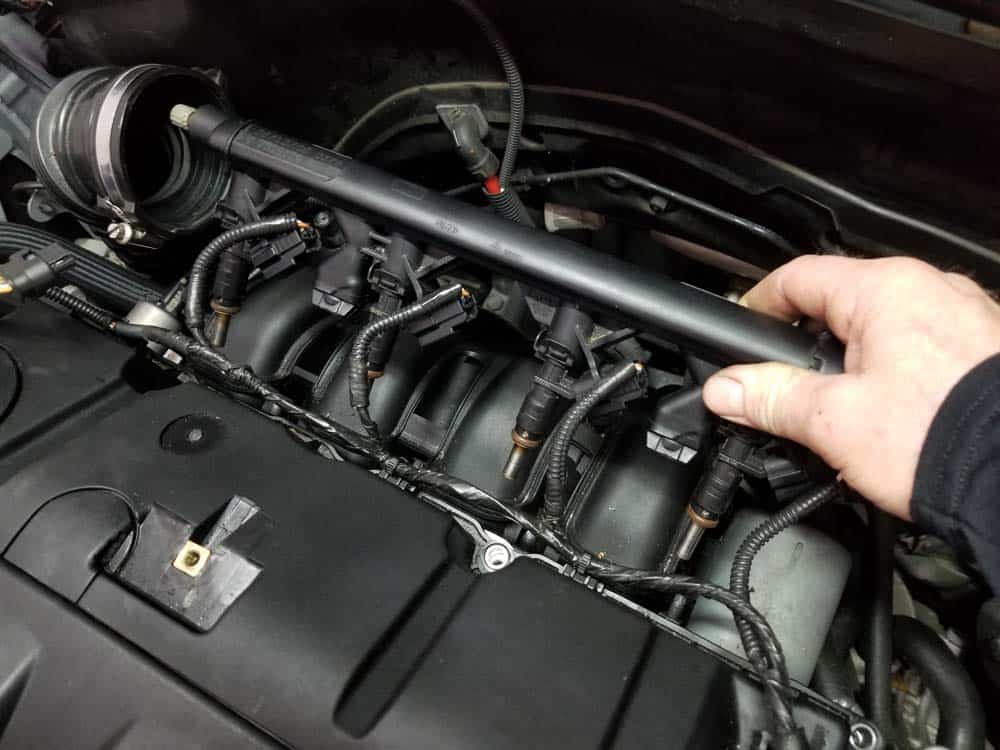
- Unclip the wiring harness from the back of the valve cover and gently lay the fuel rail and injectors safely out of the way. Now is a great time to replace your fuel injectors...it is just a couple more easy steps. If you are interested in replacing them, please read our article MINI R56 Fuel Injector Replacement – 2006-2013 Cooper.
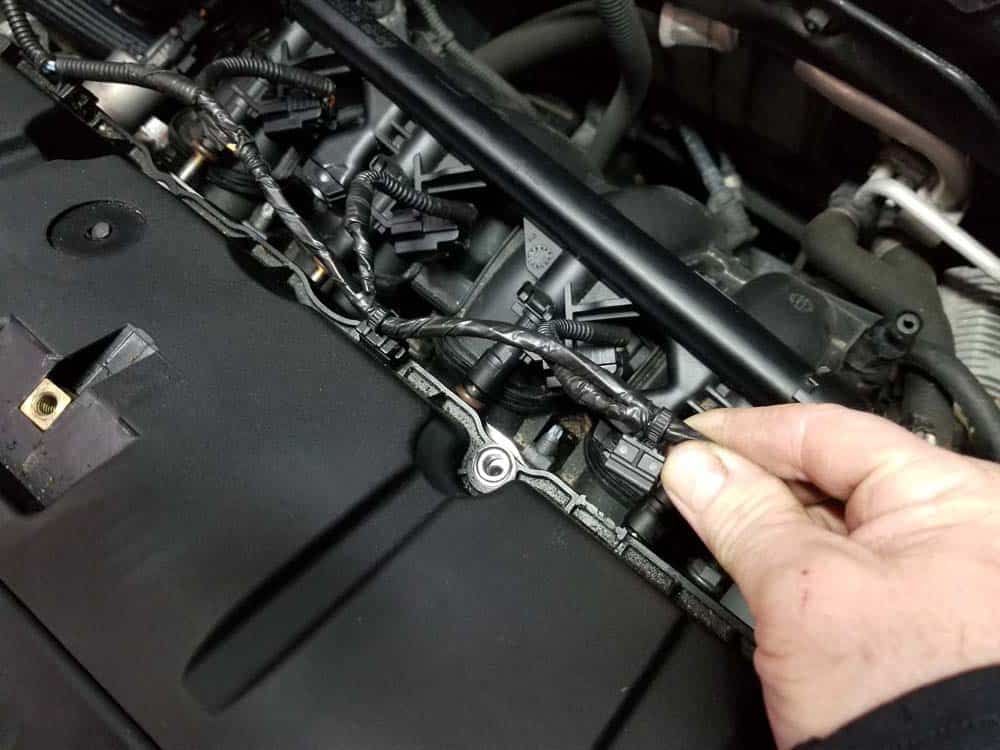
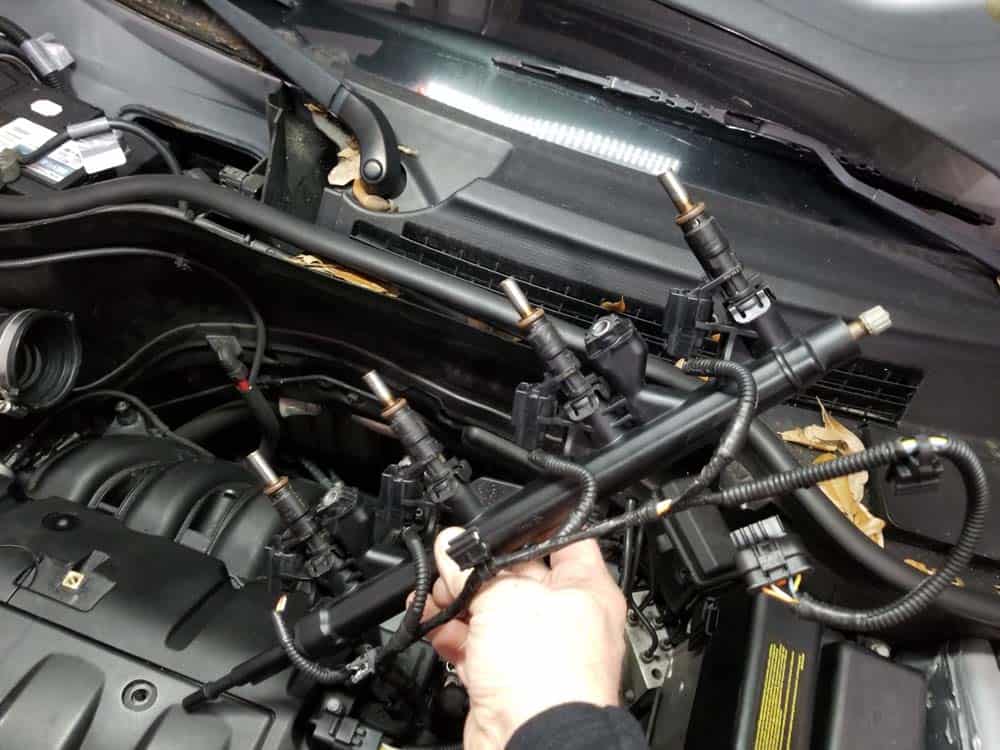
- Use a metal pick to raise the plastic lock on the intake (rear) VANOS solenoid sensor. Pull the sensor plug out of the solenoid and unclip it from the valve cover.
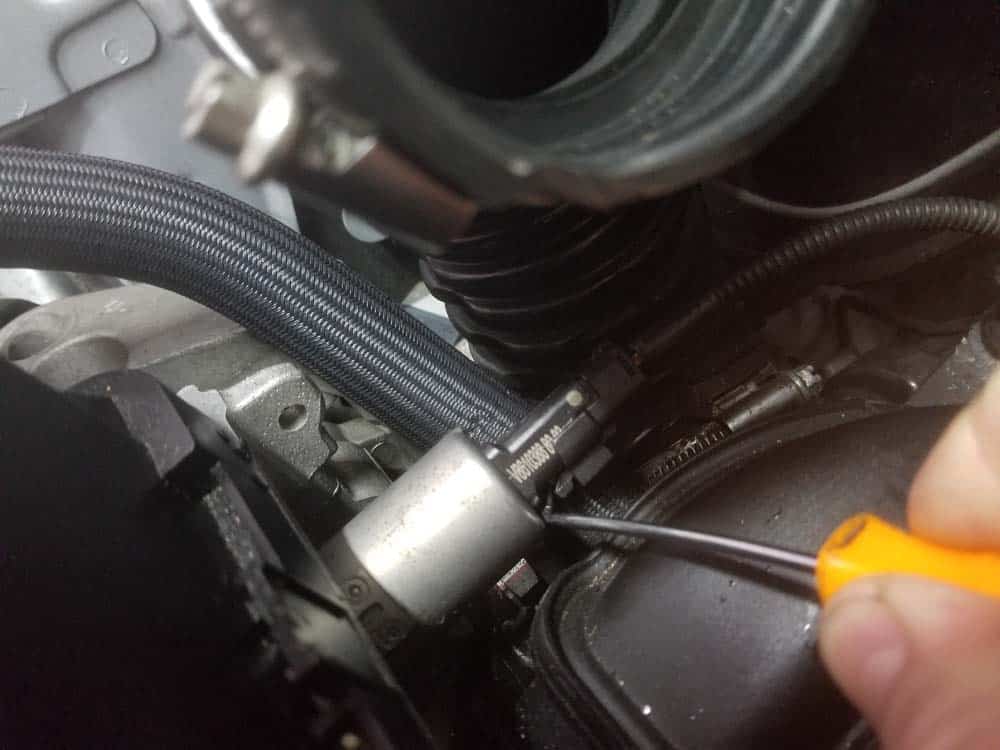
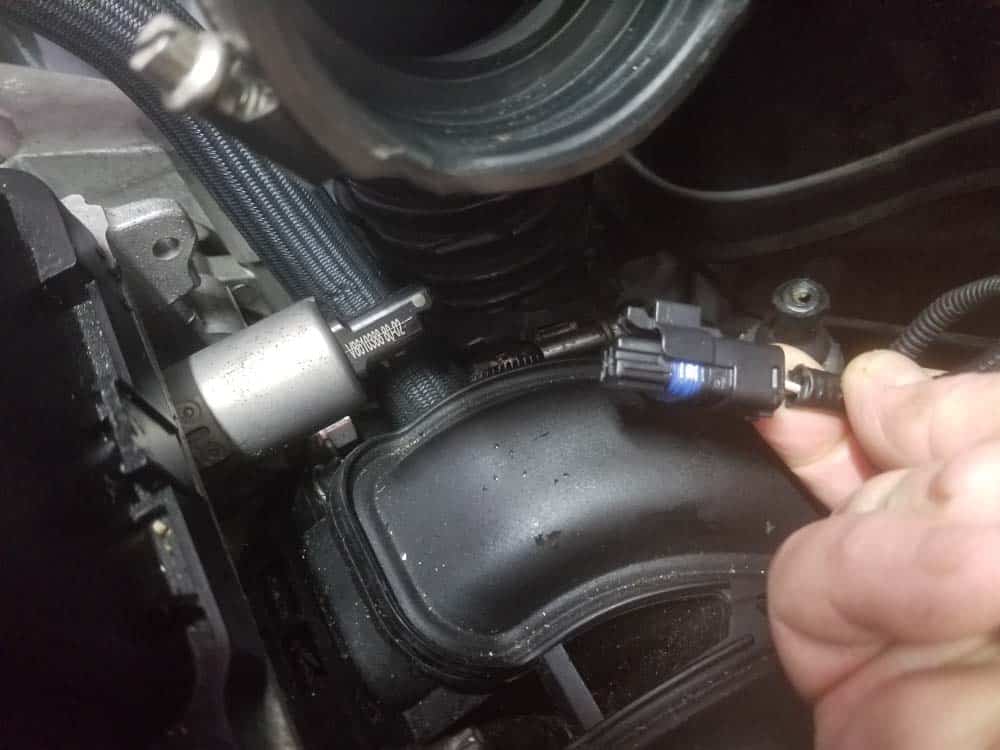
- Use a flat blade screwdriver to loosen the hose clamp on the rubber intake boot. Remove the boot from the vehicle.
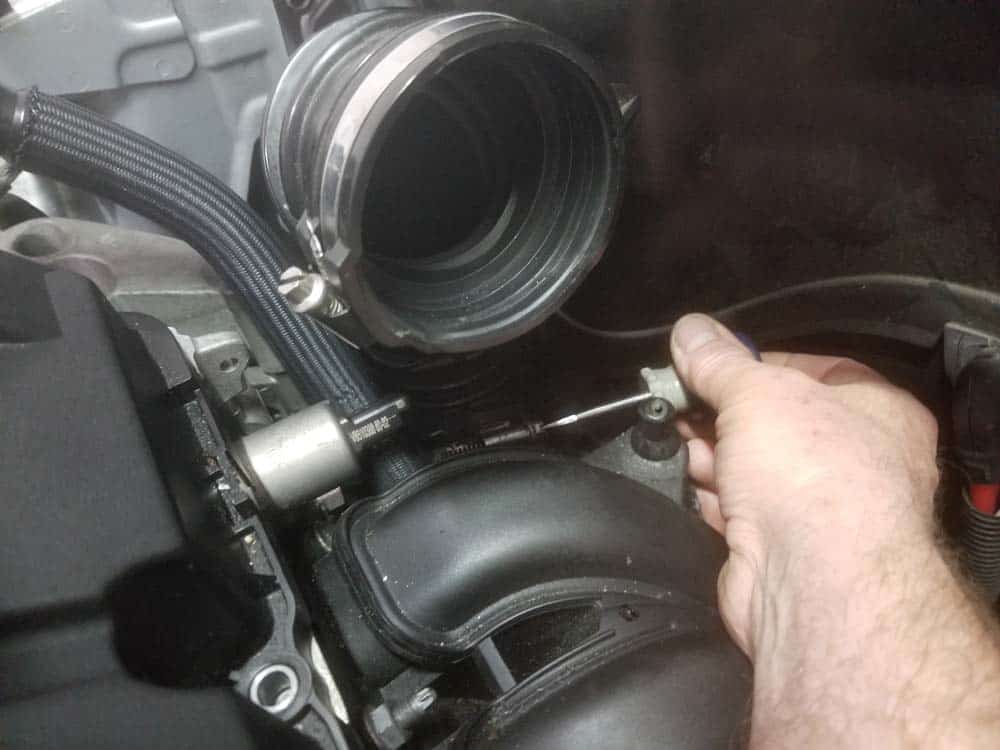
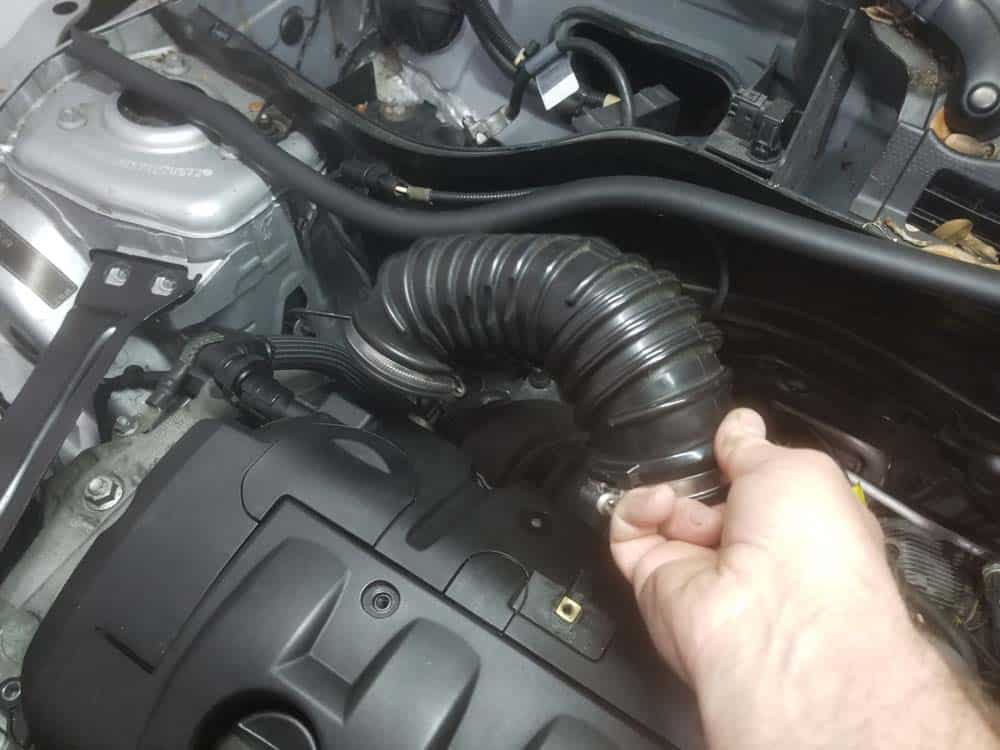
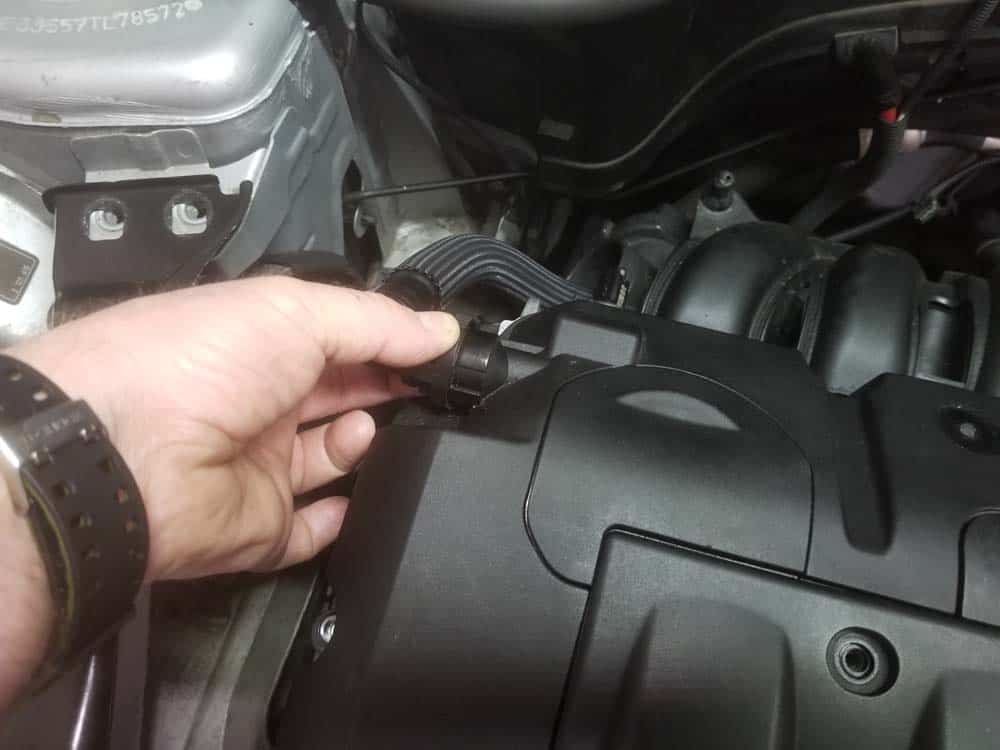
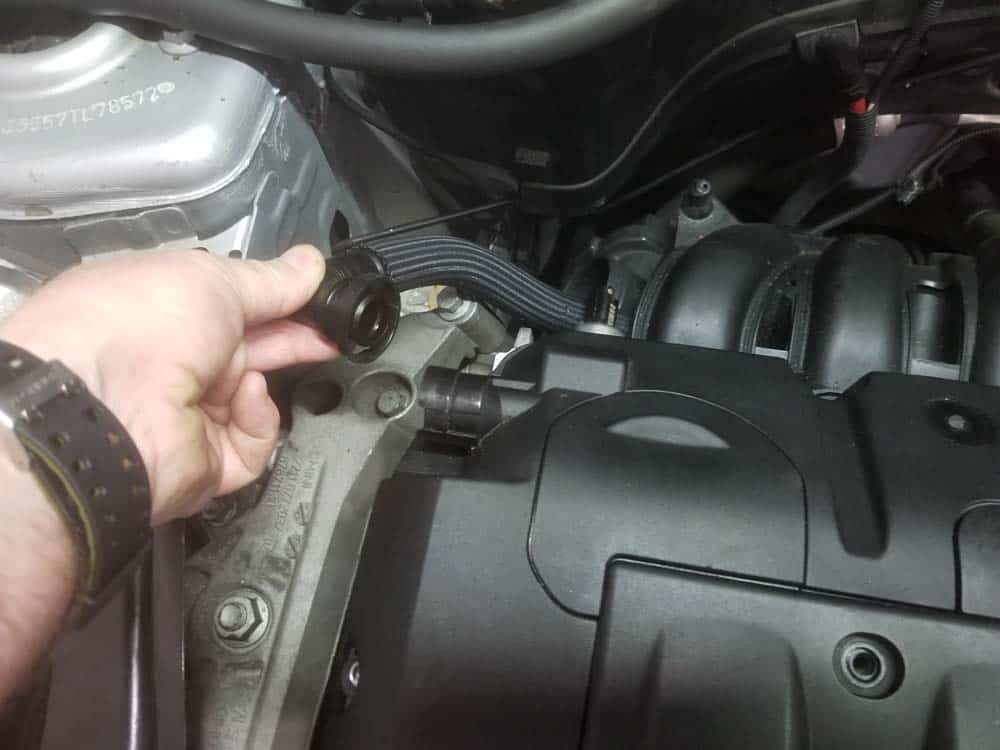
- Disconnect the crankcase breather hose from the valve cover by squeezing the plastic locking ring and pulling it free.
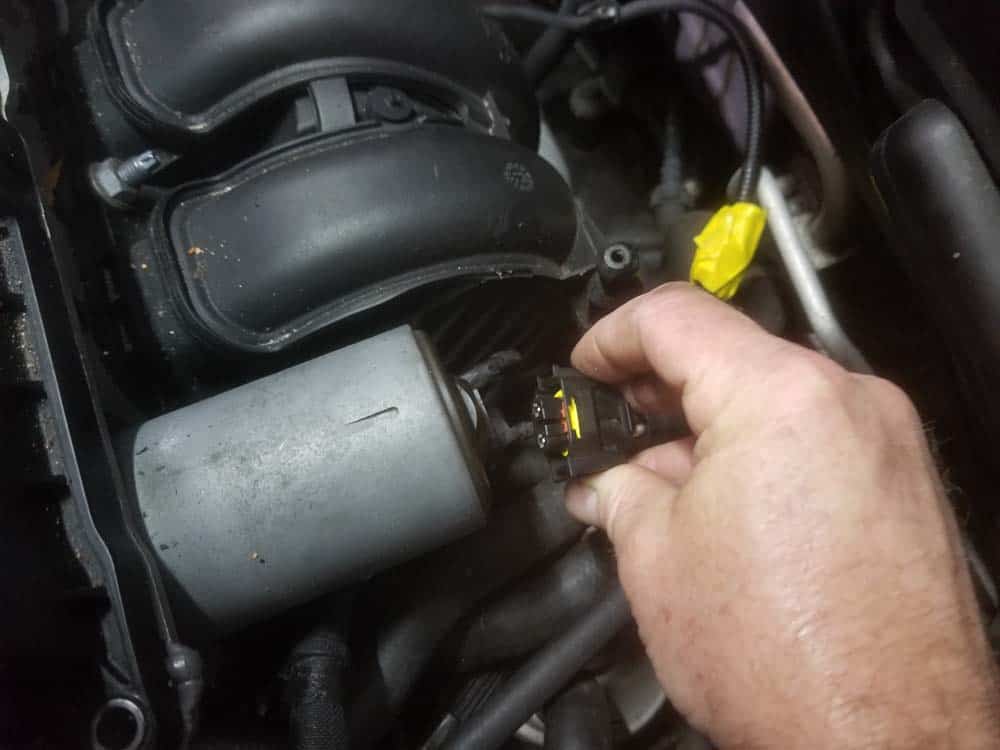
- Disconnect the Valvetronic motor sensor on the back of the engine.
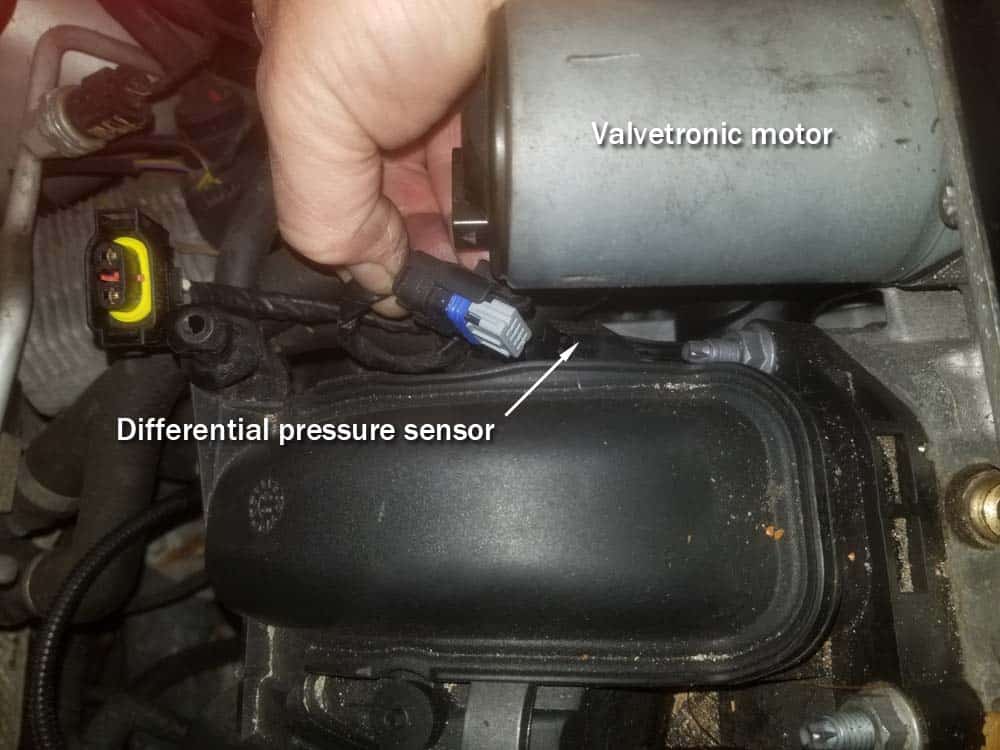
- Reaching down underneath the Valvetronic motor, use a metal pick to raise the plastic locking tab on the differential pressure sensor plug. Pull the plug free of the sensor.
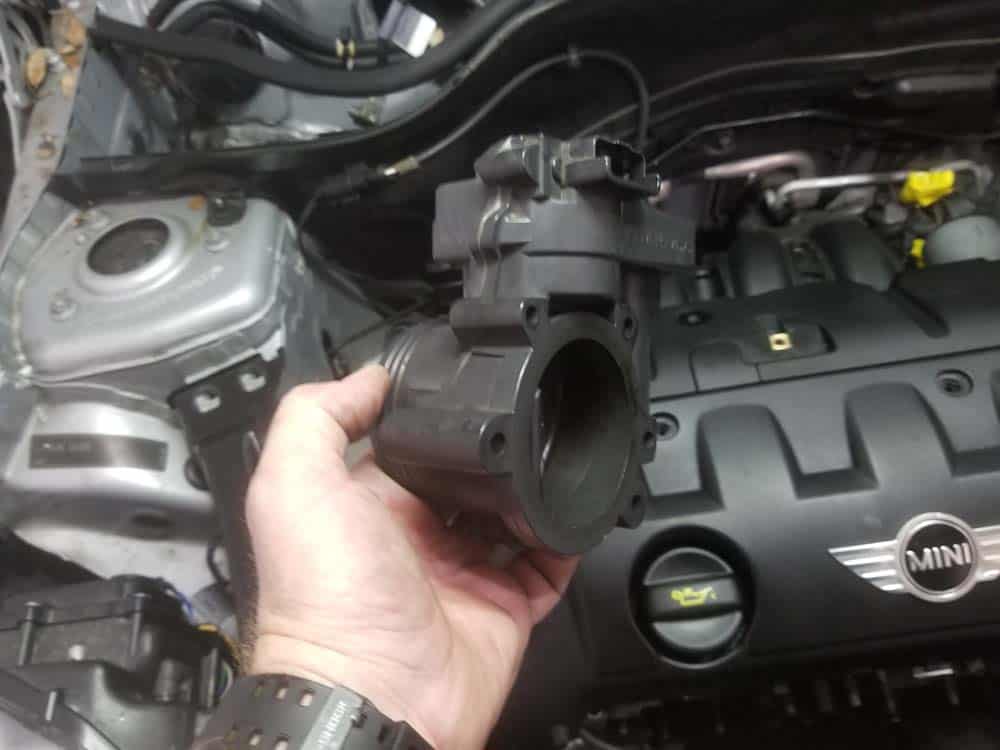
- Next, the throttle body must be removed from the intake manifold. There is unfortunately not enough clearance to remove and then properly reinstall and torque the far right manifold mounting nut with the throttle body attached. There are three torx screws anchoring the throttle body to the intake manifold. Note that one of the screws is hidden behind the throttle body opening and is difficult to find.
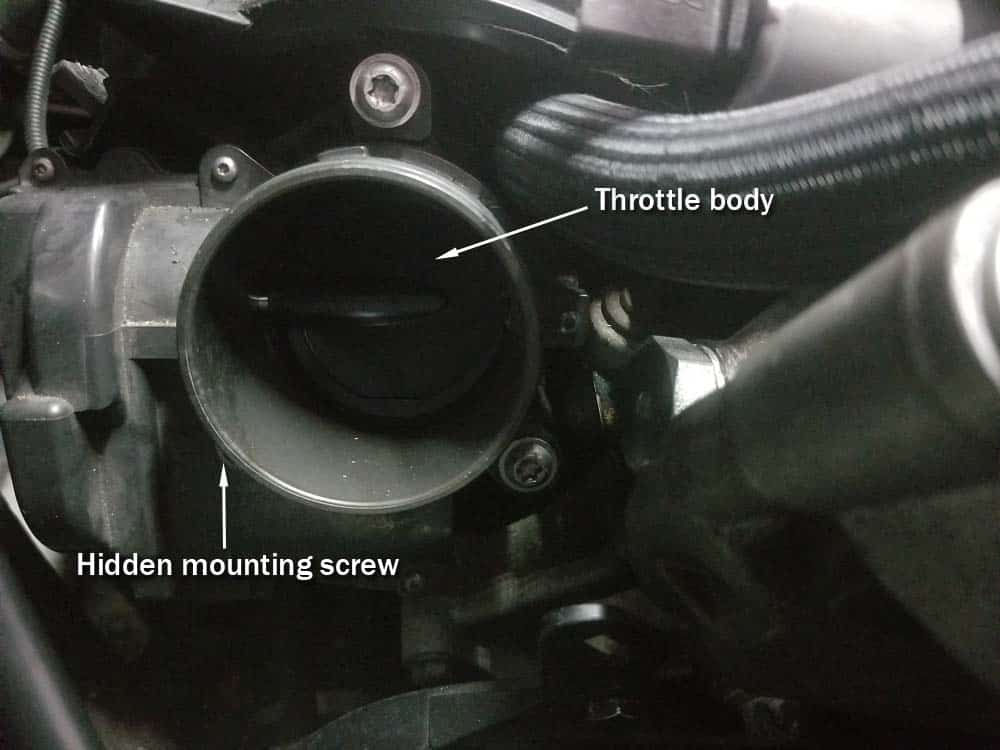
- Start by removing the 10mm bolt anchoring the plastic wiring harness bracket to the engine mount. This wiring harness bracket blocks access to the lower throttle body screw. Removing the 10mm bolt will loosen it enough so it can be pushed out of the way.
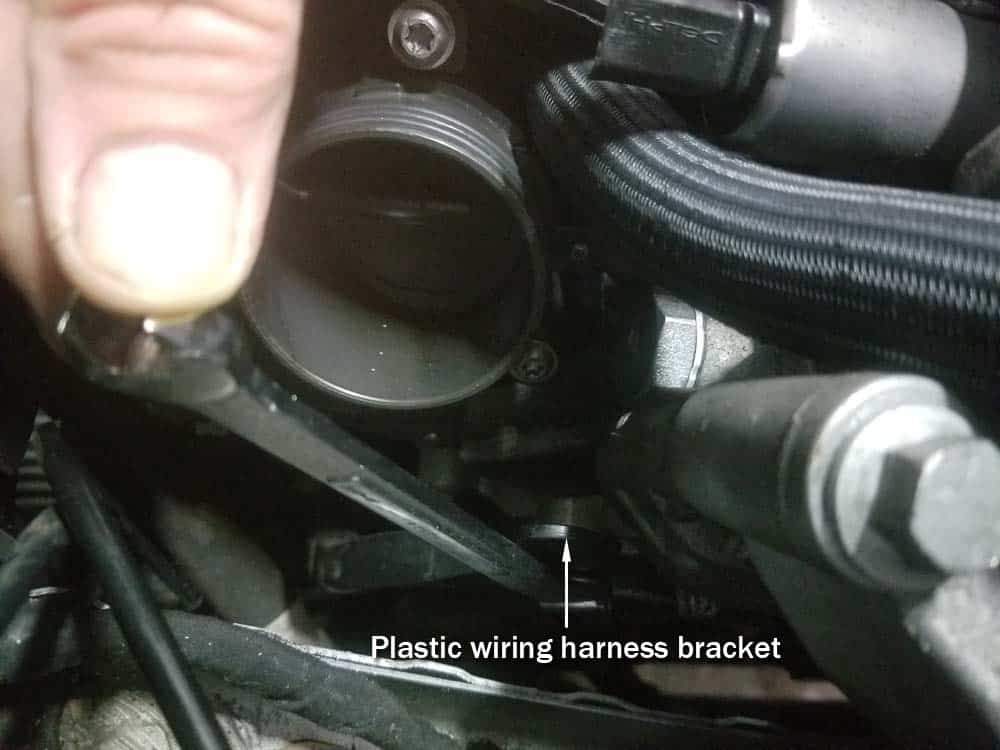
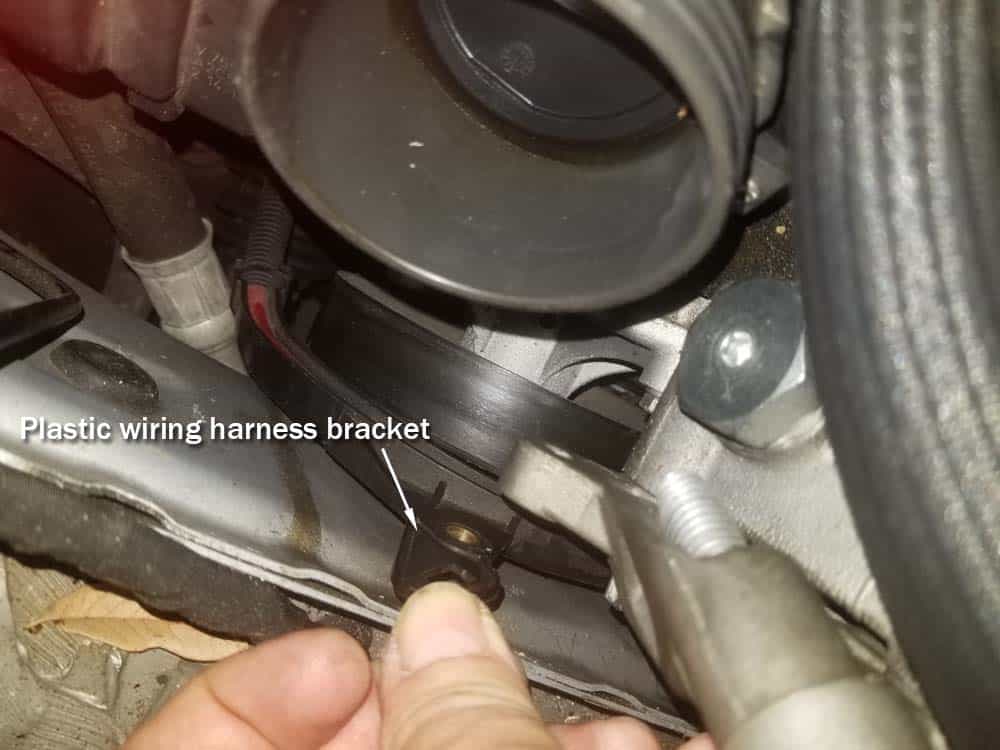
- Remove all three screws using a T30 torx bit.
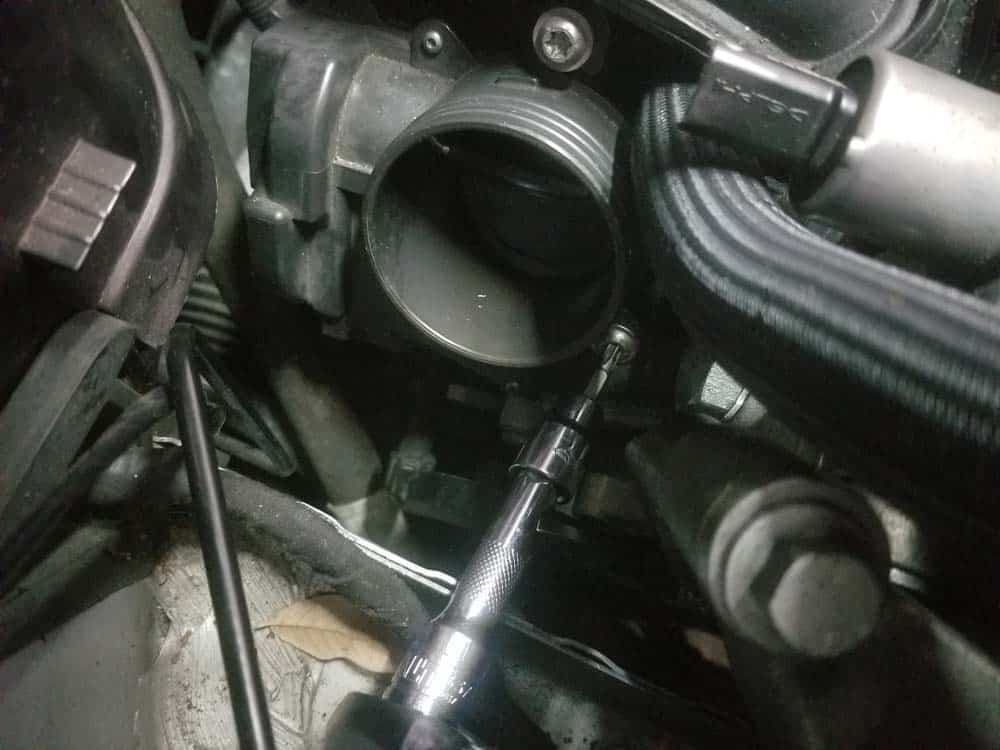
- Grasp the throttle body, pull it loose and disconnect its electrical connection. Remove the throttle body from the vehicle. You now have clear access to the intake manifold and its mounting bolts.
- There are six anchor points securing the intake manifold to the engine head; five upper mounting nuts and one lower mounting bolt (see diagram below). Many mechanics struggle, and hence get frustrated, trying to find and remove the lower bolt. To address this, we have created easy to follow instructions that will help you quickly find and remove the lower bolt with relative ease.
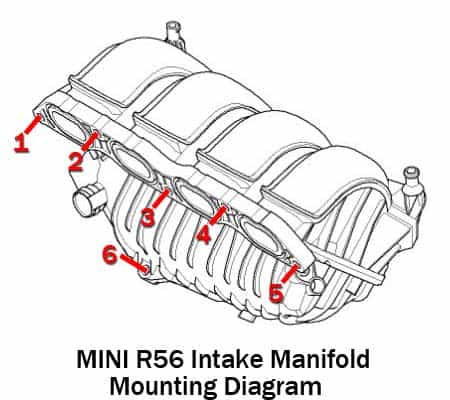
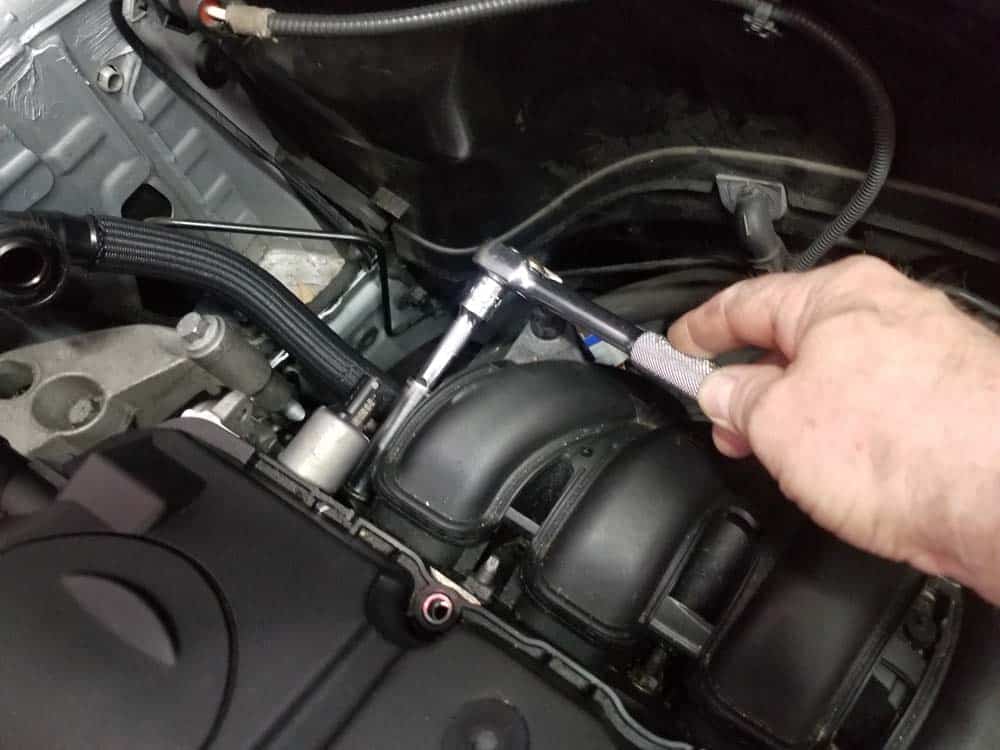
- Start with the five upper mounting nuts. Remove all them with a 13mm socket wrench.
- Next, the sixth lower mounting bolt must be removed. This is unfortunately a slightly difficult process...the bolt is tucked away at the bottom of the intake manifold behind the fuel line vent valve and is often a challenge to locate. Compounding the issue is there are other bolts in the vicinity that can make it confusing as to which one needs to be removed. If you use patience and exactly follow our steps, you will be able to successfully remove the bolt.
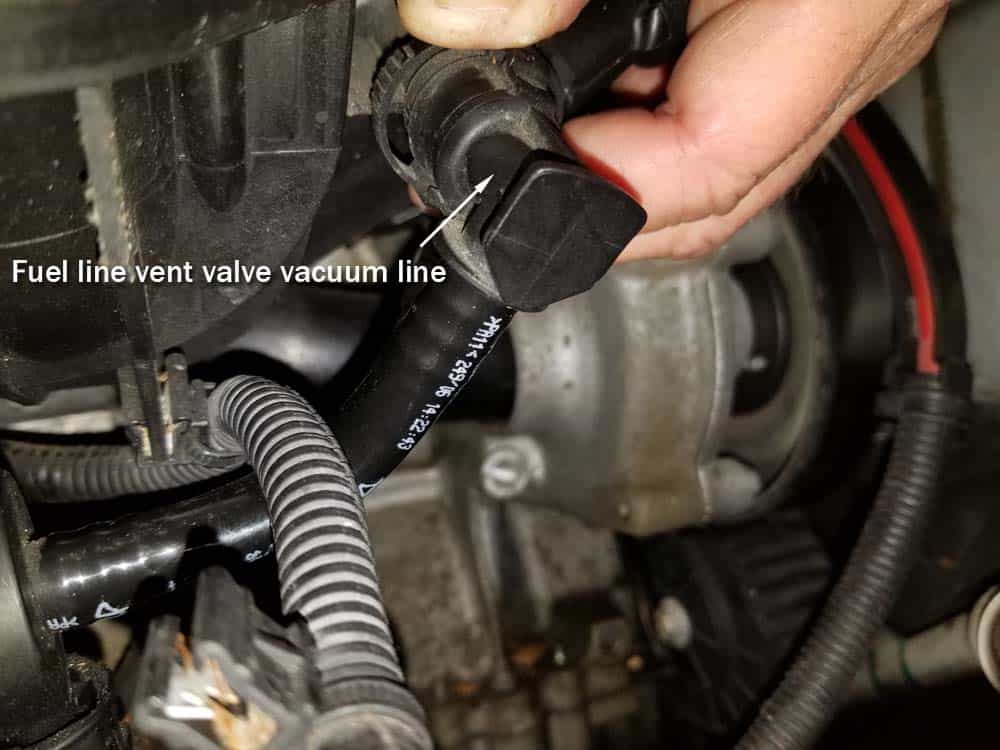
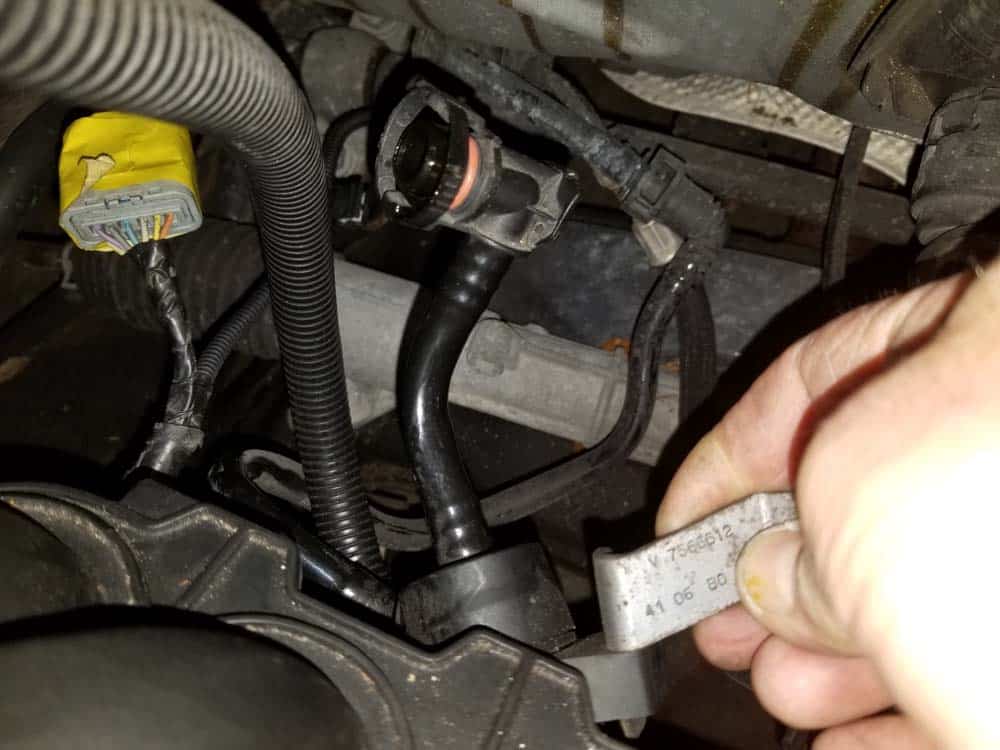
- First, the fuel line vent valve must be removed from the back of the intake manifold. The reason why the fuel line vent valve must be removed is because the lower intake manifold mounting bolt is hidden behind it. Use an inspection mirror and the following images to locate the fuel line vent valve mounting bracket and the bolt anchoring it to the back of the intake manifold.
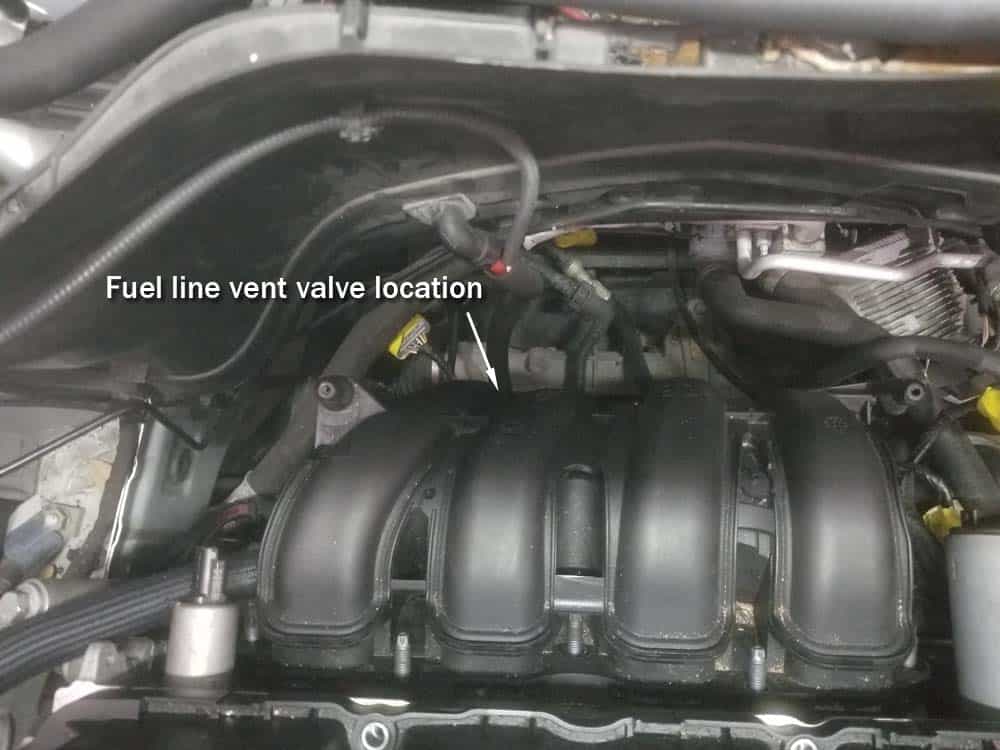
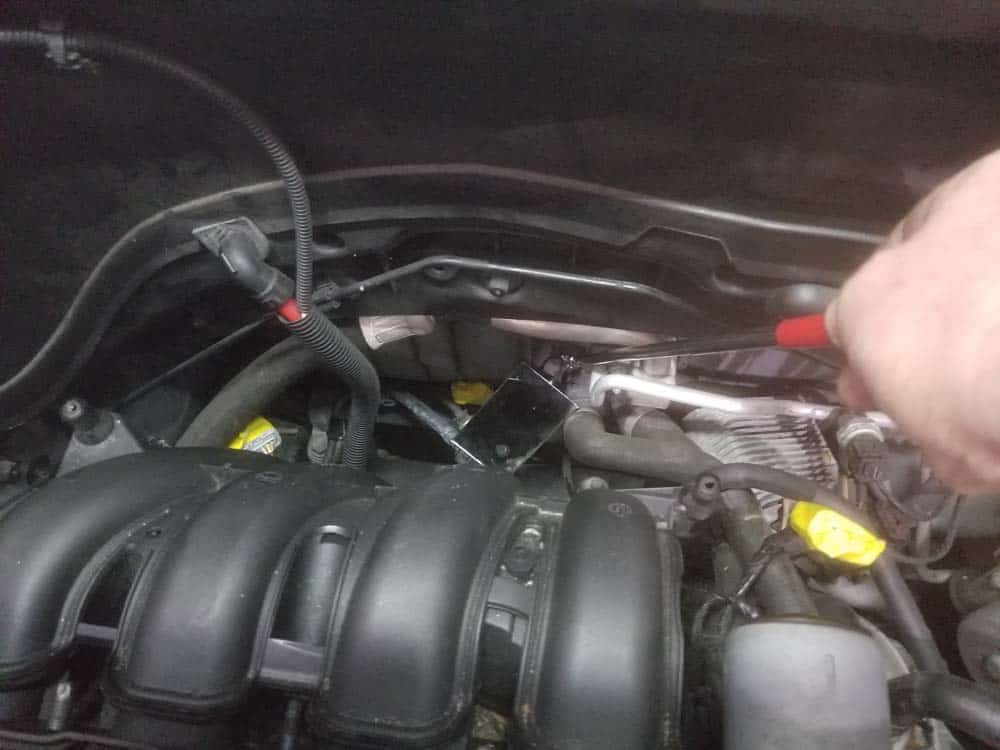
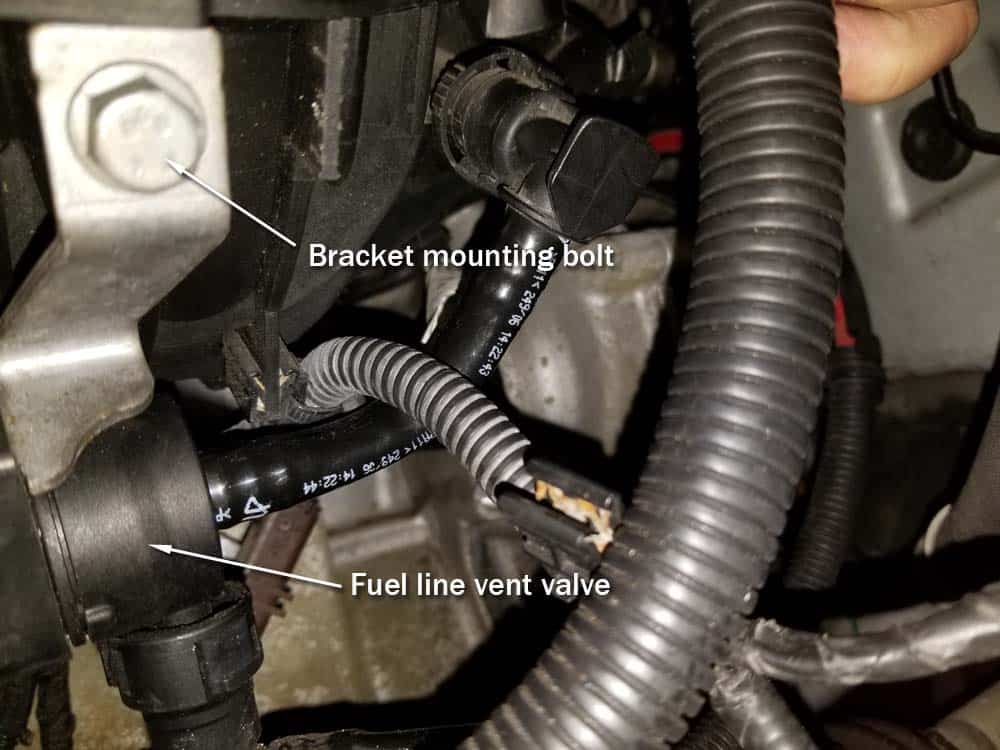
- Use a 10mm socket wrench to remove the fuel line vent valve bracket bolt.
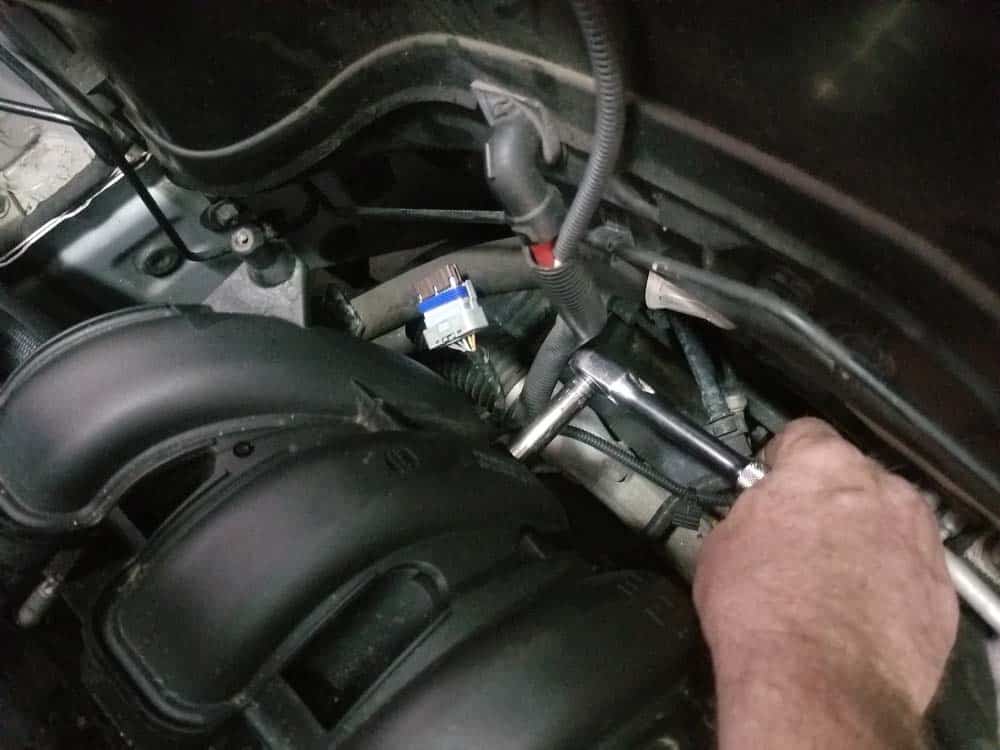
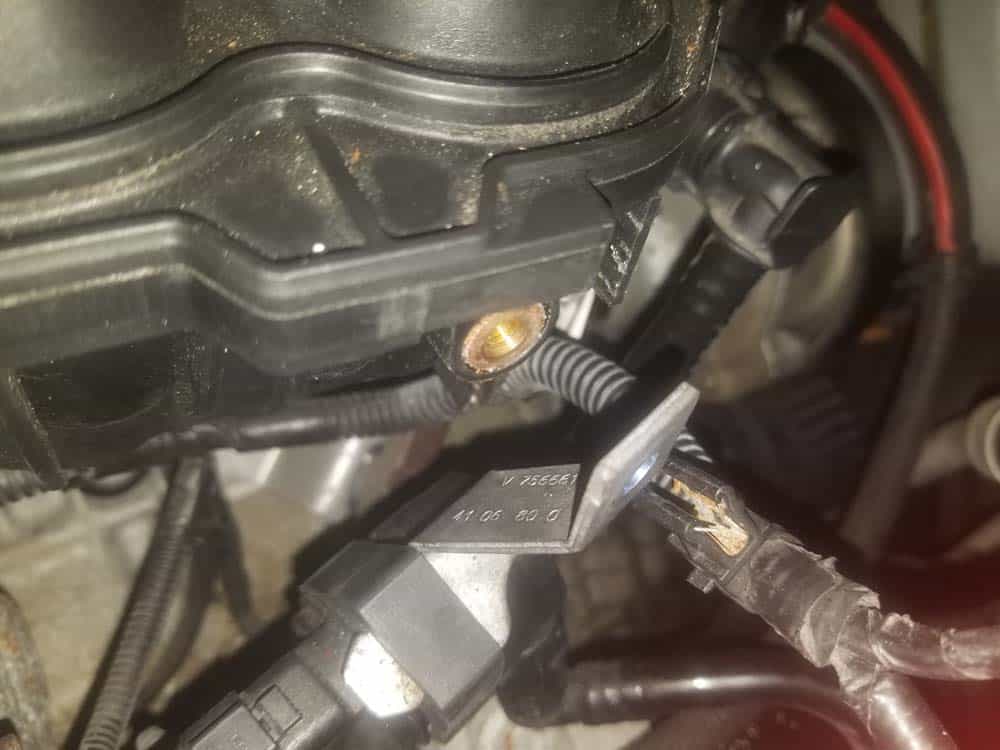
- Squeeze the plastic connector on the vent valve vacuum line where it connects to the intake manifold. Disconnect the vacuum line from the intake manifold and carefully stow out of the way.
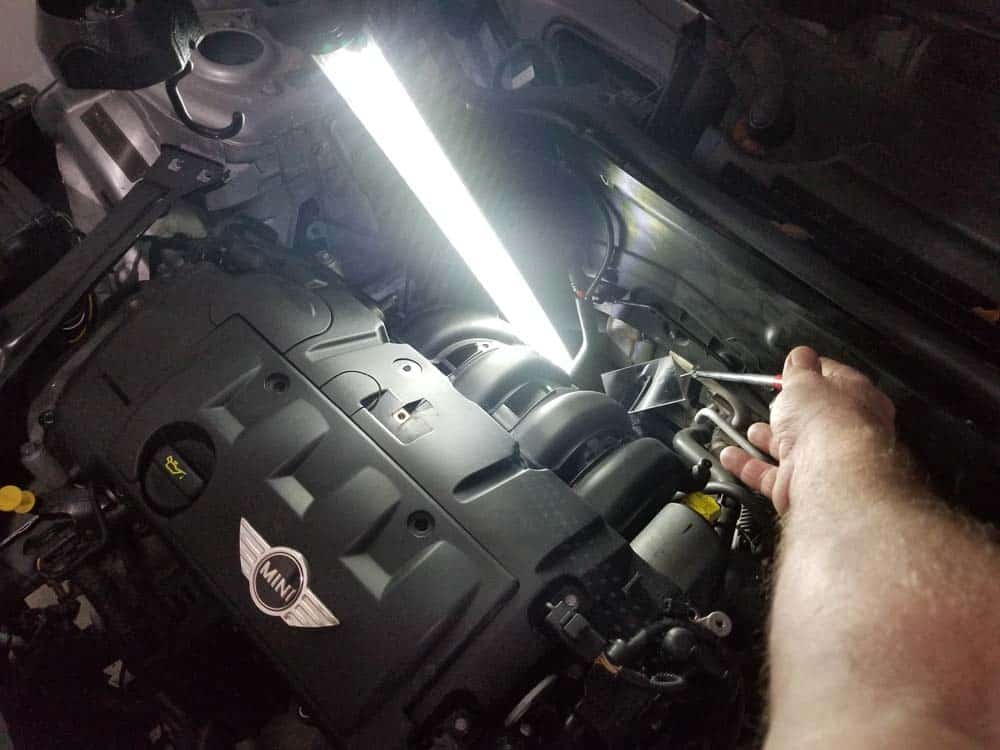
- You now have clear access to the lower intake manifold mounting bolt. Use an inspection mirror to locate it...it is located slightly to the right of the intake's centerline at the very bottom. We like to put an automotive work light behind the engine to help find it (see images below).
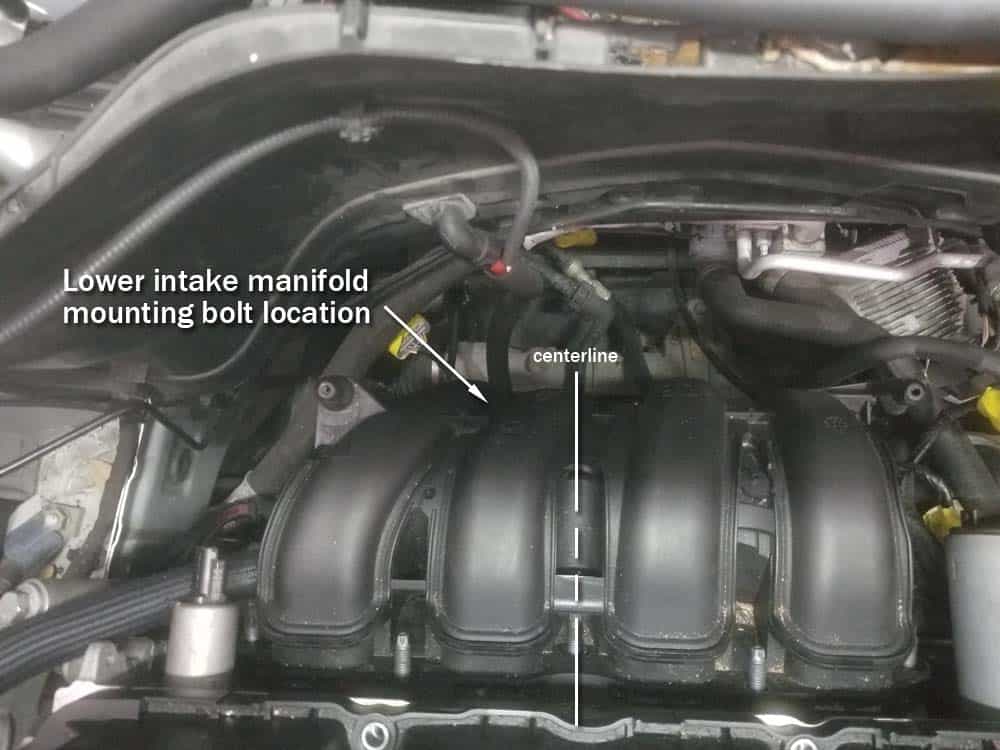
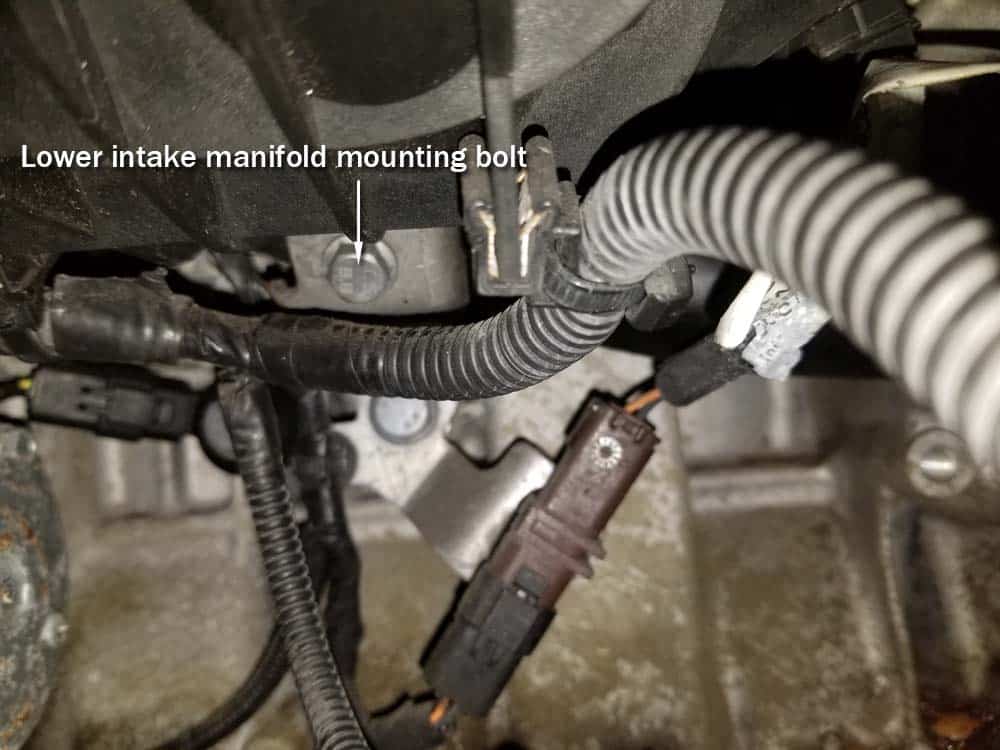
- Use a 9mm socket wrench to remove the lower intake manifold mounting bolt.
- The intake manifold is now free. Gently push it backwards off of the cylinder head exposing the gaskets.
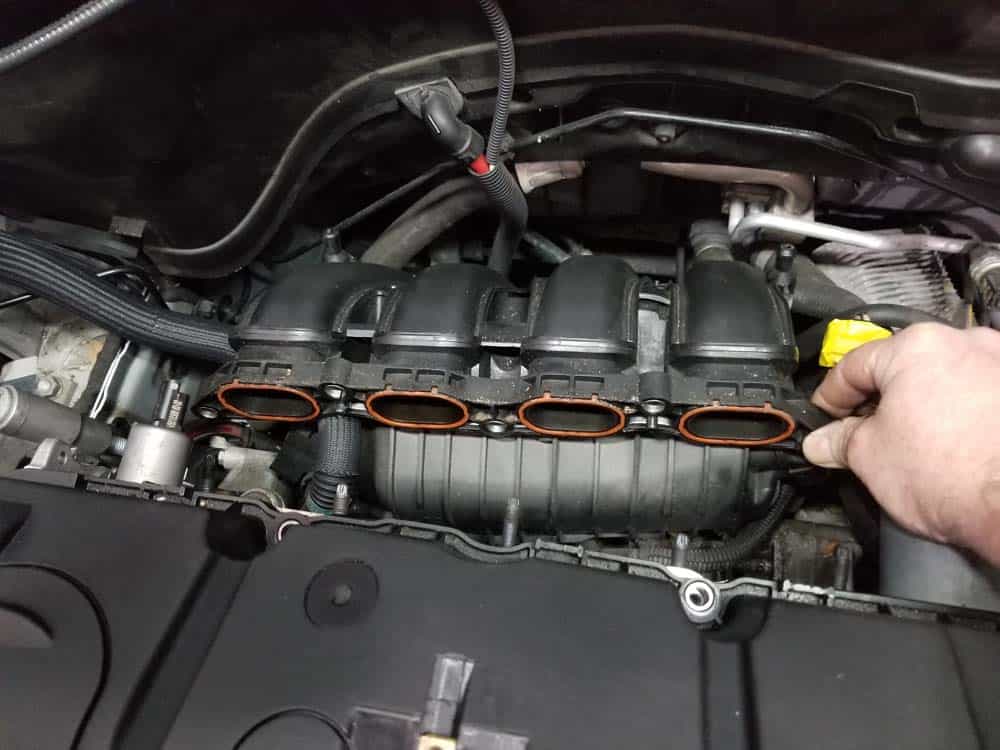
Section 2 - Removing the Thermostat
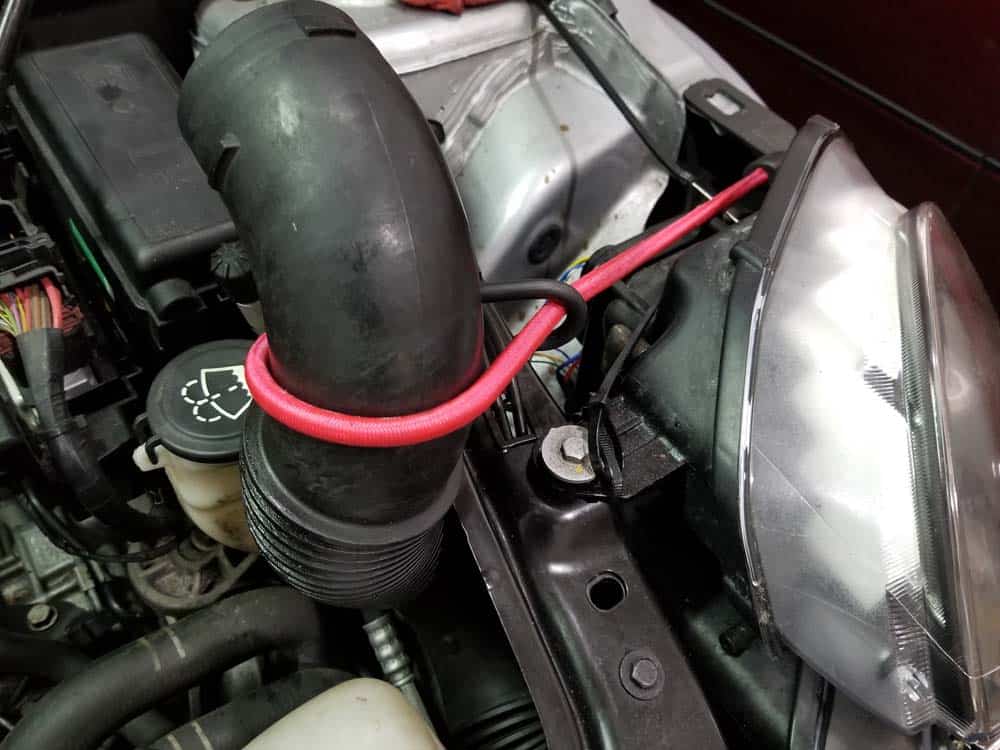
As discussed at the beginning of this article, the thermostat must now be removed in order to finish removing the water pipe. The reason is that the left side of the water pipe is connected to a thermostat coolant inlet...there is, unfortunately, no way to separate and remove the water pipe while the thermostat is still mounted to the engine.- It is very difficult to remove the intake manifold tube from the front bumper. We strongly suggest just bungee cording it out of the way instead of attempting to remove it.
- Next, the engine wiring harness will need to be cleared out so the thermostat can be accessed. Start by disconnecting the intake and exhaust camshaft sensors on the left side of the valve cover.
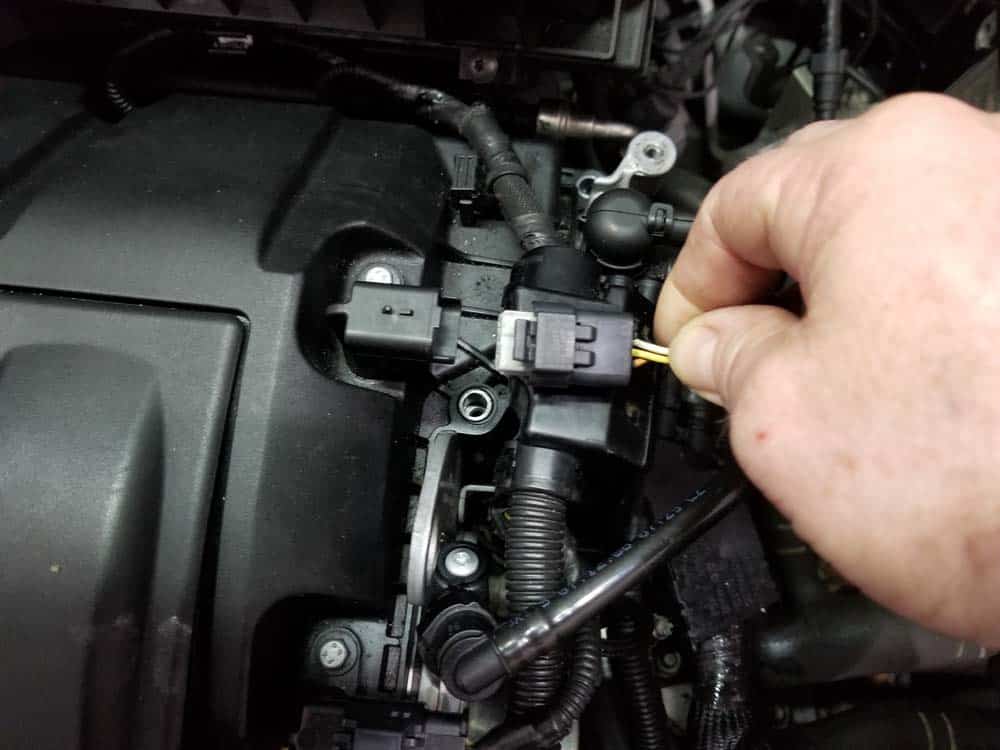
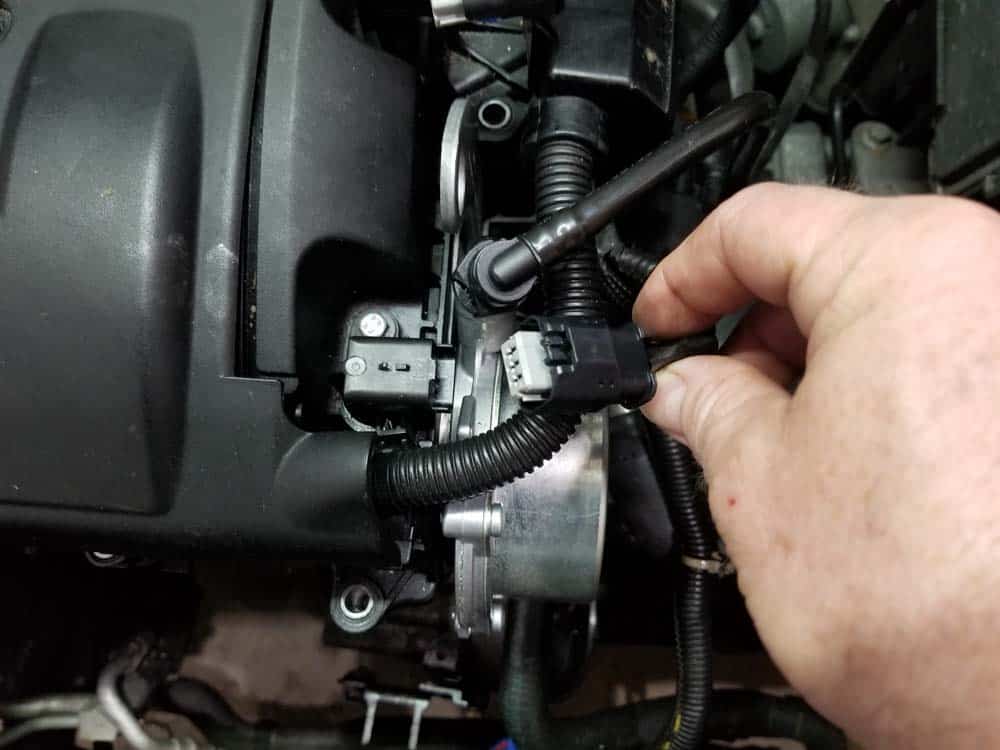
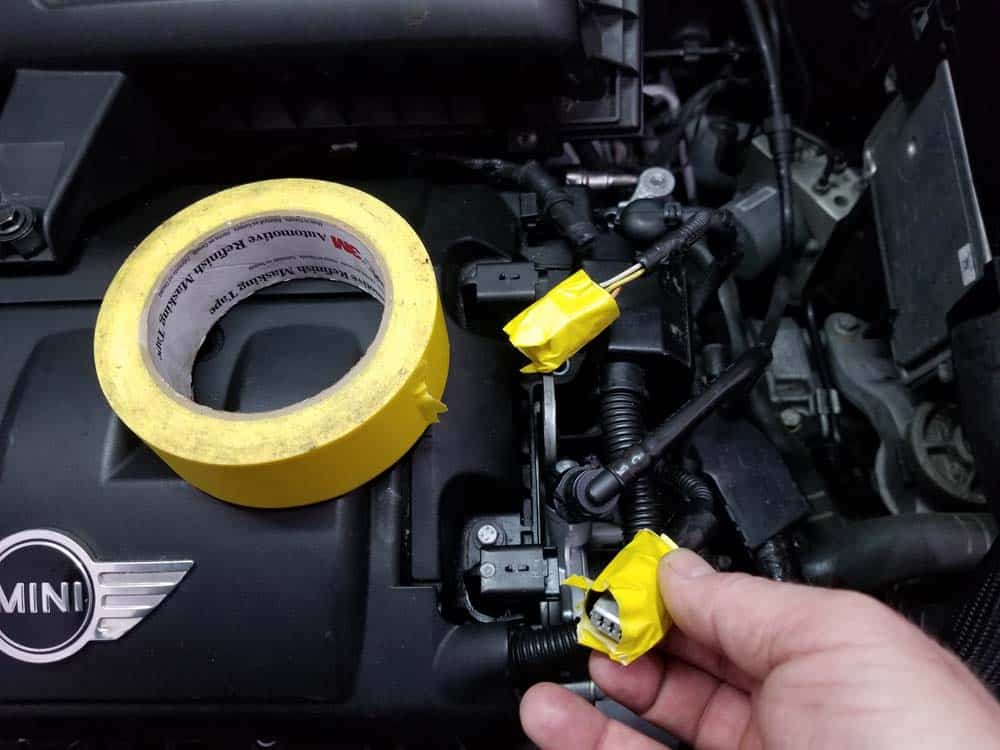
- We highly recommend marking all of your connections with high visibility tape to aid during reassembly.
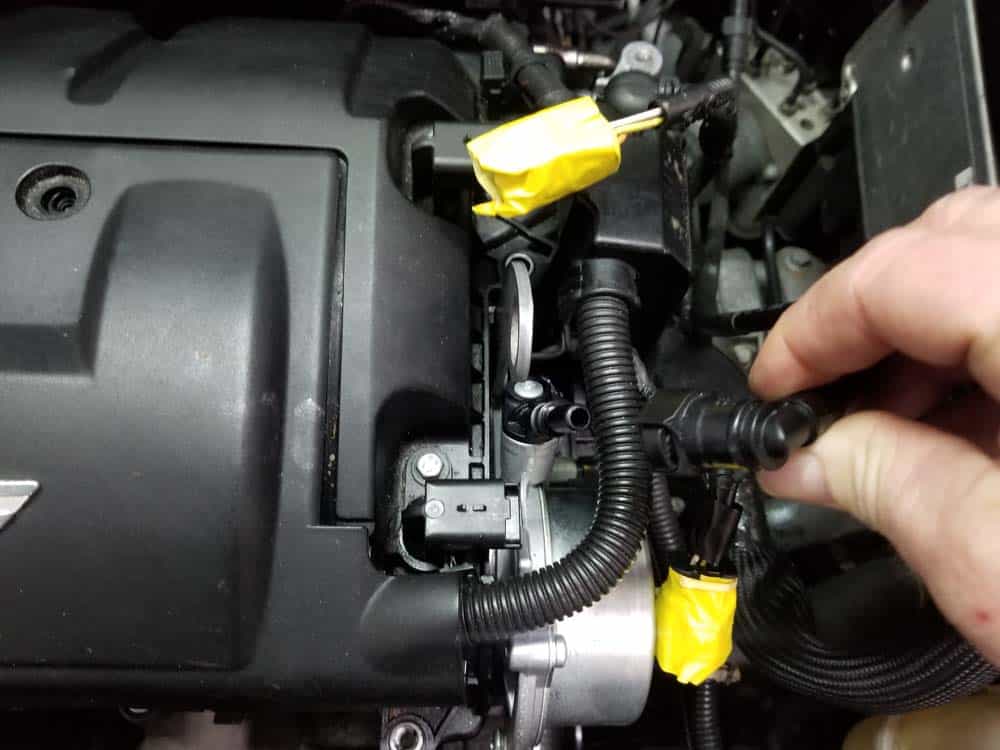
- Remove the vacuum hose from the vacuum pump by squeezing its connection and pulling it free.
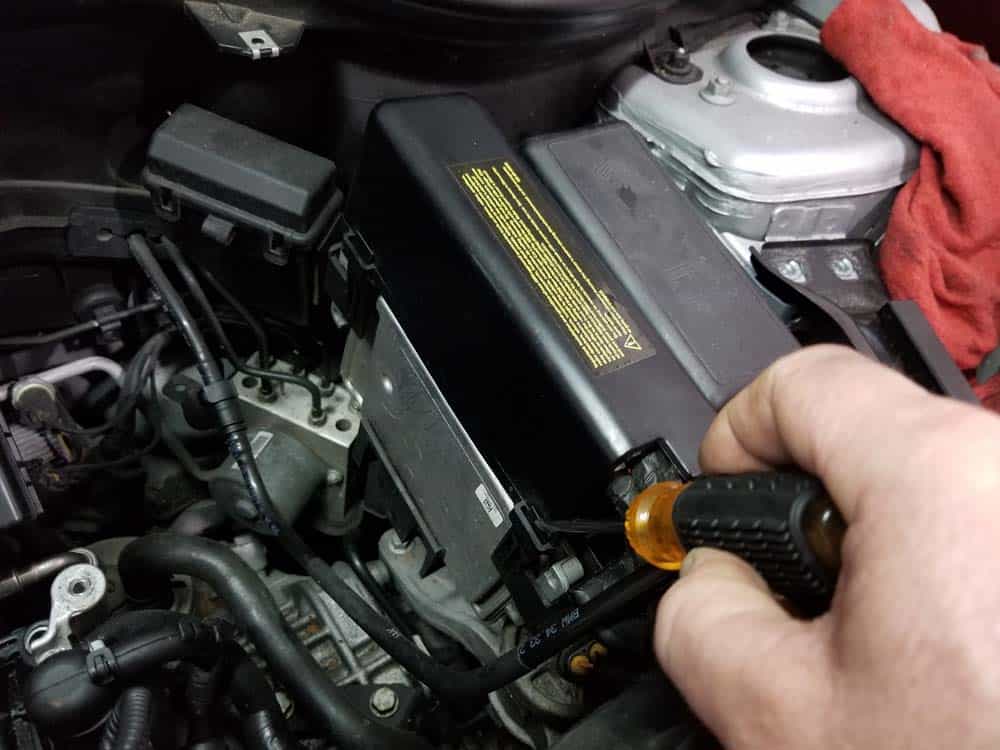
- With the aid of a flat blade screwdriver, remove the protective cover off of the DME control box.
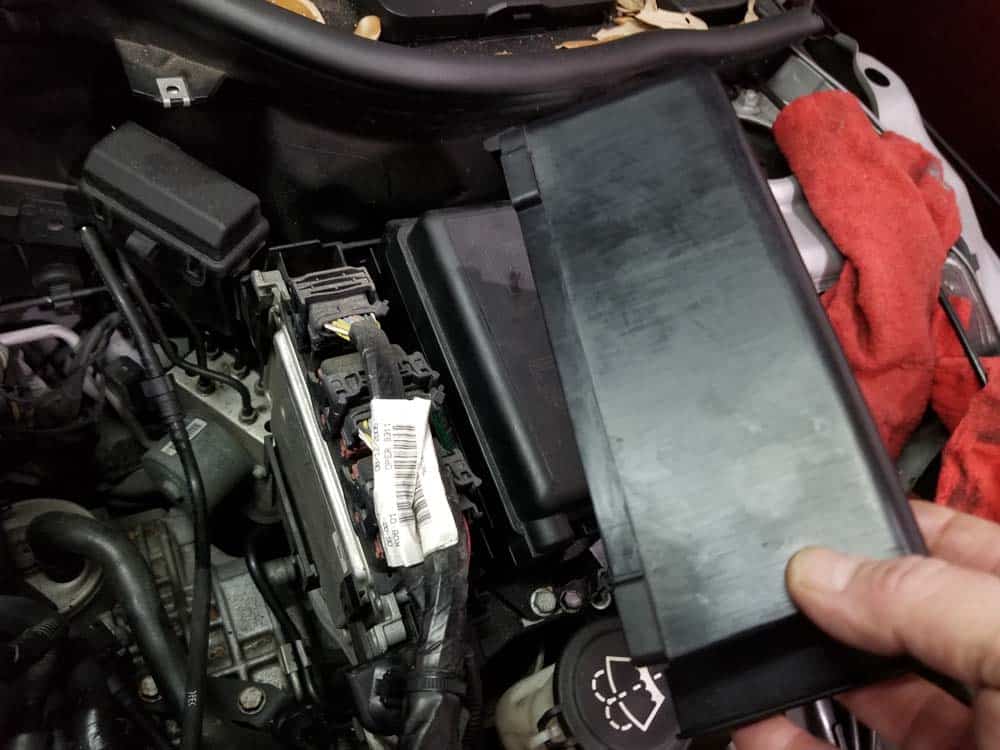
- Remove the first two plugs from the DME by depressing the plastic lock tabs and pulling up the releases.
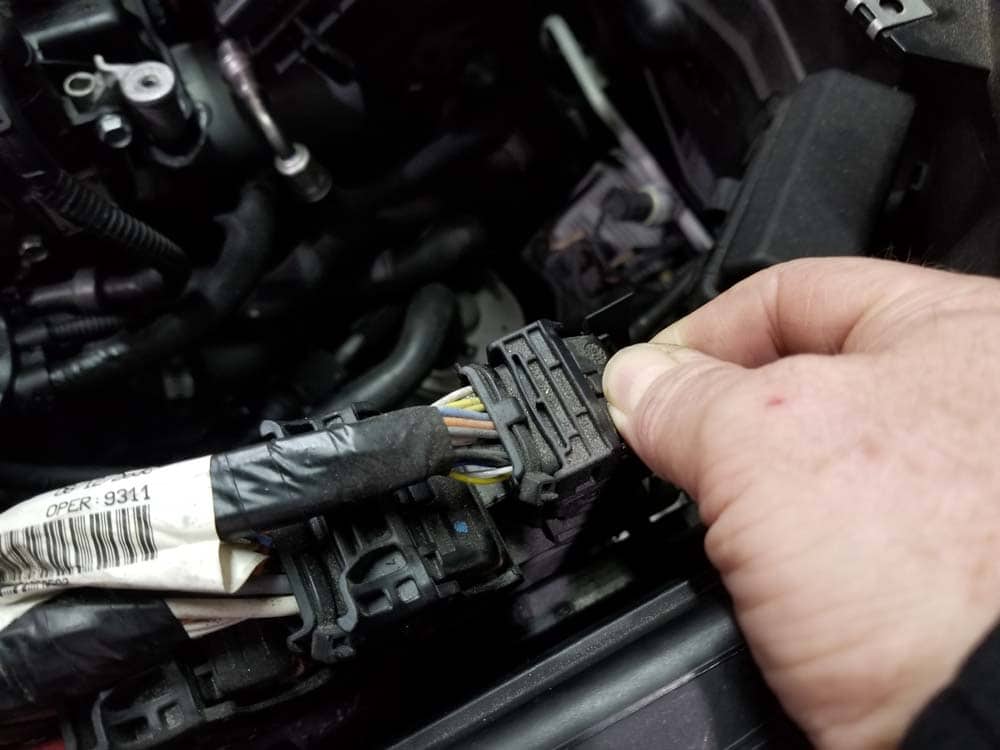
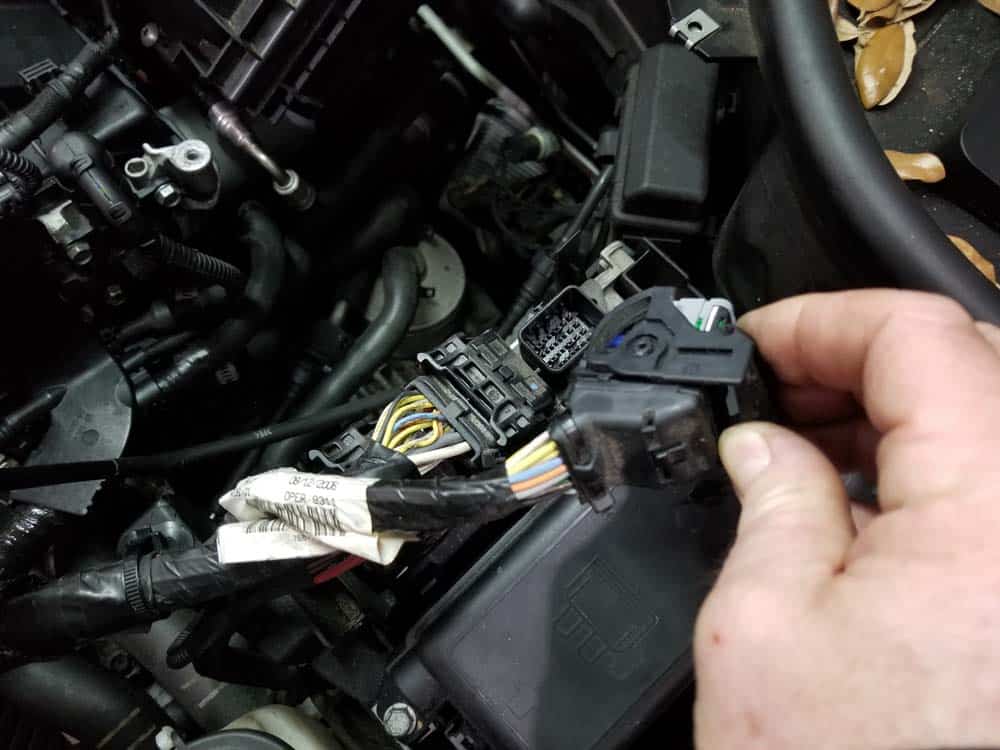
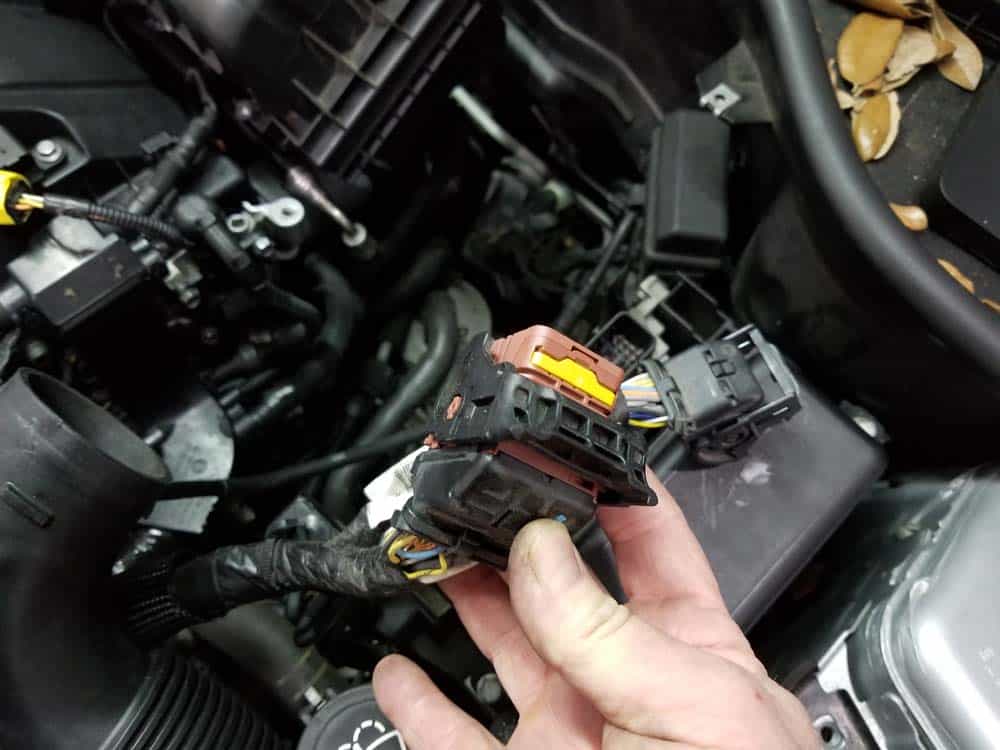
- Pull the wiring harness’ plastic anchor free from the DME bracket.
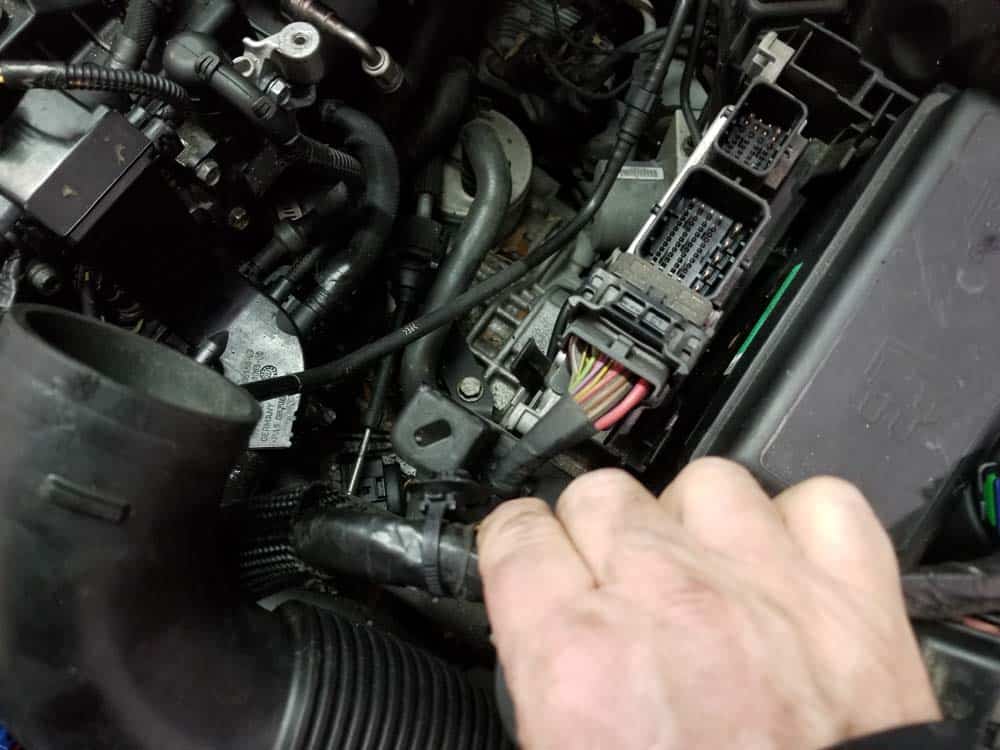
- Disconnect the lower lead on the wiring harness.
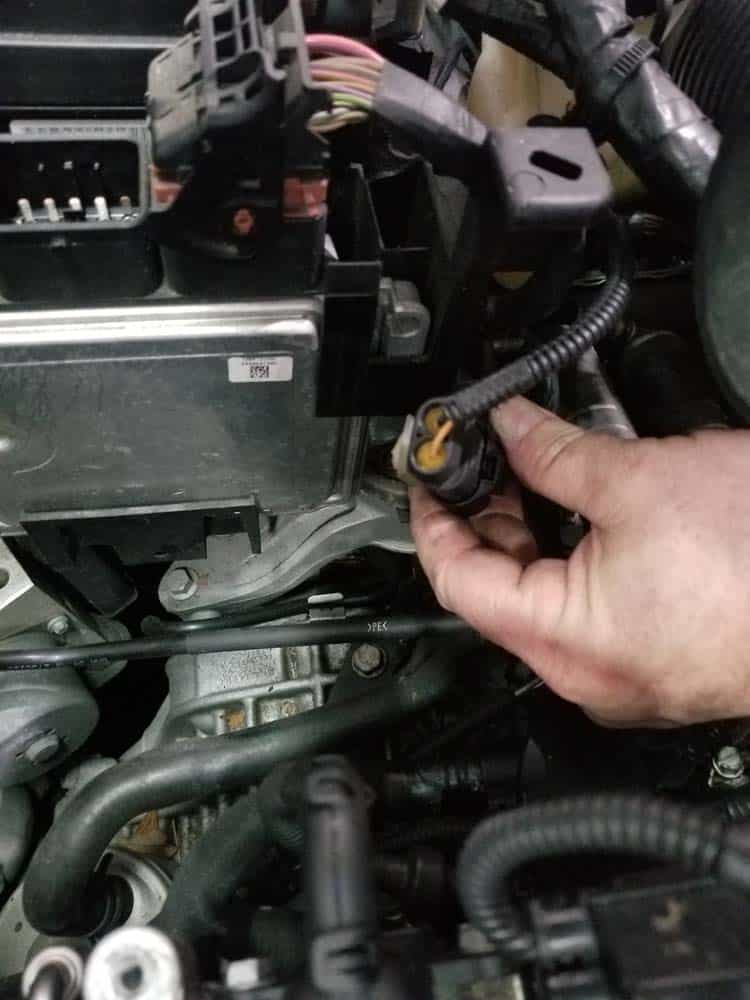
- Next, grab the wiring harness and pull it up and off of the thermostat. The wiring harness has two plastic tabs on the bottom that fit into two holes in the plastic thermostat housing.
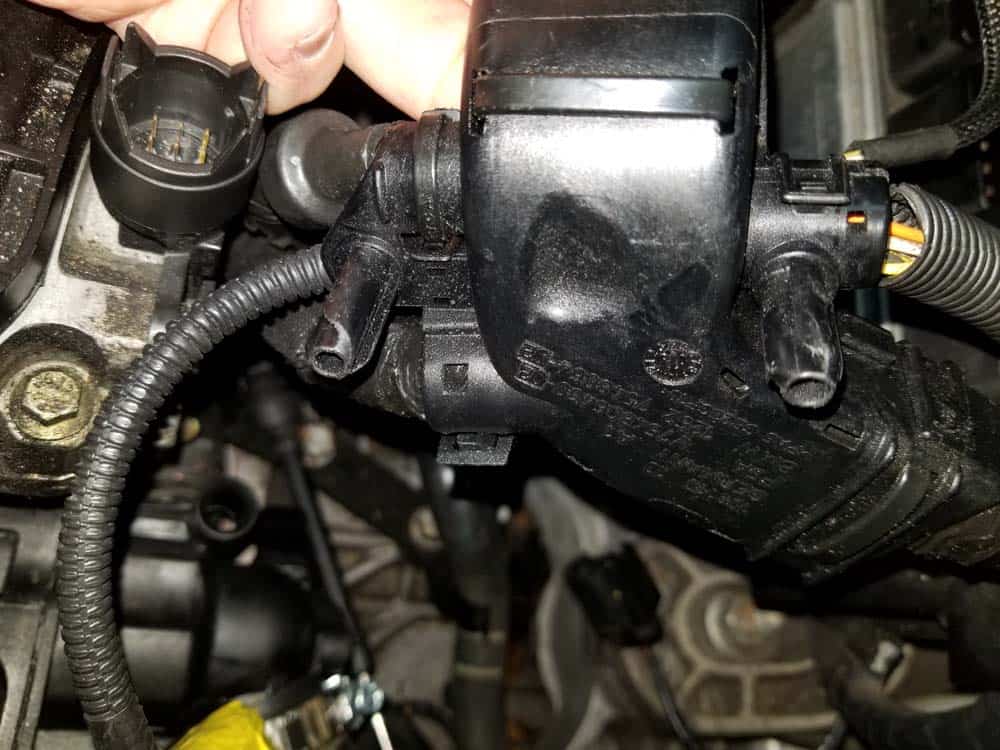
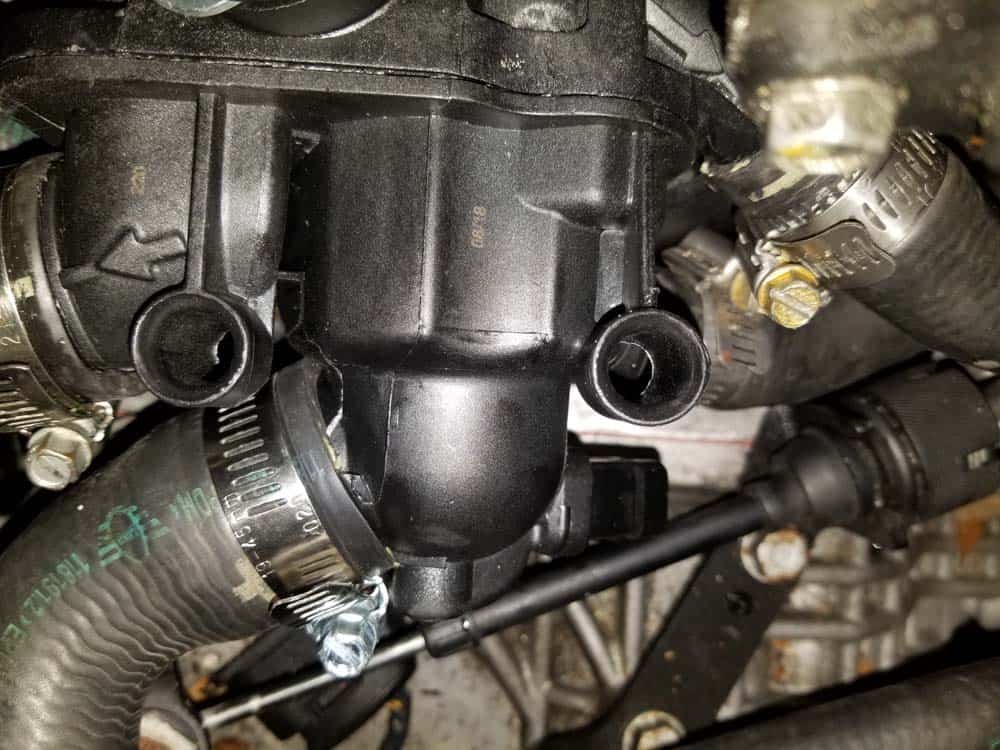
- Disconnect the oil pressure switch from the left side of the engine.
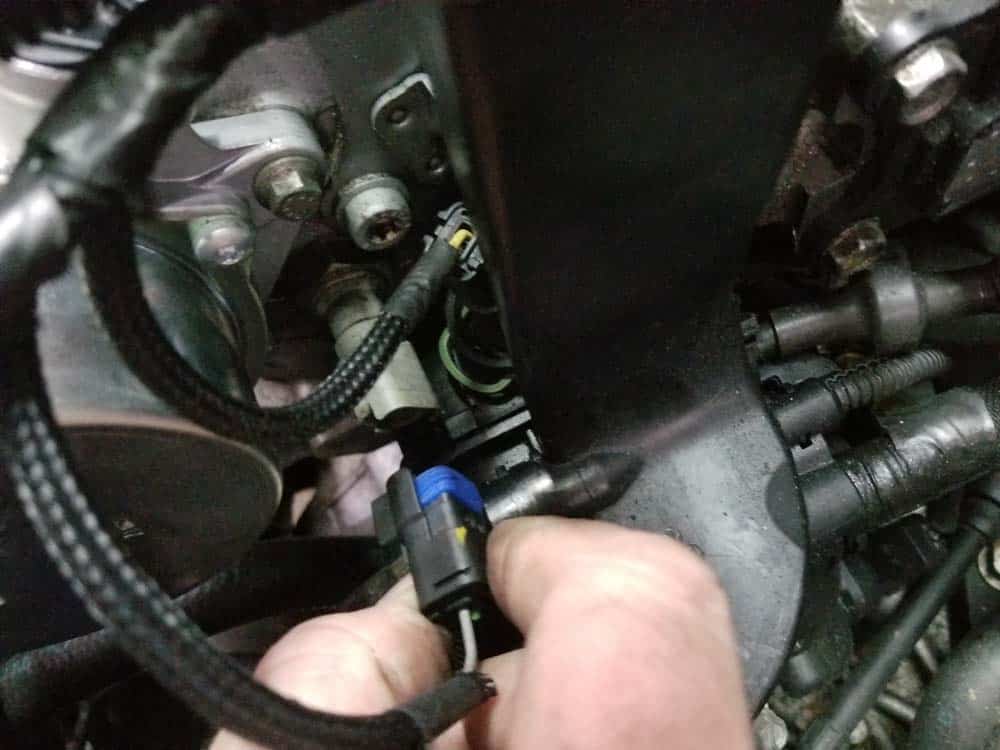
- Disconnect the coolant temperature sensor from the top of the thermostat.
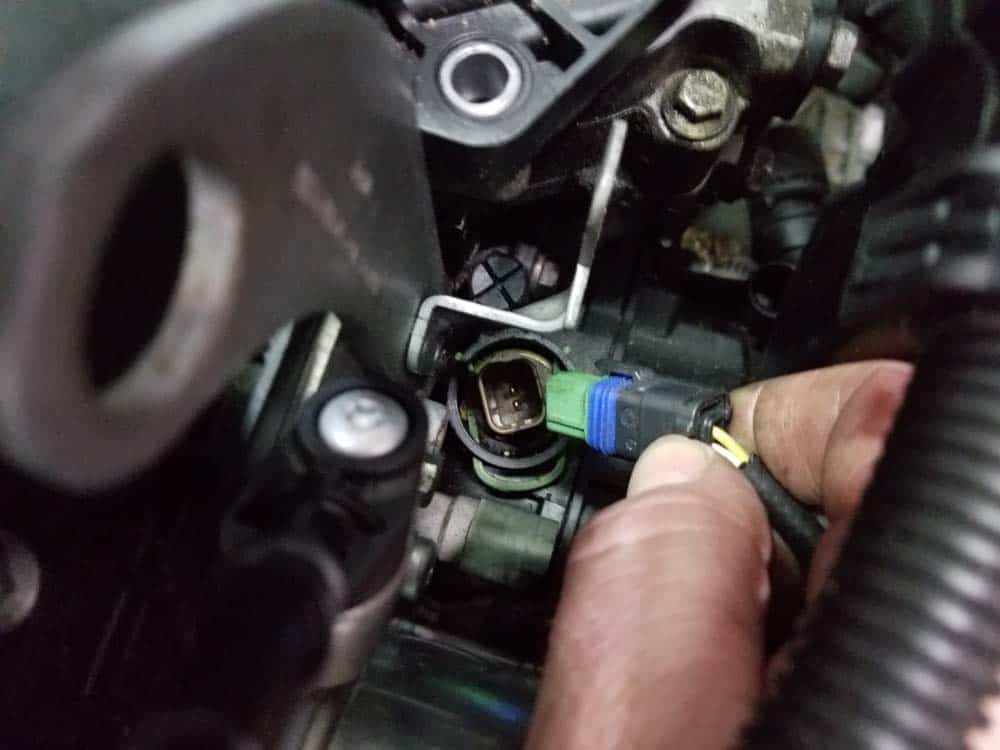
- Disconnect the essentric shaft position sensor by grasping its connector and pulling straight up.
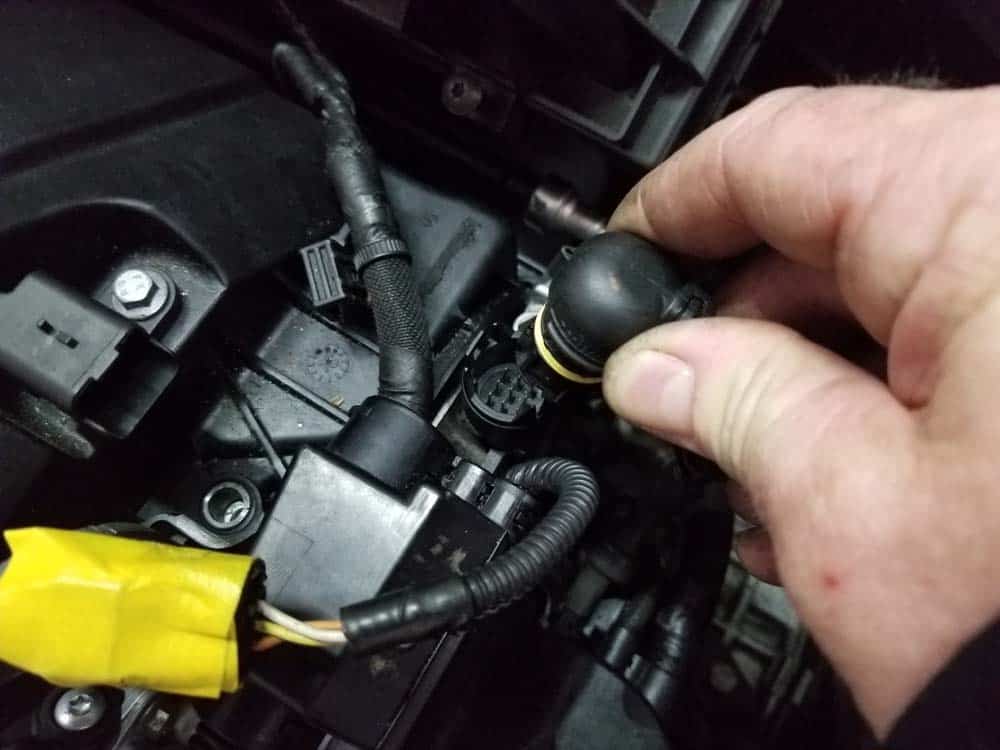
- Moving back to the front of the engine, remove the two engine cover screws with a T30 torx bit. Remove the engine cover from the valve cover.
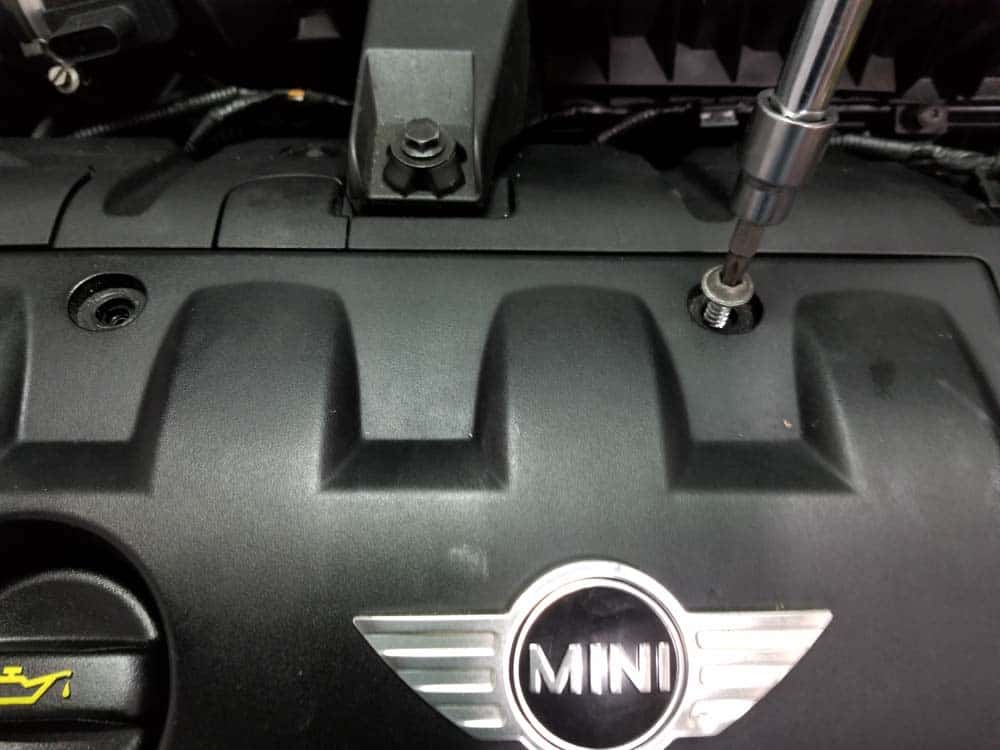
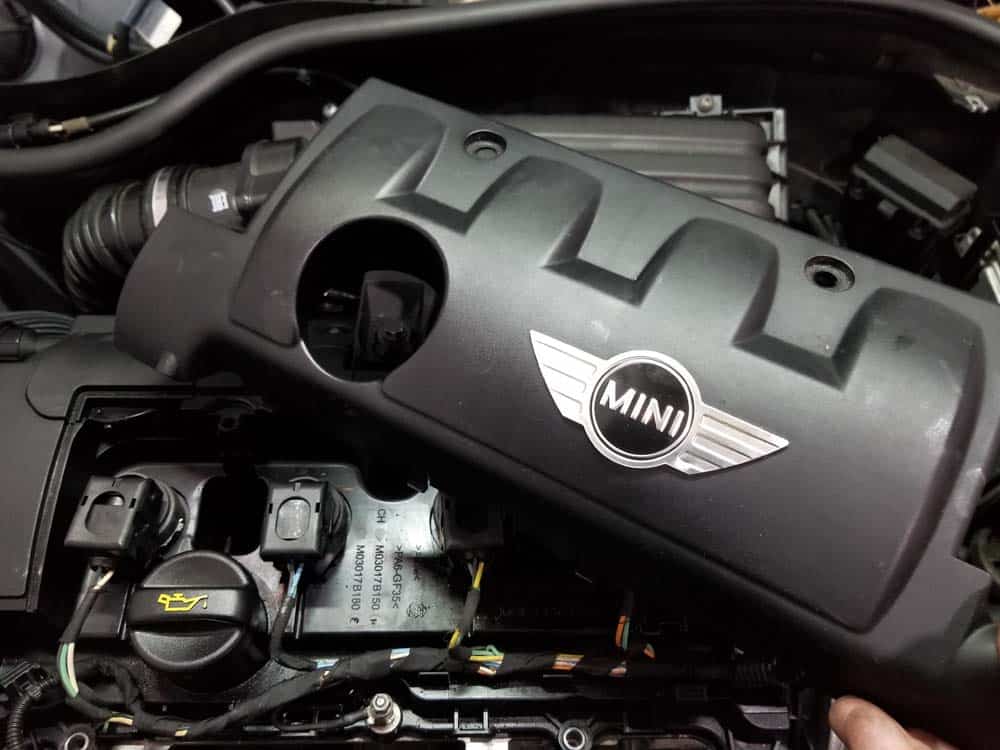
- Disconnect the four ignition coils by lifting their retaining brackets and pulling the sockets free.
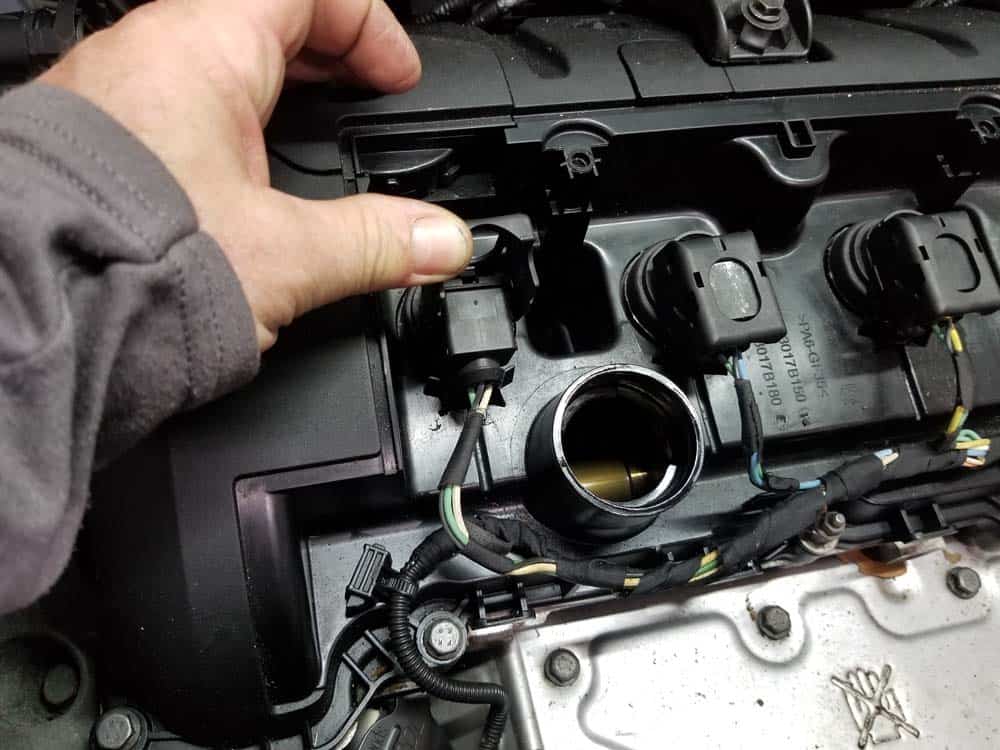
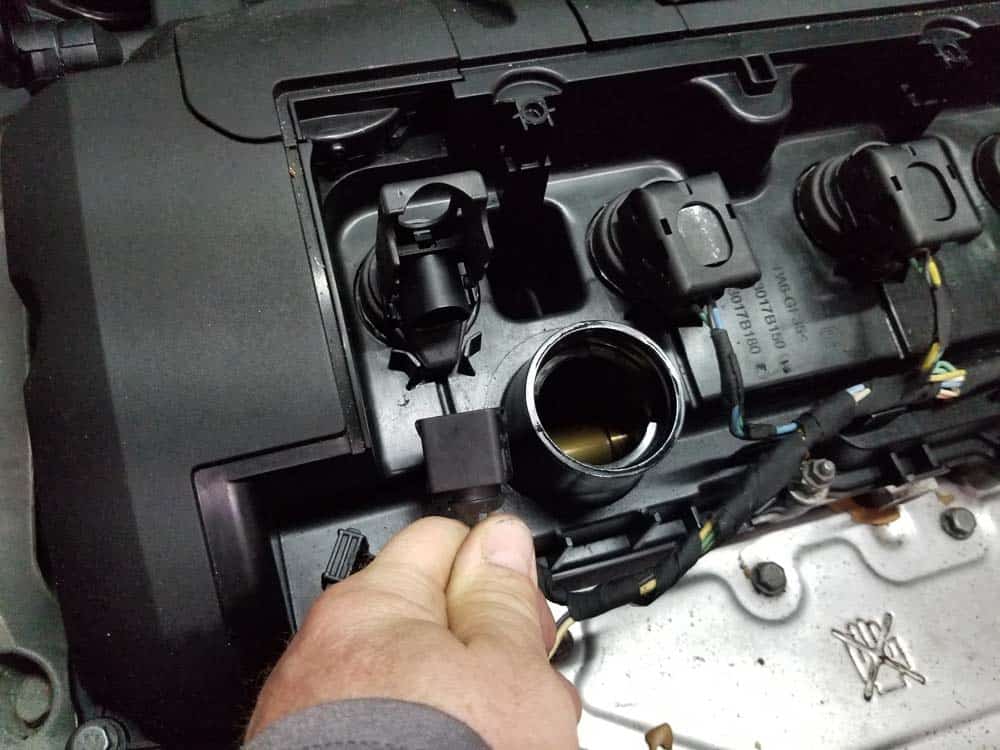
- Disconnect the front exhaust VANOS solenoid by lifting the plastic locking tab and pulling the connection apart.
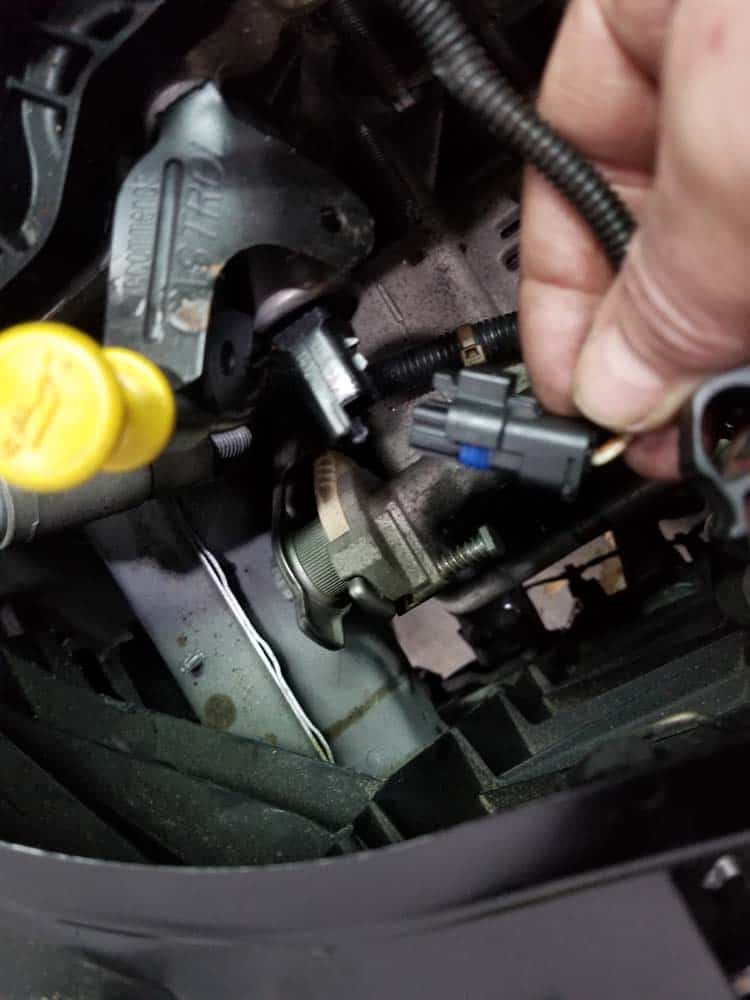
- Remove the harness grounding wire with an 8mm socket wrench.
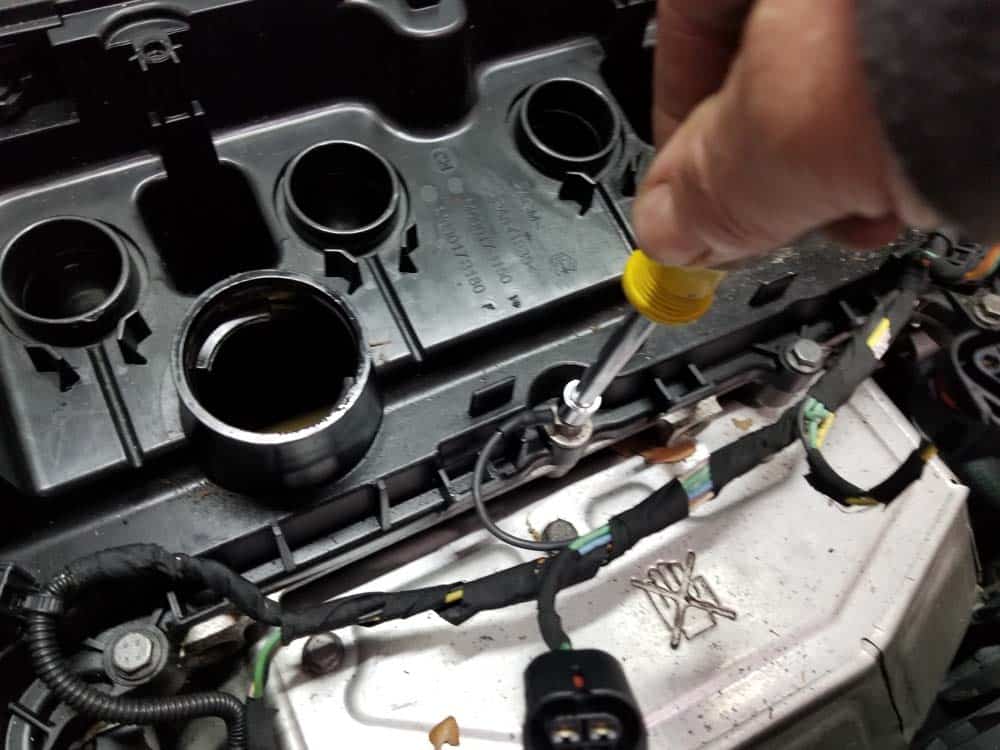
- Unsnap the wiring harness from the front of the valve cover.
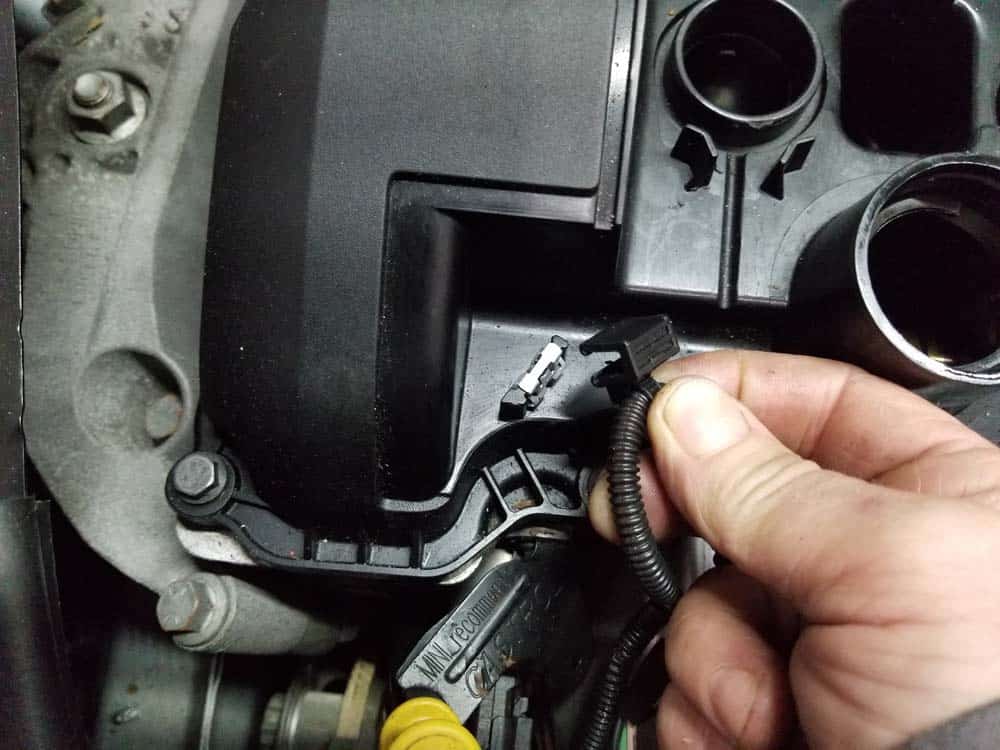
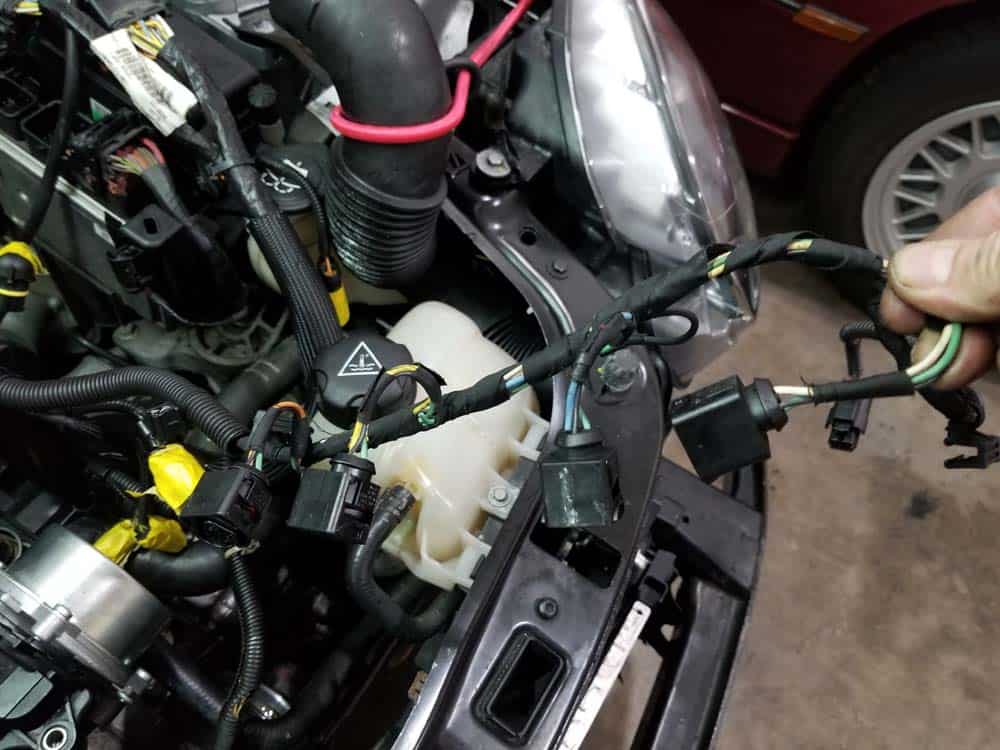
- Fold the wiring harness back towards the rear of the engine compartment and disconnect the thermostat sensor. The sensor is a little tricky to release...try using a metal pick to reach under the connection and pull the locking clip down.
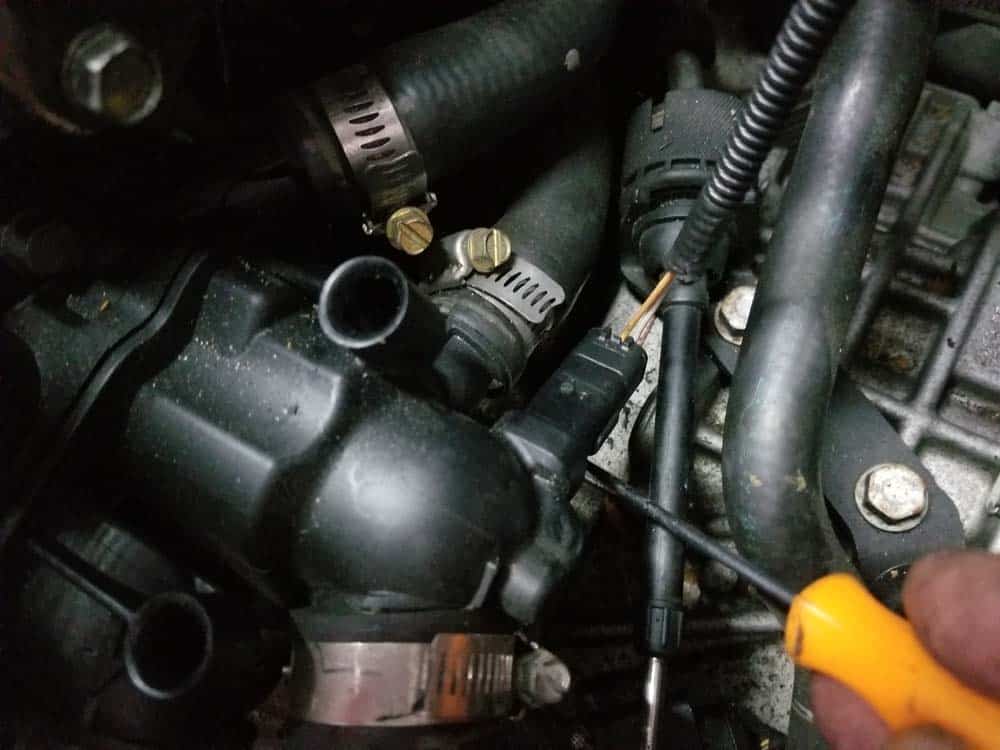
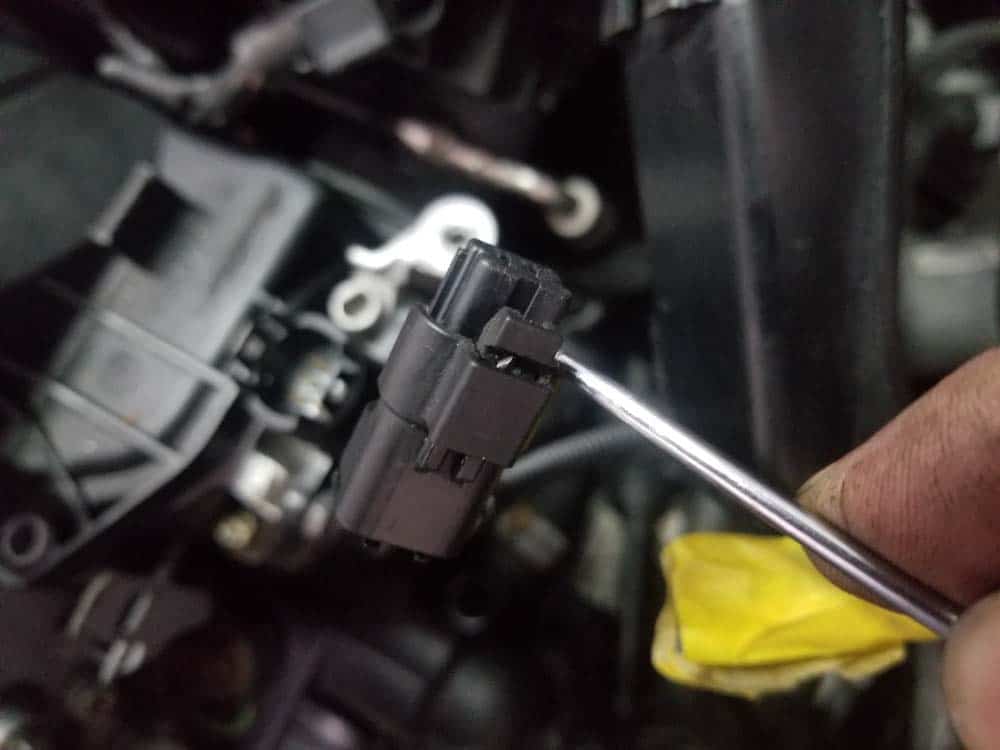
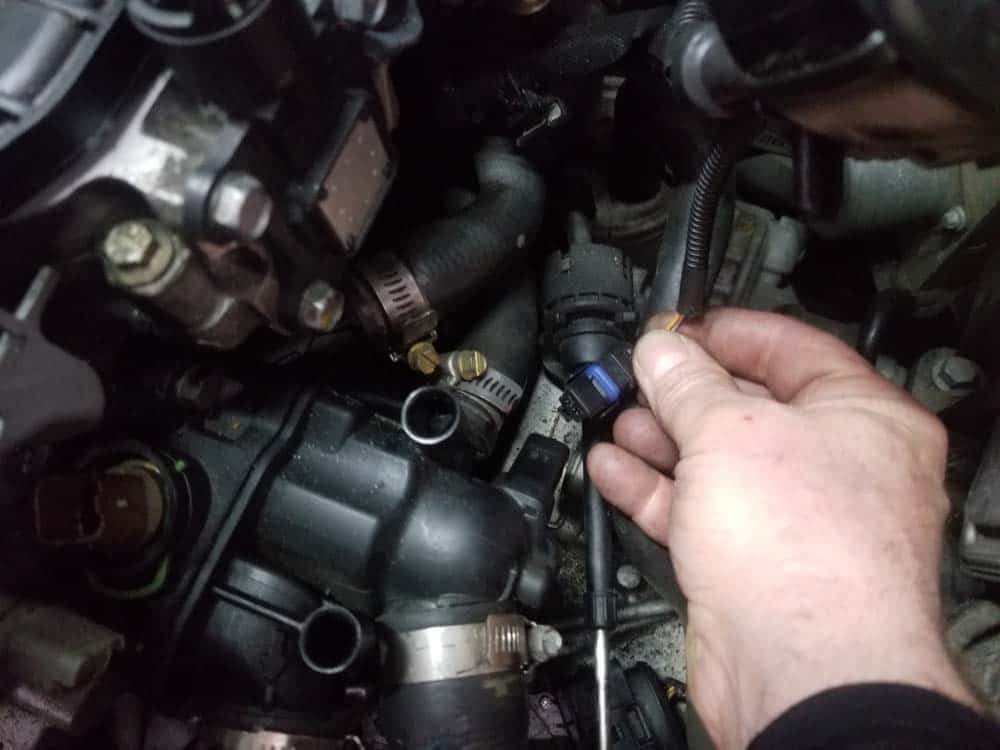
- The wiring harness is now free. Gently fold it back and stow it out of the way. You now have clear access to remove the thermostat.

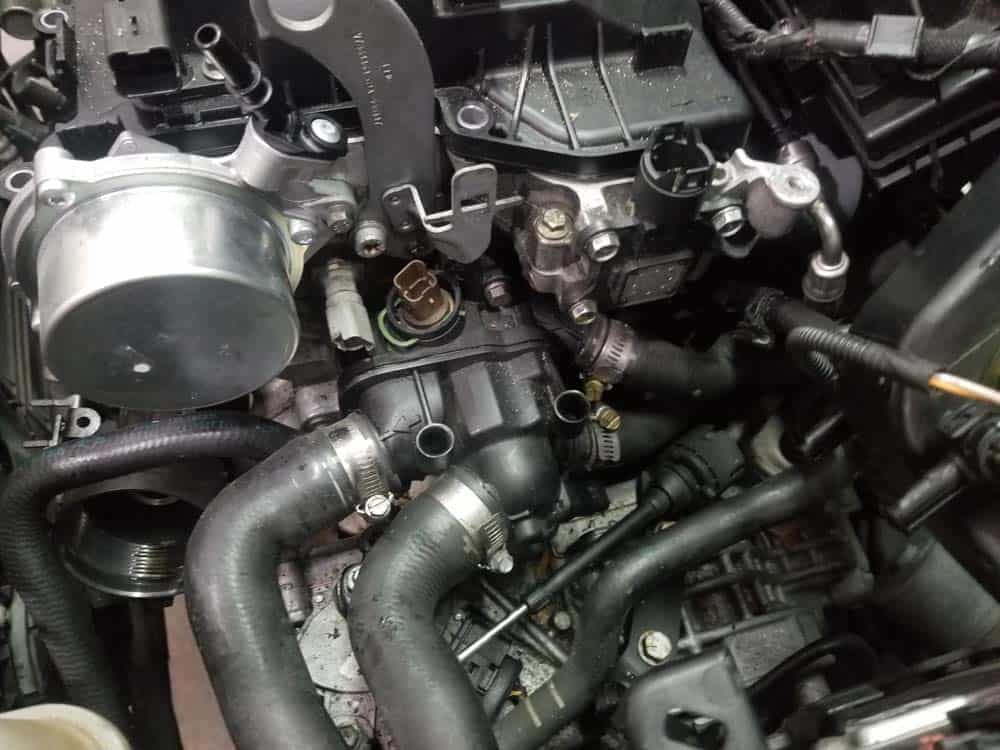
- Position a drain pan under the thermostat to catch any coolant that drains out of the engine.
- Using a flat blade screwdriver, remove the upper radiator hose from the thermostat.
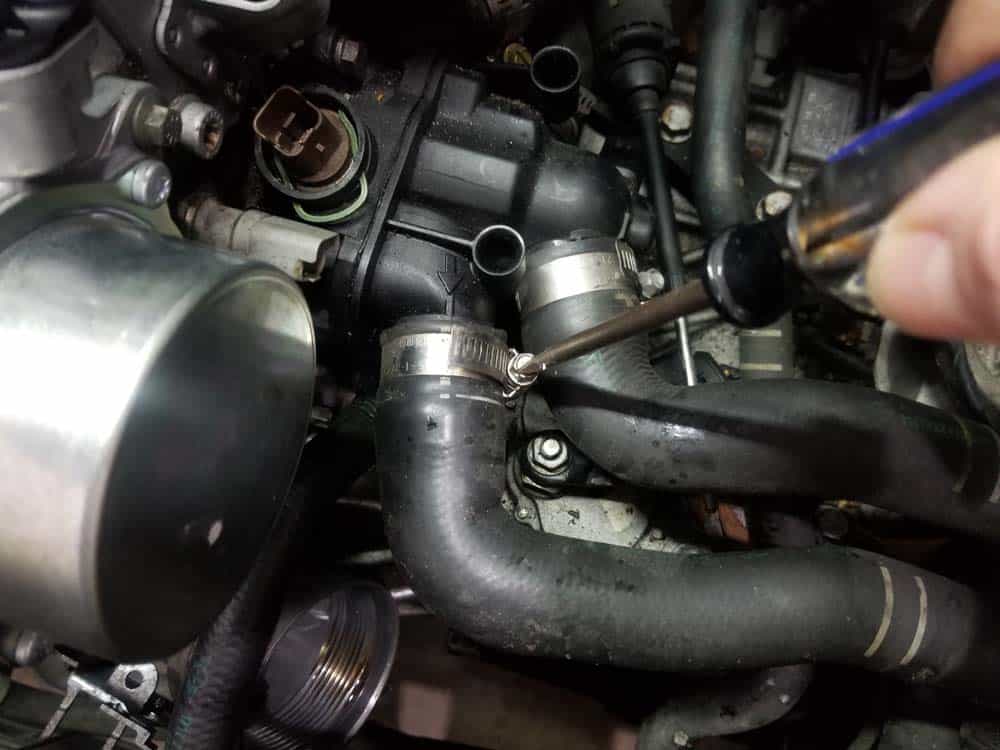
- Remove the lower radiator supply hose from the thermostat.
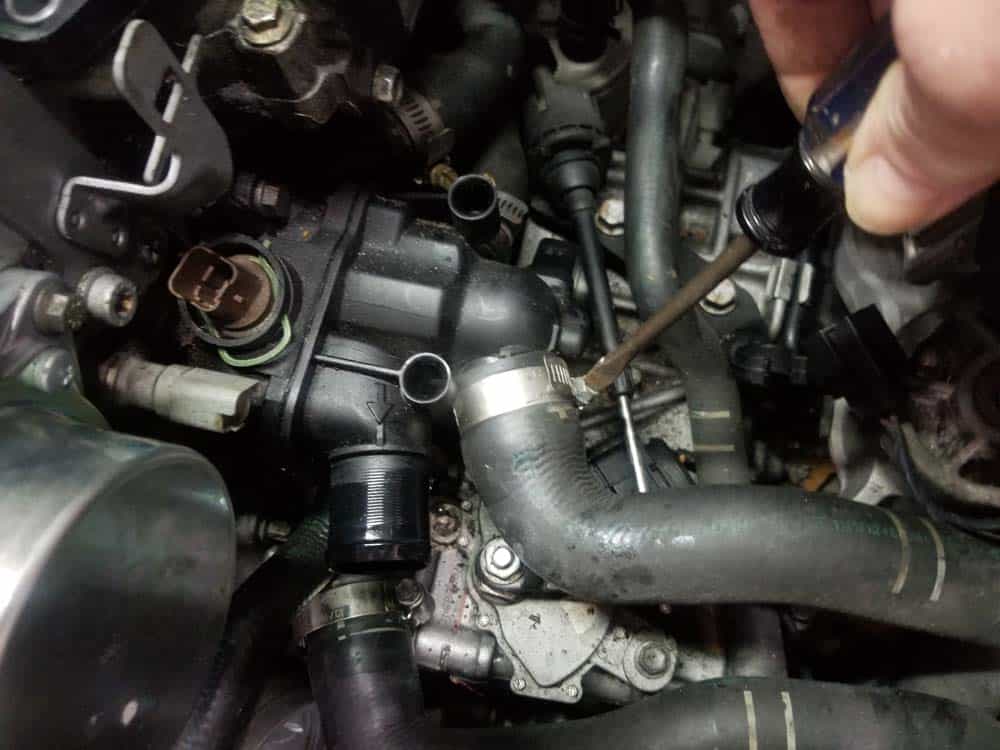
- Remove the expansion tank coolant hose from the front of the thermostat.
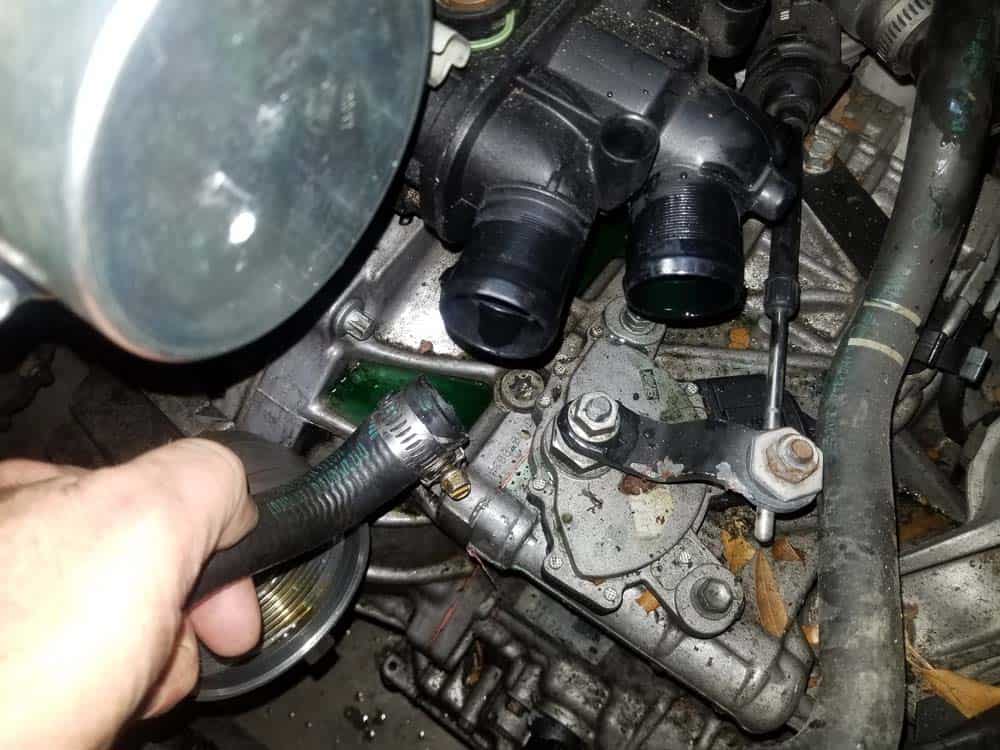
- Moving to the rear of the thermostat, remove the two heater supply and return hoses. Make sure not to mix them up, they both run to the heater core and can easily be installed incorrectly during reassembly. We like to mark ours with tape just to be sure.
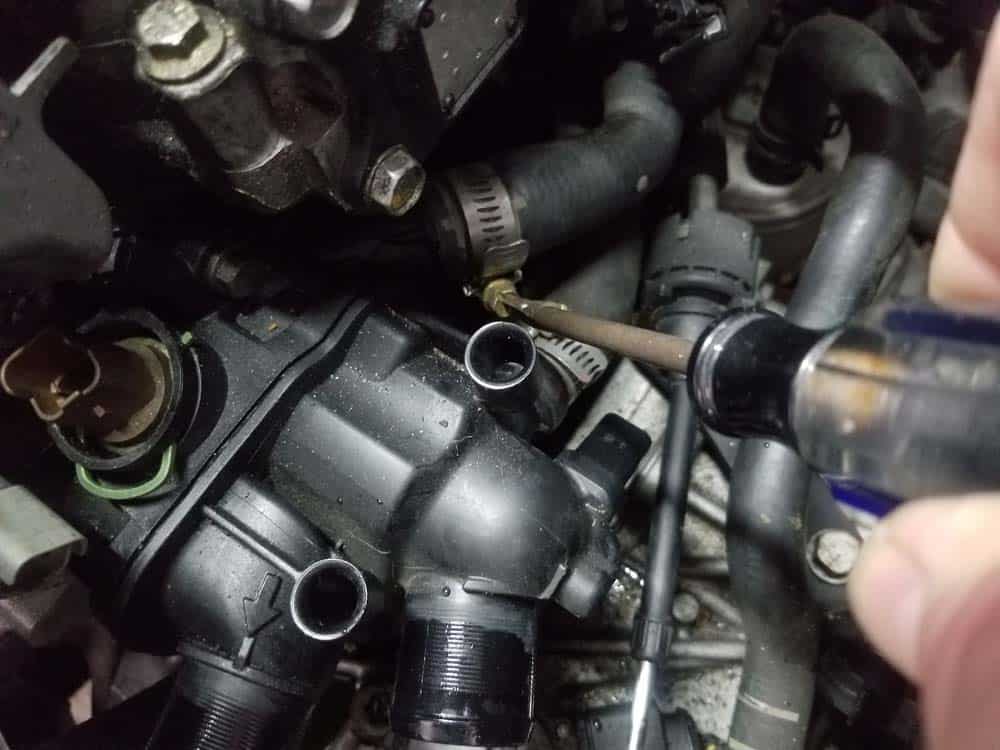
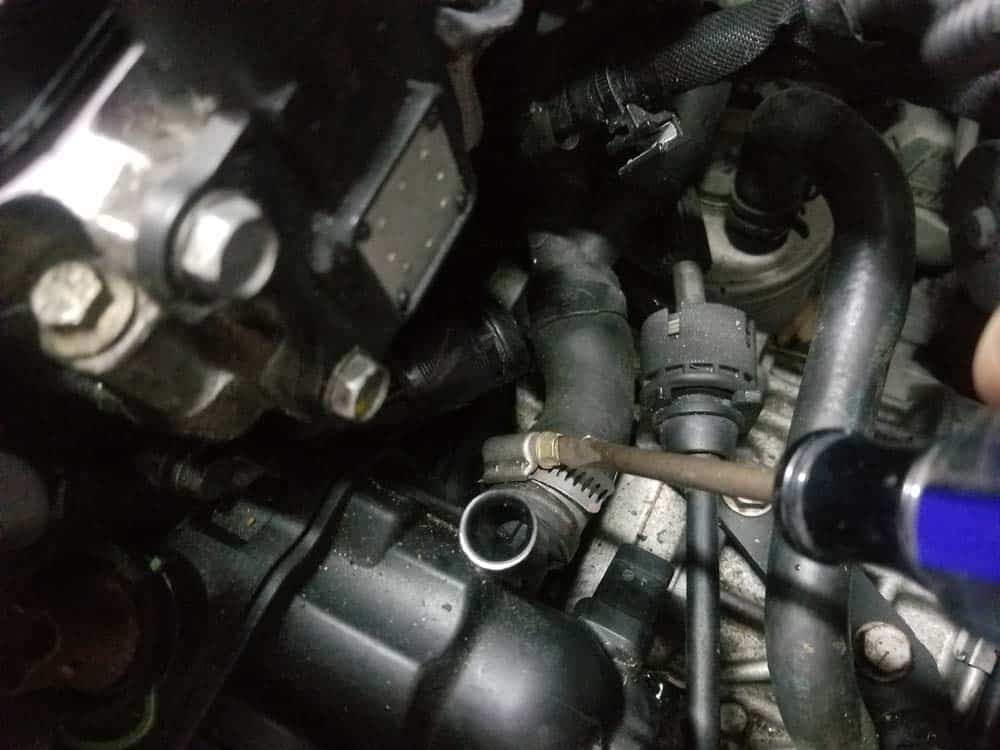
- Finally, the thermostat needs to be released from the water pipe. The water pipe runs from the water pump on the right side of the engine to the back of the thermostat. Using a metal pick (or your fingers), pull the metal locking clip up to release the pipe.
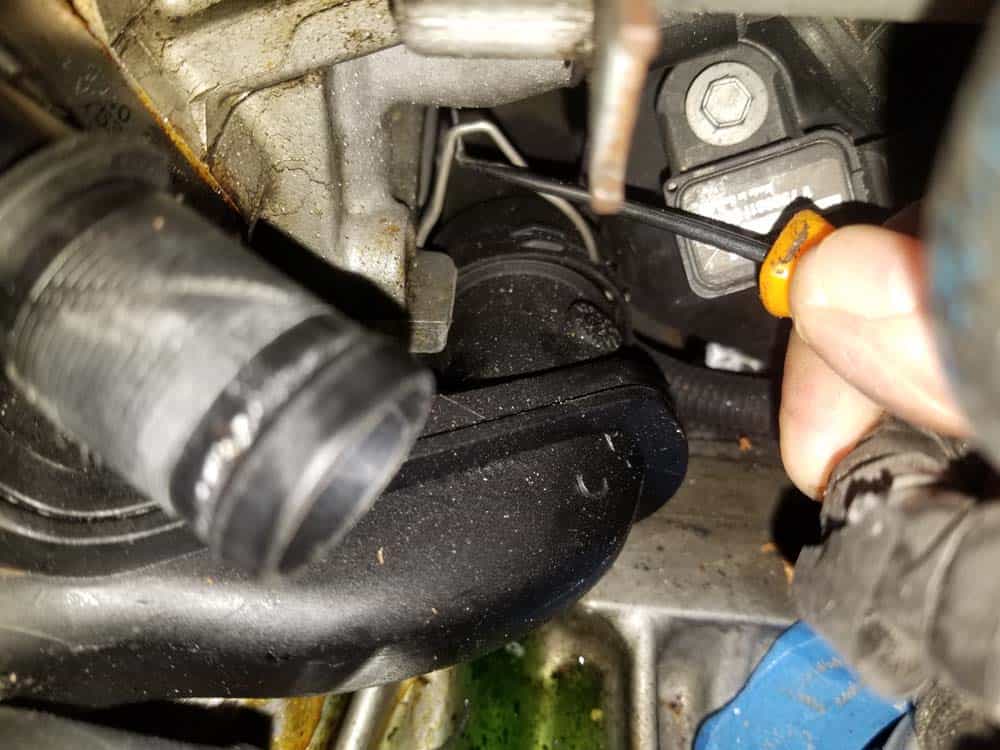
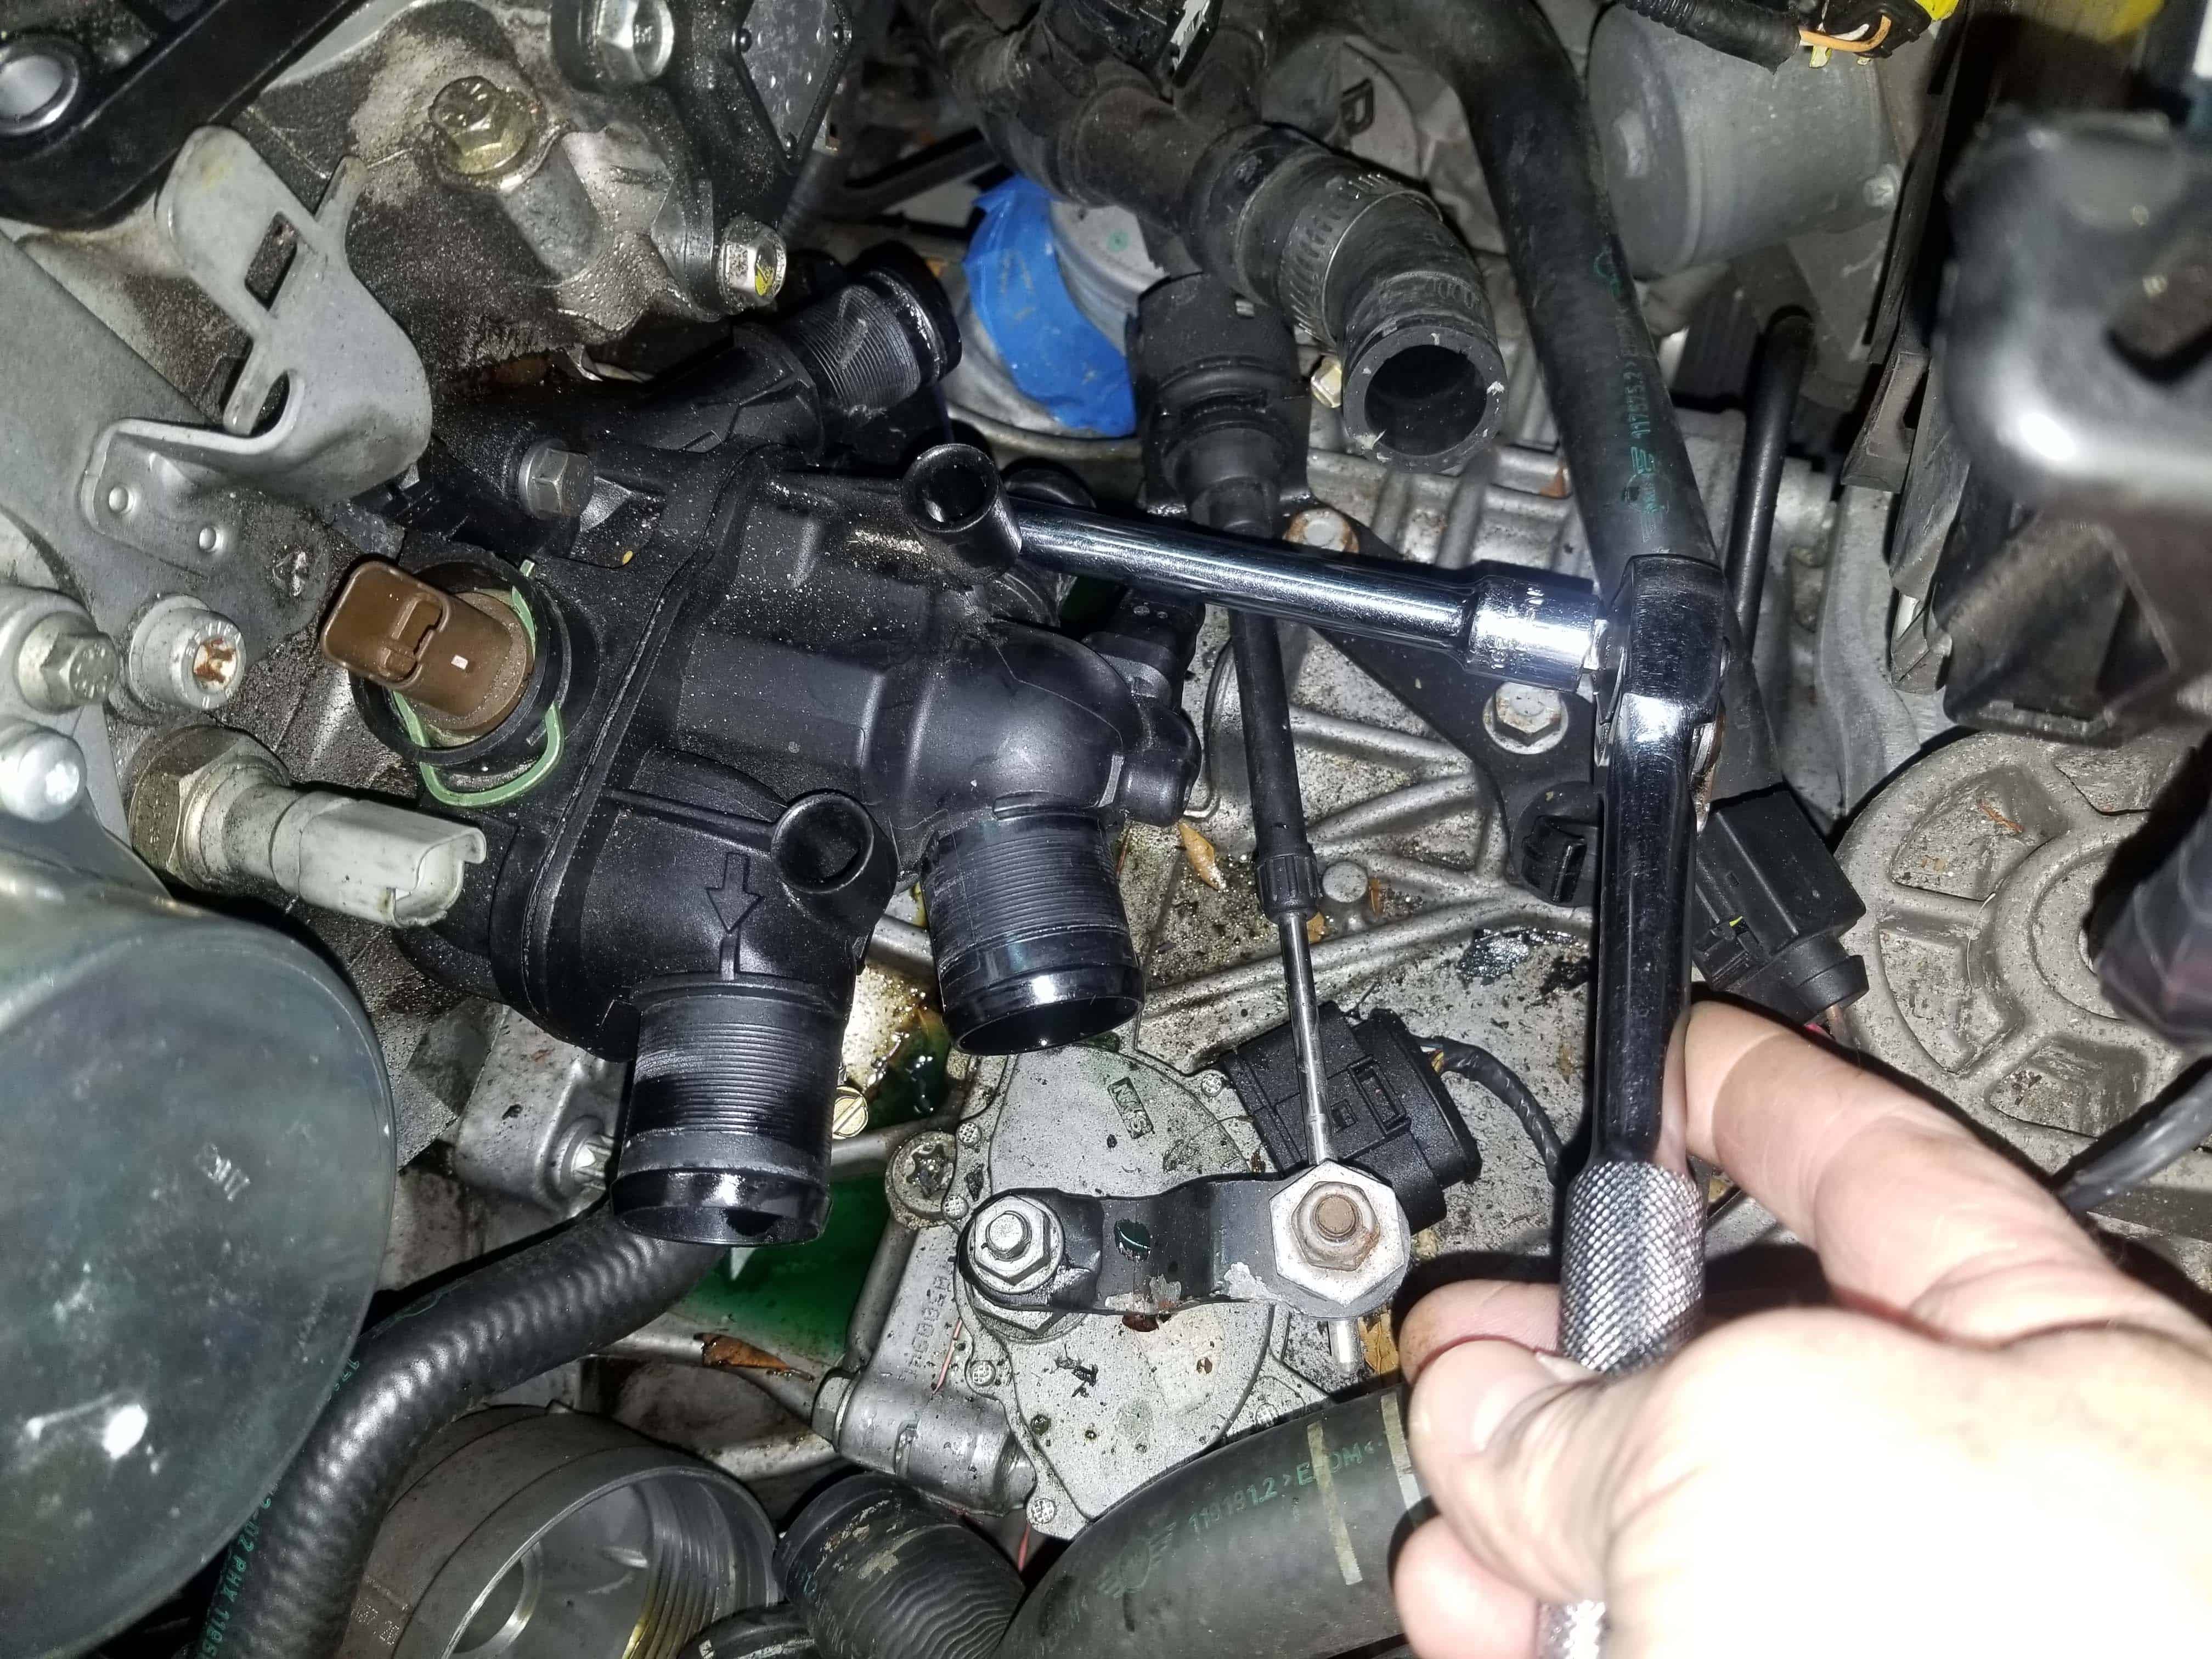
- The thermostat can now be unbolted from the engine and removed from the vehicle. Use a 10mm socket wrench to remove the three thermostat mounting bolts. We suggest using an extension and low profile socket to reach the rear mounting bolt.
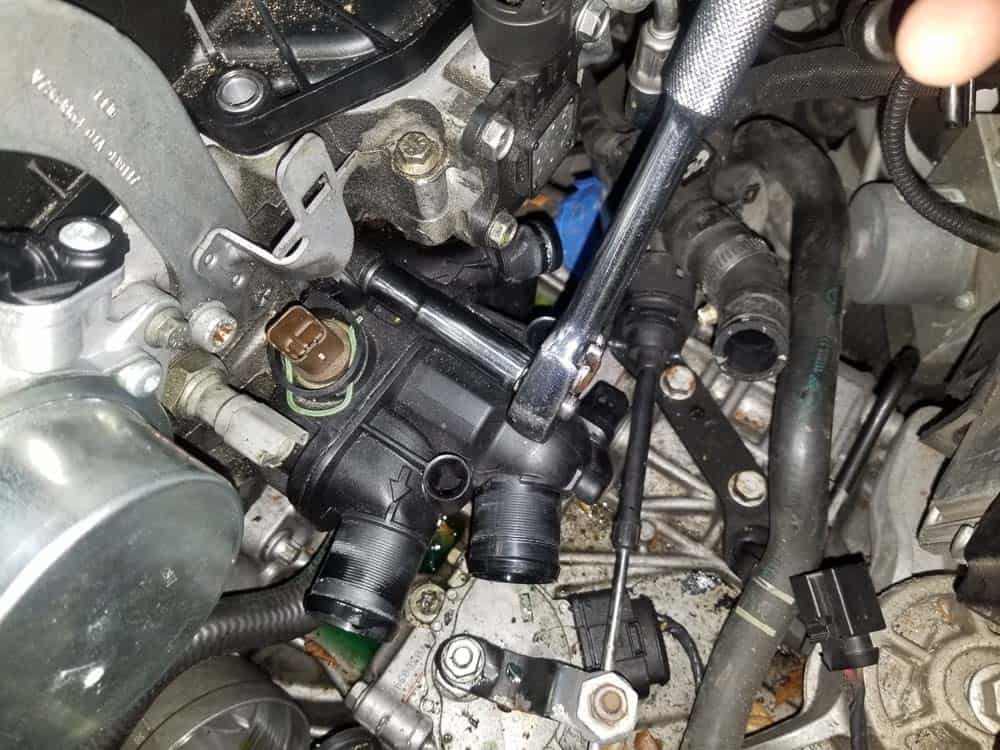
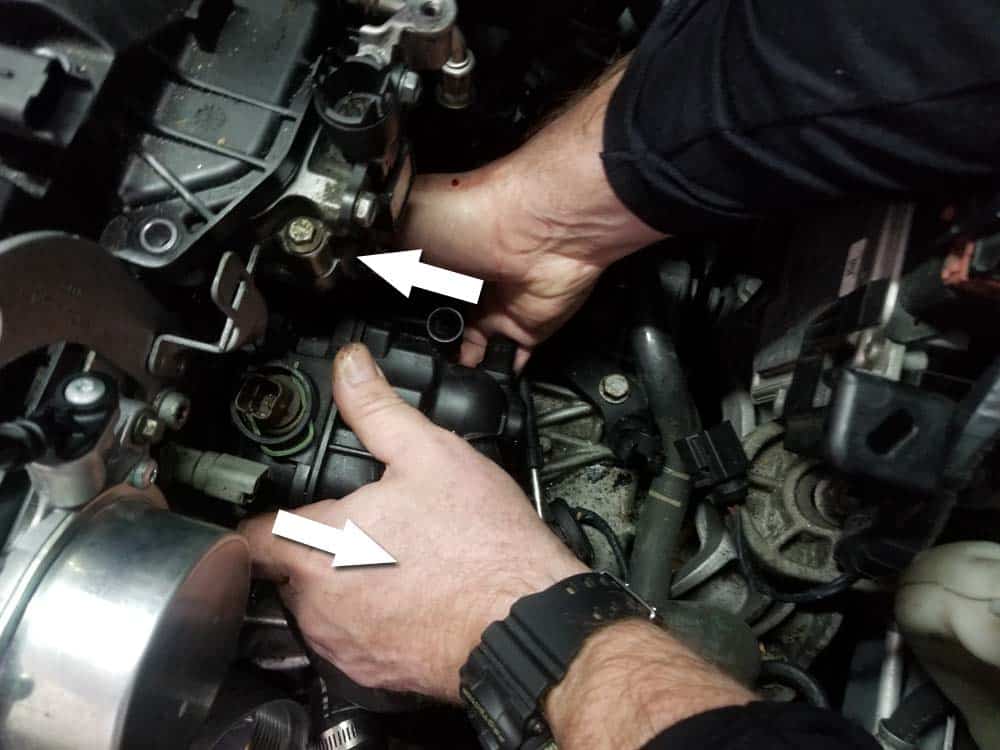
- Grasp the thermostat with both hands and remove from the engine. The thermostat can often be difficult to release from the water pipe. Try gently rocking back and forth while pulling until it releases.
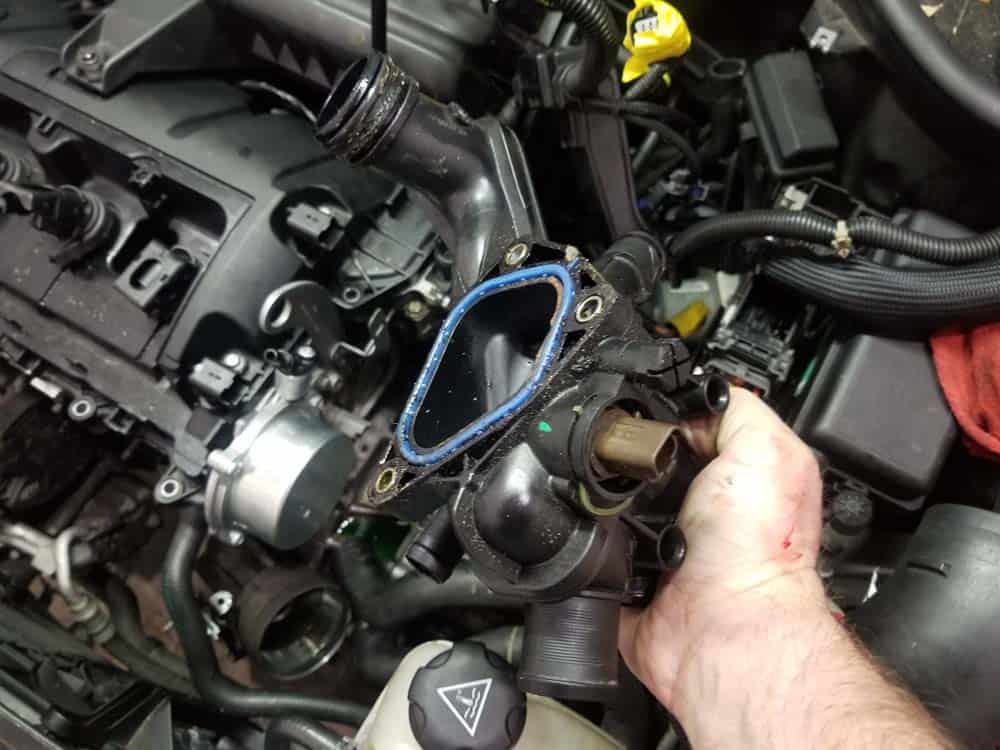
Section 3 - Removing and Replacing the MINI R56 Water Pipe
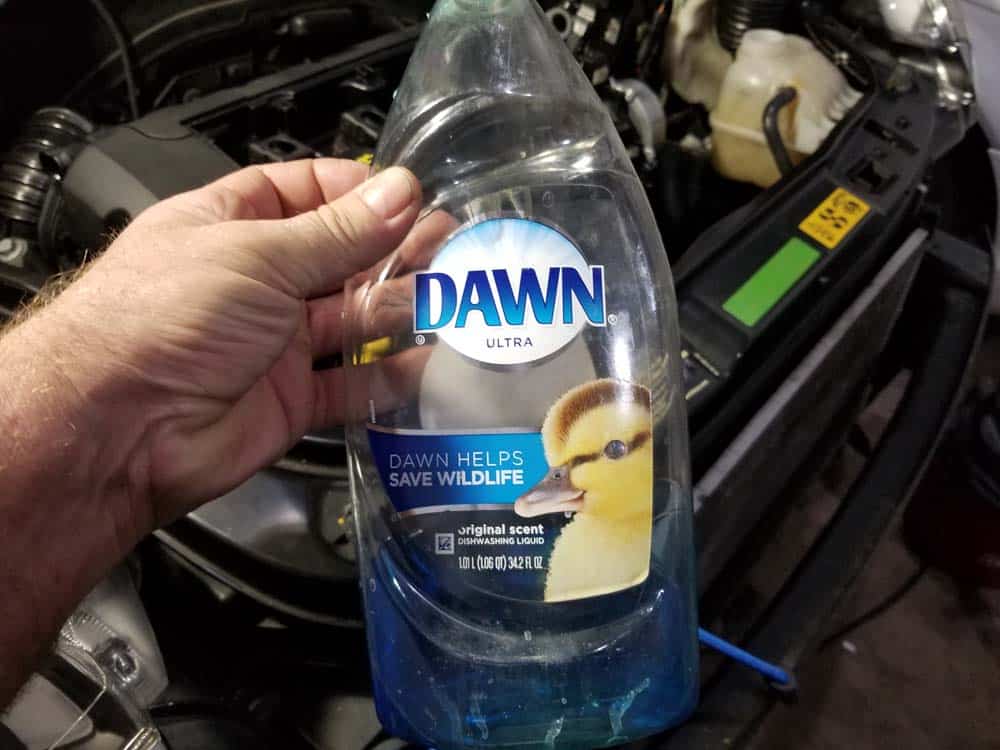
Now that the intake manifold and thermostat have been removed from the engine, replacing the water pipe is fairly easy. Remember to always double-check the water pump to make sure there are no broken fragments of plastic or o-ring left from the water pipe. Also, it is very important to note that you should only use a small amount of liquid dish detergent when lubricating the water pipe o-ring for insertion into the water pump. It is recommended that you do not use petroleum-based lubricants on the o-ring...they could cause it not to seal properly.- Identify the water pipe at the rear of the engine.
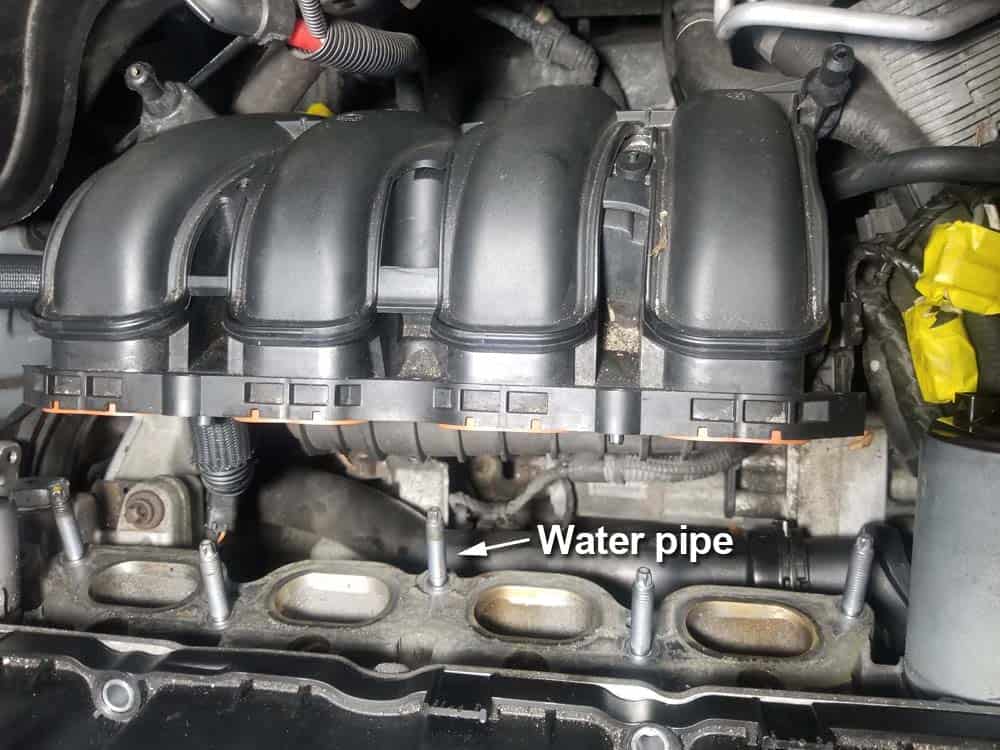
- Reach down and disconnect the wiring harness from the side of the water pipe.
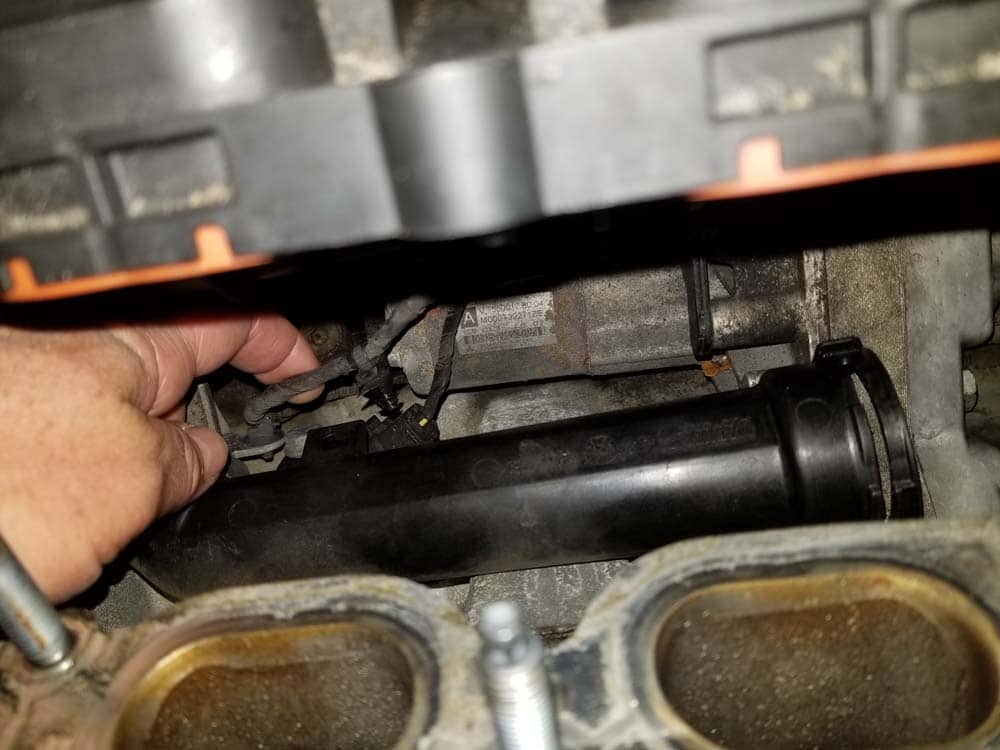
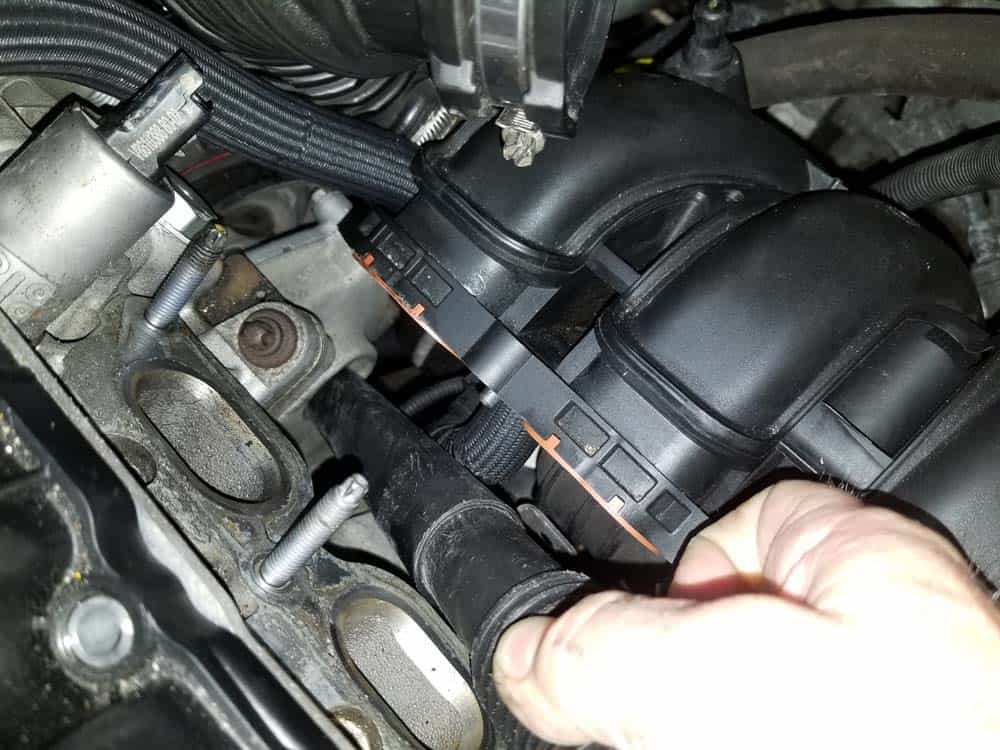
- Grasp the water pipe and pull it free from the water pump.
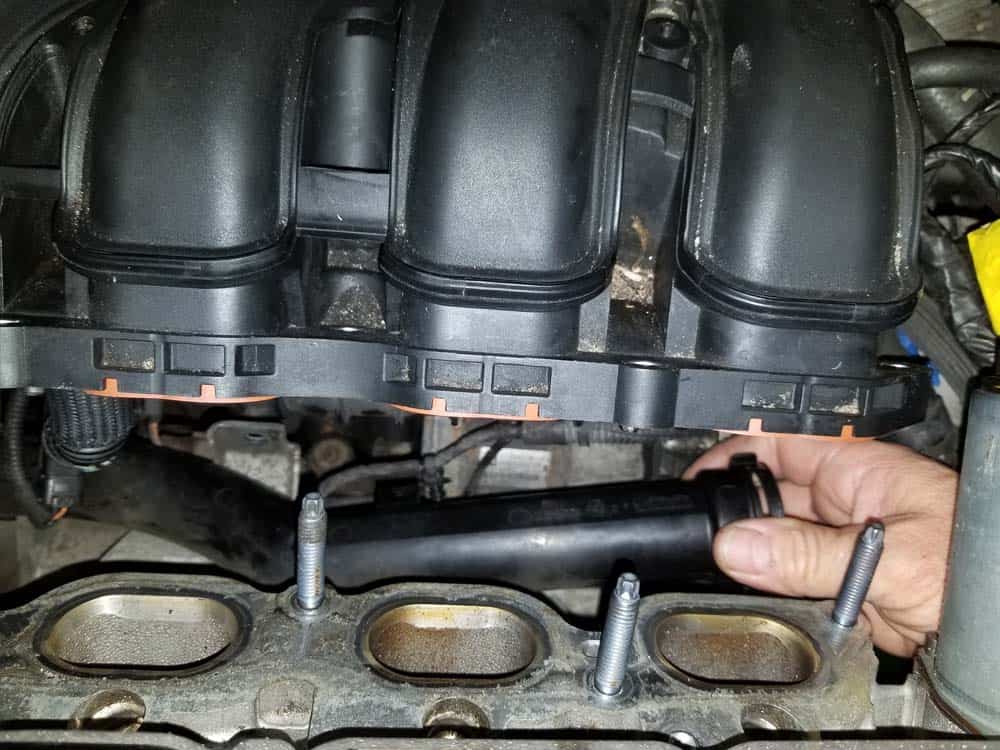
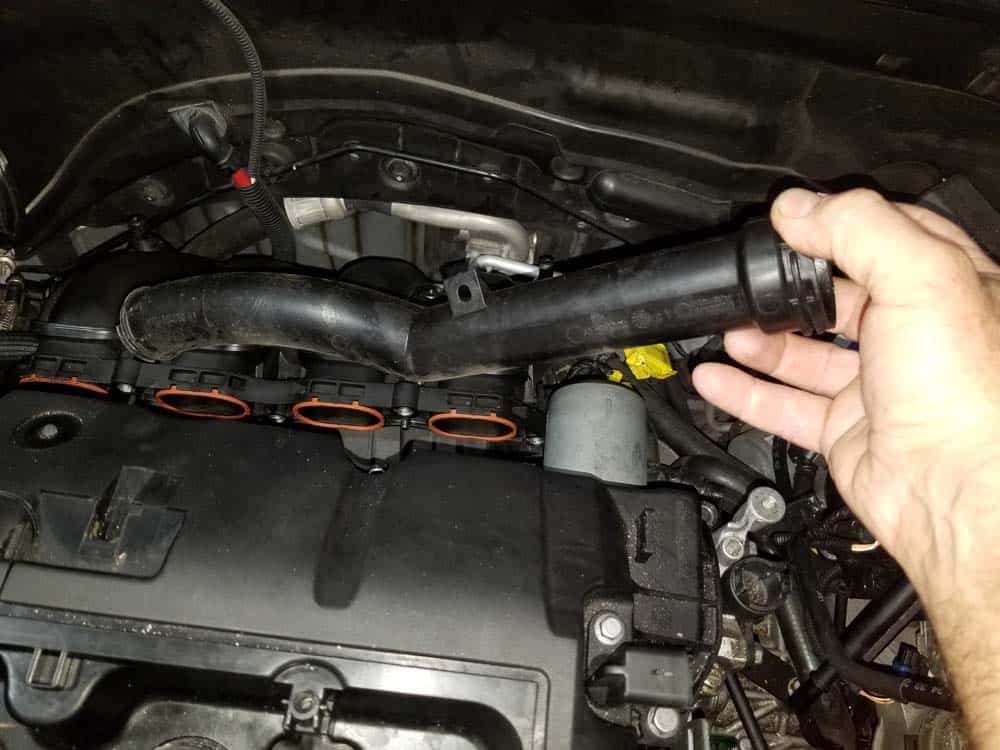
- Note that the end of our water pipe has cracked off inside the water pump.
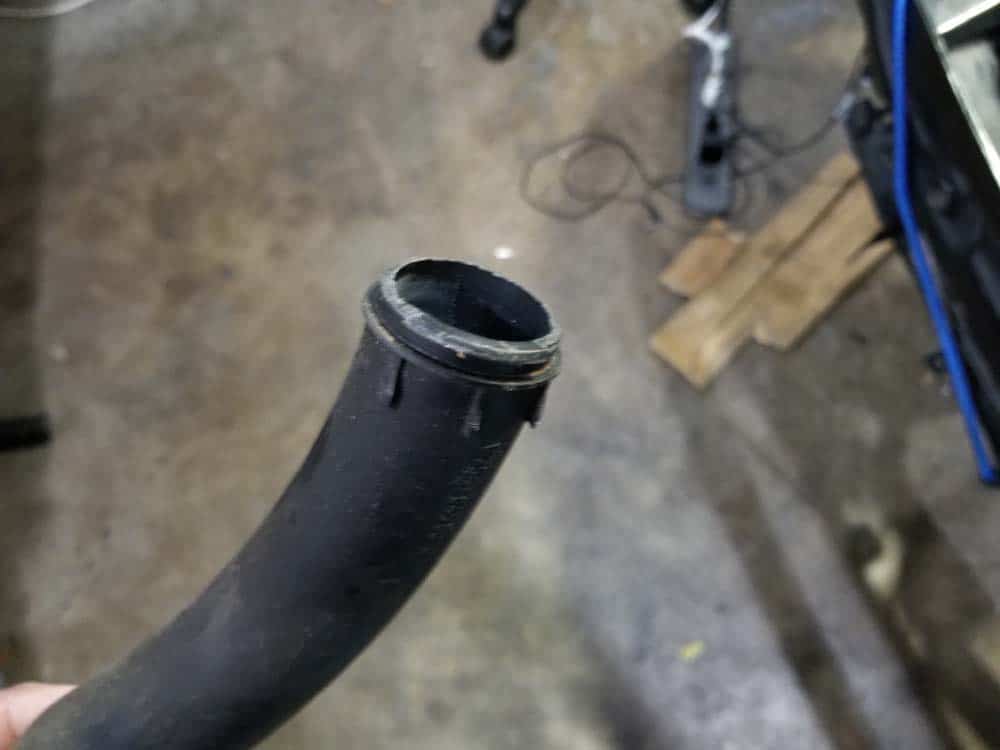
- Reach down inside the water pump and remove any broken pieces of pipe and/or o-ring.
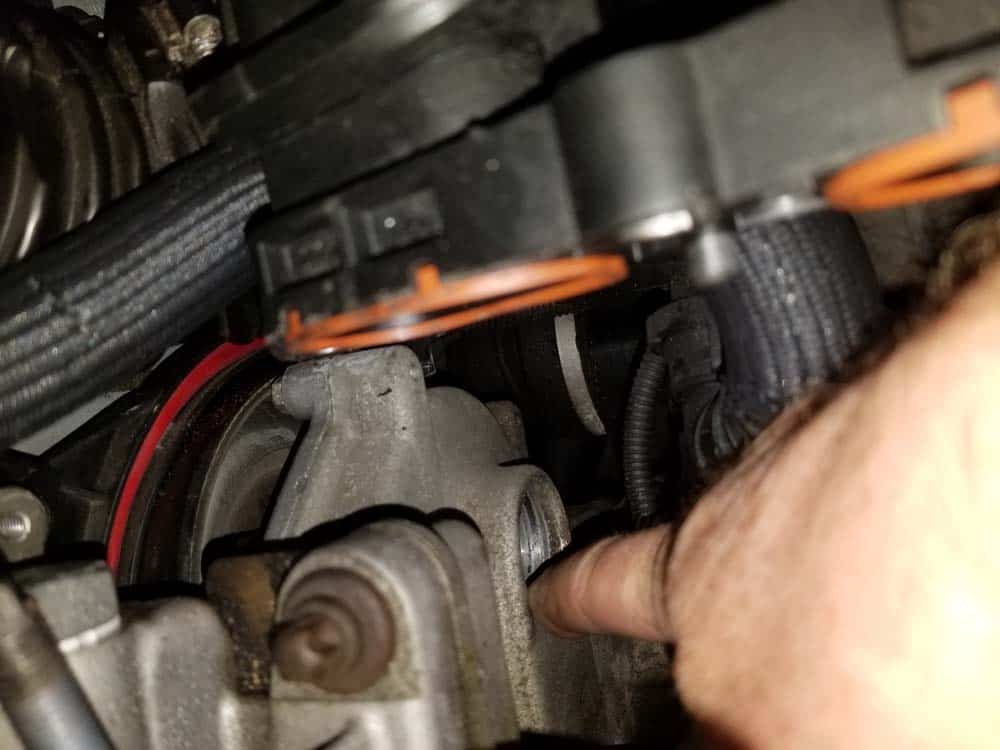
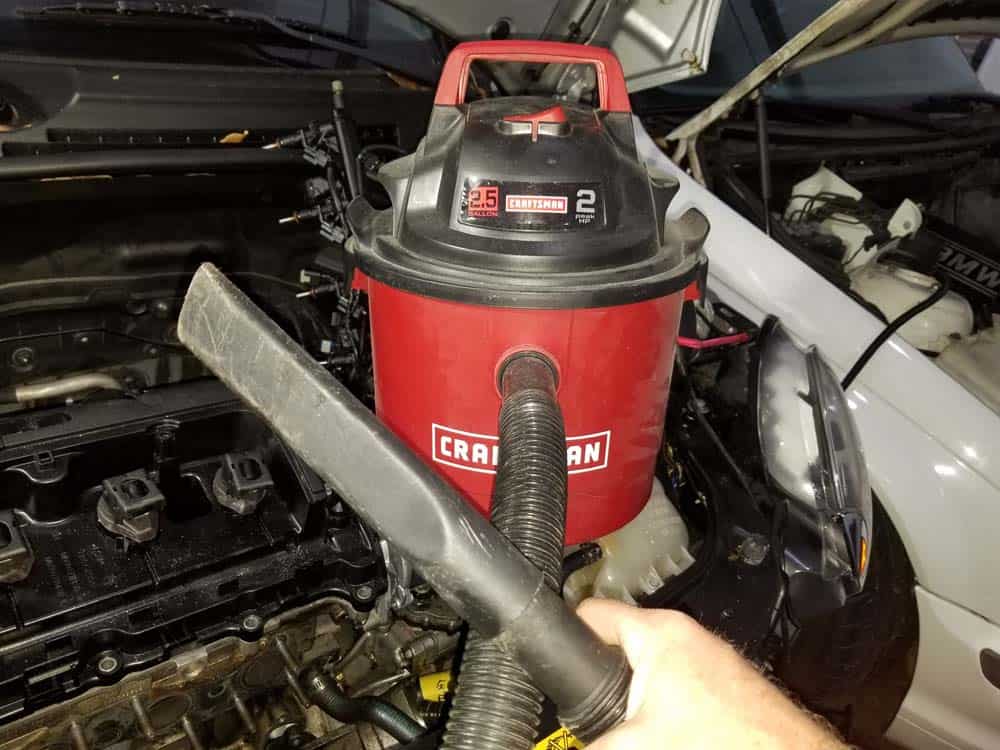
- Use a vacuum to suck out any debris that may be left in the water pump. Remember...it only takes one small piece of plastic to jam the pump and cause your vehicle to overheat.
- The best way to reinstall the water pipe is with the thermostat attached to it. This ensures that everything is lined up correctly and deletes the difficult step of having to install the locking clip with the pipe already installed.
- Attach the thermostat to the water pipe. Make sure the thermostat lines up with the notch in the pipe. Install the locking clip.
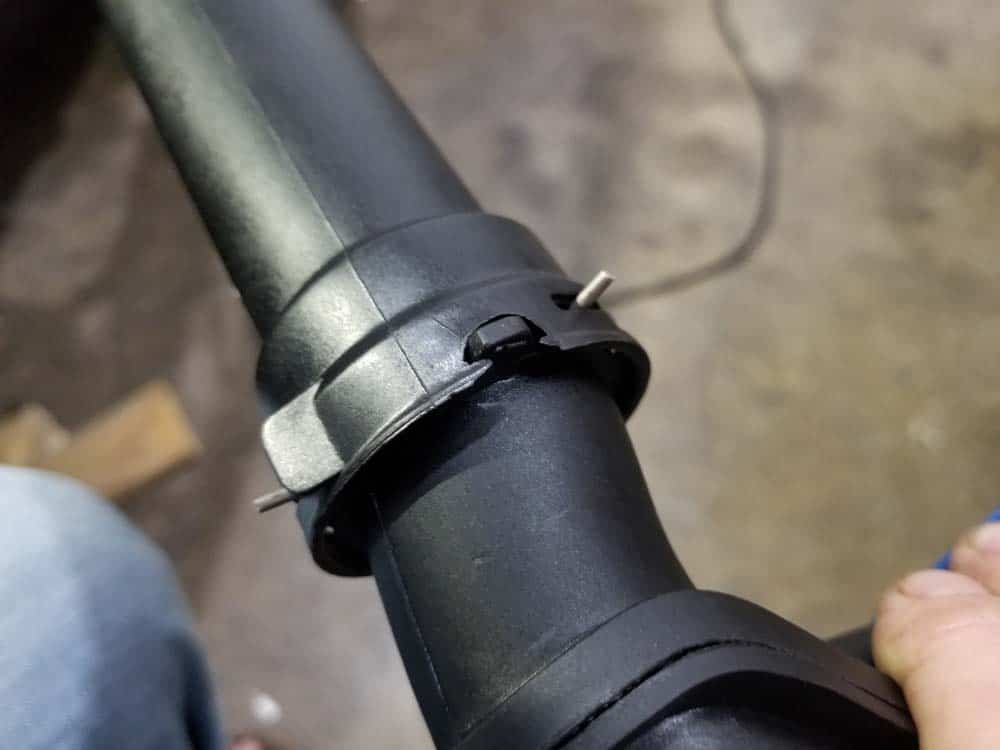
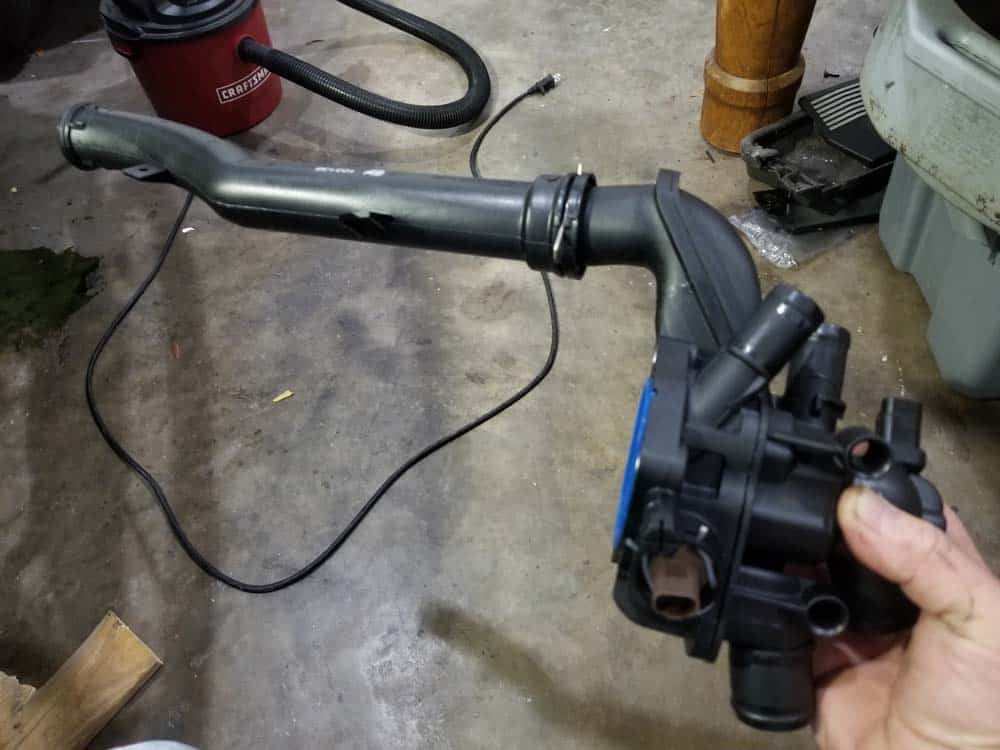
- Wipe a small amount of liquid detergent around the o-ring of the new water pipe. This will lubricate it enough to slide into the the water pump. Avoid using petroleum based lubricants on rubber o-rings.
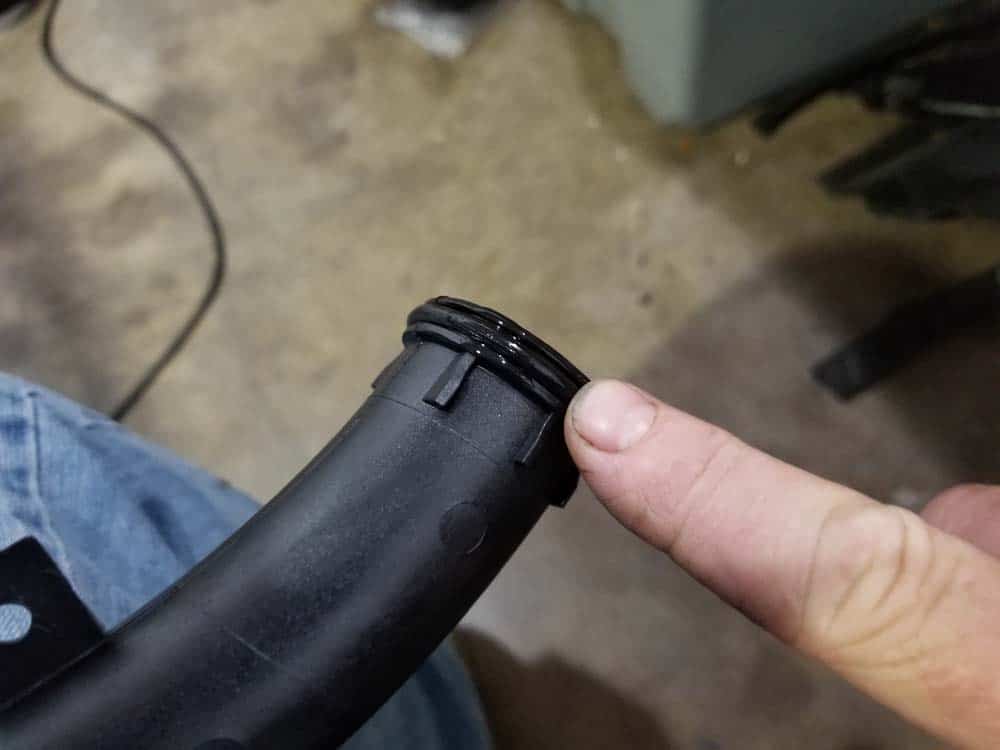
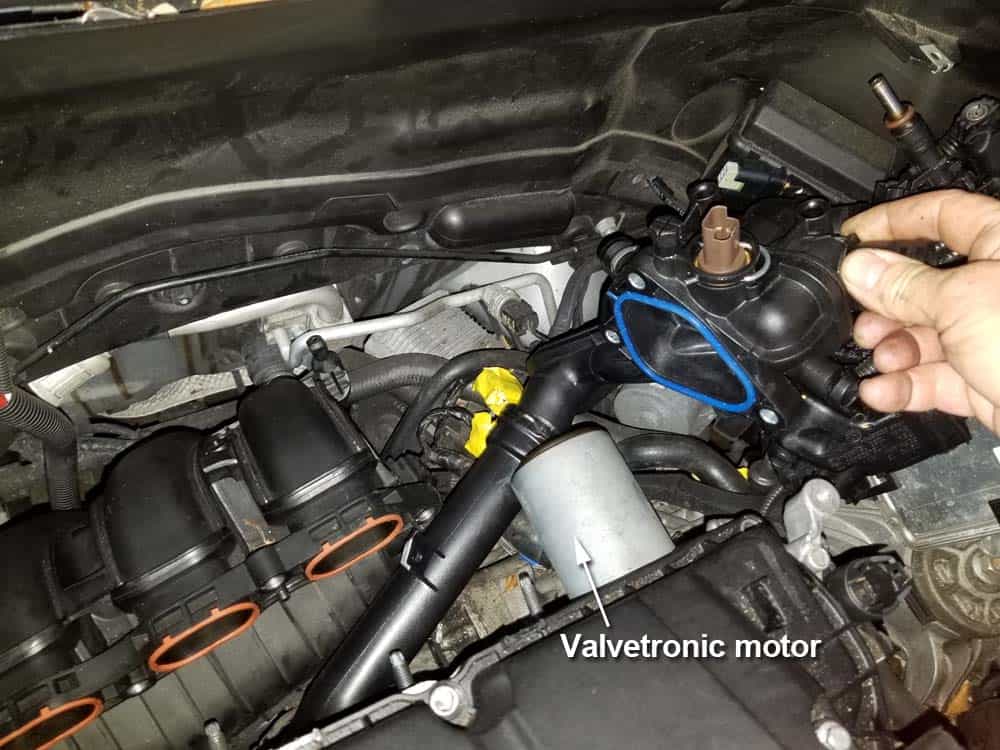
- Slide the thermostat and water pipe around the rear of the engine and underneath the Valvetronic motor as shown. TAKE YOUR TIME and exercise patience. DO NOT force the pipe into place...you could crack it.
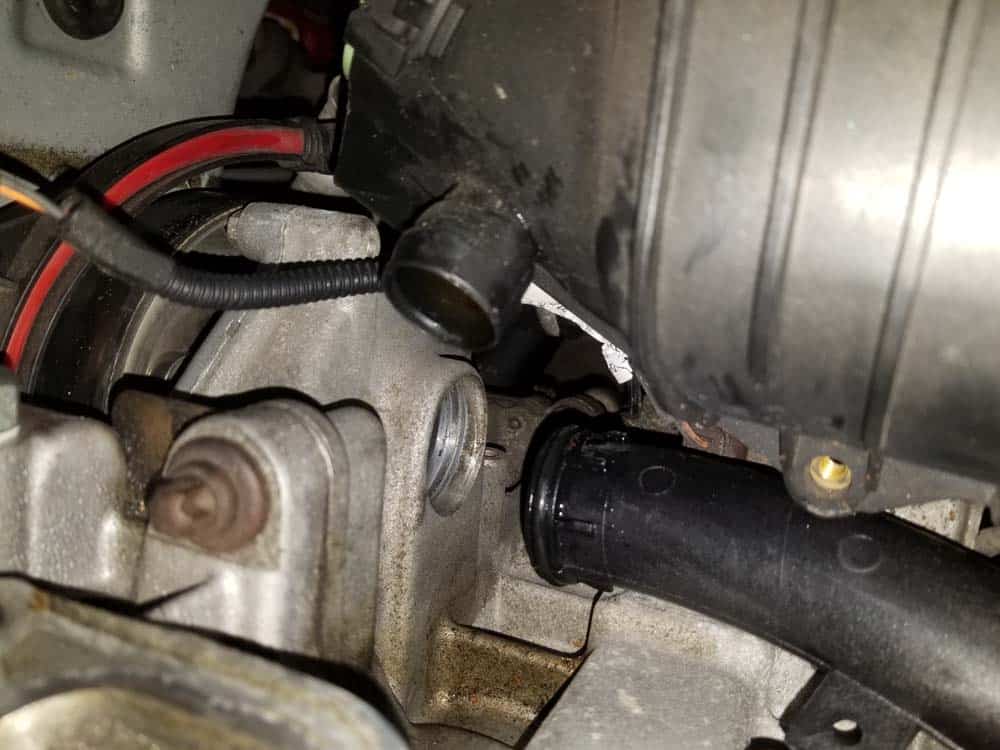
- With the water pipe and thermostat in place, line the pipe up with the water pump. Using two hands grasp the water pipe and press into the water pump. You may have to rotate it back and forth until it presses completely into the pump. The pipe is properly installed when its tabs are pressing against the pump (see image below).
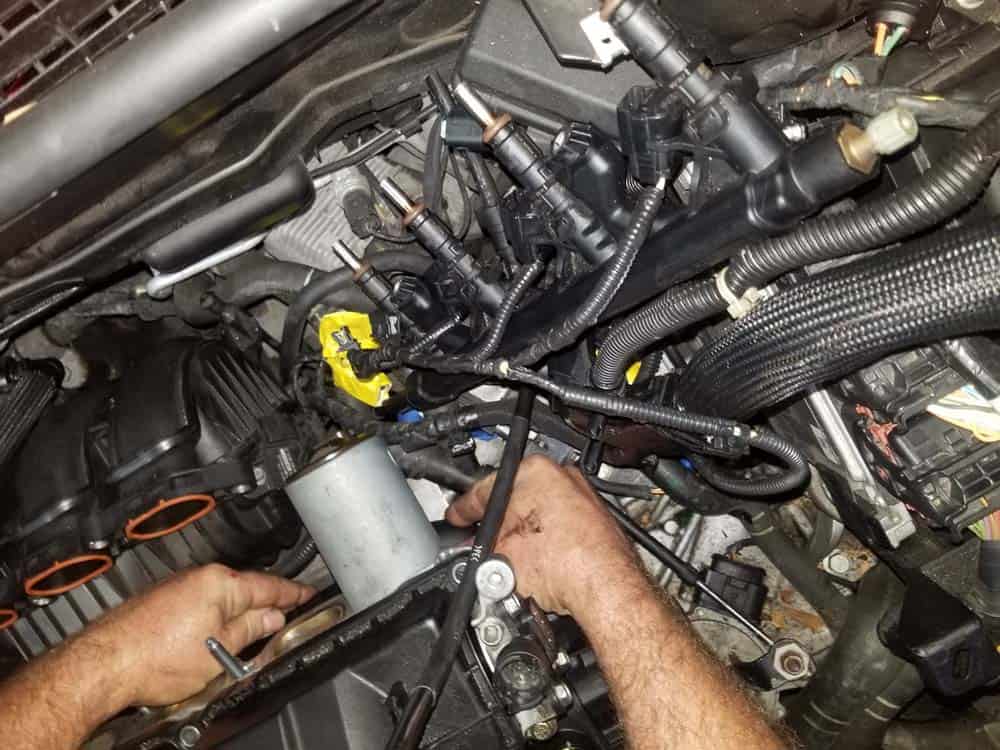
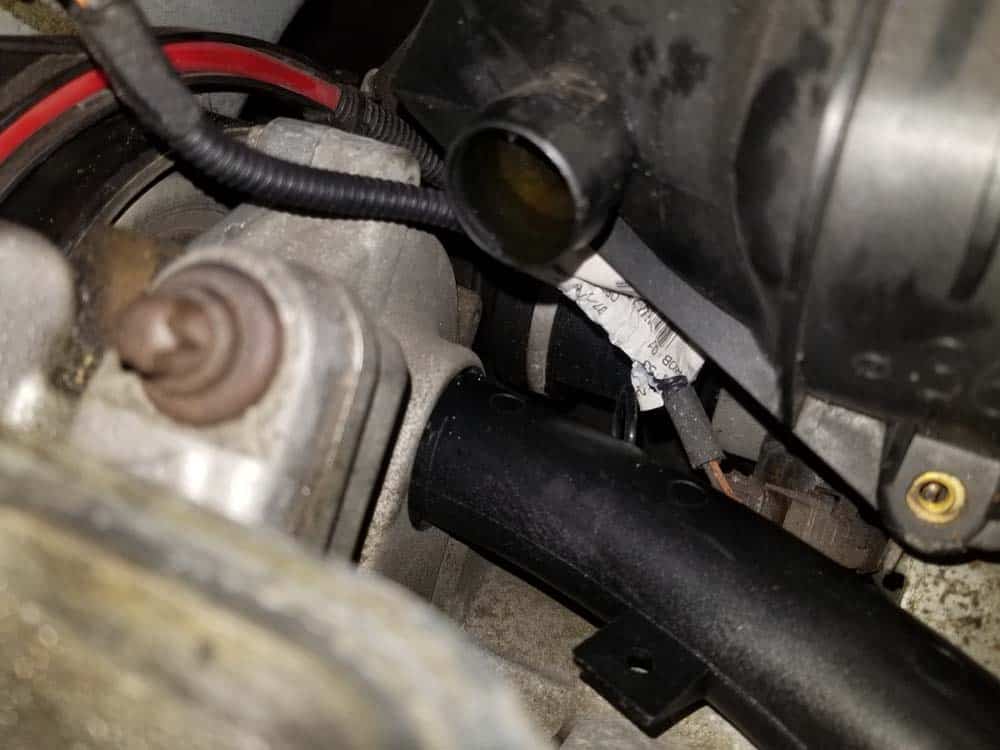
- Reconnect the wiring harness to the side of the water pipe.
- The vehicle is now ready for reassembly.
Section 4 - Reassembling the Vehicle
Reassembling the vehicle is very straightforward with no special procedures outside of following the above steps in reverse. There are a lot of steps...take you time and use patience during reassembly to ensure you don't miss any connections. We have provided the following checklist with important torque values for your convenience.MINI R56 Water Pipe Reassembly Checklist
***The following steps were performed on a 2007 MINI Cooper...other models may vary.- Reinstall the three thermostat mounting bolts and torque to 8 Nm (6 ft-lb).
- Reattach the five thermostat coolant hoses and tighten their clamps.
- Plug in the thermostat sensor
- Snap the wiring harness back onto the front of the valve cover.
- Reinstall the grounding wire to the valve cover.
- Plug the exhaust VANOS solenoid back in.
- Plug the four ignition coils back in.
- Replace the engine cover and its two mounting screws.
- Plug the essentric shaft position sensor back in.
- Plug the coolant temperature sensor back into the top of the thermostat.
- Plug the oil pressure switch back into the side of the cylinder head.
- Install the wiring harness back onto the top of the thermostat.
- Plug in the lower lead of the wiring harness.
- Snap the wiring harnesses plastic anchor back into the DME bracket.
- Plug the wiring harness back into the DME and replace its cover.
- Replace the vacuum hose on the vacuum pump.
- Reinstall the front and rear camshaft sensors.
- Position the intake manifold back onto its mounting studs.
- Reinstall the lower intake manifold mounting bolt and torque to 20 Nm (14.5 ft-lb).
- Reconnect the vacuum line to the back of the intake manifold.
- Reinstall the fuel line vent valve bracket using its 10mm bolt.
- Install the five upper intake manifold mounting nuts and torque to 20 Nm (14.5 ft-lb).
- Plug the throttle body back in and mount it back onto the intake manifold. Torque its mounting screws to 7 Nm (5 ft-lb).
- Bolt the alternator wiring harness bracket back to the engine mount.
- Plug the differential pressure sensor back in underneath the Valvetronic motor.
- Pug the Valvetronic motor back in.
- Reconnect the crankcase breather hose to the side of the valve cover.
- Reattach the intake boot to the throttle body and tighten its hose clamp.
- Plug the rear VANOS solenoid back in.
- Reinstall the fuel injectors and the fuel rail back into the cylinder head. Torque the two T30 mounting bolts to 8 Nm (6 ft-lb).
- Reattach the fuel line back onto the fuel rail.
- Reinstall the intake muffler back onto the intake manifold.
- Install the lid back on the intake muffler. Make sure the hose clamp to the intake boot is securely tightened.
- Reinstall the bolt anchoring the intake muffler to the valve cover.
- Plug the mass air flow (MAF) sensor back in.
- Reinstall the intake manifold pre-box and tighten its 10mm mounting bolt.
- Release the intake manifold air tube from its bungee cord and plug it back into the pre-box.
- Reconnect the battery.
- Before starting the vehicle you will need to replace any coolant that was lost during this repair. Please see the proper steps for refilling your coolant system in Section 5 below.
Section 5 - Refilling the coolant system
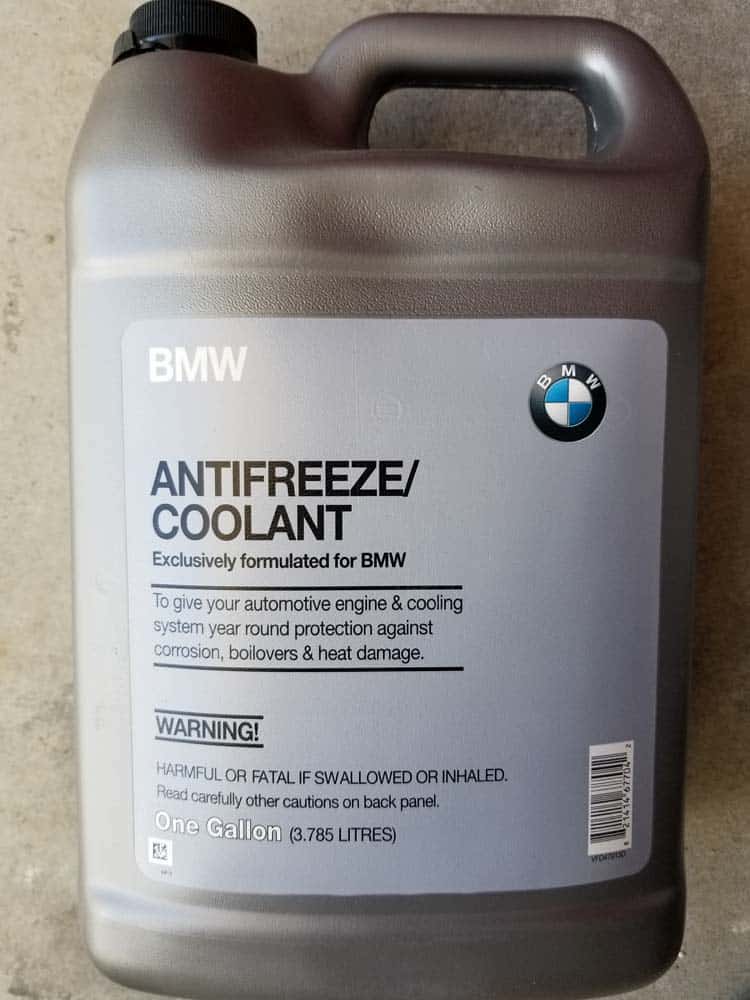
Now that the MINI R56 water pipe has been replaced, you will need to refill the coolant system and bleed it of any trapped air. The BMW Repair Guide recommends using a coolant vacuum fill tool to properly refill the coolant system in your MINI vehicle. If you do not have a vacuum fill tool, you can use the following manual method of filling and bleeding your system. It is very important that any trapped air in the coolant system is bled out to avoid engine overheating.- Only use Genuine MINI or BMW Antifreeze/Coolant mixed 50/50 with distilled water in your vehicle. Using any other brand of antifreeze/coolant in your MINI is strongly discouraged. Genuine MINI (BMW) Antifreeze/Coolant was specifically engineered for your MINI...other brands may not cool or protect your engine correctly.
RELATED ARTICLES

