
Affiliate link disclosure – The BMW Repair Guide uses affiliate links in their site. For more information on affiliate links, please click here.
Repair Summary
The following article gives detailed instructions on replacing the oil pan gasket in your MINI Cooper. Even though we have used a 2007 R56 Mini Cooper to perform this installation, this article can be applied to any MINI vehicle with the R56/R57 engine.
A leaking MINI R56 oil pan gasket is a common repair issue on all Generation 2 Cooper and Cooper S vehicles.
As we have discussed in our other repair articles for the MINI R56, the Prince four cylinder engine has had its issues with leaking engine oil. Another source you can add to that list is the oil pan gasket.
If you have recently noticed a small pool of engine oil on the driveway under your vehicle, then you are also probably ready for a MINI R56 oil pan gasket repair. Other signs that your gasket is failing are an accumulation of engine oil around the edges of the pan, a burnt oil smell from the front of the car, and/or smoke emanating from the engine compartment from oil dripping on the exhaust pipe.
The MINI R56 oil pan gasket becomes hard and brittle with age due to the extreme heat it is subjected to from the vehicle's engine. The good news is a MINI R56 oil pan gasket repair is fairly simple. BMW/Peugeot made the Prince engine's oil pan very accessible, making this an easy repair for the home mechanic.
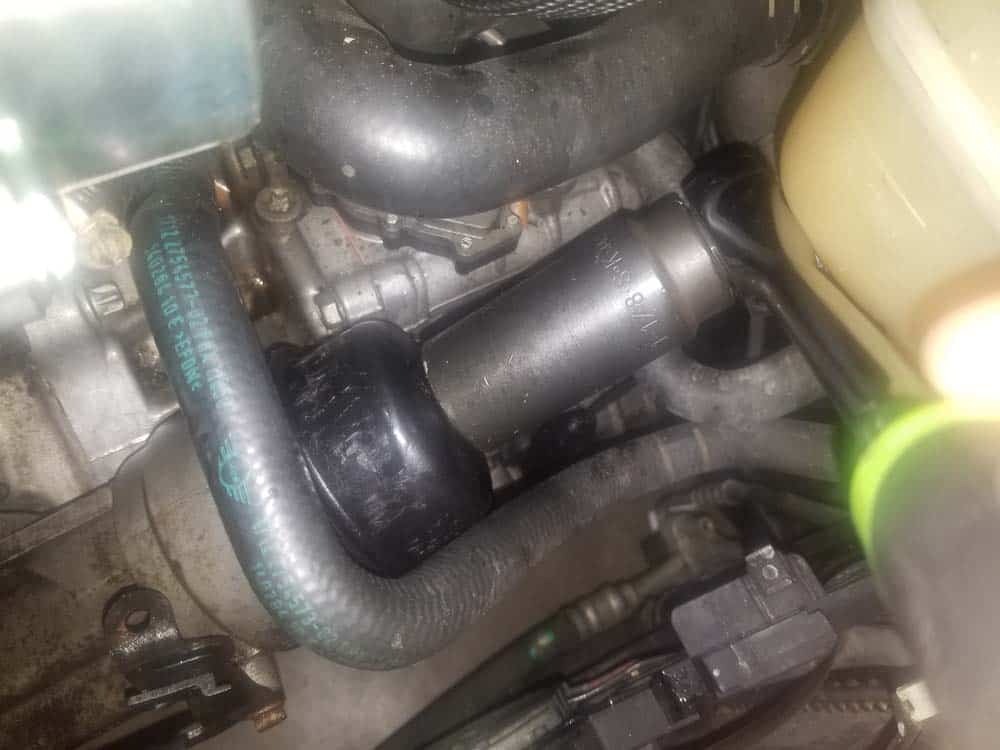
It is important to note that there is one mounting bolt securing the MINI R56 oil pan to the bottom of the engine that is practically impossible to get a torque wrench on during reassembly. The bolt is located under the exhaust manifold at the front left corner of the oil pan...to properly torque the bolt would require putting the MINI in its "service position" and removing the intake manifold from the car (about a one hour process). Although we always stress to our readers not to cut corners during a repair, this is one of those instances where we feel the risk of "guessing" the torque of the bolt outweighs the benefit of taking your car half apart to get to it. If you must have full access to the bolt in order to sleep well at night, please refer to our articles MINI R56 Service Position – 2006-2013 Cooper and MINI R56 Oil Filter Housing Leak Repair – 2006-2013 Cooper for more information on removing your exhaust manifold.


View the detailed parts diagram for this repair.
Includes detailed part diagrams, part numbers and links to purchase all of the required components needed to complete this repair.
Section 1 - Removing the Oil Pan
Before you can perform a MINI R56 oil pan gasket replacement, you will need to drain the engine oil from the vehicle. Always place a reminder somewhere to refill the vehicle before starting the vehicle...it's a very common mistake that happens more often than you think. We like to put a "post it note" on the steering wheel so we don't forget.- Jack and support the vehicle using the "four corner" wheel stand method. For more information on jacking and supporting your MINI, please refer to our article BMW Jacking and Supporting for Repairs and Maintenance.
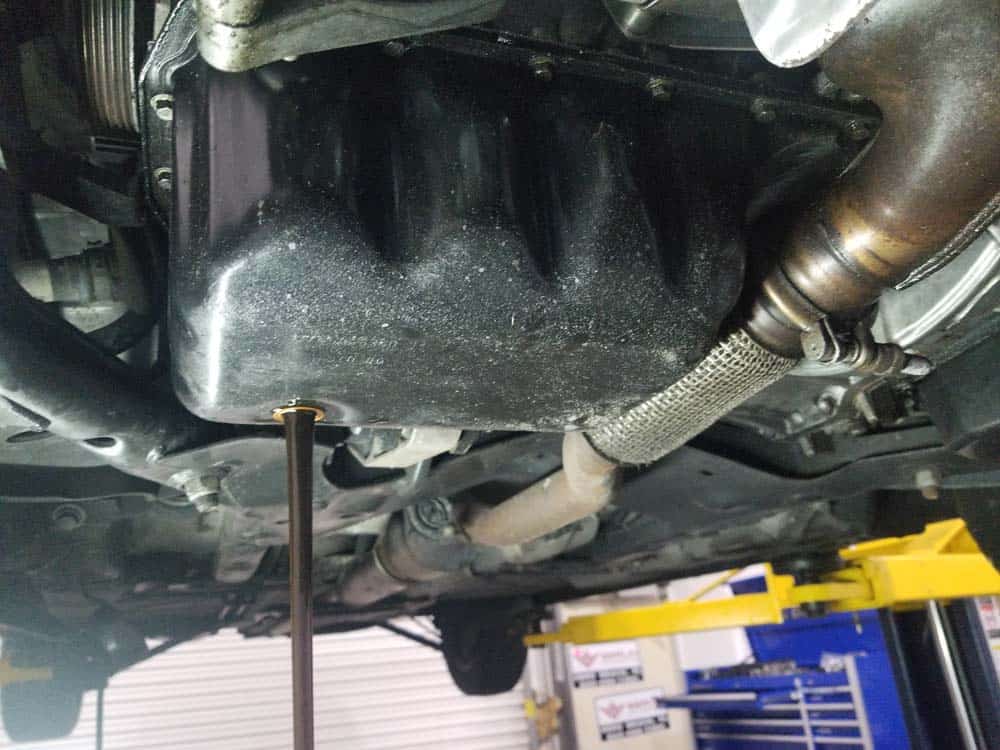
- Position a 5 gallon drain pan under the oil pan. Remove the oil fill cap on the top of the engine...the cap must be removed to properly drain the engine. Using an 8mm hex socket, remove the oil drain plug from the oil pan. Allow the engine oil to completely drain out.
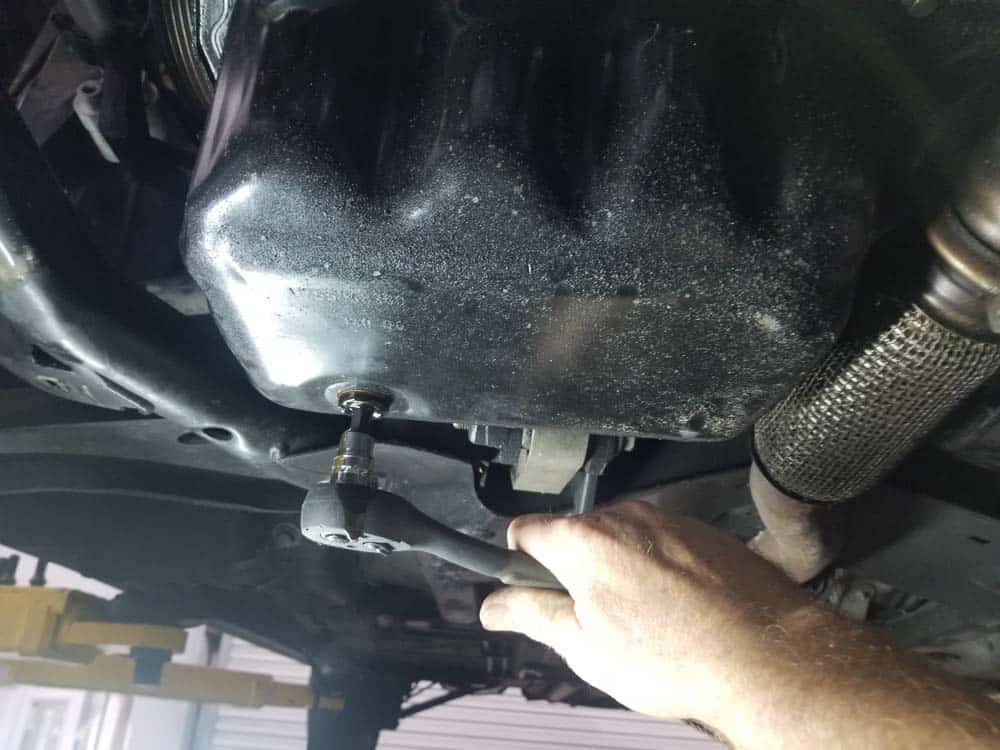
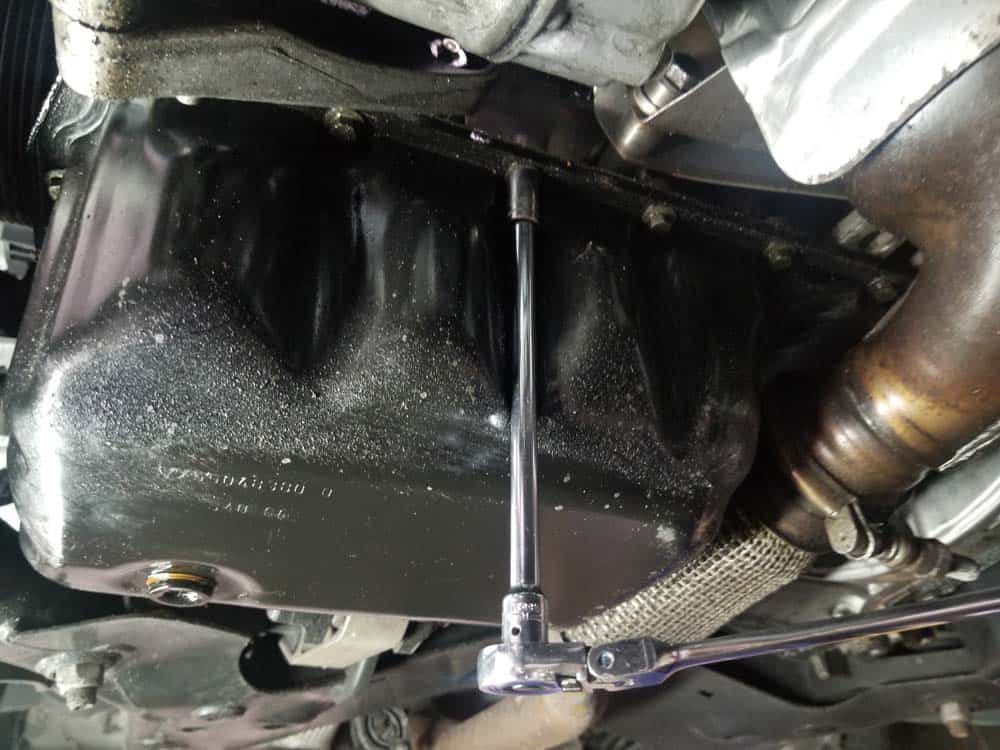
- Start removing the oil pan mounting bolts using an 8mm socket wrench. Use a socket extension and a universal joint adapter as needed to get hard to reach bolts. There is one bolt that you will not be able to reach with a socket because it is behind the exhaust manifold (see next step).
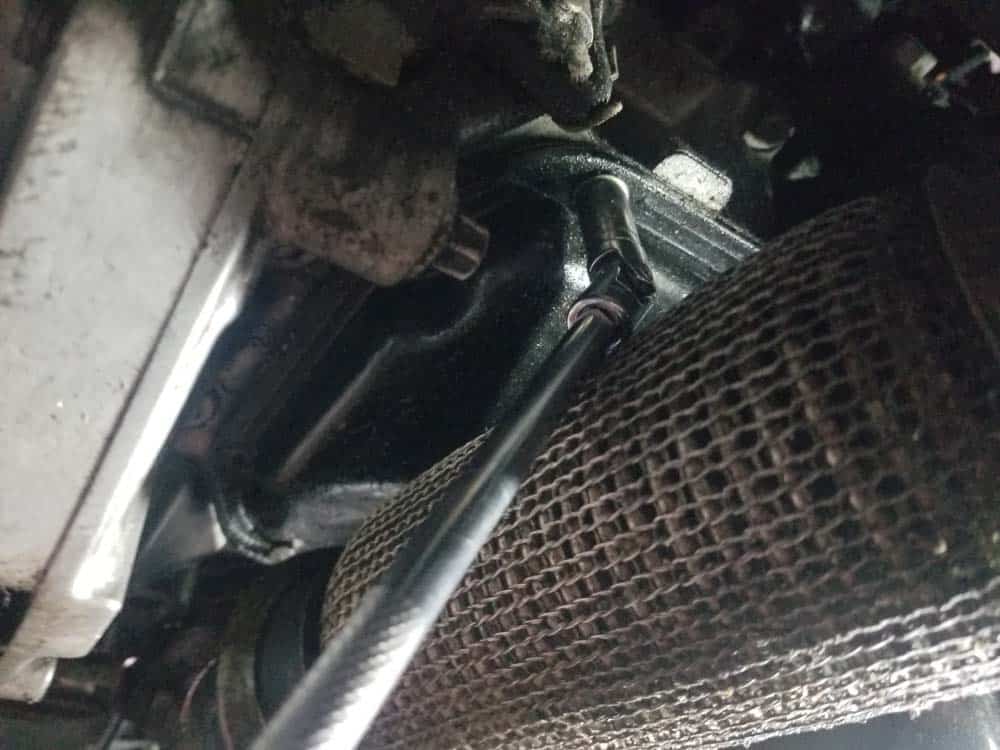
- There is one bolt behind the exhaust manifold that cannot be reached with a socket wrench unless the manifold is removed (see our discussion on this at the beginning of the article). Use an 8mm open end or ratcheting box end wrench to remove this bolt.

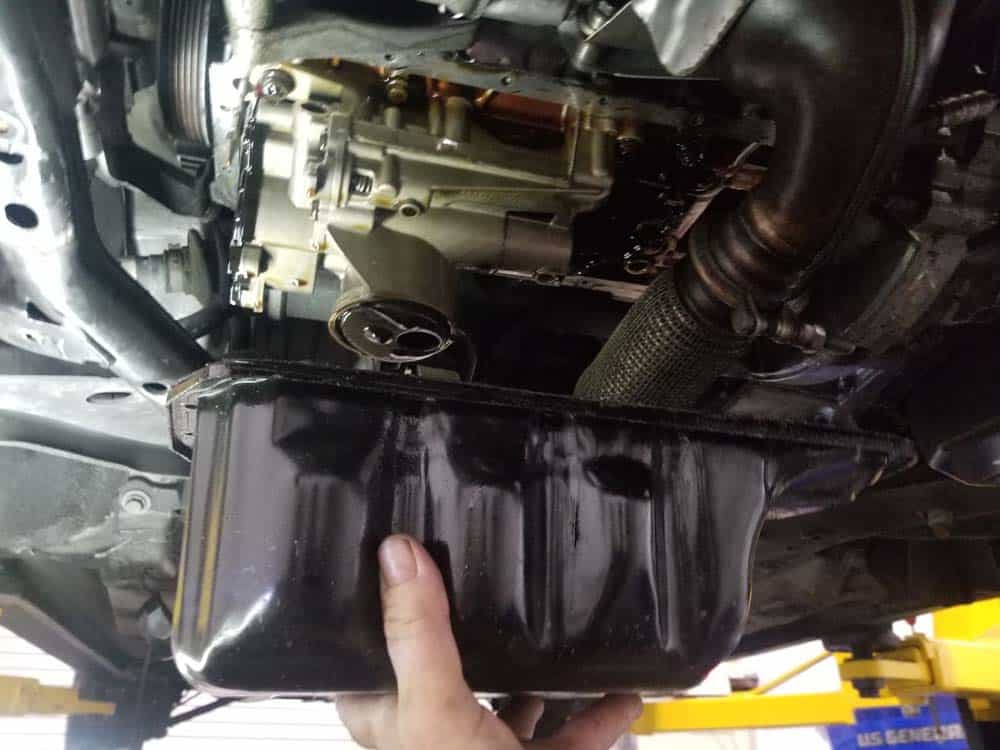
- With all of the mounting bolts removed, grasp the oil pan and lower it out of the vehicle.
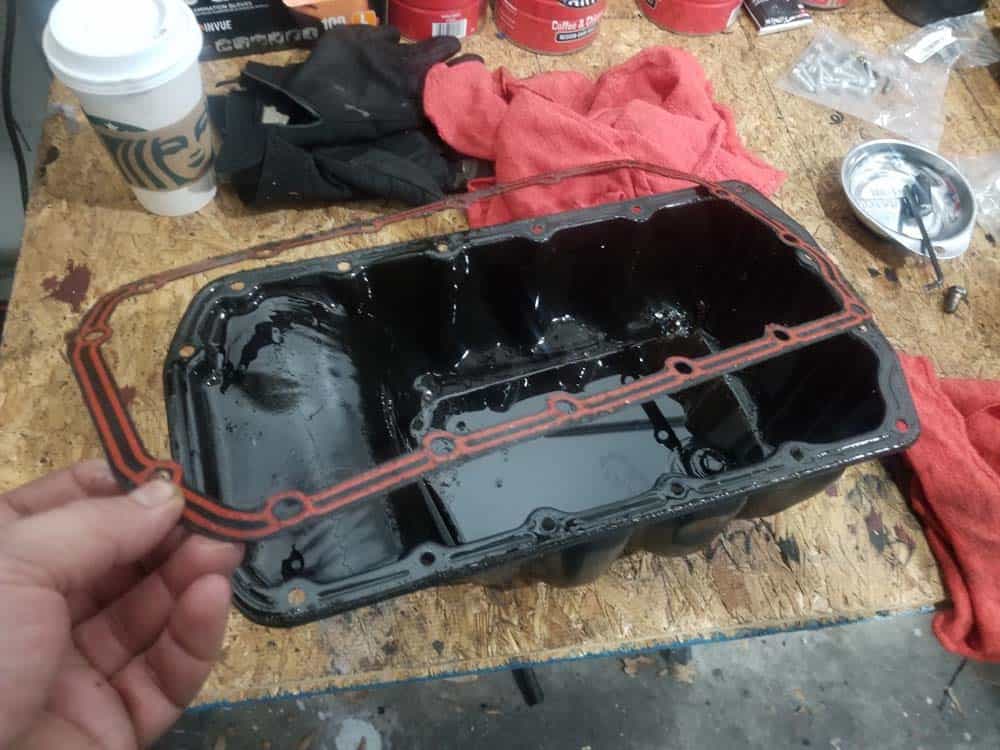
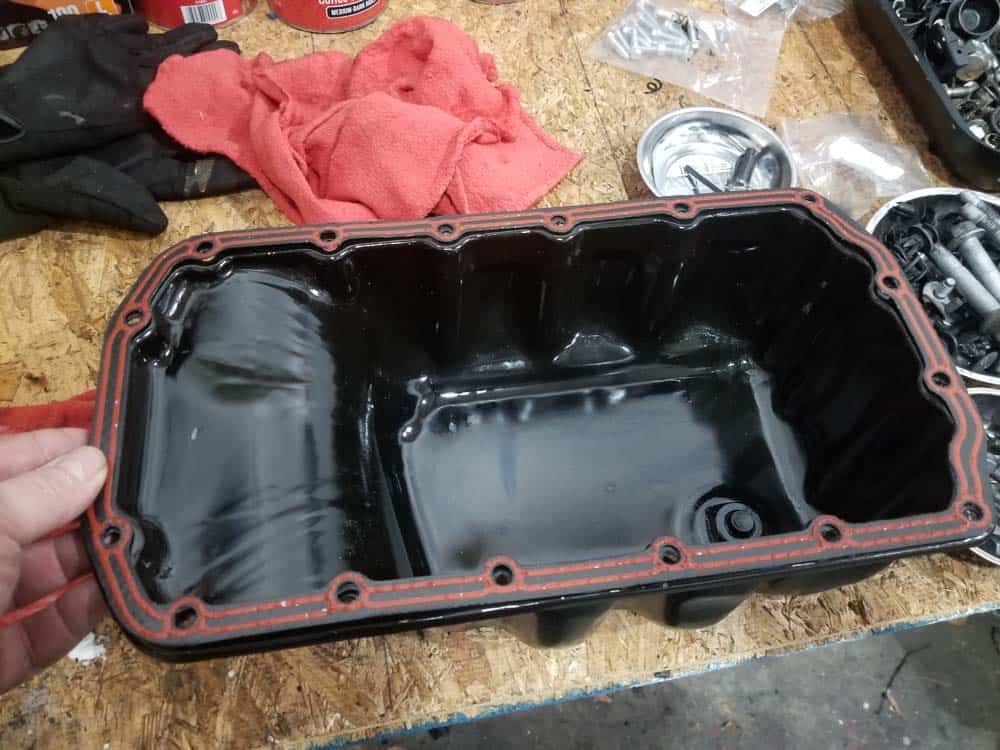
- Put the oil pan on a bench and remove the old gasket.
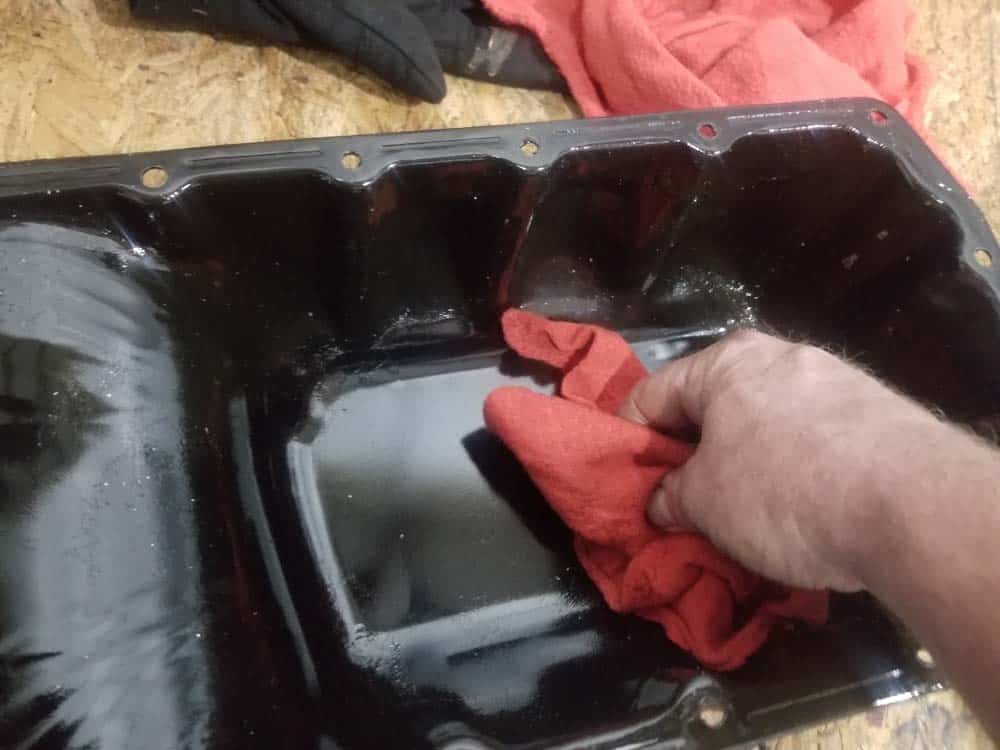
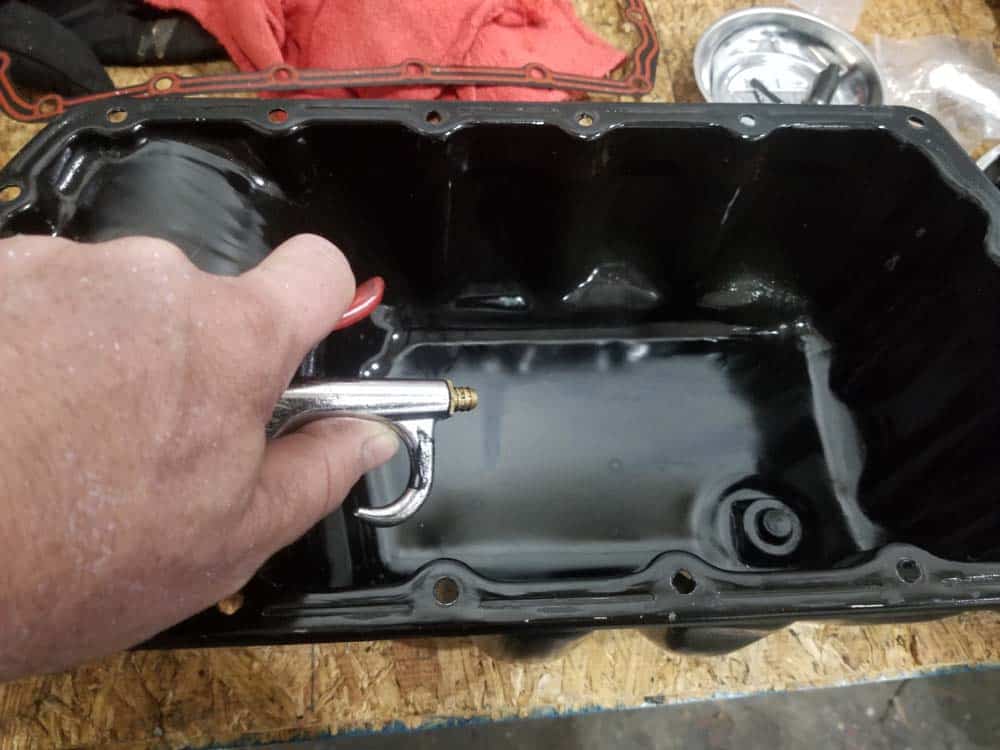
- Thoroughly clean the oil pan with a rag and some compressed air. Make sure to clean up any old oil and grime on the gasket surface of the pan.
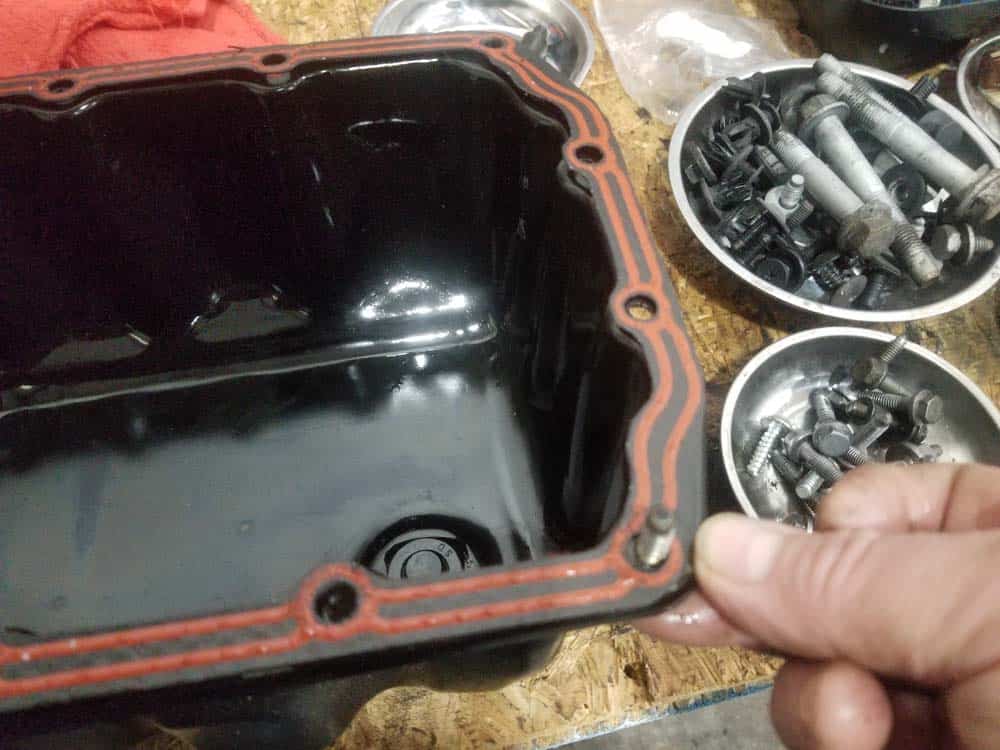
- Place the new MINI R56 oil pan gasket on the oil pan. Make sure all of the holes line up correctly.
- Thoroughly wipe down the engine gasket surface removing any old oil and grime. Installing one of the mounting bolts in the pan will help hold the MINI R56 oil pan gasket in place as you raise it into position on the engine.
- Install the pan back onto the engine. Torque the mounting bolts to 12 Nm (8.8 ft-lb). You do not need to follow any specific pattern when tightening the bolts. See the next step for tightening the bolt behind the exhaust manifold.
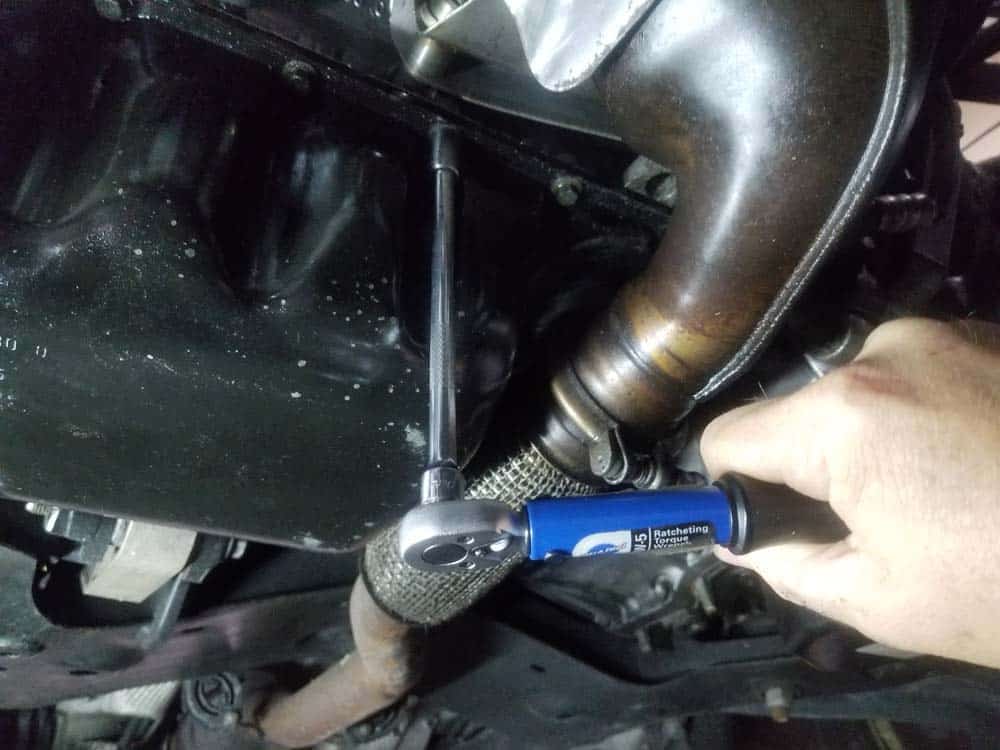
- Since you will not be able to get a socket wrench on the bolt behind the exhaust manifold, you will have to "guess" at the proper torque with an open end wrench. It is excruciatingly painful for us to use the word "guess", but as discussed earlier in this article, the risk of being slightly off with the torque greatly outweighs taking the front end of the car apart to get to the bolt. DO NOT over tighten the bolt; you can strip it or, even worse, snap it off.
- Replace the oil drain plug and torque to 30 Nm (22.1 ft-lb). It is always good practice to replace the drain plug's copper washer every time the plug is removed. If you are replacing the oil filter, there is usually a spare washer included in the same package as the rubber o-ring. If you are not replacing the filter, you can order one from our parts list above.
Section 2 - Refilling the Engine and Testing
Refill the engine with a high quality BMW LL-01 certified oil (we give you several fine choices in the parts section above). Now is also a great time to replace your oil filter.- Refill your MINI R56 with 4.2 liters (4.5 quarts) of 5W-30 BMW LL-01 engine oil. Don't forget to replace the oil filler cap.

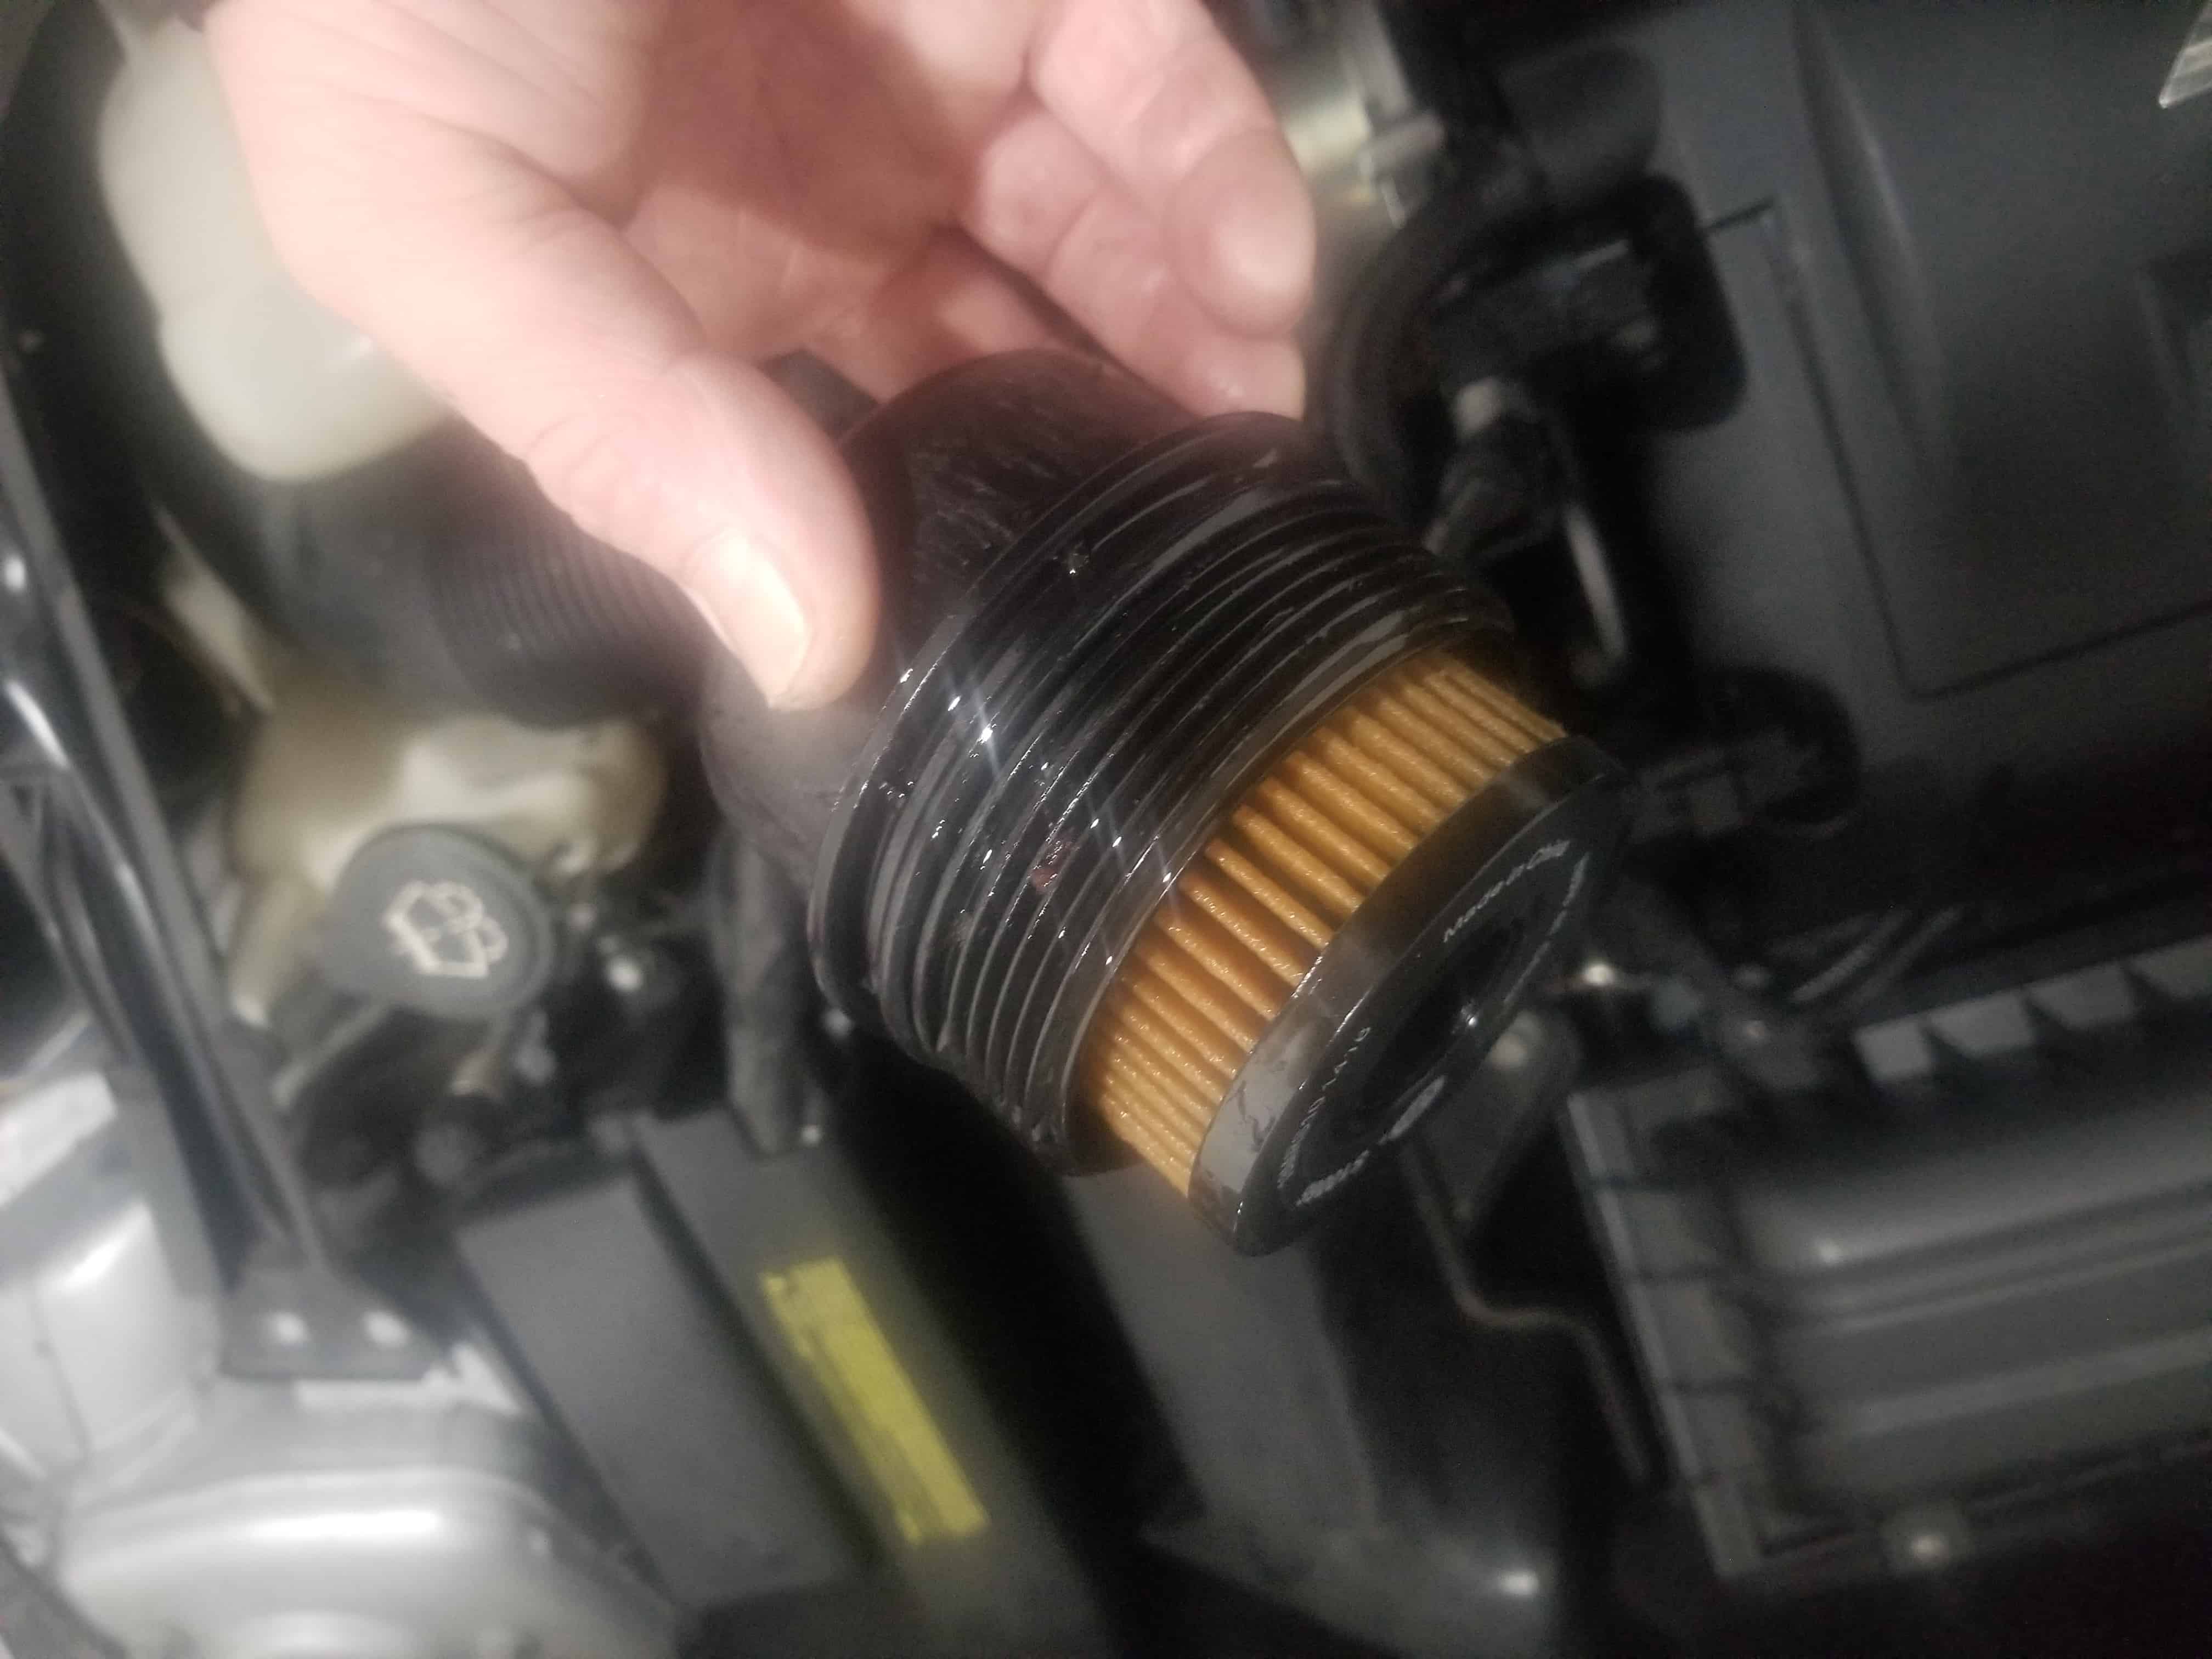
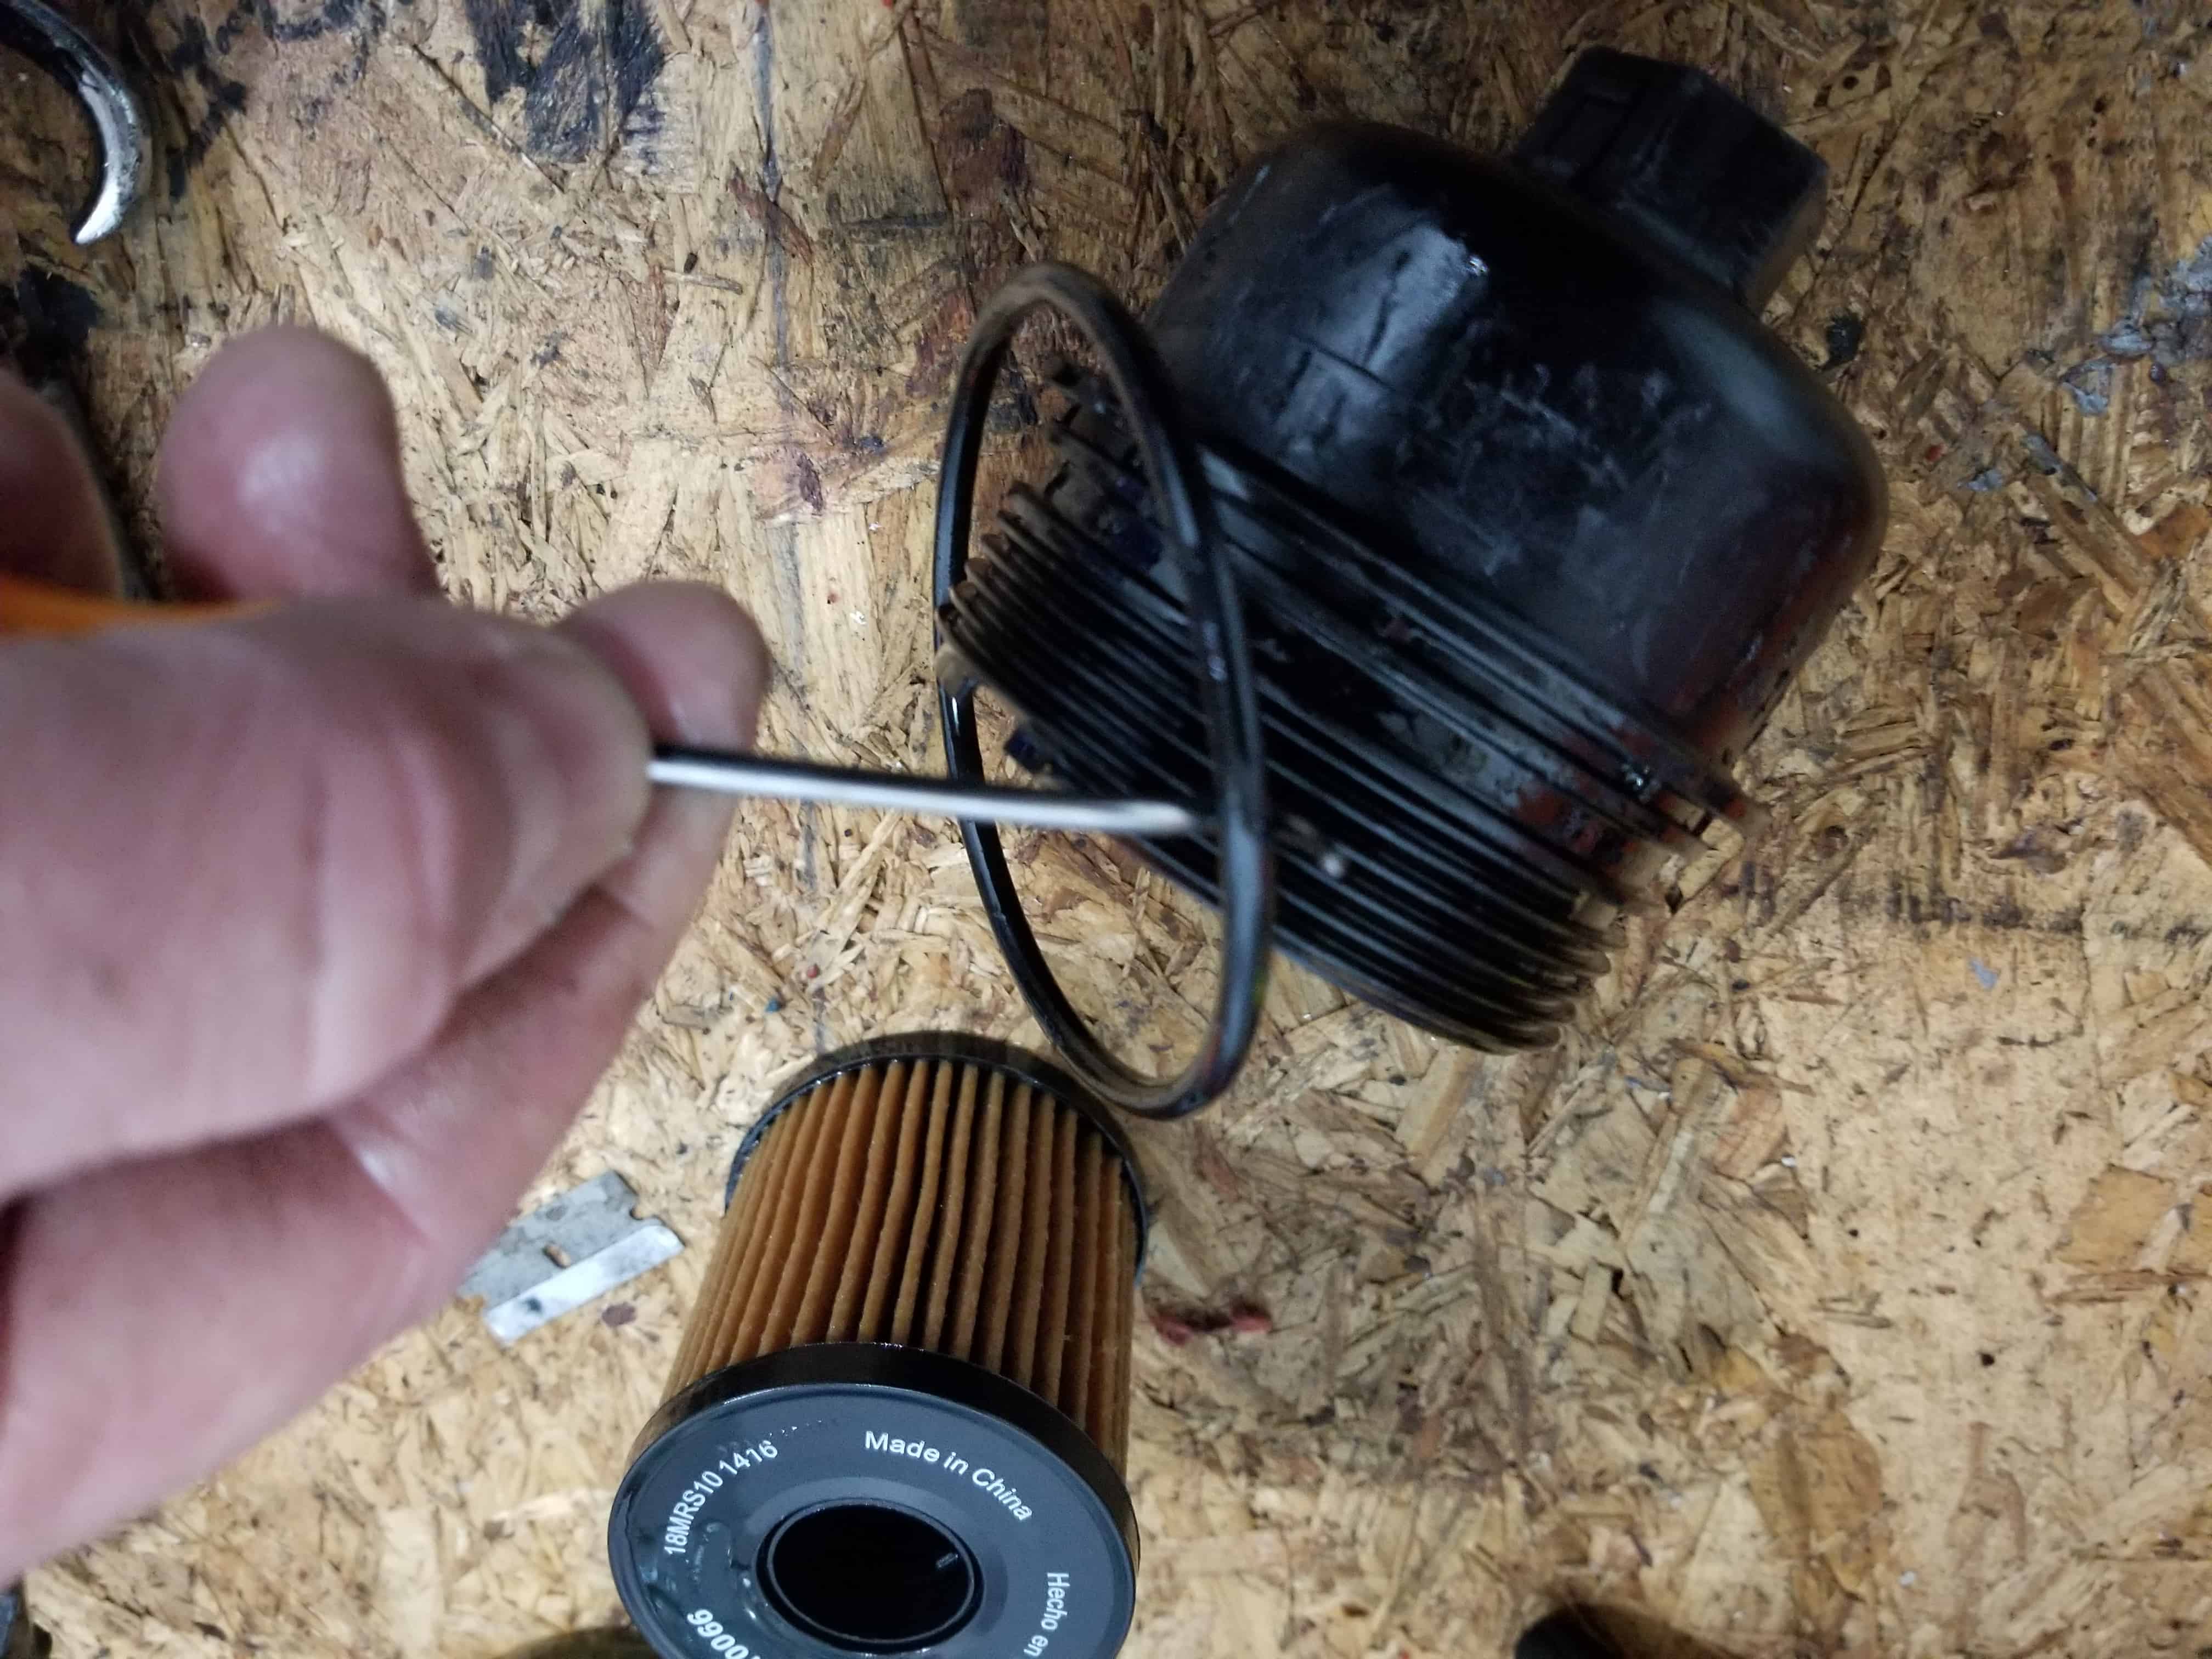
- If you are replacing the oil filter, use a 28mm socket wrench to remove the oil filter cover. Use a metal pick to remove the old rubber o-ring from the filter cover. Install a new o-ring and filter. Torque the cover to 25 Nm (18.5 ft-lb).
- Start the engine and allow it to idle until it reaches it's operating temperature (about 5 minutes). Check for leaks around the oil pan gasket and the oil filter.
MINI R56 Oil Pan Gasket Repair Finished