Affiliate link disclosure – The BMW Repair Guide uses affiliate links in their site. For more information on affiliate links, please click here.
Repair Summary
This article gives detailed instructions on replacing the engine mounts in a BMW E60/E61 5 series sedan or touring wagon. Even though we used a 2006 530xi touring wagon to perform this repair, this article can be applied to any 2004-2010 5 series with minor modifications to the repair steps.
See all vehicles this article applies to
E60 5 Series M5
E60 5 Series 523Li
E60 5 Series 550i
E60 5 Series 545i
E60 5 Series 540i
E60 5 Series 535d
E60 5 Series 530xi
E60 5 Series 530xd
E60 5 Series 530Li
E60 5 Series 530i
E60 5 Series 530d
E60 5 Series 525i
E60 5 Series 525xi
E60 5 Series 525Li
E60 5 Series 525d
E60 5 Series 523i
E60 5 Series 520i
E60 5 Series 520d
A BMW E60 engine mount replacement may be needed if your 5 series is making excessive interior vibration sounds.
The BMW E60 motor mounts help cushion the vibrations produced in the engine compartment by providing a buffer between the engine block and the frame of the vehicle. The motor mounts main function is to eliminate metal-to-metal contact between the engine and the frame, effectively canceling harsh vibrations within the interior of the car.
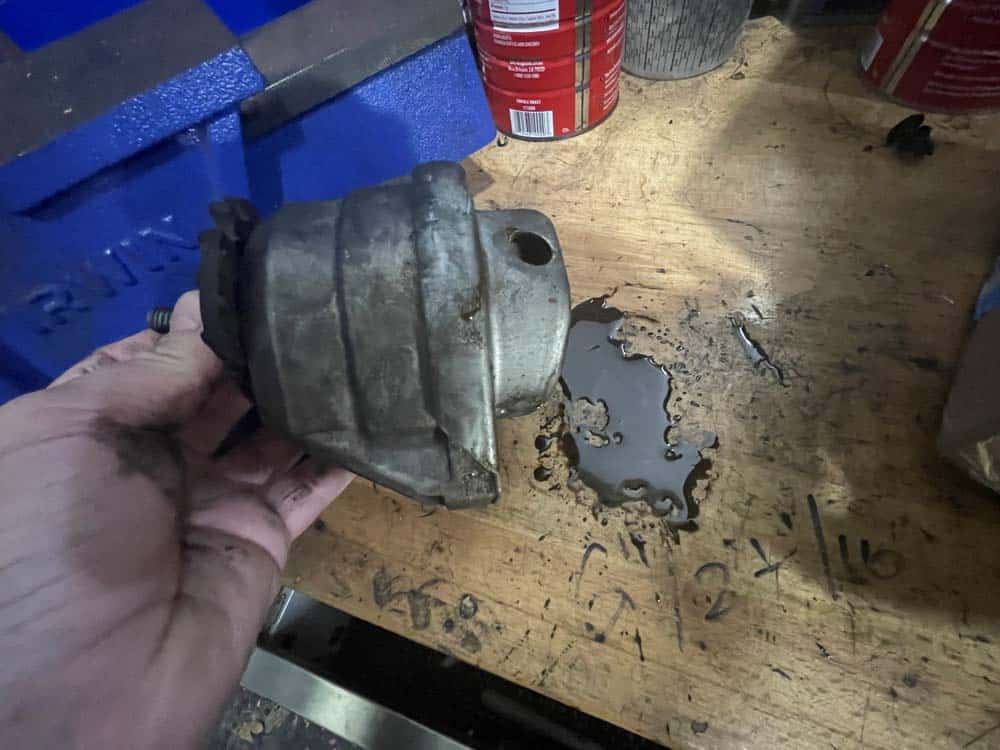
The BMW E60 5 series engine mounts are comprised of a thick rubber bushing and oil-filled chamber encased in a heavy-duty steel shell. Like all mechanical engine parts, the motor mounts have a definitive life cycle and do eventually fail. The lifespan of 5 series engine mounts varies depending on driving habits, but it's our experience that they start to fail around 120,000 miles on the E60 sedan and E61 touring wagon.
The classic sign of failing (or loose) motor mounts is excessive vibration inside the vehicle. This vibration usually intensifies quickly causing squeaking ceiling and door panels and elevated interior noise levels. Many mechanics mistakenly diagnose this vibration as a vacuum leak - which can also produce the same effect. Another sign of failing E60 motor mounts is a brown liquid seeping from the bottom of the steel shell. This means that the interior fluid chamber has ruptured - the mounts should be replaced immediately if this is observed to avoid structural damage to the frame or engine block.
Replacing the engine mounts on the BMW E60 5 series is tricky, especially on all-wheel xDrive models like the one used to make this article. The engine must be raised in order to remove the mounts. Further compounding the issue is there is limited space to get the mounts out of the frame once the engine is lifted. Unfortunately, the only way to remove them is to raise the vehicle and remove them from the rear of the engine...a difficult maneuver without a lift and jack stand to support the engine. If you are a home mechanic doing this repair, make sure the entire vehicle is raised and supported on ramps (at all four wheels) so the rear of the engine can be accessed from underneath the vehicle.


View the detailed parts diagram for this repair.
Includes detailed part diagrams, part numbers and links to purchase all of the required components needed to complete this repair.

Before starting this repair, you must have the following required parts.
Fits BMW E60/E61 six-cylinder models only
These are the same factory engine mounts that would be installed at the BMW dealership.
All BMW E60/E61 six-cylinder models
These are the same factory engine mounts that would be installed at the BMW dealership.
Section 1 - Removing the engine mounts
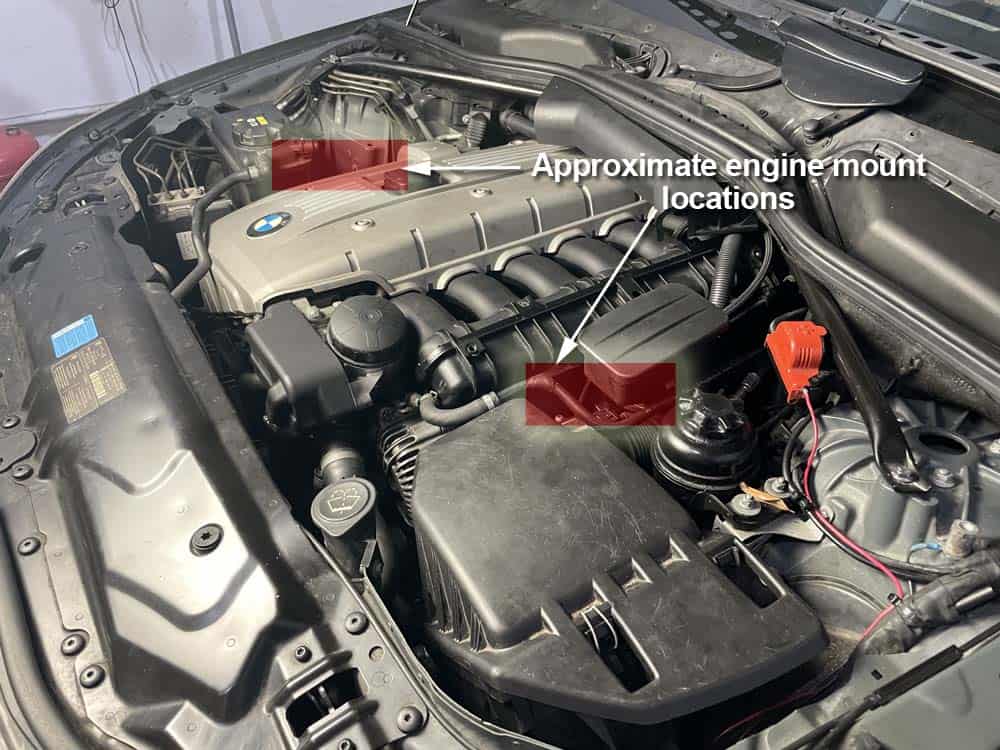
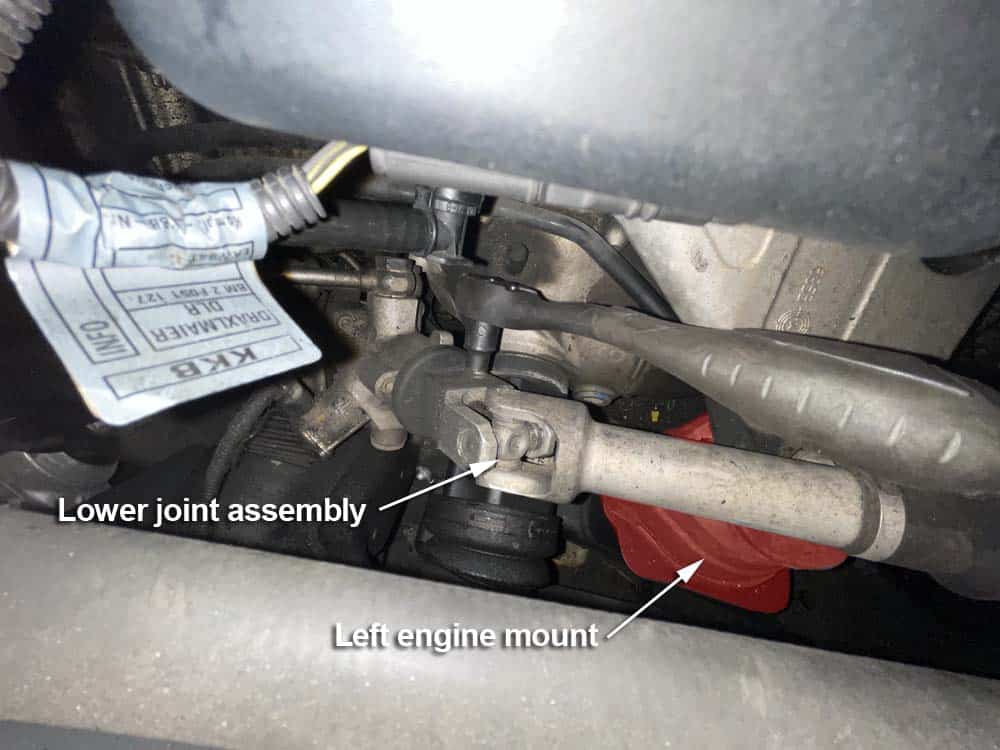
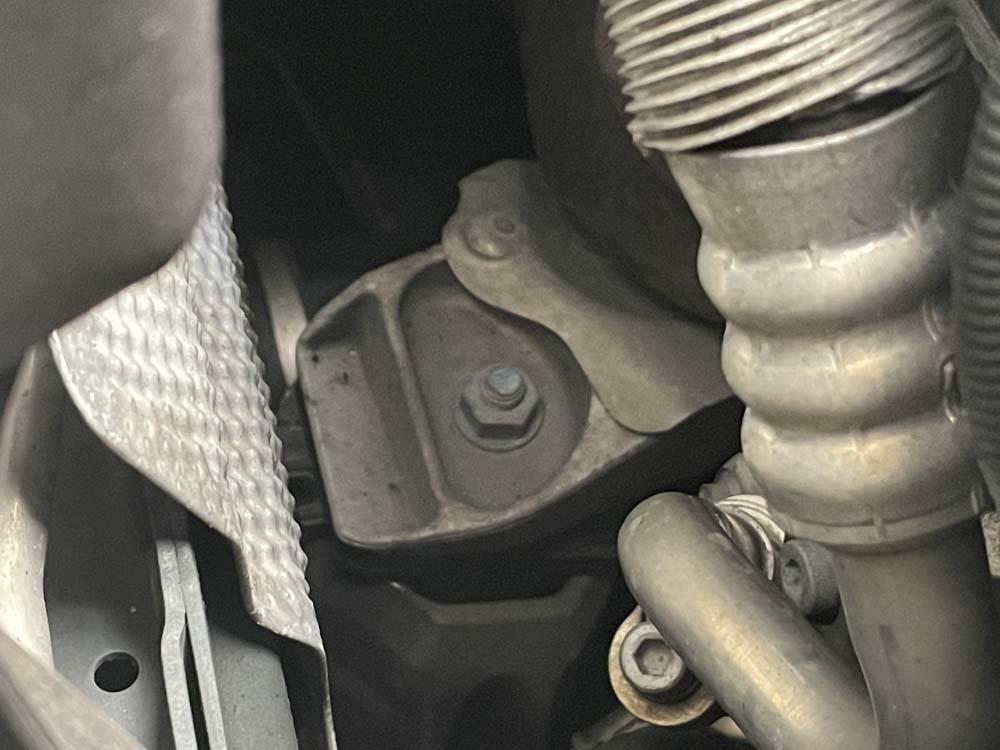
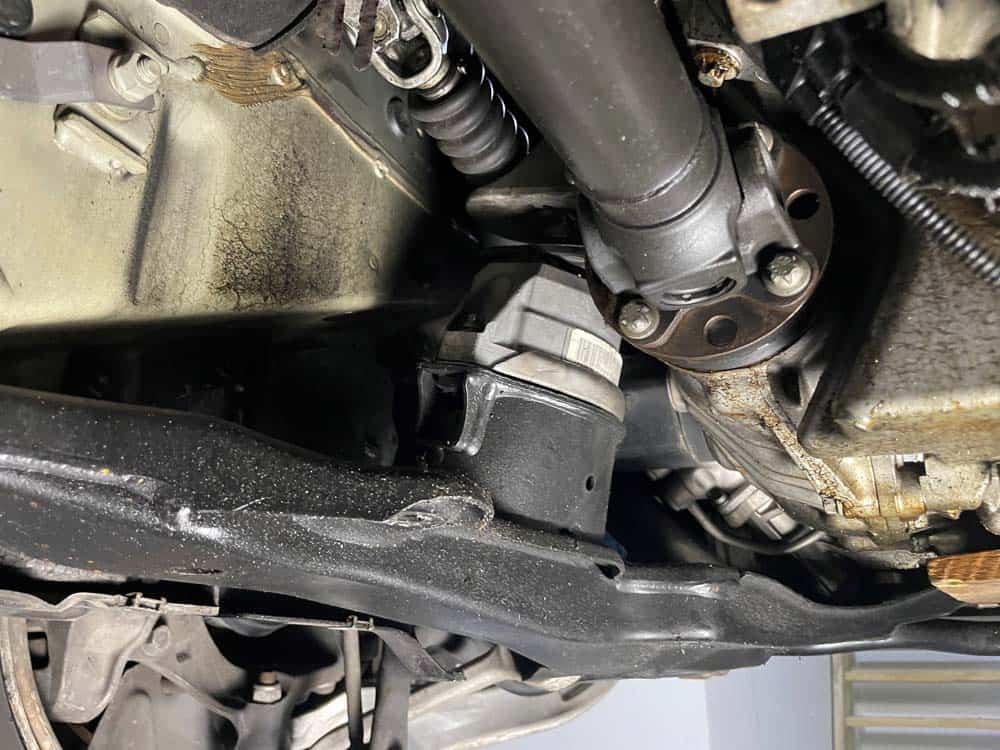
As discussed at the beginning of this article, removing the motor mounts from the E60 5 series is challenging due to the fact that the engine must be raised while the vehicle is jacked and supported with enough clearance to work under the car. Jacking and supporting the vehicle allows for the removal and reinstallation of the engine mounts from the rear of the engine.- Locate and identify the left and right motor mounts. They are located approximately midway back on either side of the motor. xDrive models - The left engine mount is located closer to the rear of the engine underneath the steering column's lower joint assembly.
 .
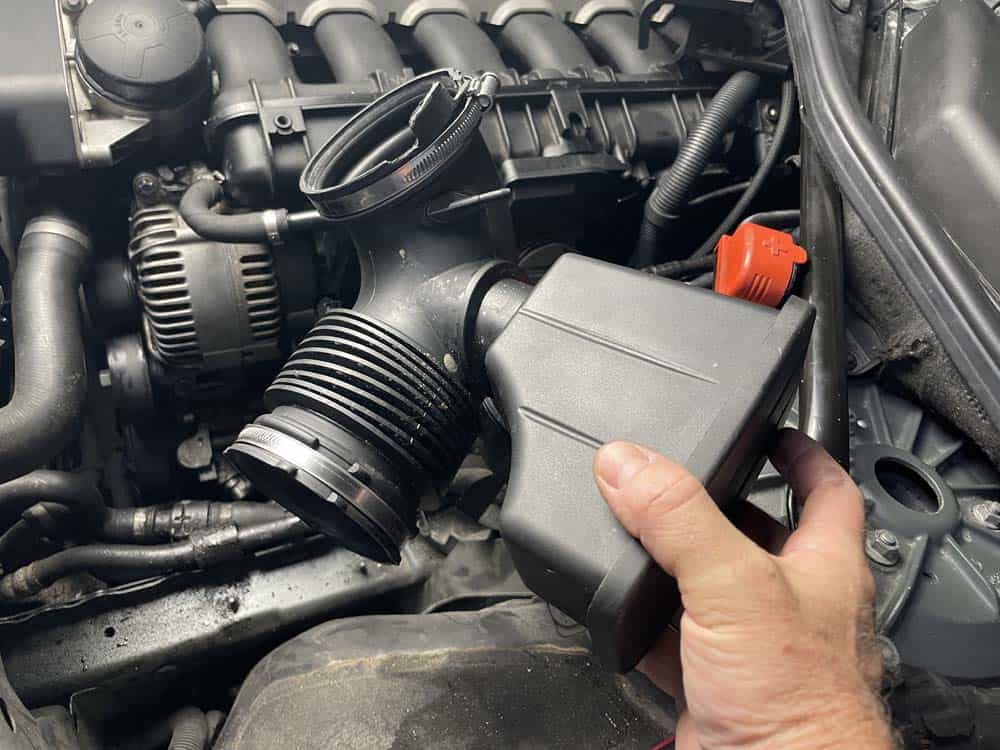
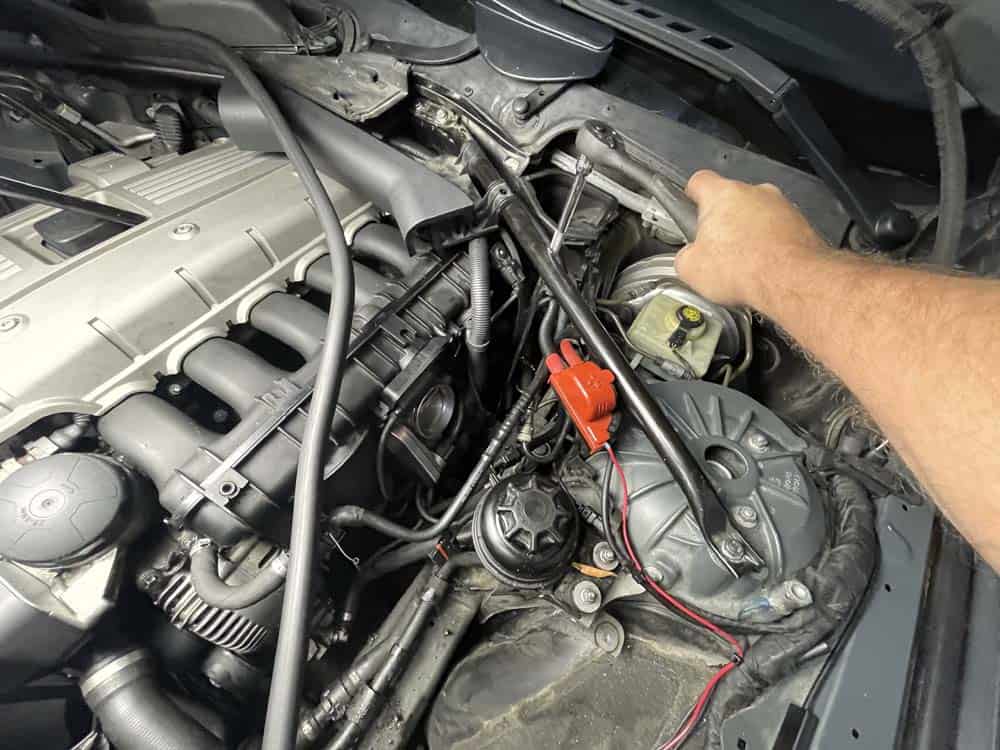
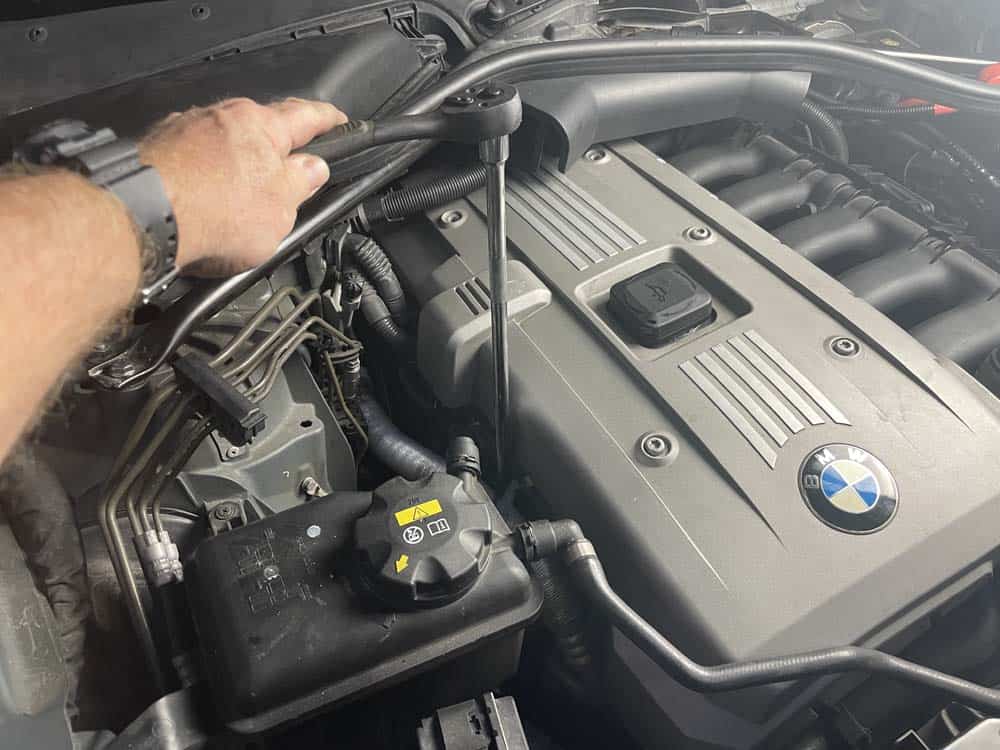
. - Remove the intake muffler assembly and the intake boot.

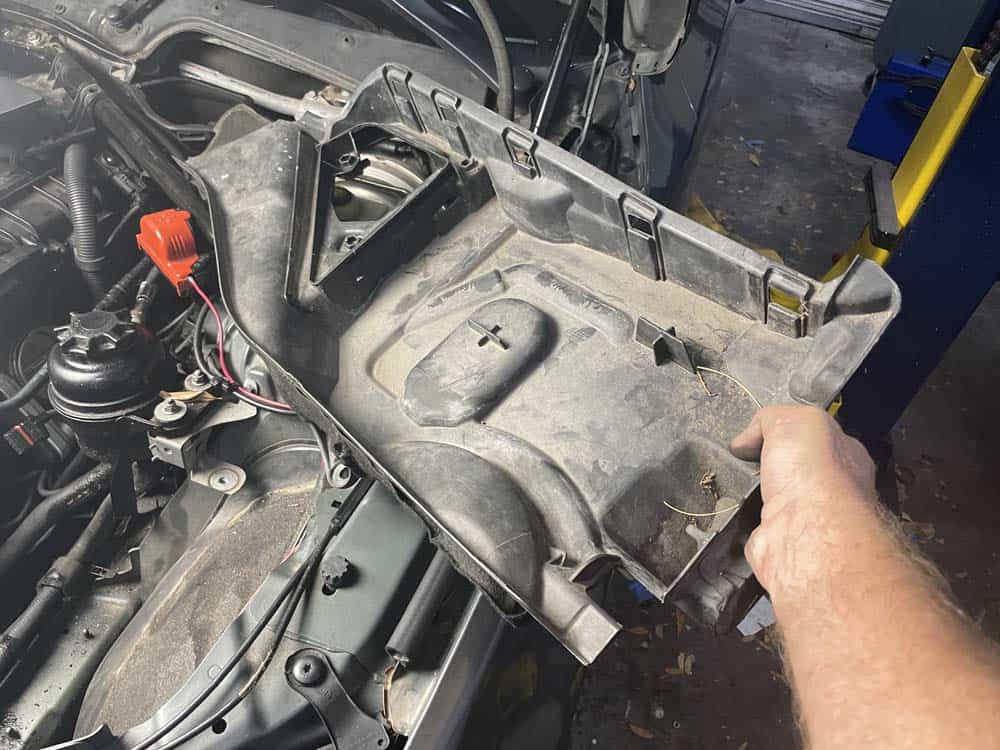
- If working on an xDrive model, the left cabin filter assembly must be removed. This is because the left engine mount bolts cannot be properly accessed with it in place. For complete instructions on removing the cabin filter housing, please refer to steps 2-4 in our article BMW N52 Intake Manifold Removal.
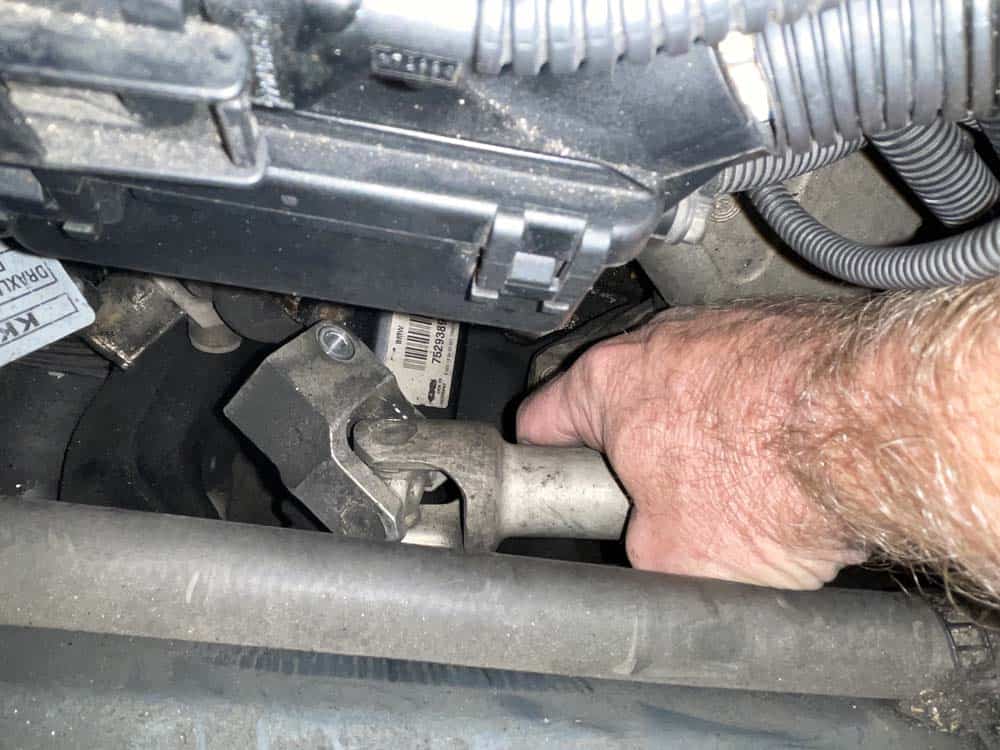
- If working on an xDrive model, the steering lower joint assembly will need to be disconnected from the steering rack. This is a very simple procedure...it is held in place with an E10 torx pinch bolt. Remove the bolt using an E10 external torx socket, then gently pry the lower joint off of the splined steering rack rod.
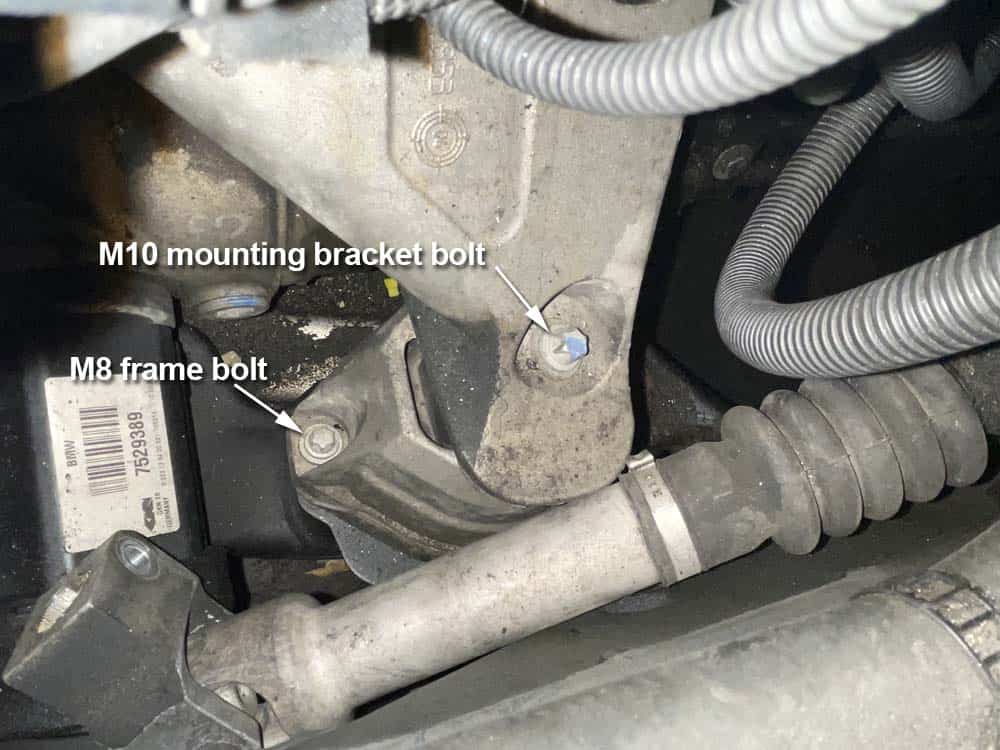
- Remove the bolts from the left motor mount using E10 and E12 external torx sockets.
- Moving to the right side of the vehicle, remove the right motor mount anchor bolts and bracket nut using an E10 torx socket and 16mm socket wrench, respectively.
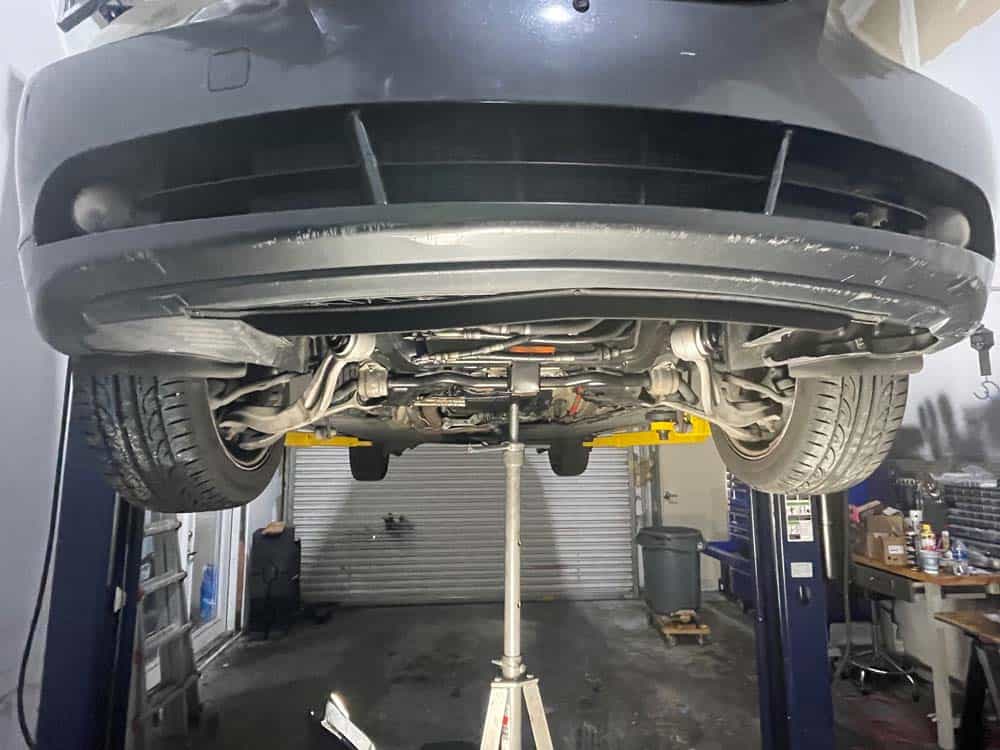
- As discussed previously the vehicle the engine must be raised with the vehicle in the air to allow the engine mounts to be removed from the rear of the motor. This is best done with a professional lift and jack stand as shown below. It can also be done by the home mechanic by supporting the vehicle on ramps then raising the engine with a floor jack. Care should always be taken to ensure the vehicle and engine are properly supported before continuing to the next step.
- With the vehicle and engine raised, remove the motor mounts from the rear of the engine. Take your time and exercise patience...they can be tricky to get out. If they get hung up, try rotating them until they pop out of the frame.
- Install new engine mounts.
- BEFORE LOWERING THE ENGINE...reinstall the engine mount bolts/nut and hand tighten (do not torque). This will ensure everything lines up properly and will avoid any stripped bolts.
- Lower the engine and then the vehicle. Torque the engine mount bolts as follows: Engine mount to frame (M8 bolts) - 25 Nm (18 ft-lb) Engine mount to mounting bracket (M10 nut and bolt) - 50 Nm (37 ft-lb)
- If working on an xdrive model, reassemble the lower steering joint and torque the pinch bolt to 25 Nm (18 ft-lb)
- Reassemble intake muffler and cabin filter housing (xDrive models).
BMW E60 Engine Mount Replacement