Affiliate link disclosure – The BMW Repair Guide uses affiliate links in their site. For more information on affiliate links, please click here.
Repair Summary
This article gives detailed instructions on draining, cleaning and refilling the coolant system in a BMW E60/61 5 series vehicle Even though we used a 2006 E61 530xi touring wagon to perform this repair, this article can be applied to any vehicle with the N52 engine including 1,3,5,6,7,X1,X3, and Z4 models with minor modifications to the repair steps.
See all vehicles this article applies to
E60 5 Series M5
E60 5 Series 523Li
E60 5 Series 550i
E60 5 Series 545i
E60 5 Series 540i
E60 5 Series 535d
E60 5 Series 530xi
E60 5 Series 530xd
E60 5 Series 530Li
E60 5 Series 530i
E60 5 Series 530d
E60 5 Series 525i
E60 5 Series 525xi
E60 5 Series 525Li
E60 5 Series 525d
E60 5 Series 523i
E60 5 Series 520i
E60 5 Series 520d
E60N 5 Series 550i
E60N 5 Series 525xi
E60N 5 Series 540i
E60N 5 Series 535xi
E60N 5 Series 535i
E60N 5 Series 535d
E60N 5 Series 530xi
E60N 5 Series 530xd
E60N 5 Series 530Li
E60N 5 Series 530i
E60N 5 Series 528xi
E60N 5 Series 530d
E60N 5 Series 528i
E60N 5 Series 525Li
E60N 5 Series 525xd
E60N 5 Series 525i
E60N 5 Series 525d
E60N 5 Series 523Li
E60N 5 Series 523i
E60N 5 Series 520Li
E60N 5 Series 520d
E60N 5 Series 520i
E61 5 Series 550i
E61 5 Series 530d
E61 5 Series 545i
E61 5 Series 535d
E61 5 Series 530xi
E61 5 Series 530xd
E61 5 Series 525i
E61 5 Series 530i
E61 5 Series 525xi
E61 5 Series 525d
E61 5 Series 523i
E61 5 Series 520d
A BMW E60 coolant flush should be performed if the cooling system in your 5 series has not been serviced within the last 24 months.
It has become an inconvenient truth among BMW owners that their engine coolant is not a "lifetime" fill and that topping it off at every oil change is not the only service it needs. Unfortunately, the BMW Service and Warranty Information book for 2006-2010 5 series vehicles fails to address coolant flushes, only suggesting that the coolant "fluid level and concentrations" be inspected during Conditional Based Service (CBS) vehicle checks. This has led many E60 owners to neglect their engine coolant...which could be a very costly mistake.
In order to understand why a BMW E60 coolant flush should be performed on your 5 series vehicle, we need to start with what engine coolant is comprised of. BMW antifreeze/coolant is predominantly made up of ethylene glycol...a toxic chemical that when mixed 50/50 with distilled water becomes an excellent heat transfer fluid. It is the ethylene glycol that helps keep your engine from freezing in the winter or overheating in the summer. BMW antifreeze/coolant also contains a number of different corrosion inhibitors to help prevent corrosion of metallic parts, most notably those made of aluminum and copper.
Thermal shock
As the coolant in your BMW ages, it falls victim to what is called "thermal shocking". Thermal shock is caused by rapidly subjecting the coolant to intense heat fluctuations like when starting a hot engine. Over time, the thermal shock causes the ethylene glycol to decompose into organic acids which dissolve metallic parts, literally destroying your BMWs cooling system from the inside out. Since the corrosion inhibitors in the coolant become depleted with age, they slowly lose the ability to cast a protective layer across these metallic parts - with nothing left in the coolant to counteract this acidic attack, the door has been opened for severe damage to the engine if the coolant is not replaced.
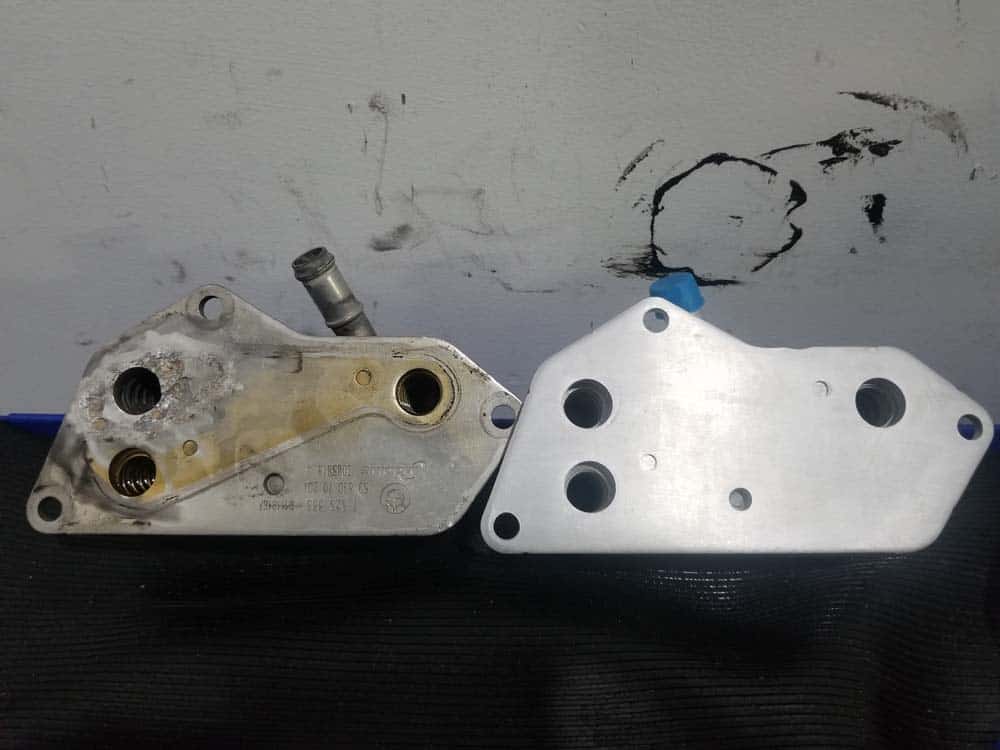
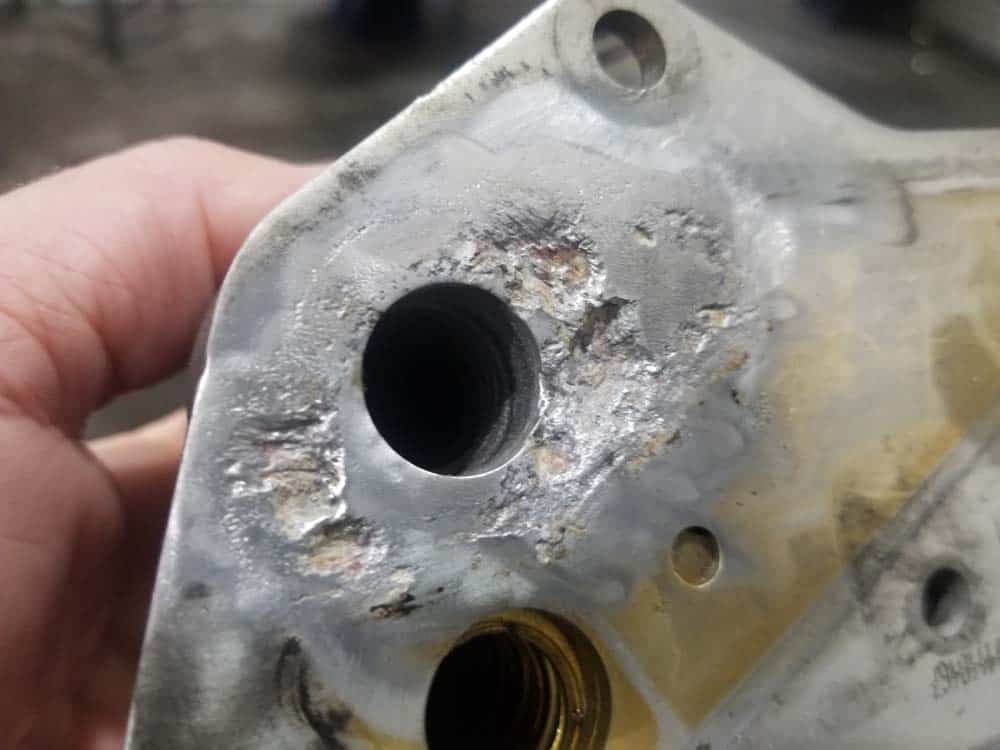
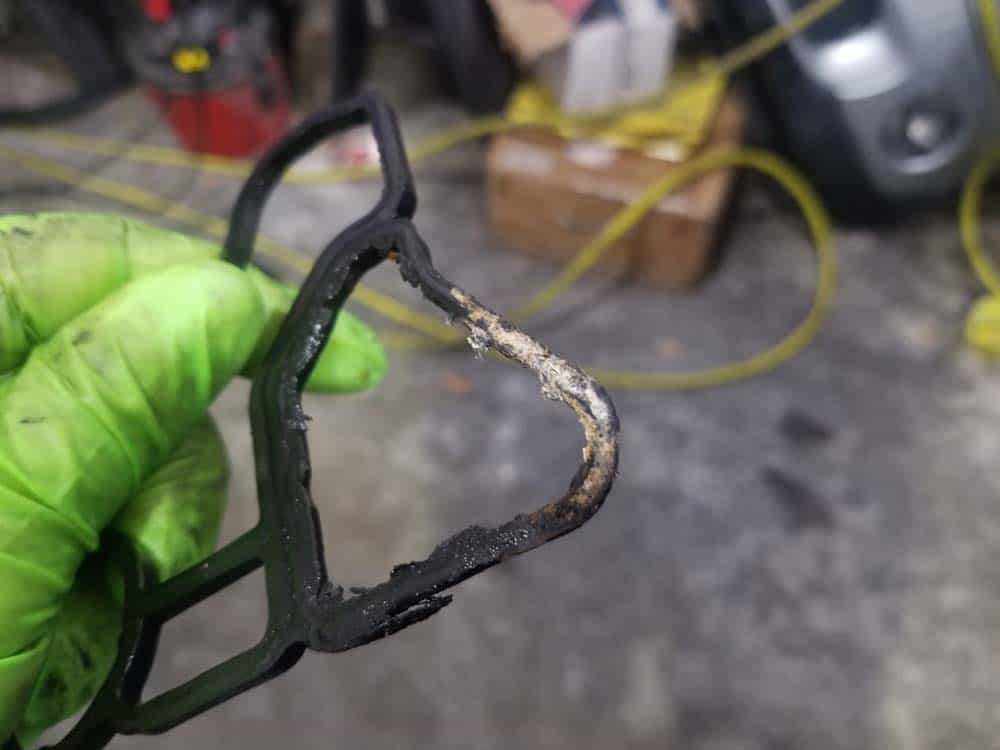
The following images are of an aluminum oil cooler we removed from a 2006 E61 530xi touring wagon with an N52 engine that had been severely neglected. We placed it next to a new N52 oil cooler to show the extent of the damage. You can see the severe pitting caused by the corrosion - it was a matter of time before the gasket would have failed to allow coolant and oil to mix together. This could have potentially destroyed the N52 engine.
Mixing coolant with the incorrect type of water
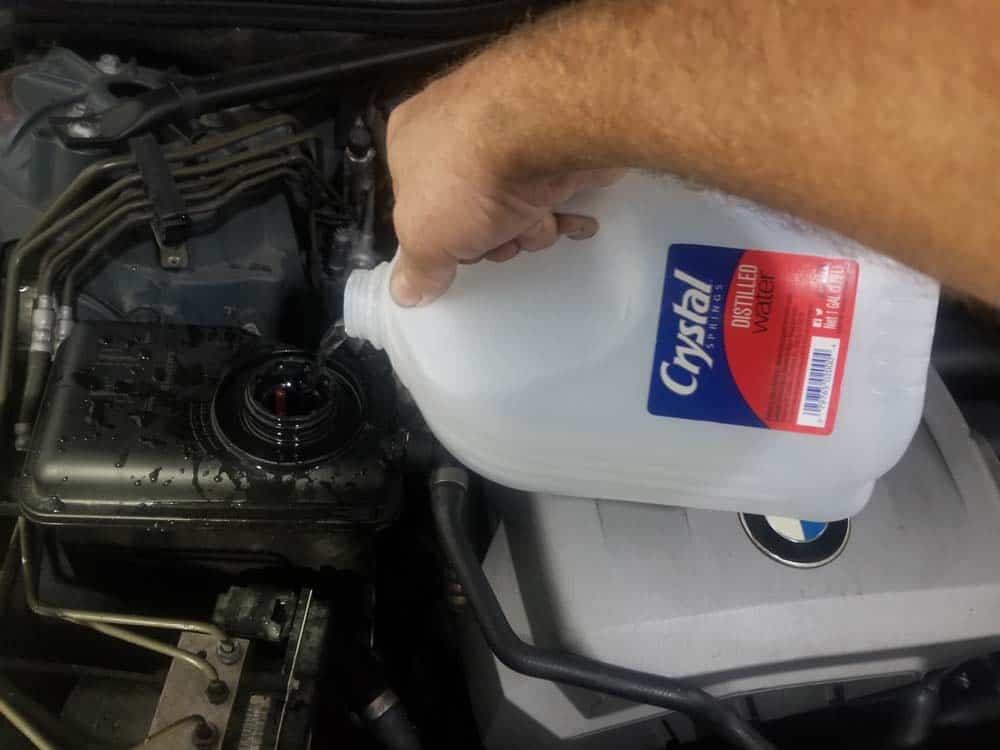
It is very important that your BMWs coolant is mixed 50/50 with distilled water only. Never use tap water, spring water, or any type of filtered water (unless filtered by reverse osmosis) in your BMWs coolant. Tap and spring waters contain high levels of calcium and magnesium which will cause scaling and mineral deposits to form inside the cooling system. As these deposits increase in size they can choke off the flow of coolant causing the engine to overheat. Deposits and scaling can destroy the internal components of the water pump and thermostat leading to costly repairs.
How to perform a BMW coolant flush
In order to properly flush the coolant system in your N52 6 cylinder engine, all of the antifreeze/coolant must be drained out of the vehicle. The engine must then be flushed with distilled water and a special cleaning agent like LiquiMoly Radiator Cleaner, thoroughly drained again, then refilled with fresh coolant. Please be aware that before starting this repair, the vehicle will need to be raised, supported , and be level so the radiator and engine block can be drained. You cannot just raise the front end...this will cause the coolant to flow to the back of the engine keeping it from draining properly.



View the detailed parts diagram for this repair.
Includes detailed part diagrams, part numbers and links to purchase all of the required components needed to complete this repair.

Before starting this repair, you must have the following required parts.
Fits all BMW vehicles
This is the same Genuine BMW coolant you would buy from the dealership.
All BMW vehicles
Deposits in the cooling/heating system create blockages for heat exchange and they also block thermostat valves and control mechanisms. When engine temperatures are too high, the engine runs uneconomically and suffers excessive wear at considerable risk of damage. LIQUI MOLY Radiator Cleaner removes deposits containing oil and lime, and ensures that the engine runs reliably and at the optimum temperature. Does not contain aggressive acids or alkalis.
Section 1 - Performing a BMW E60 Coolant Flush
In order to properly flush out the coolant system in your 5 series' N52 6 cylinder engine, you must remove as much of the existing coolant as possible. This requires draining the radiator and the engine block (via the thermostat). Please note this is a very messy job. Make sure to have plenty of drain pans and cleaning rags ready.- Jack and support your vehicle at all four wheels so it is level. For more information on jacking and supporting your BMW, please see our article BMW Jacking and Supporting for Repairs and Maintenance.
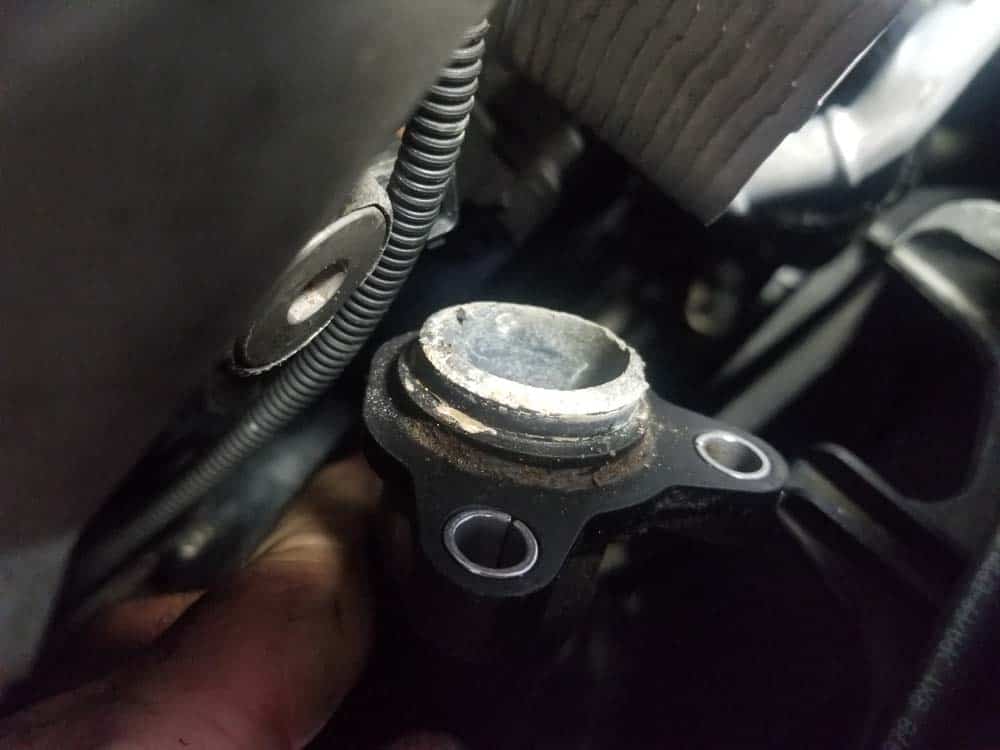
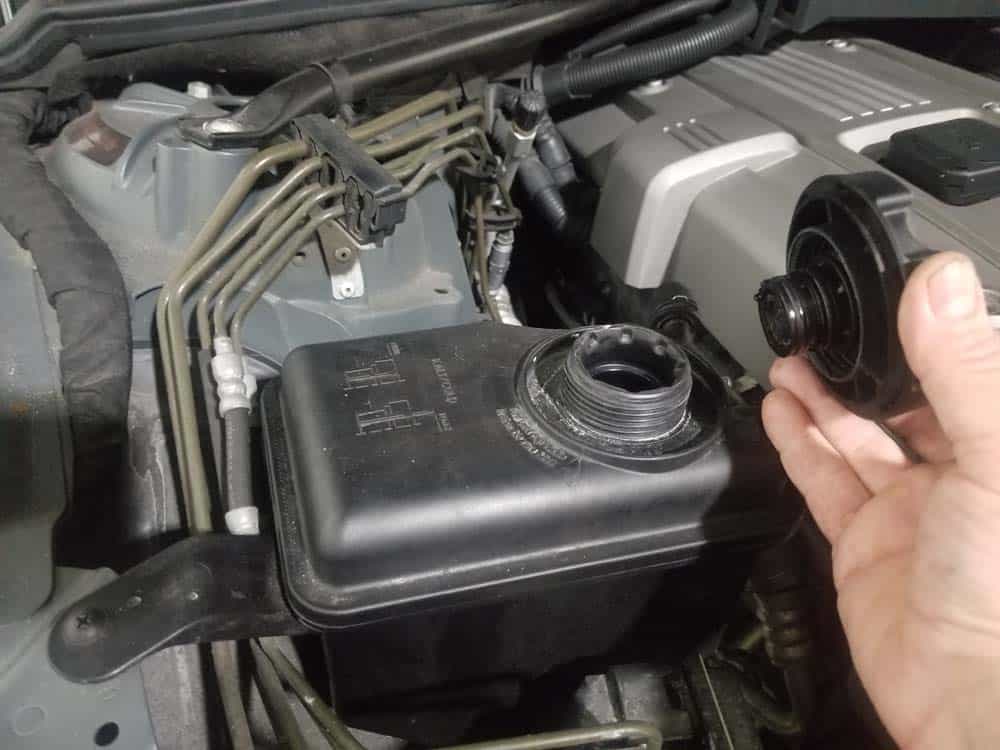
- Remove the expansion tank cap. This will allow the system to drain thorougly.
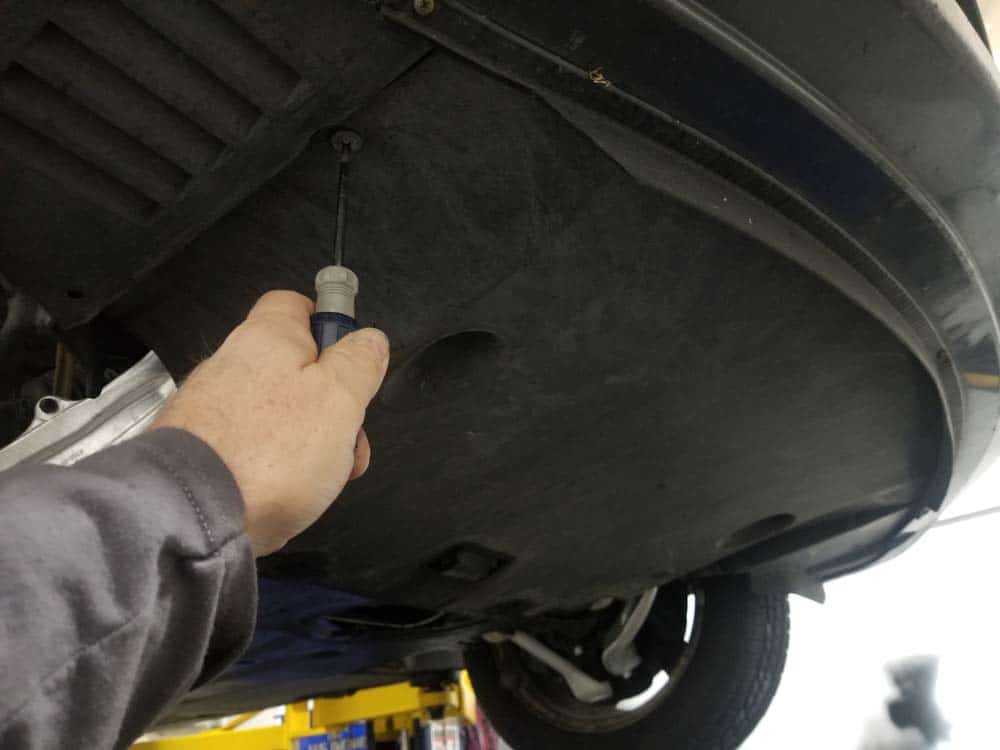
- Remove the belly pan from underneath the engine. It is held in place with phillips head screws.
- Identify the bottom of the radiator. Locate the lower radiator hose at the bottom right hand side of the radiator.
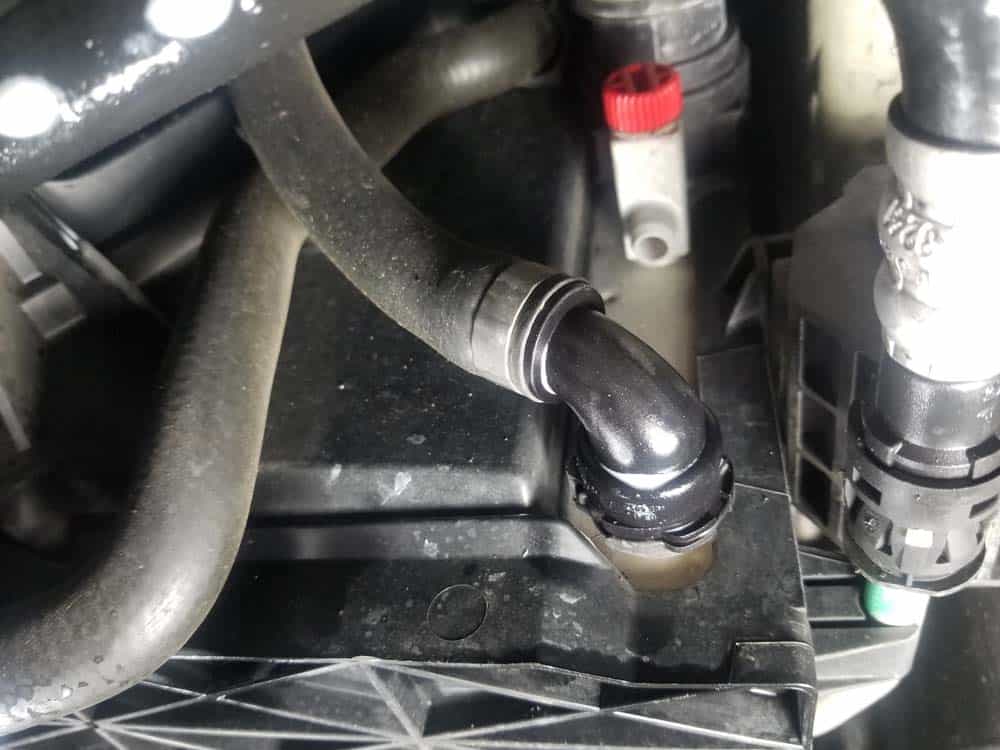
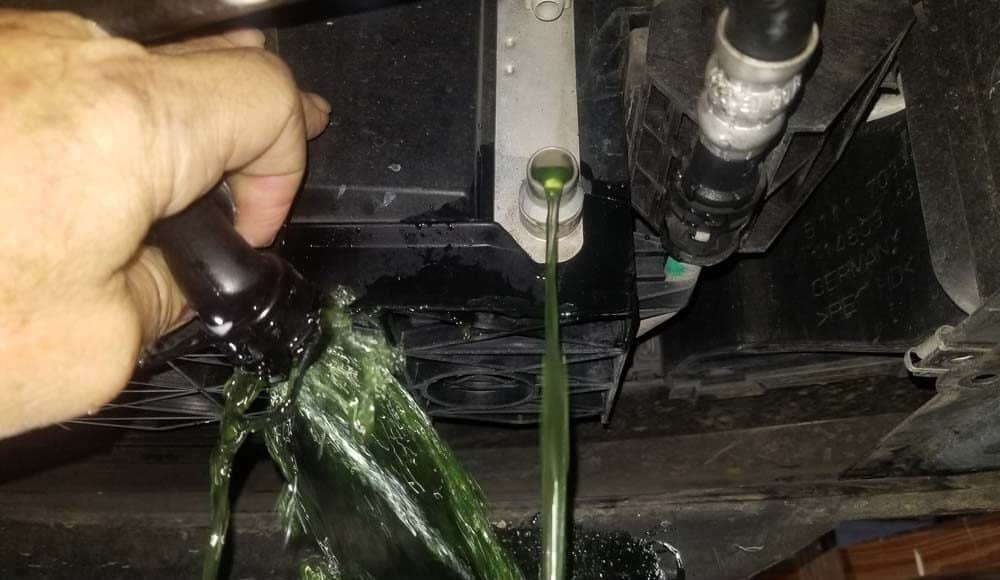
- Use a metal pick or flat blade screwdriver to release the locking clip on the lower radiator hose fitting. Have a drain pan or bucket ready...a lot of coolant will be discharged when you pull the hose loose.
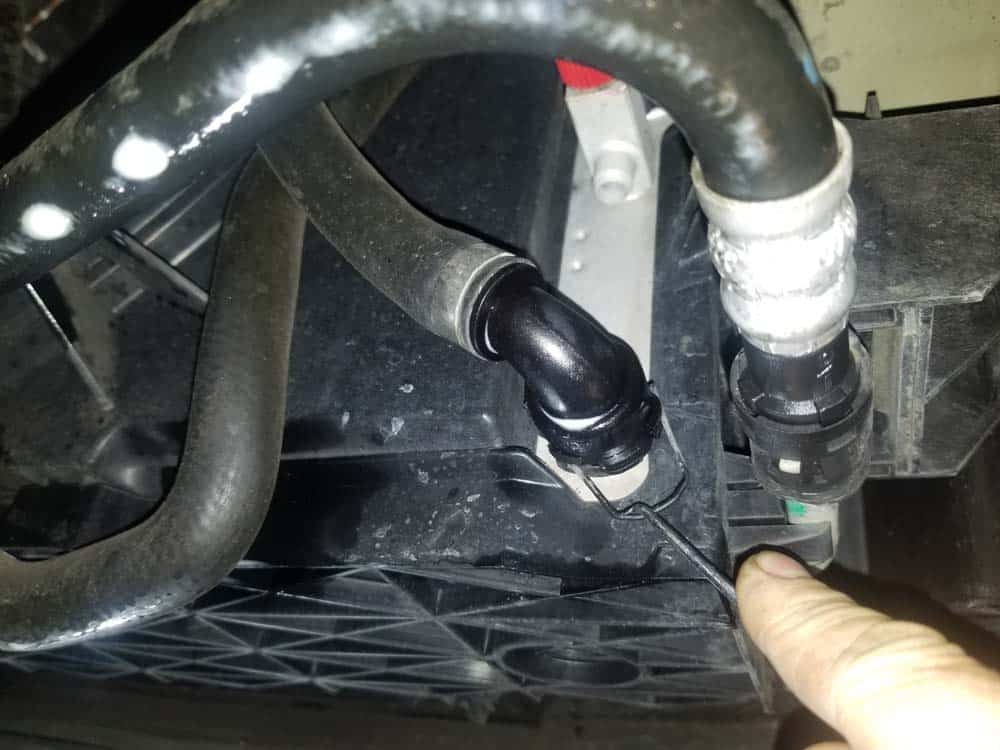
- Grasp the lower radiator hose and pull it loose. Let the radiator and the hose thoroughly drain for a few minutes.
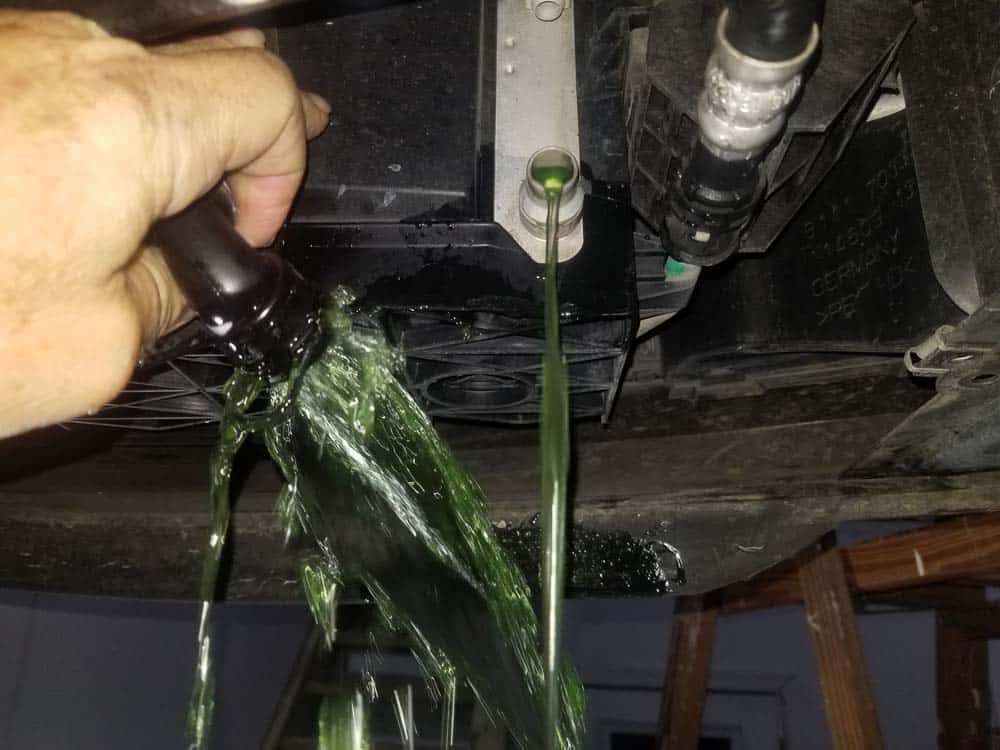
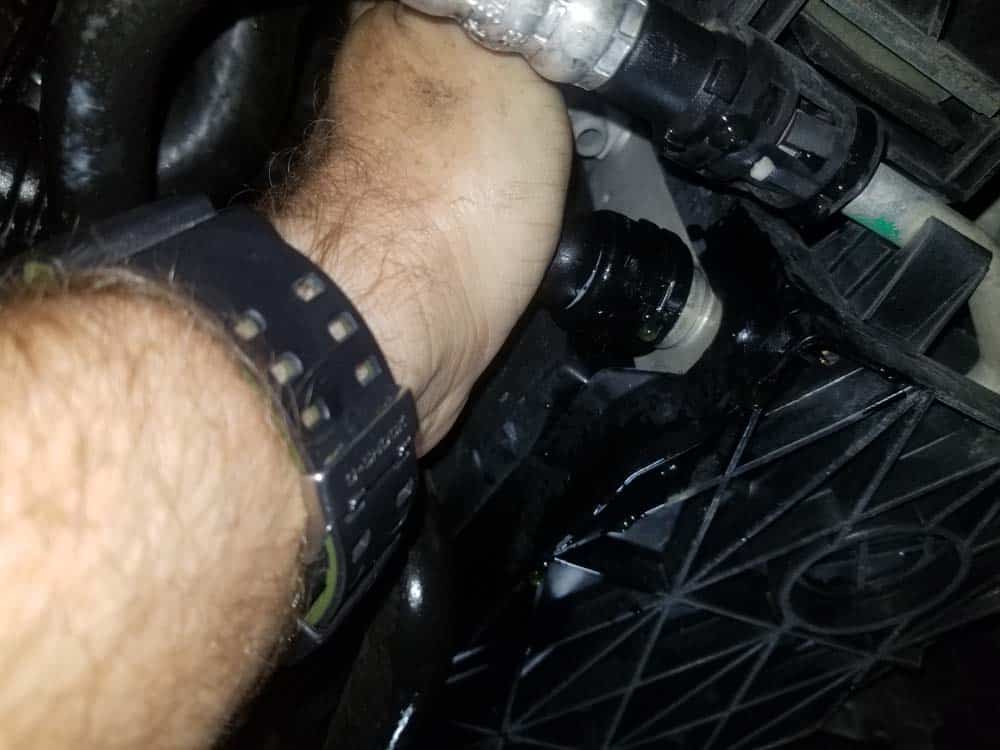
- Retract the locking clip and firmly push the lower radiator hose back onto its fitting until you hear it click into place.
- Locate the thermostat on the front right side of the engine. In order to thoroughly drain the engine block, the large thermostat return hose on the front must be removed. There is no need to remove any of the other thermostat hoses...the large return hose will thoroughly drain the engine.
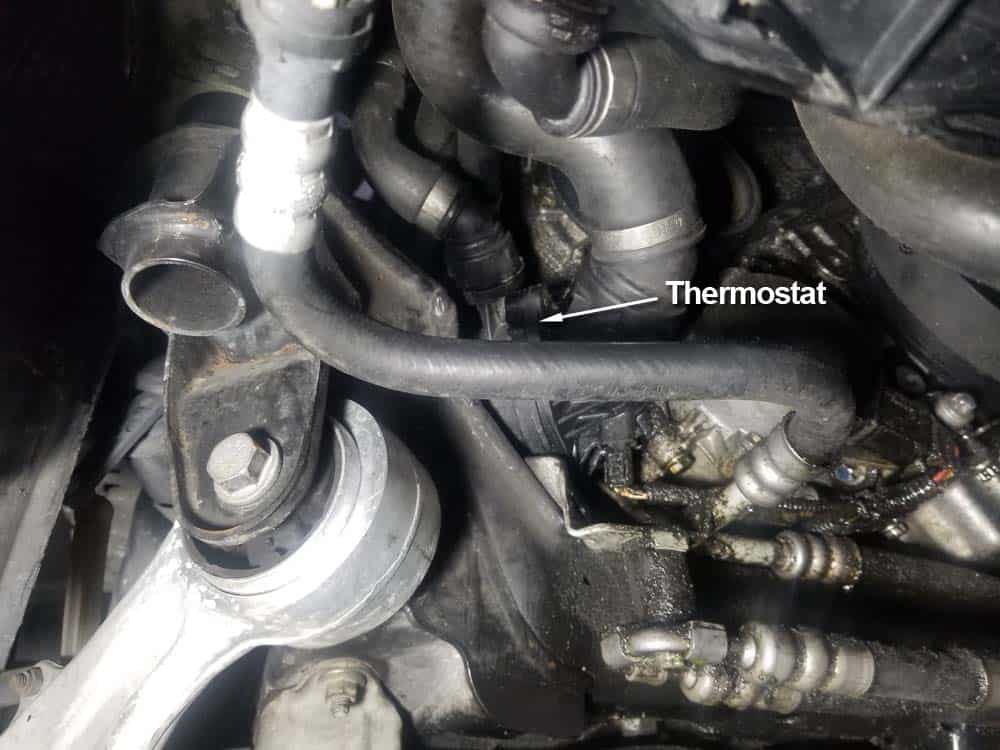
- To remove the large thermostat return hose, you must release its locking clip first. Many mechanics struggle with this locking clip because it is located on the top of the hose. It is can be easily released with a straight metal pick like the one shown below...just reach over the top of the fitting and lift it up. If the fitting is stubborn and won't pull free from the thermostat, use a large flat blade screwdriver to gently pry it off. Allow the thermostat and the hose to drain for about 5 minutes and then replace the hose.
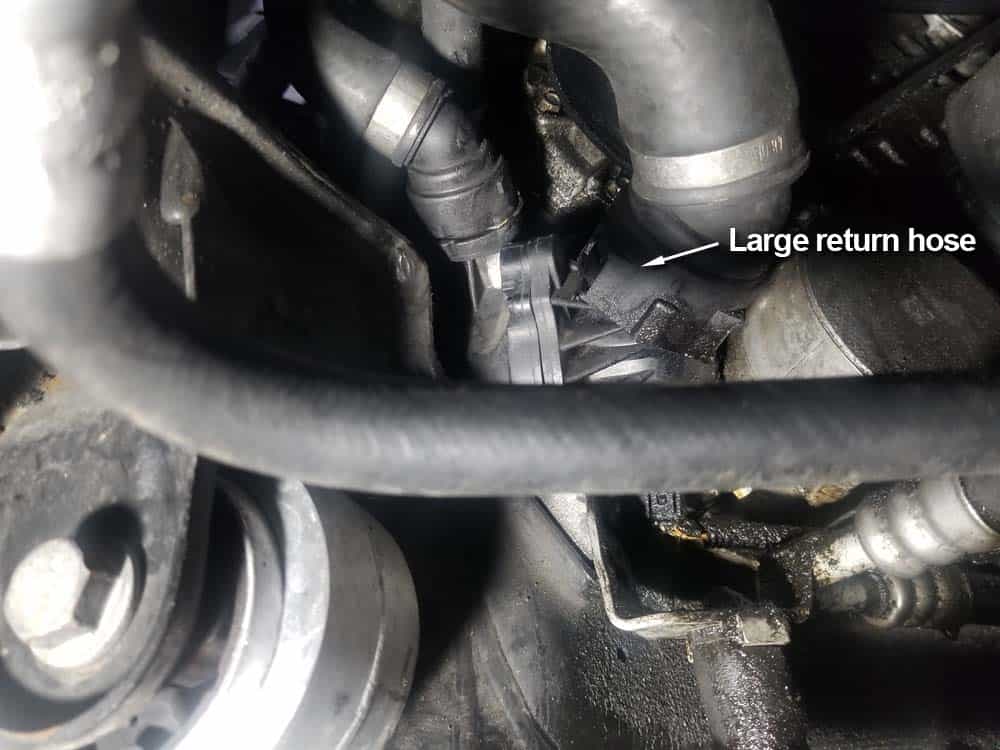
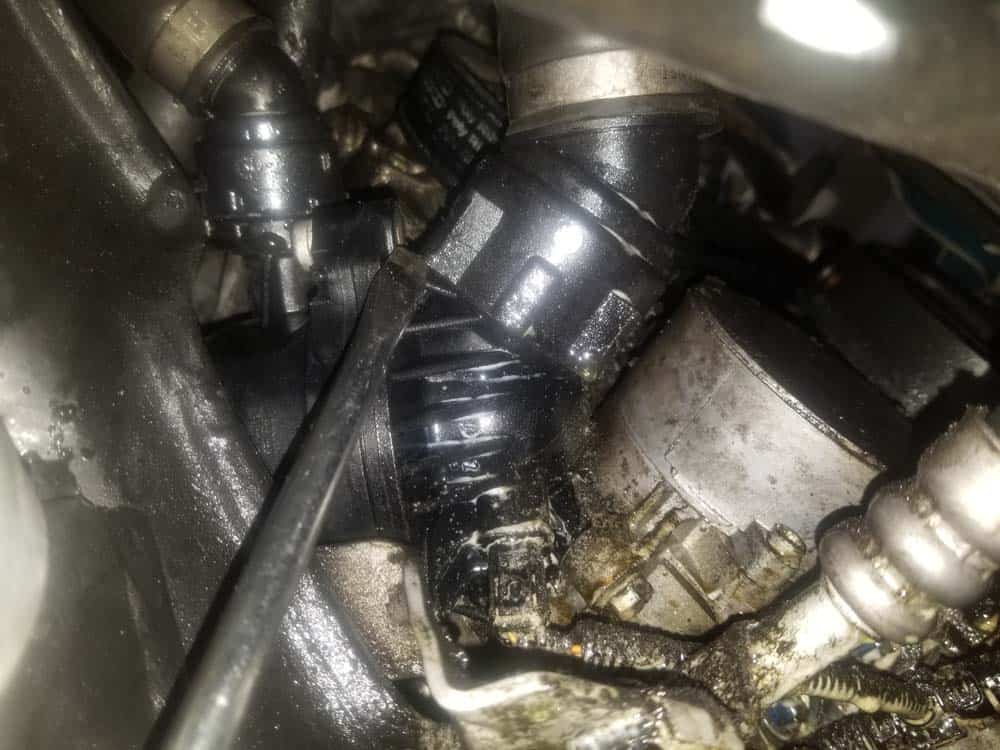
- The coolant system is now completely drained and can be flushed.
Section 2 - Flushing the Coolant System
As mentioned at the beginning of this article, the coolant system should be flushed with distilled water and a high-quality agent like Liqui Moly Radiator Cleaner. In order to properly flush the engine, the coolant system must be filled with water and cleaner, purged of all air, then run for about 20 minutes. DO NOT attempt to start and run the engine until you have completed purging the cooling system of air.- A battery charger should be attached to your vehicle while refilling the system and purging it of air. The reason for this is you will be drawing current from the battery for about 15-20 minutes without the engine running.
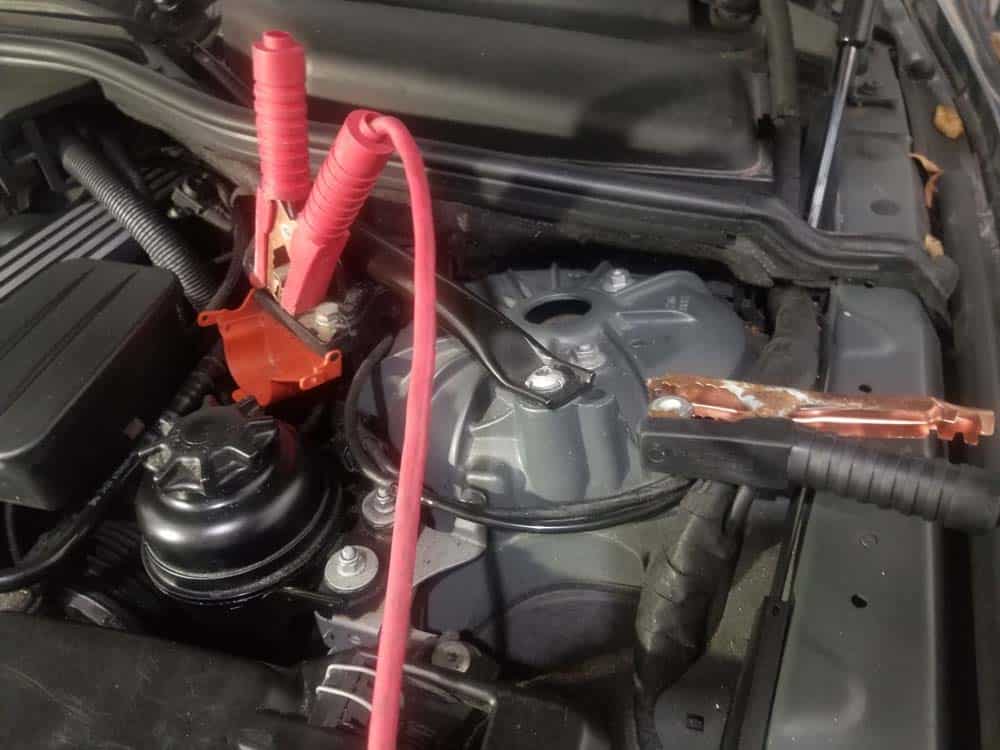
- Attach a battery charger to the battery terminals in the engine compartment as shown below and put it on its lowest setting. NEVER attach a battery charger directly to the battery itself in the rear of the vehicle...you could cause catastrophic damage to sensitive electronics if you do.
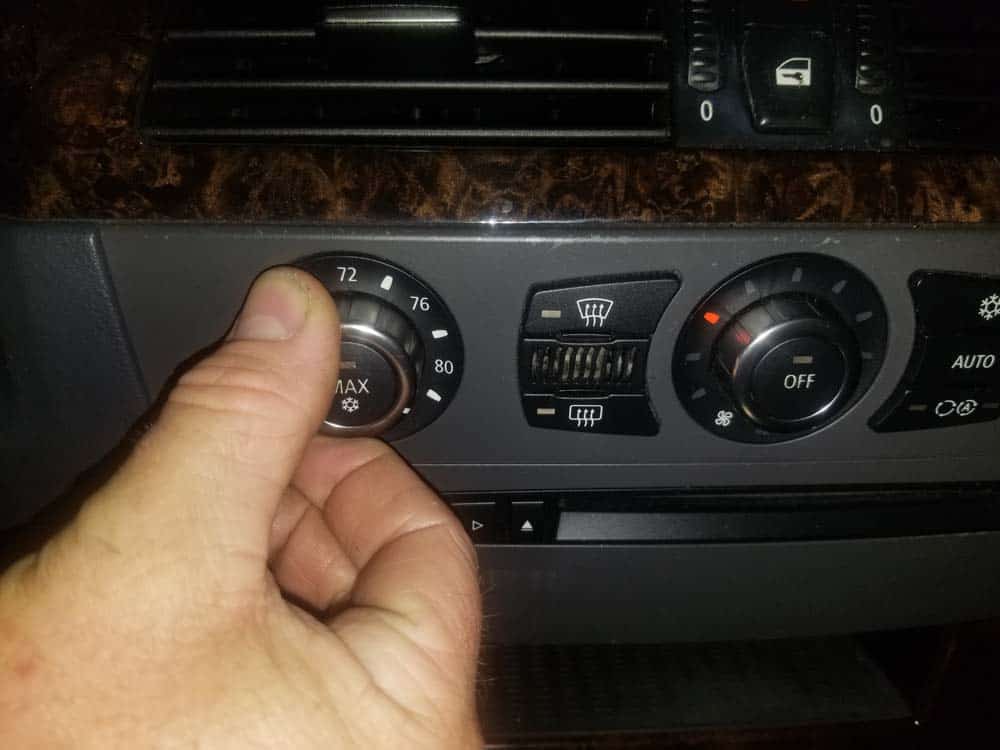
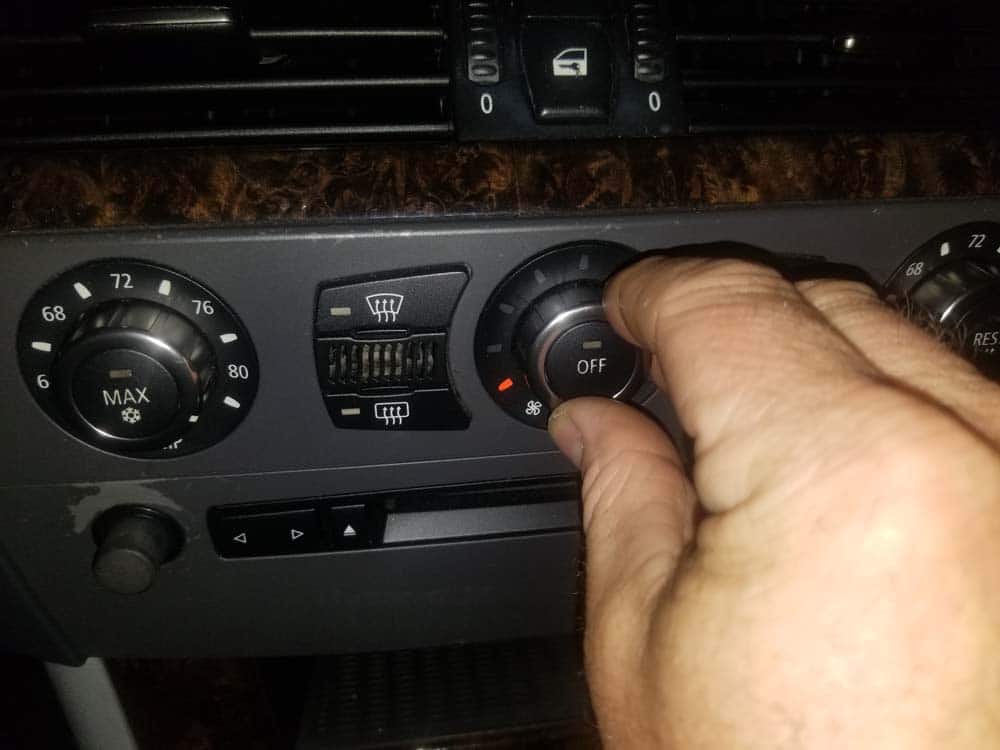
- First, the auxiliary water pump needs to be activated to circulate the water and cleaner through the system while you fill it. The pump is activated when the vehicle's heat is set to its maximum setting and the blower is at its lowest setting.
- Start by applying the brake and turning on the ignition.
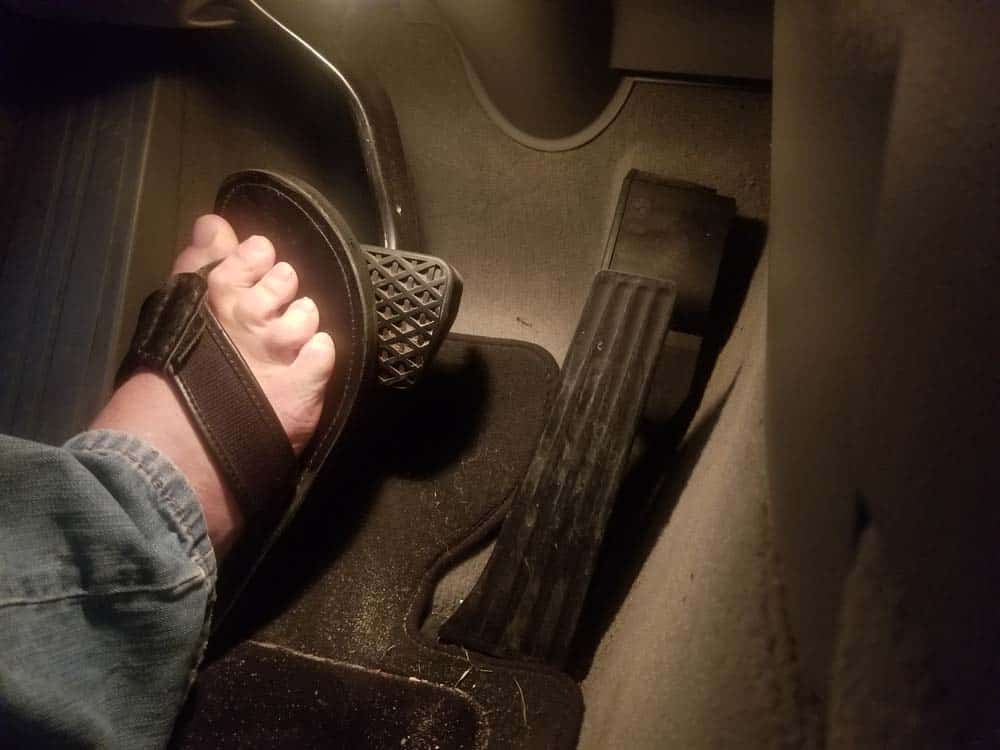
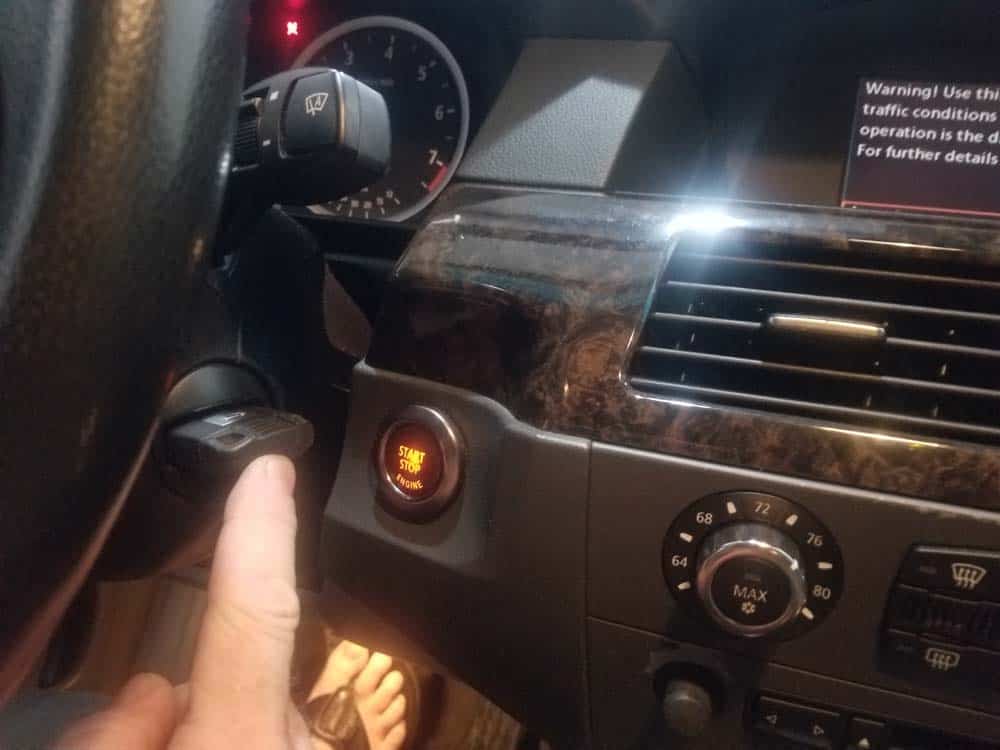
- Release the brake pedal and push the engine start button (do not push the engine start button with the brake pedal depressed or you will start the vehicle). This will allow you to now change the HVAC settings on the dashboard and in the iDrive.
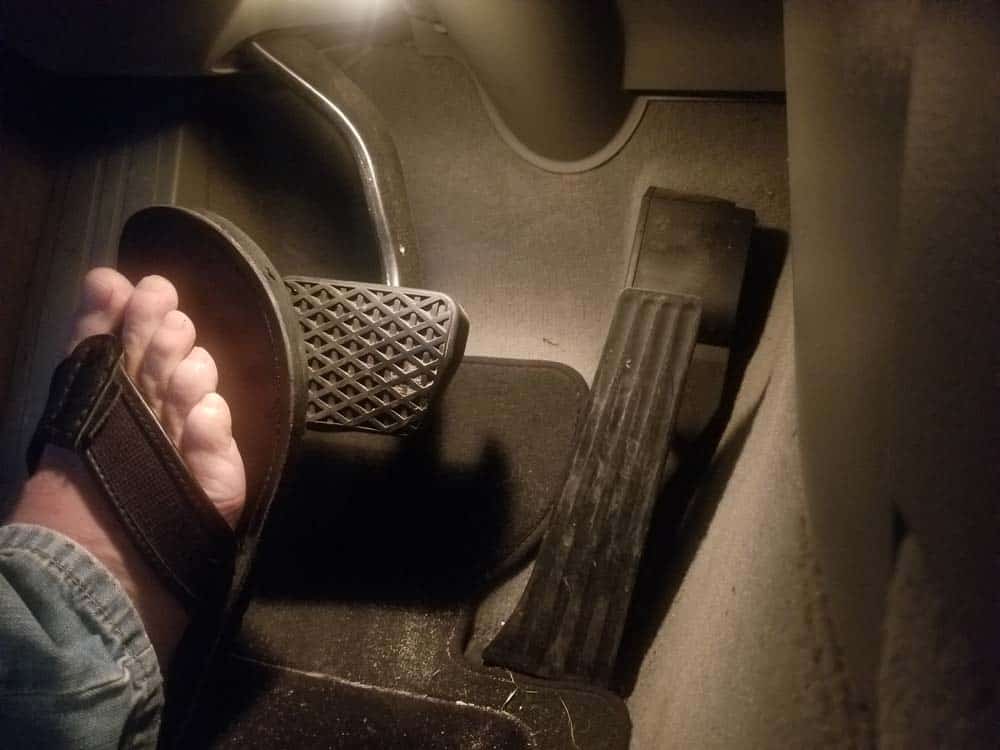
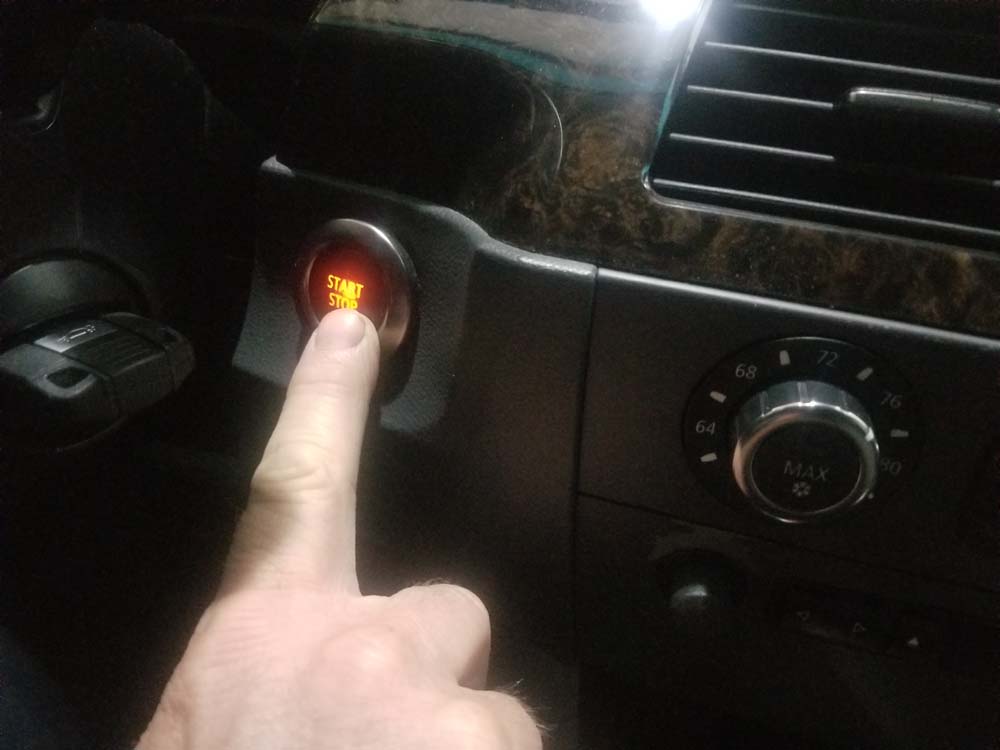
- In the iDrive, set the driver's side temperature to full heat.
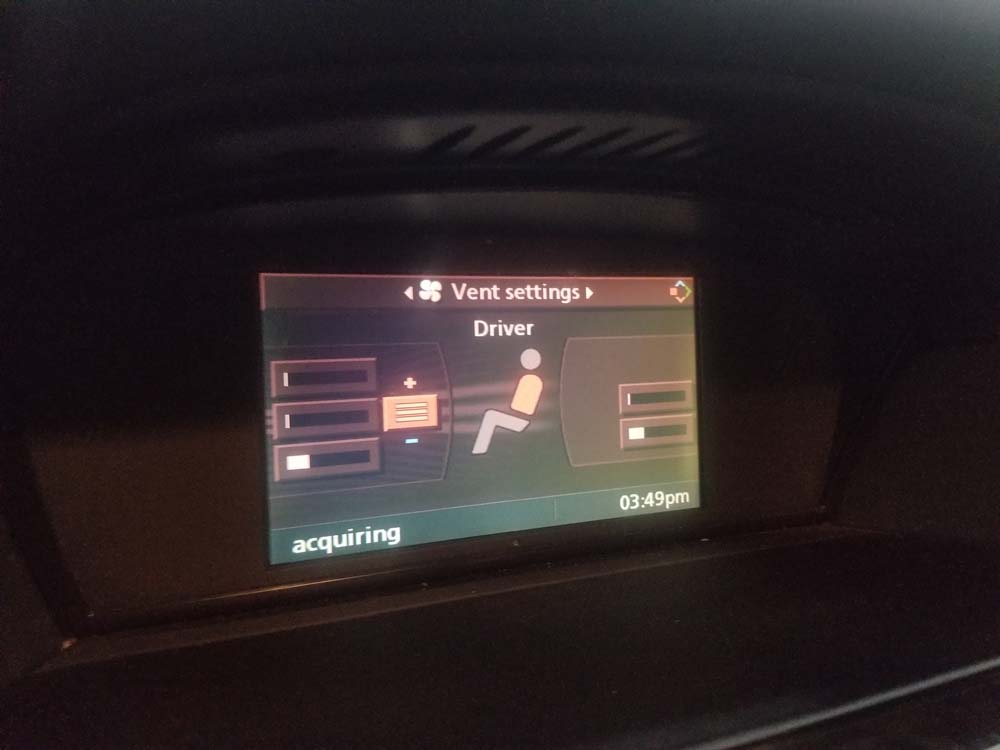
- On the dashboard, turn the drivers side temperature control to full heat.
- Set the blower speed to low.
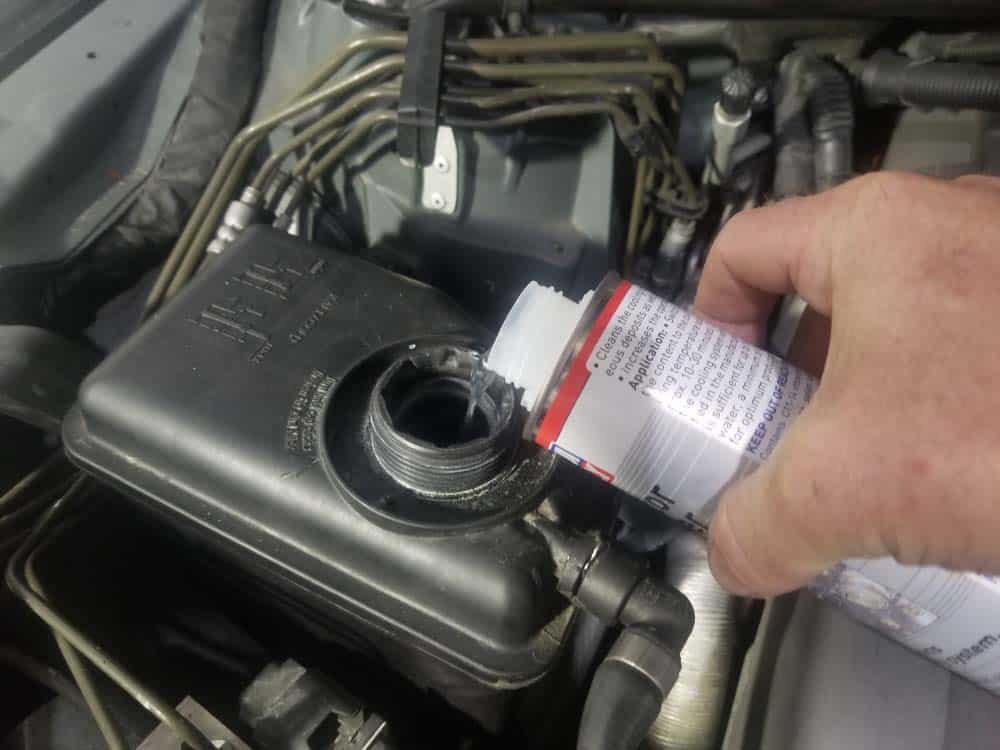
- Move to the front of the vehicle. Pour the entire contents of the radiator cleaner into the coolant expansion tank.
- Next, pour distilled water into the coolant expansion tank until it is completely full. Wait for the level to go down, then refill it again. Repeat this procedure until the level no longer drops and the expansion tank is full. It should take about 8-10 quarts to fill the system.
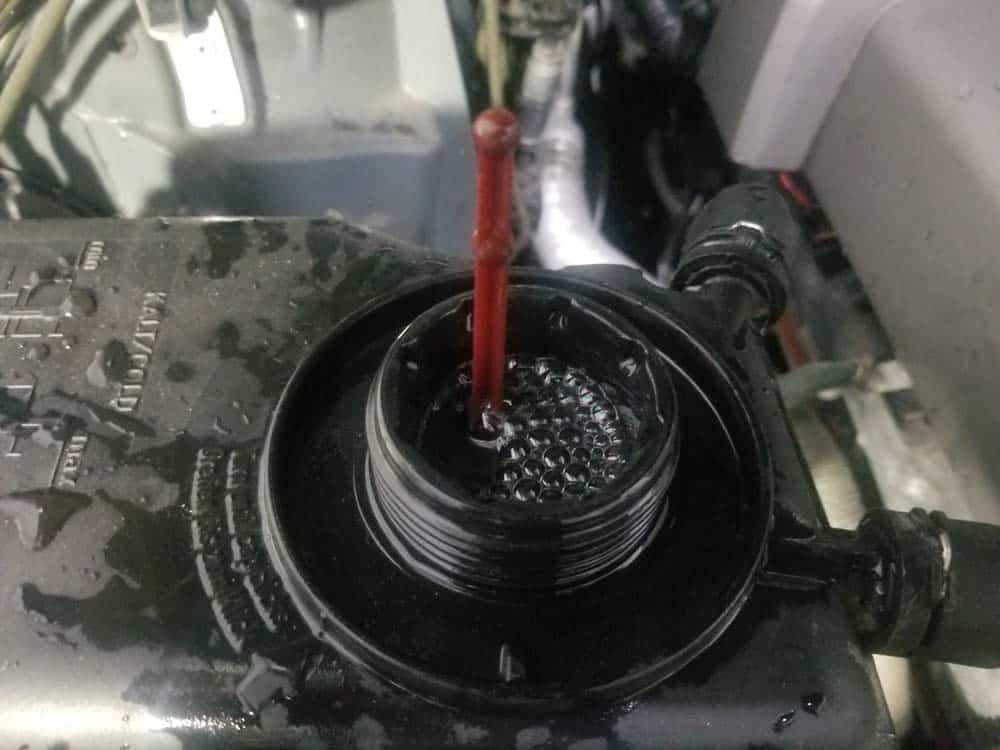
- Put the cap securely back on the expansion tank.
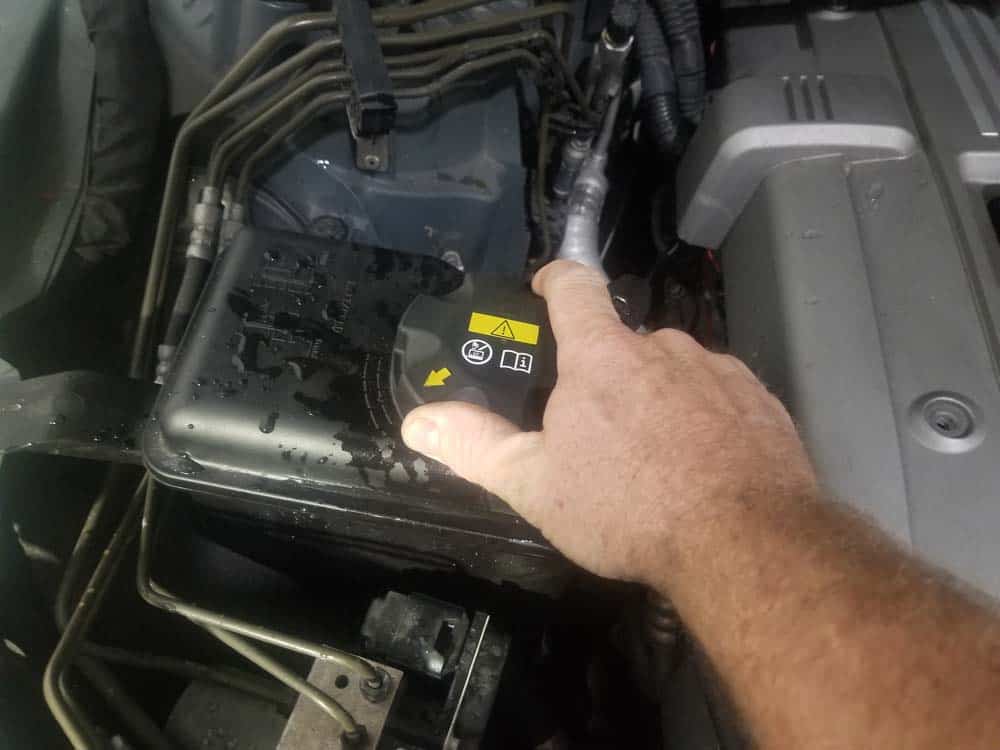
- Move back to the drivers seat of the vehicle. Turn the vehicle off. The vehicle must be turned off before proceeding to the next step.
- Now the coolant must be purged of any air (also know as the bleeding process) . Removing any air pockets from the coolant prevents the engine from possibly overheating. The N52 engine in your 5 series vehicle has an automated bleeding process that is controlled by the electric water pump.
- Begin by turning the ignition back on, releasing the brake pedal and pushing the start button again (steps 2 and 3 above).
- Push the accelerator down with your foot for 12 seconds. This will activate the water pump and commence the automated coolant bleeding process.
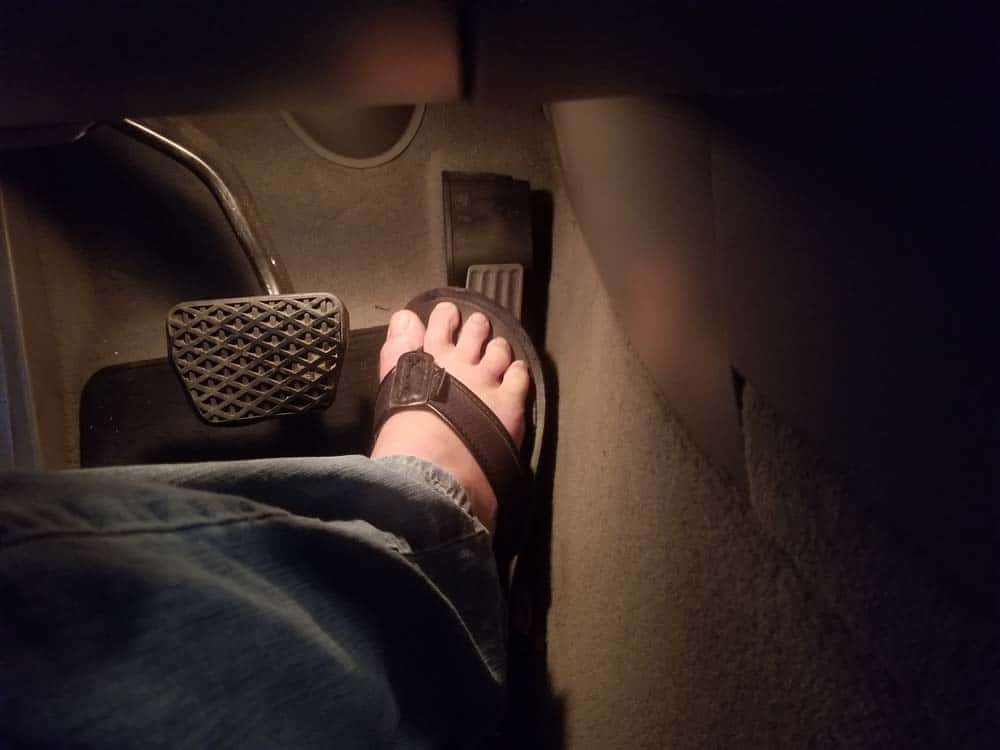
- Move to the front of the vehicle and listen for any sounds at the front right side of the engine. You should hear the faint sound of the water pump and coolant being circulated through the system. If you cannot hear the water or the pump then remove the expansion tank cap, visually check that the water is circulating, then quickly replace the cap.
- The automated bleeding process lasts for approximately 12 minutes. When it is finished, turn the vehicle off and disconnect the battery charger.
- Open the coolant reservoir and top off if necessary.
- Start the vehicle and allow it to run for about 20 minutes. This will give the radiator cleaner plenty of time to cleanse the coolant system.
- Turn the vehicle off and allow the engine to cool before proceeding to the final fill steps below.
Section 3 - Filling the System with Fresh Coolant
The coolant system in your BMW E60 has now been properly flushed and will need to be filled with fresh coolant. Start by repeating Section 1 above, this time thoroughly draining the distilled water and cleaner from the system. Next, repeat Section 2...this time using 8-10 quarts of BMW Coolant/Anti-freeze that has been mixed 50/50 with distilled water. Make sure to thoroughly check all of your coolant lines for leaks prior to replacing the belly pan.BMW E60 Coolant Flush Finished

