
Affiliate link disclosure – The BMW Repair Guide uses affiliate links in their site. For more information on affiliate links, please click here.
Repair Summary
The following article gives detailed instructions on replacing the coolant temperature sensor on a MINI R56 Cooper car. Even though we have used a 2007 MINI Cooper to perform this repair, this article can be applied to any 2006-2013 (second generation) MINI R56/57 vehicle with minor modifications.
A failed MINI R56 coolant temperature sensor can cause a variety of issues including an electric cooling fan that won't turn off, an overheating engine and/or a check engine light with sensor fault codes.
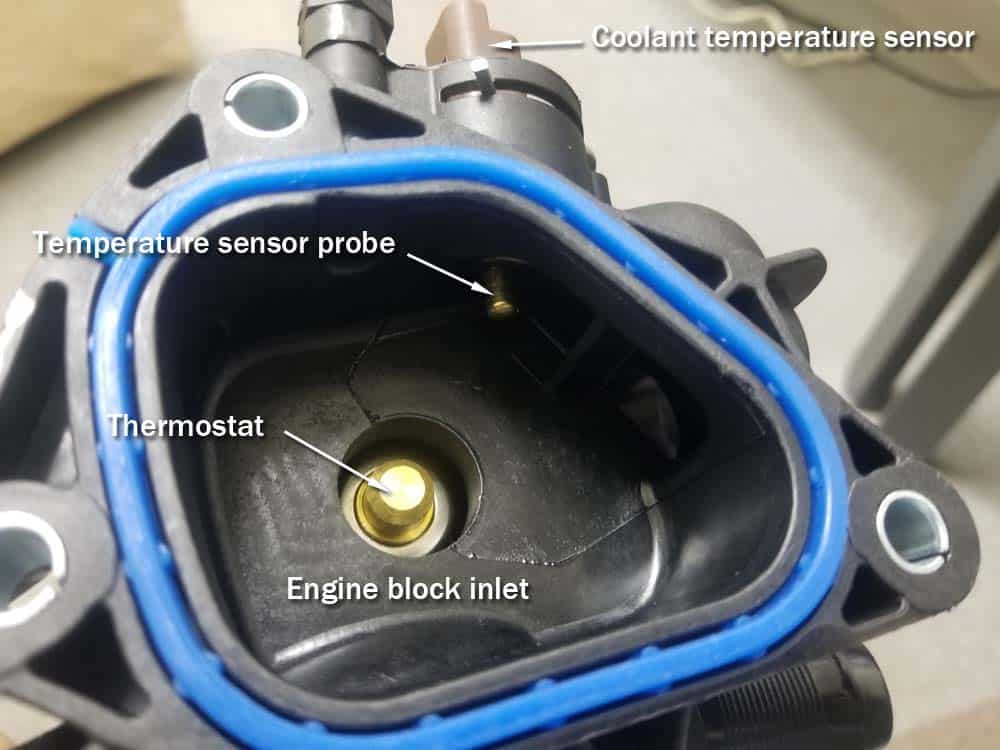
The MINI R56 coolant temperature sensor is located in the top of the thermostat housing on the left side of the engine. The sensor's probe projects into the engine block inlet, allowing temperature monitoring of the motor with limited interference from the rest of the coolant system. This temperature data is continually sent to the vehicle's DME (engine control module) where it is used to regulate many of the MINI's systems including: electric cooling fan function, fuel supply and mixture to the cylinders as well as ignition timing.
Like many of the parts in the MINI R56 engine compartment, age and brutal heat conditions take their toll on the coolant temperature sensor causing it to eventually shut down. Typical symptoms of a failed MINI R56 coolant temperature sensor are the engine's cooling fan not turning off or on, engine overheating, check engine light with thermostat sensor fault codes, and over all poor engine performance and fuel economy.
Replacing the MINI R56 coolant temperature sensor is an easy repair and can be done by any savvy home mechanic. It involves moving the intake tube and clearing out a few electrical connections. The whole job can be done in less than an hour and will save a MINI owner an expensive trip to the repair shop.


View the detailed parts diagram for this repair.
Includes detailed part diagrams, part numbers and links to purchase all of the required components needed to complete this repair.

Before starting this repair, you must have the following required parts.
2007-2013 MINI R56/R57
A high-quality coolant temperature sensor at a budget price. Does the same job as factory sensors that sell for 5x the price! Includes o-ring.
2007-2013 MINI R56/R57
A high-quality coolant temperature sensor for our European friends. Includes o-ring. (Get 45% off all year round with discount code 'GSF45REW')
Section 1 - Preparing to replace coolant temperature sensor
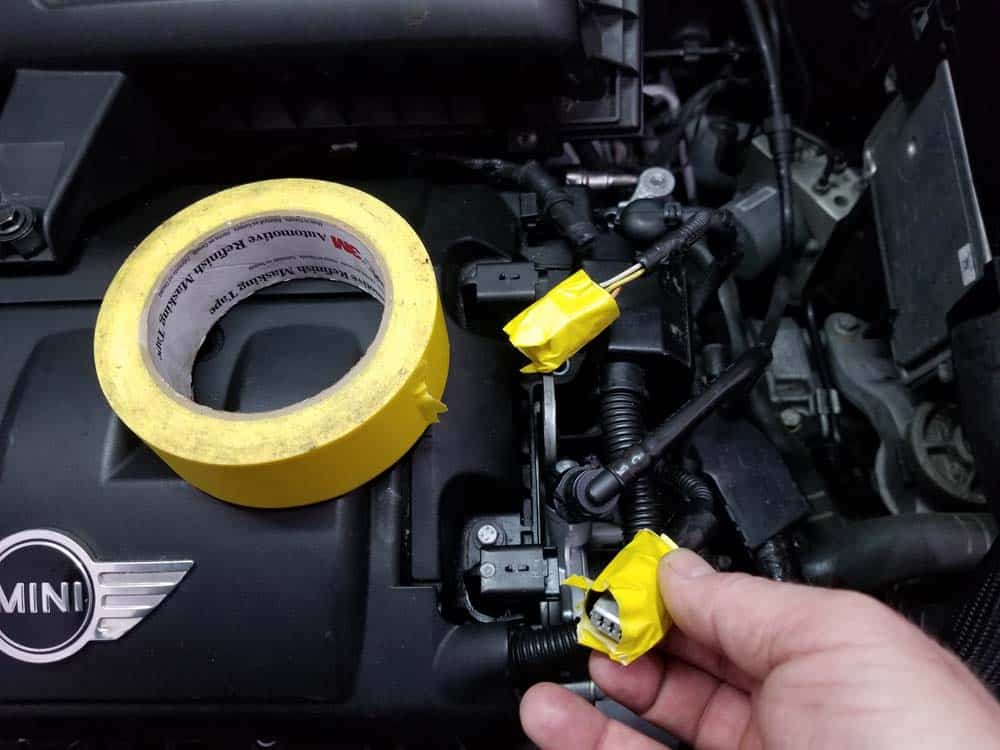
The MINI R56 coolant temperature sensor is located on the top of the thermostat housing on left side of the engine directly underneath the main wiring harness. We always suggest wrapping all of the electrical plugs you disconnect during this repair with high visibility tape so you don't miss one during reassembly.- Before starting the MINI R56 coolant temperature sensor replacement, you must disconnect the negative terminal from the battery. Since the main wiring harness will be disconnected from several sensors, failure to disconnect the battery could cause damage to sensitive electronics.
- Using a 10mm socket wrench, remove the negative terminal from the battery and wrap it in a rag to avoid it from inadvertently touching the terminal.


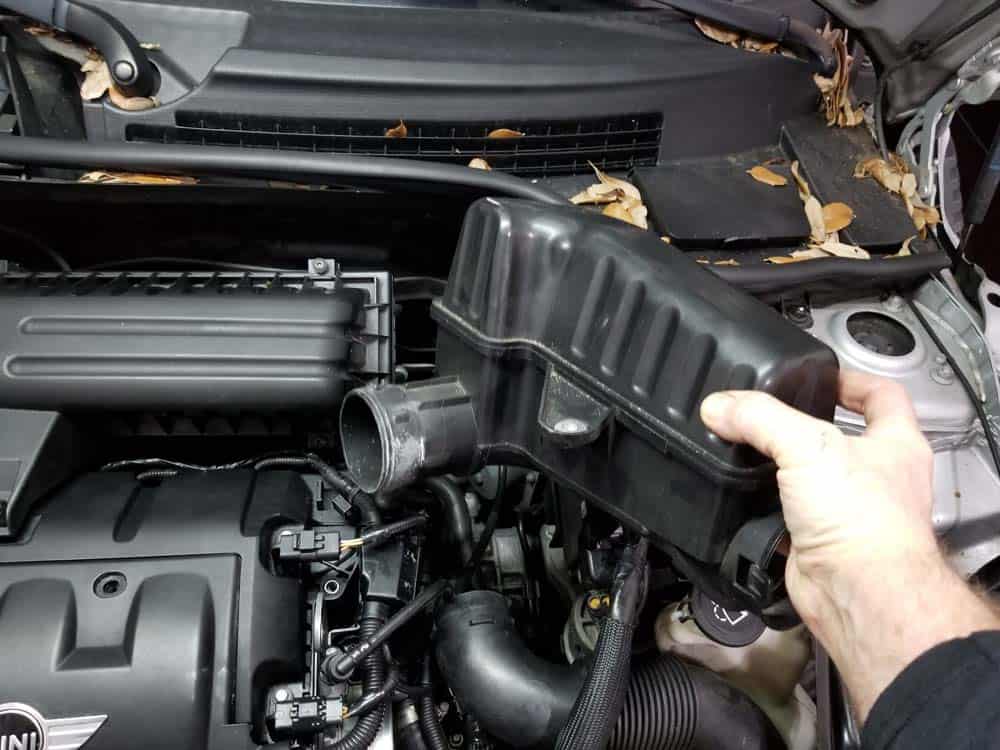
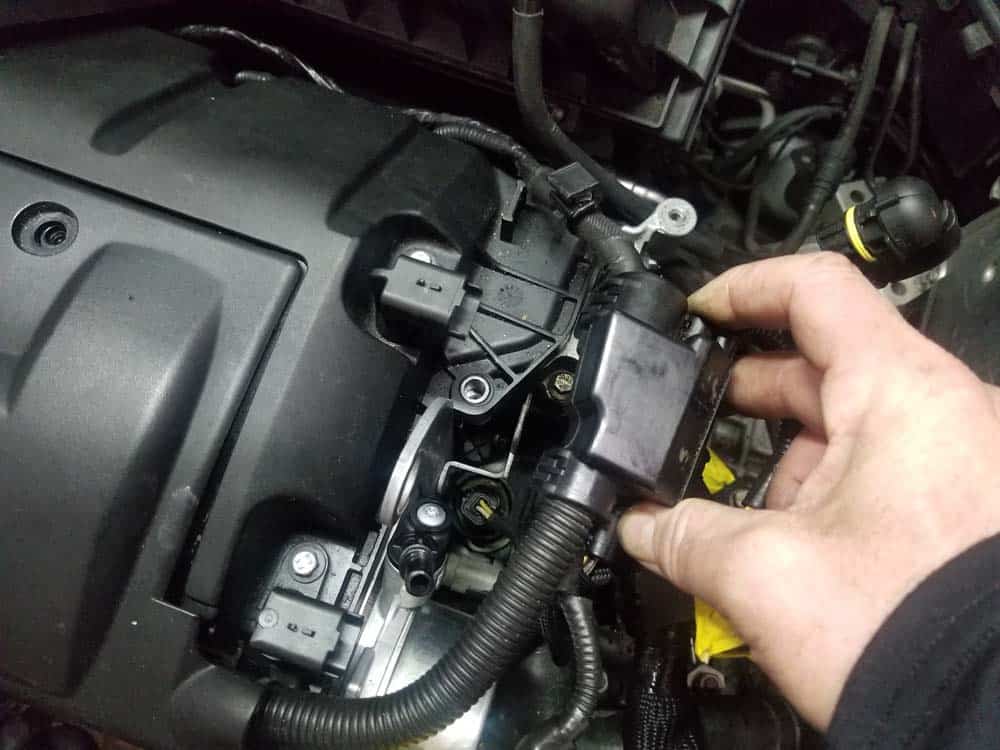
- In order to get to the MINI R56 coolant temperature sensor, some parts need to be cleared out of the way. Start by pinching in the plastic tabs and removing the intake manifold tube from the intake manifold pre-box.
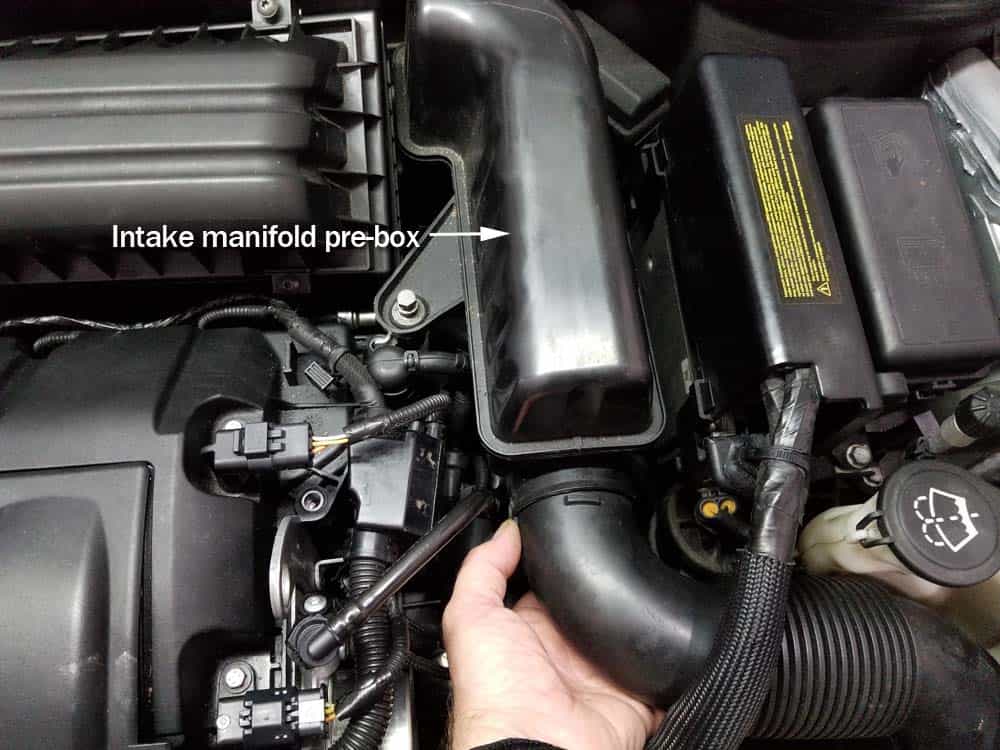
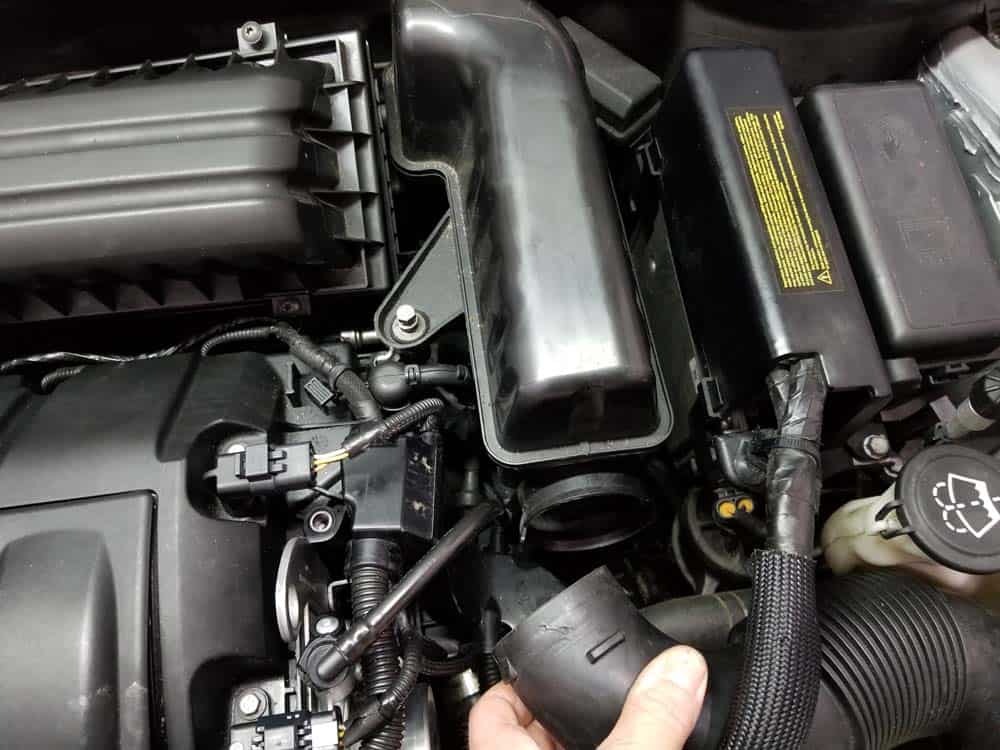
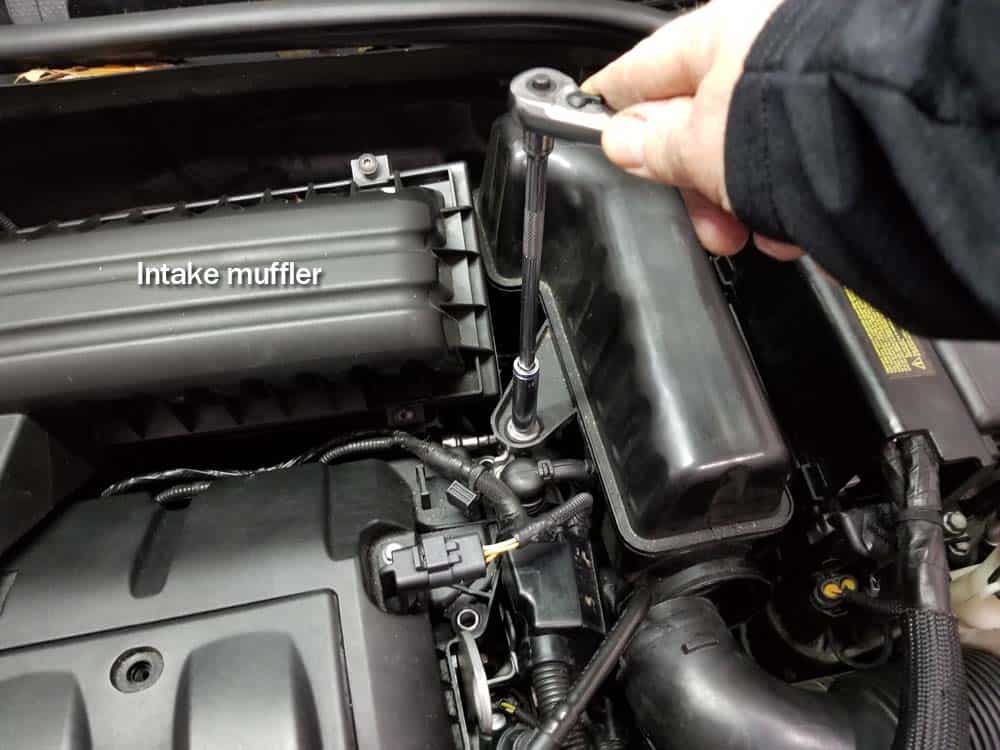
- Using a 10mm socket wrench, remove the bolt anchoring the intake manifold pre-box to the engine. Grasp the pre-box and pull free from the intake muffler.
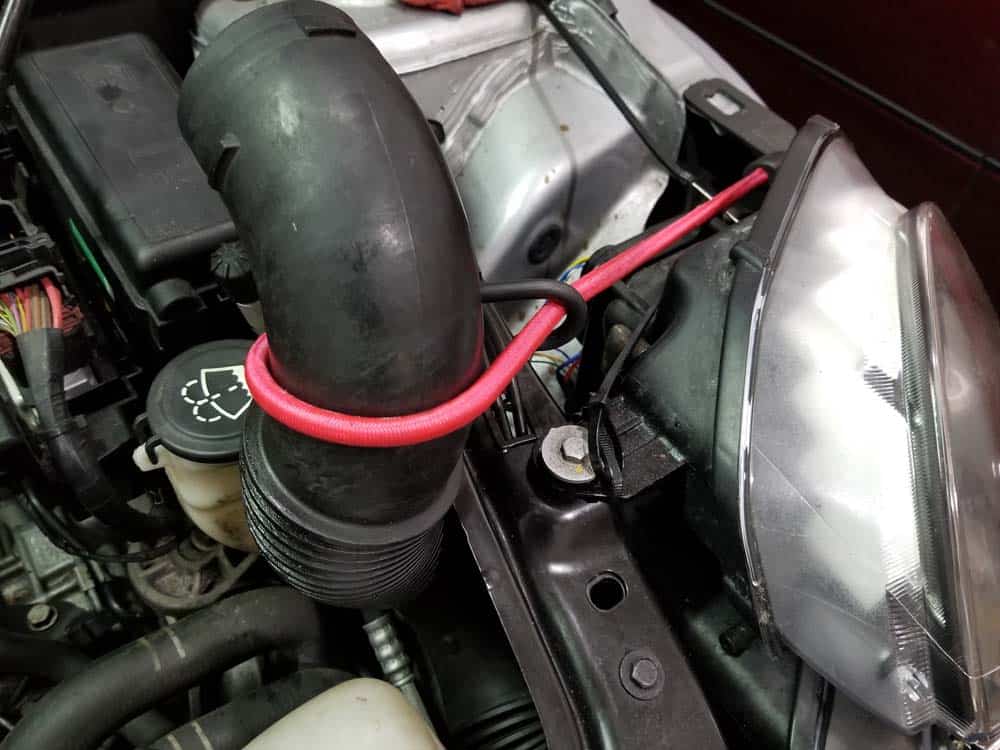
- It is very difficult to remove the intake manifold tube from the front bumper. We strongly suggest just bungee cording it out of the way instead of attempting to remove it.
- Next, the engine wiring harness will need to be cleared out so the coolant temperature sensor can be accessed. Start by disconnecting the intake and exhaust camshaft sensors on the left side of the valve cover.
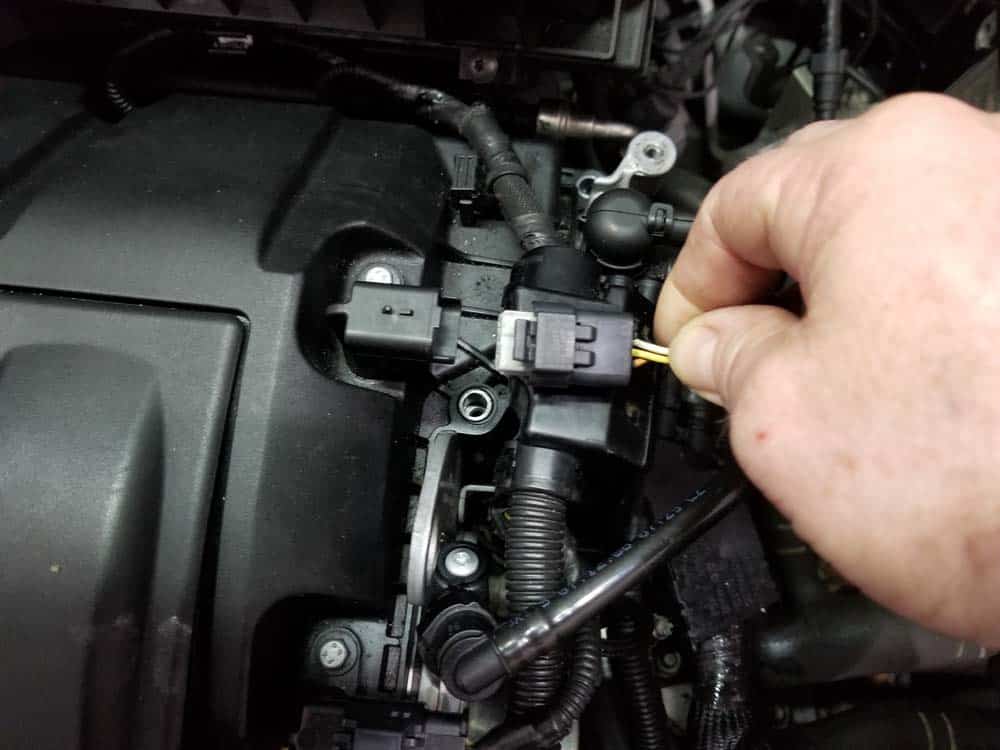
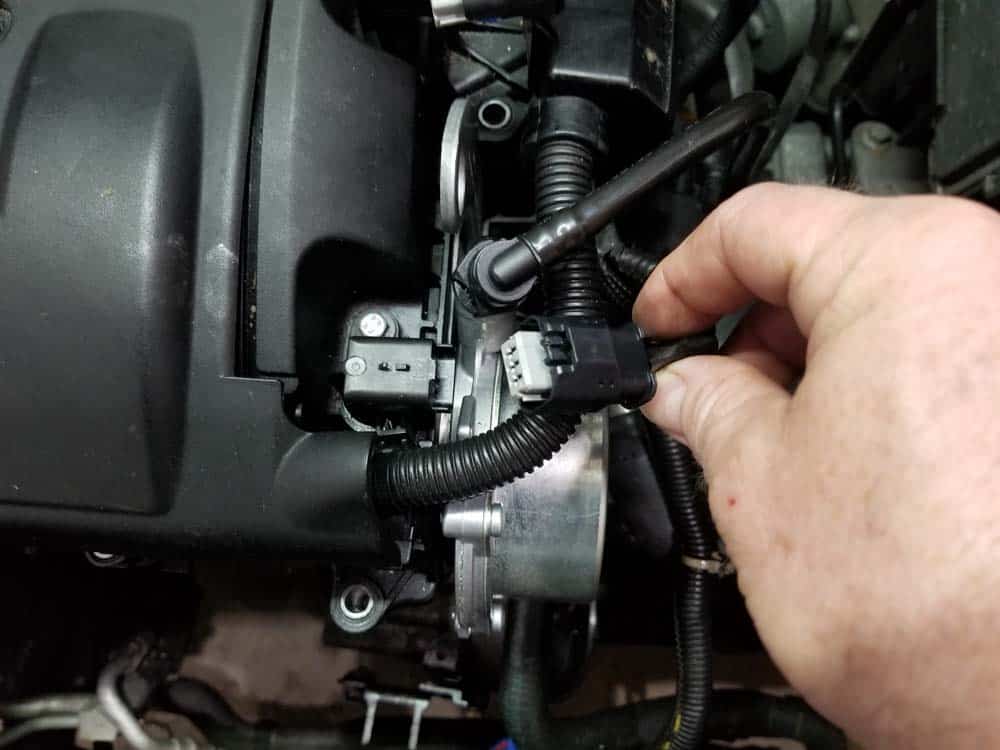
- We highly recommend marking all of your connections with high visibility tape to aid during reassembly.
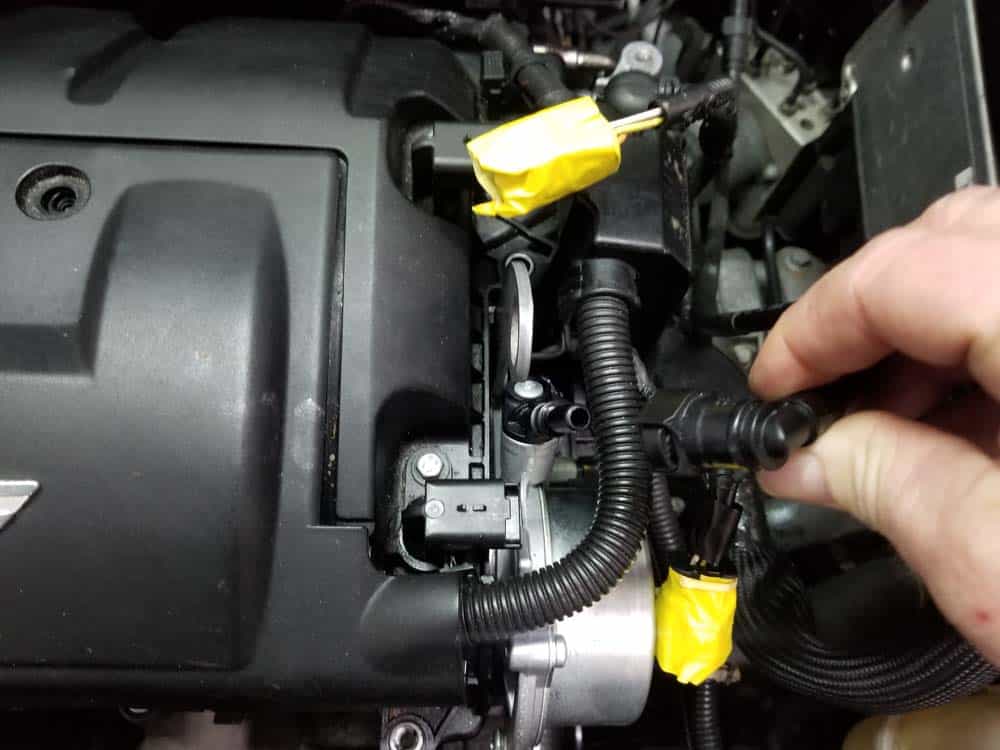
- Remove the vacuum hose from the vacuum pump by squeezing its connection and pulling it free.
- Unsnap the wiring harness from the rear left corner of the valve cover.
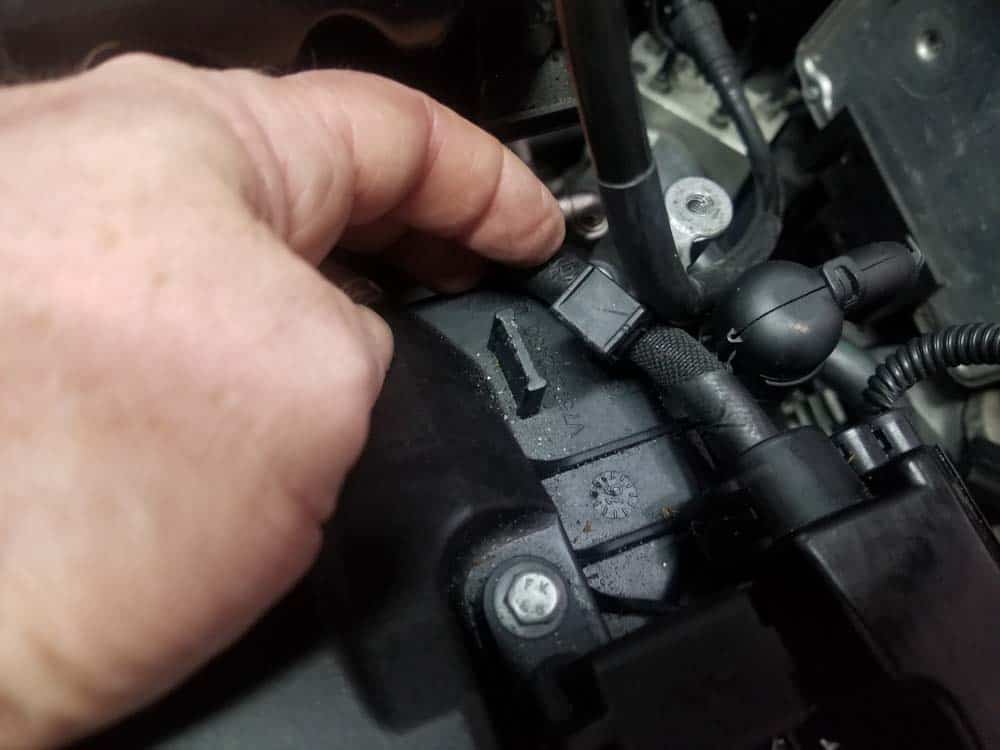
- Disconnect the essentric shaft position sensor by grasping its connector and pulling straight up.
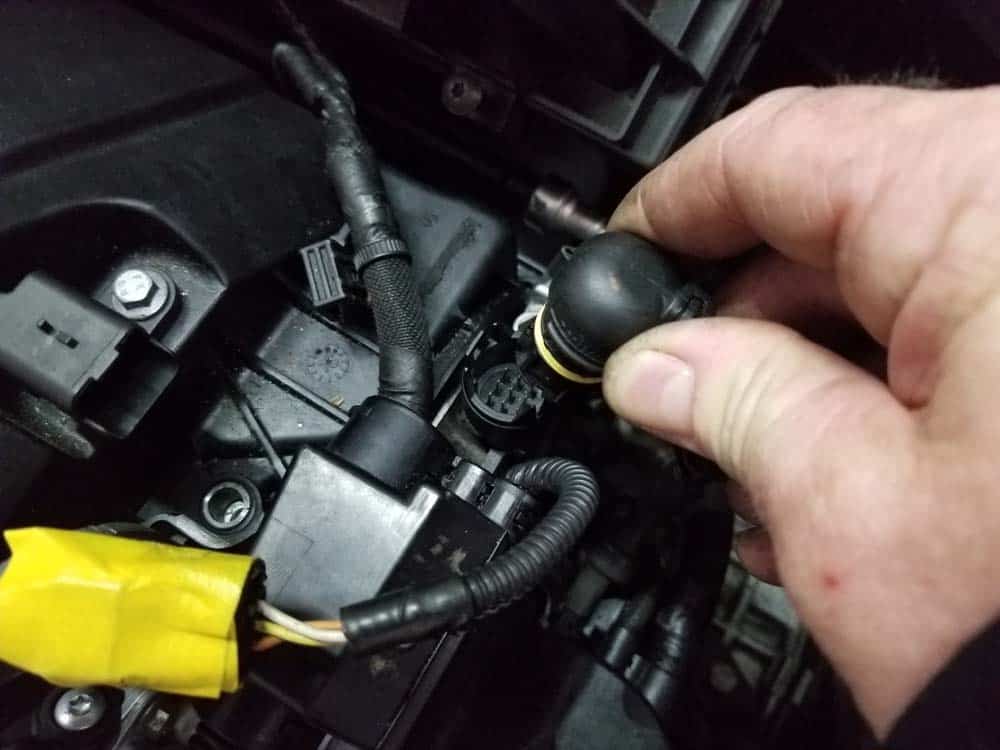
- Grasp the wiring harness and lift it up and off of the thermostat. The wiring harness has two plastic tabs on the bottom of it that fit into mounting holes on the top of the thermostat.
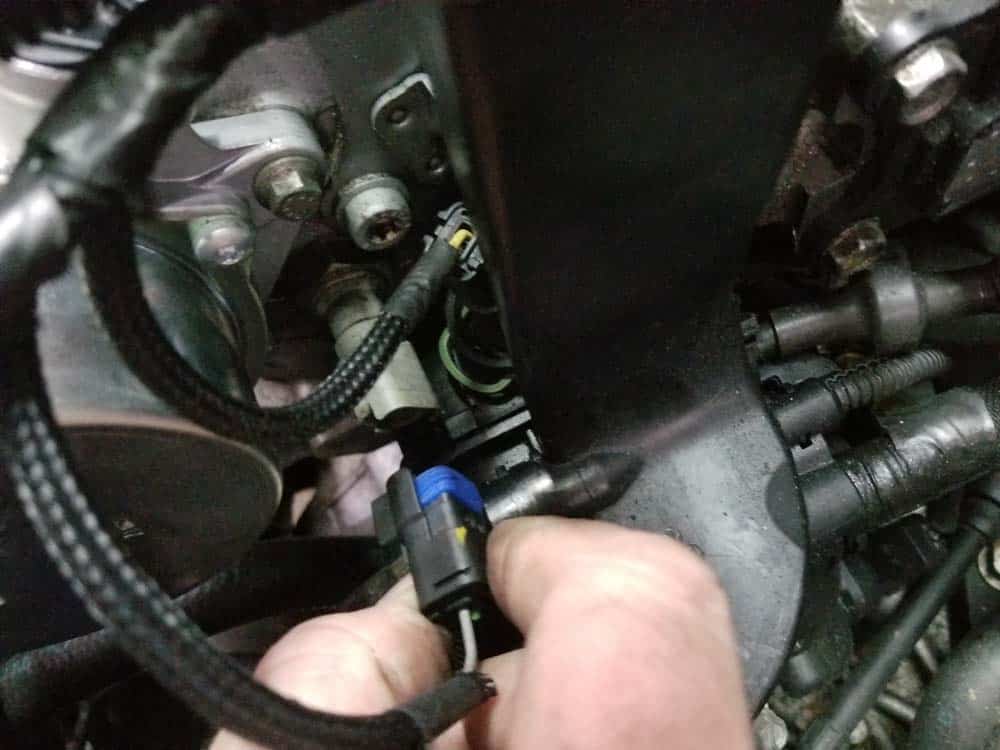
- Reach down and unplug the oil pressure switch.
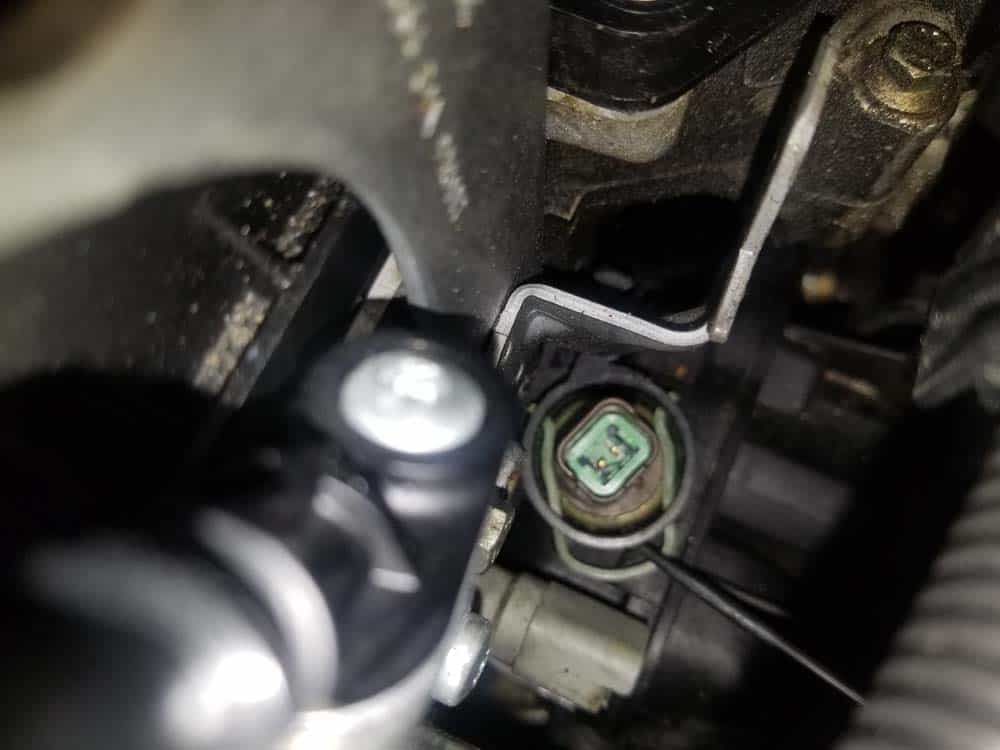
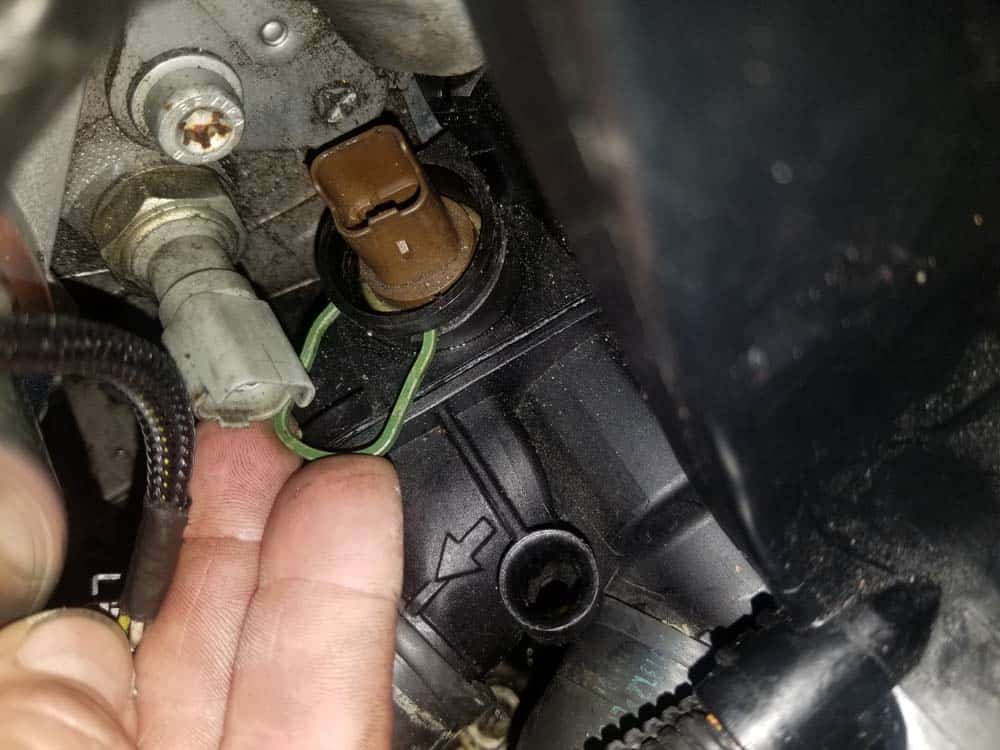
- You now have clear access to the MINI R56 coolant temperature sensor.
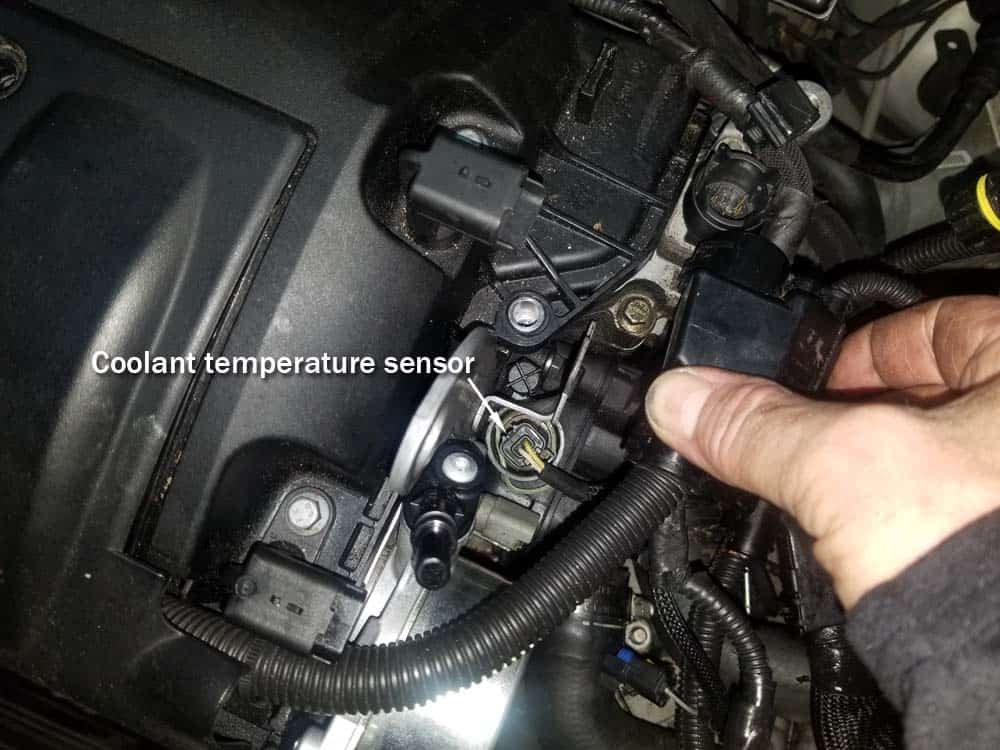
- Reach down and disconnect the temperature sensor's electrical connection.
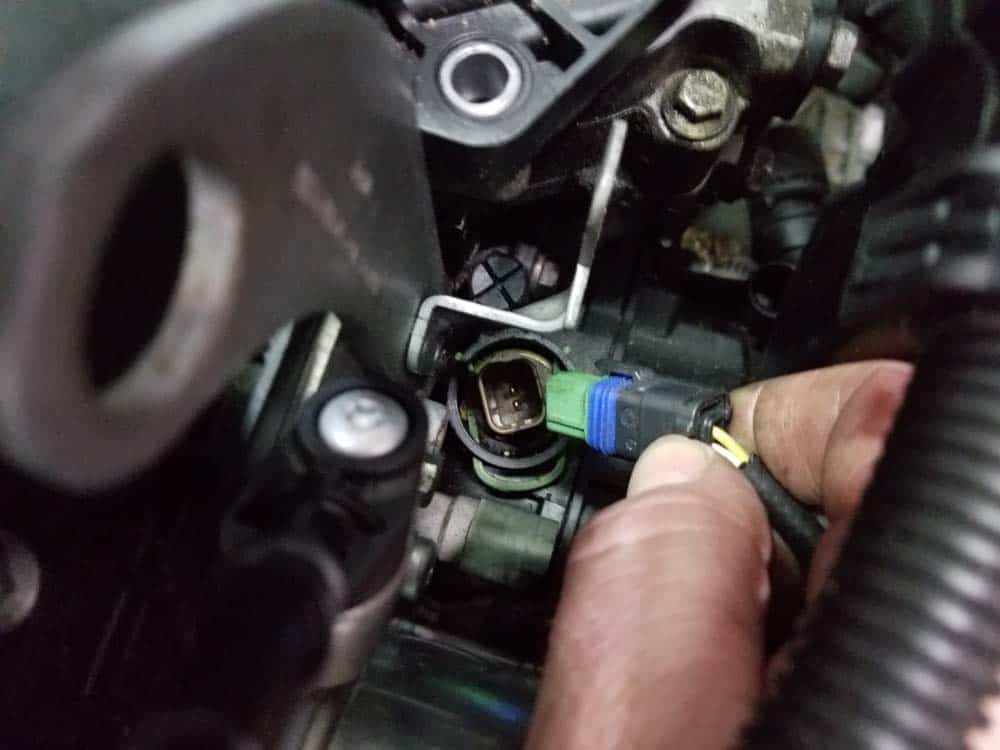
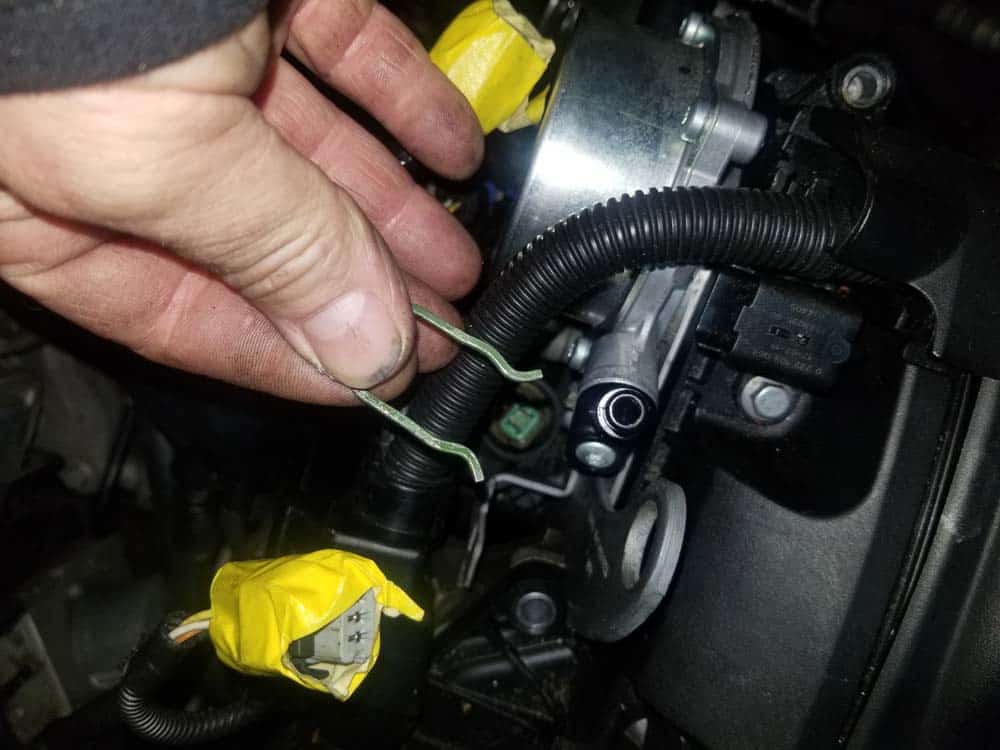
- Use a metal pick to remove the sensor's locking clip. Be careful not to drop it into the engine.
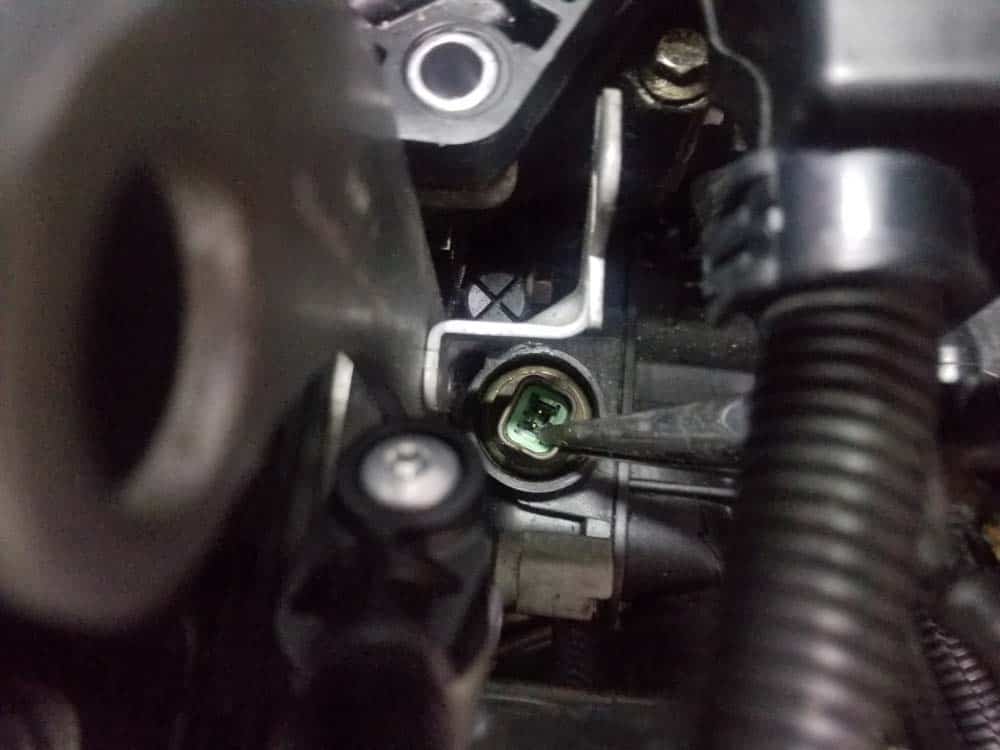
- Using a pair of long nose pliers, grasp the MINI R56 coolant temperature sensor and pull it out of the thermostat.

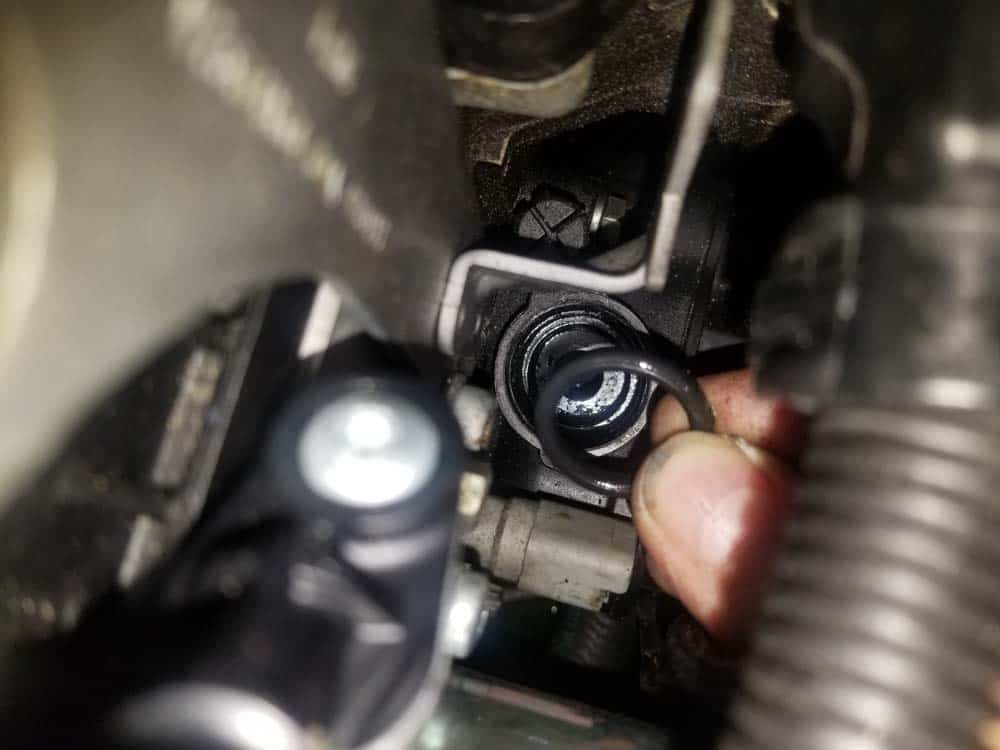
- Reach into the sensor opening and remove the old sealing o-ring.
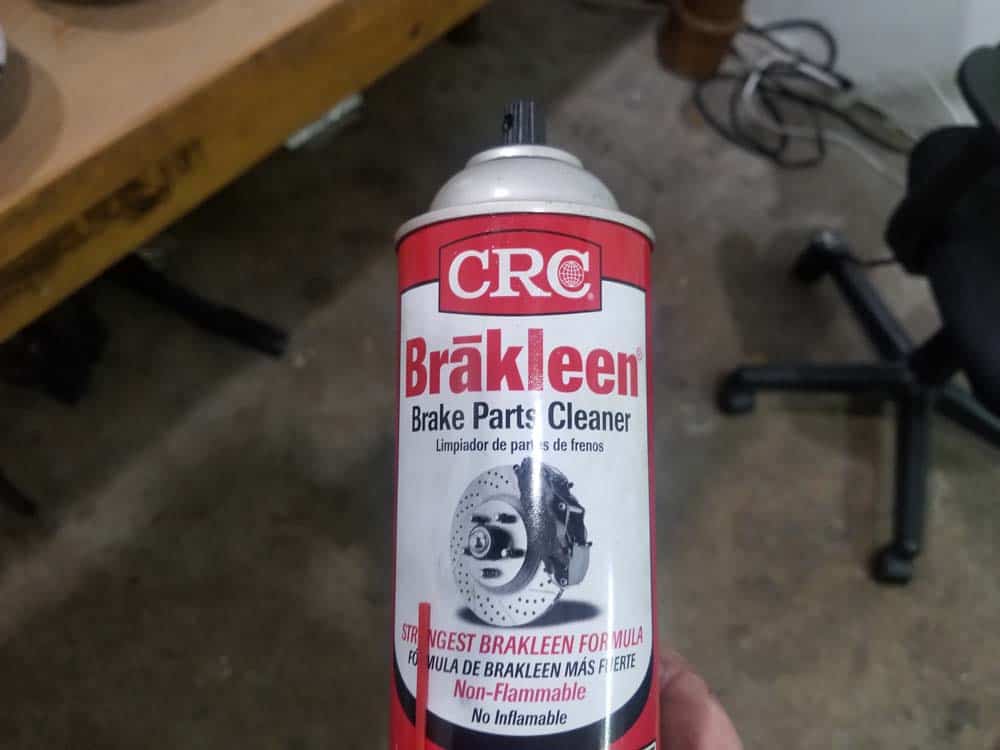
- Use a little CRC Brakleen and a clean rag to clean out the thermostat where the sensor mounts.

- Install the new o-ring and MINI R56 coolant temperature sensor.
- Reinstall the metal locking clip. Make sure it properly snaps into place.
- Reassemble the rest of the vehicle following the above instructions in reverse.
MINI R56 Coolant Temperature Sensor Replacement Finished