Affiliate link disclosure – The BMW Repair Guide uses affiliate links in their site. For more information on affiliate links, please click here.
Repair Summary
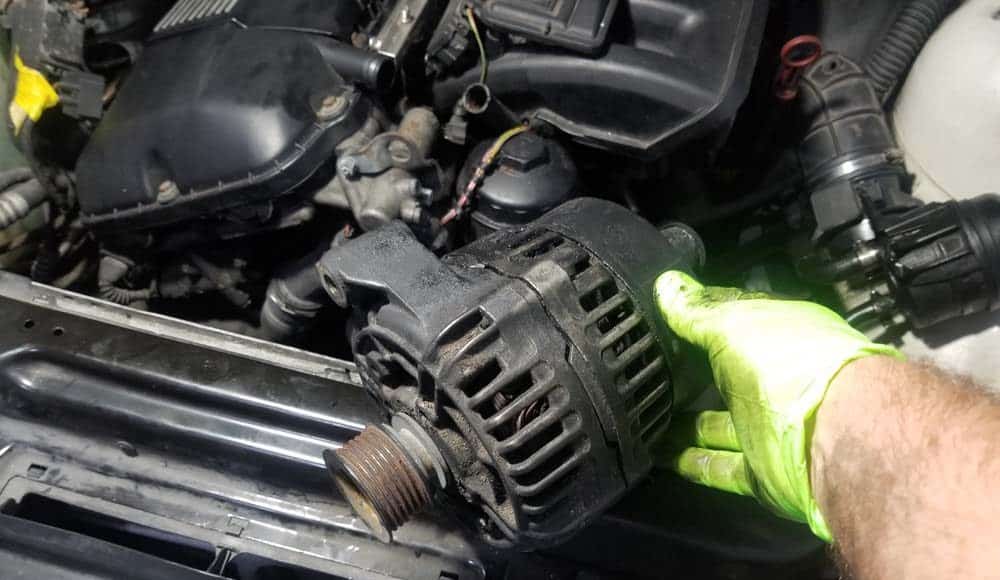
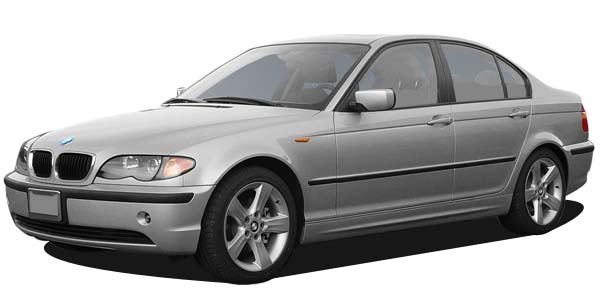
This article gives detailed instructions on replacing the alternator in a BMW E46 3 series vehicle. Even though we used a 2000 323i to perform this repair, this article can be applied to any 1998-2006 3 series vehicle with minor modifications to the repair steps.
See all vehicles this article applies to
E46 3 Series 325ti
E46 3 Series 318td
E46 3 Series 320td
E46 3 Series 318ti
E46 3 Series 330xi
E46 3 Series 330i
E46 3 Series 330xd
E46 3 Series 330d
E46 3 Series 316ti
E46 3 Series 328i
E46 3 Series 325xi
E46 3 Series 325i
E46 3 Series 320i
E46 3 Series 323i
E46 3 Series 320d
E46 3 Series 318i
E46 3 Series 318d
E46 3 Series 316i
E46 3 Series M3 CSL
E46 3 Series M3
E46 3 Series 330Ci
E46 3 Series 330Cd
E46 3 Series 325Ci
E46 3 Series 323Ci
E46 3 Series 320Ci
E46 3 Series 320Cd
E46 3 Series 318Ci
E46 3 Series 328Ci
E46 3 Series 316Ci
E46 3 Series 323i 2.4
E46 3 Series 316i 1.9
E46 3 Series 316i 1.6
A BMW E46 alternator replacement may be needed if your dashboard battery light is on and you start losing electronics while the engine is running.
One of the more surprisingly robust parts in the engine compartment of our BMW E46 3 series vehicles is the alternator. With many BMW E46s passing the 20-year mark in age, a fair share of them is still running with their original factory alternator under the hood. Unfortunately, most of these original alternators are reaching the end of their service life and will need to be replaced.
The BMW E46 alternator produces electricity which is used to charge the vehicle's battery and power the onboard electronics while the engine is running. It is driven by the main accessory (serpentine) belt which connects the alternator's pulley to the crankshaft. This transfer of mechanical energy from the spinning engine to the alternator effectively creates electrical power that runs the entire vehicle.
Like all mechanical parts in your E46's engine, the alternator has a definitive life cycle and eventually needs to be replaced (no part lasts forever). The classic signs that your 3 series alternator is failing include; the "battery" warning light is illuminated in the instrument cluster, the interior and exterior lights become dim (or go out completely) while the car is running and the inability of the battery to hold a charge no matter how much you run the vehicle.
Performing a BMW E46 alternator replacement is a relatively easy procedure for the home mechanic with average ability and can save a very expensive trip to the dealership or local repair shop. Now is also an excellent time to install new drive belts and pulleys in your BMW E46. For more information, please see our article BMW E46 Belt Replacement-1998-2006 3 Series-M52/M54 6 Cylinder.


View the detailed parts diagram for this repair.
Includes detailed part diagrams, part numbers and links to purchase all of the required components needed to complete this repair.

Before starting this repair, you must have the following required parts.
Fits all E46 323i and 328i models
This is the same factory alternator that would be installed at the BMW dealership.
BMW E46 and E60
Accessory belts keep everything turning off of the crank pulley. Generator, fans, water pumps and AC compressors all rely on this belt to keep everything working properly. If your drive belt is getting old, cracking, glazing, or squeaking, replace it. It's easy to see when the belts are beginning to wear. Visually, the belt will begin to glaze on the underside, making it far less effective. Cracks can appear on the back of the belt from “dry rot” caused by exposure to engine heat or age. Squealing is common on worn belts which basically means that the belt is slipping on pulleys. In either case, your vehicle needs a new belt.
BMW E46
Accessory belts keep everything turning off of the crank pulley. AC compressors rely on this belt to keep everything working properly. If your drive belt is getting old, cracking, glazing, or squeaking, replace it. It's easy to see when the belts are beginning to wear. Visually, the belt will begin to glaze on the underside, making it far less effective. Cracks can appear on the back of the belt from “dry rot” caused by exposure to engine heat or age. Squealing is common on worn belts which basically means that the belt is slipping on pulleys. In either case, your vehicle needs a new belt.
Section 1 - Preparing for Alternator Removal
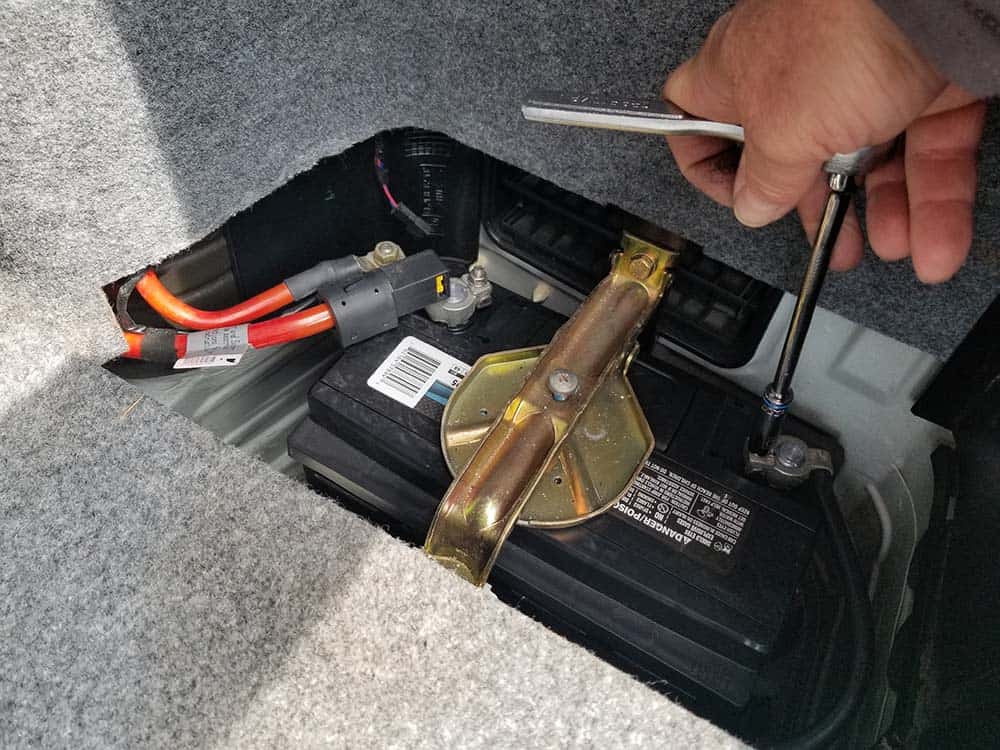
In order to remove the BMW E46 alternator, the cooling fan assembly needs to be removed. There is simply not enough room in the front of the engine compartment to properly remove the alternator with it in place. Always disconnect your battery before starting this repair.- Since you will be working on the vehicle's electrical system it is critical that you disconnect the negative terminal from your battery before starting. Not disconnecting your battery can cause catastrophic damage to sensitive electronics.
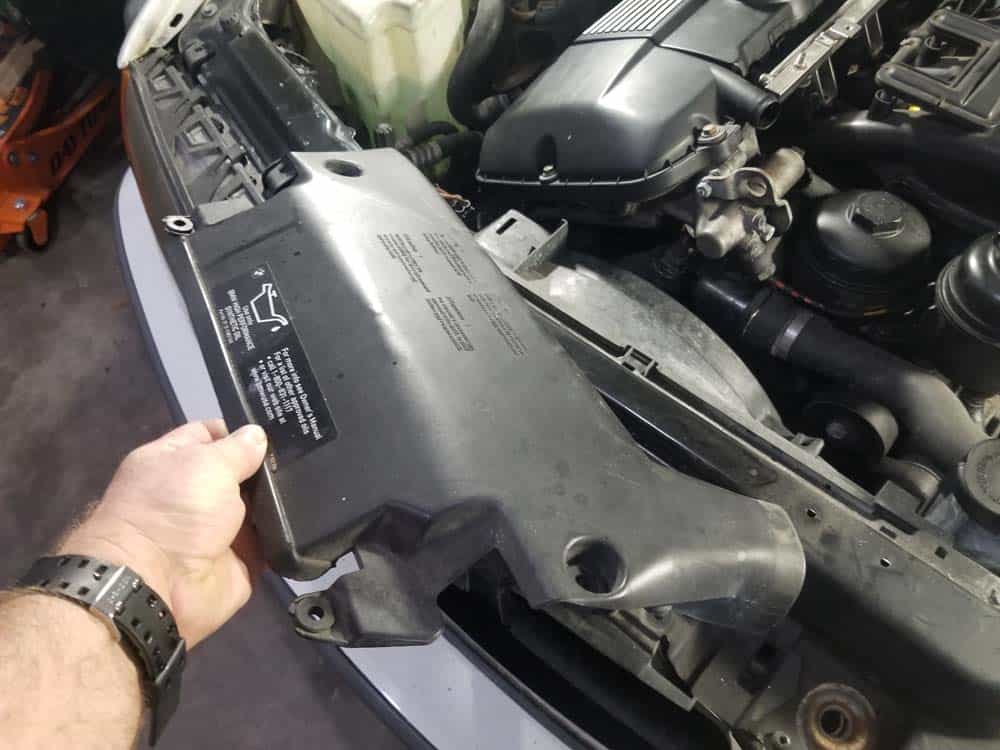
- Remove the intake snorkel from the front of the car. It is held in place with two plastic rivets.
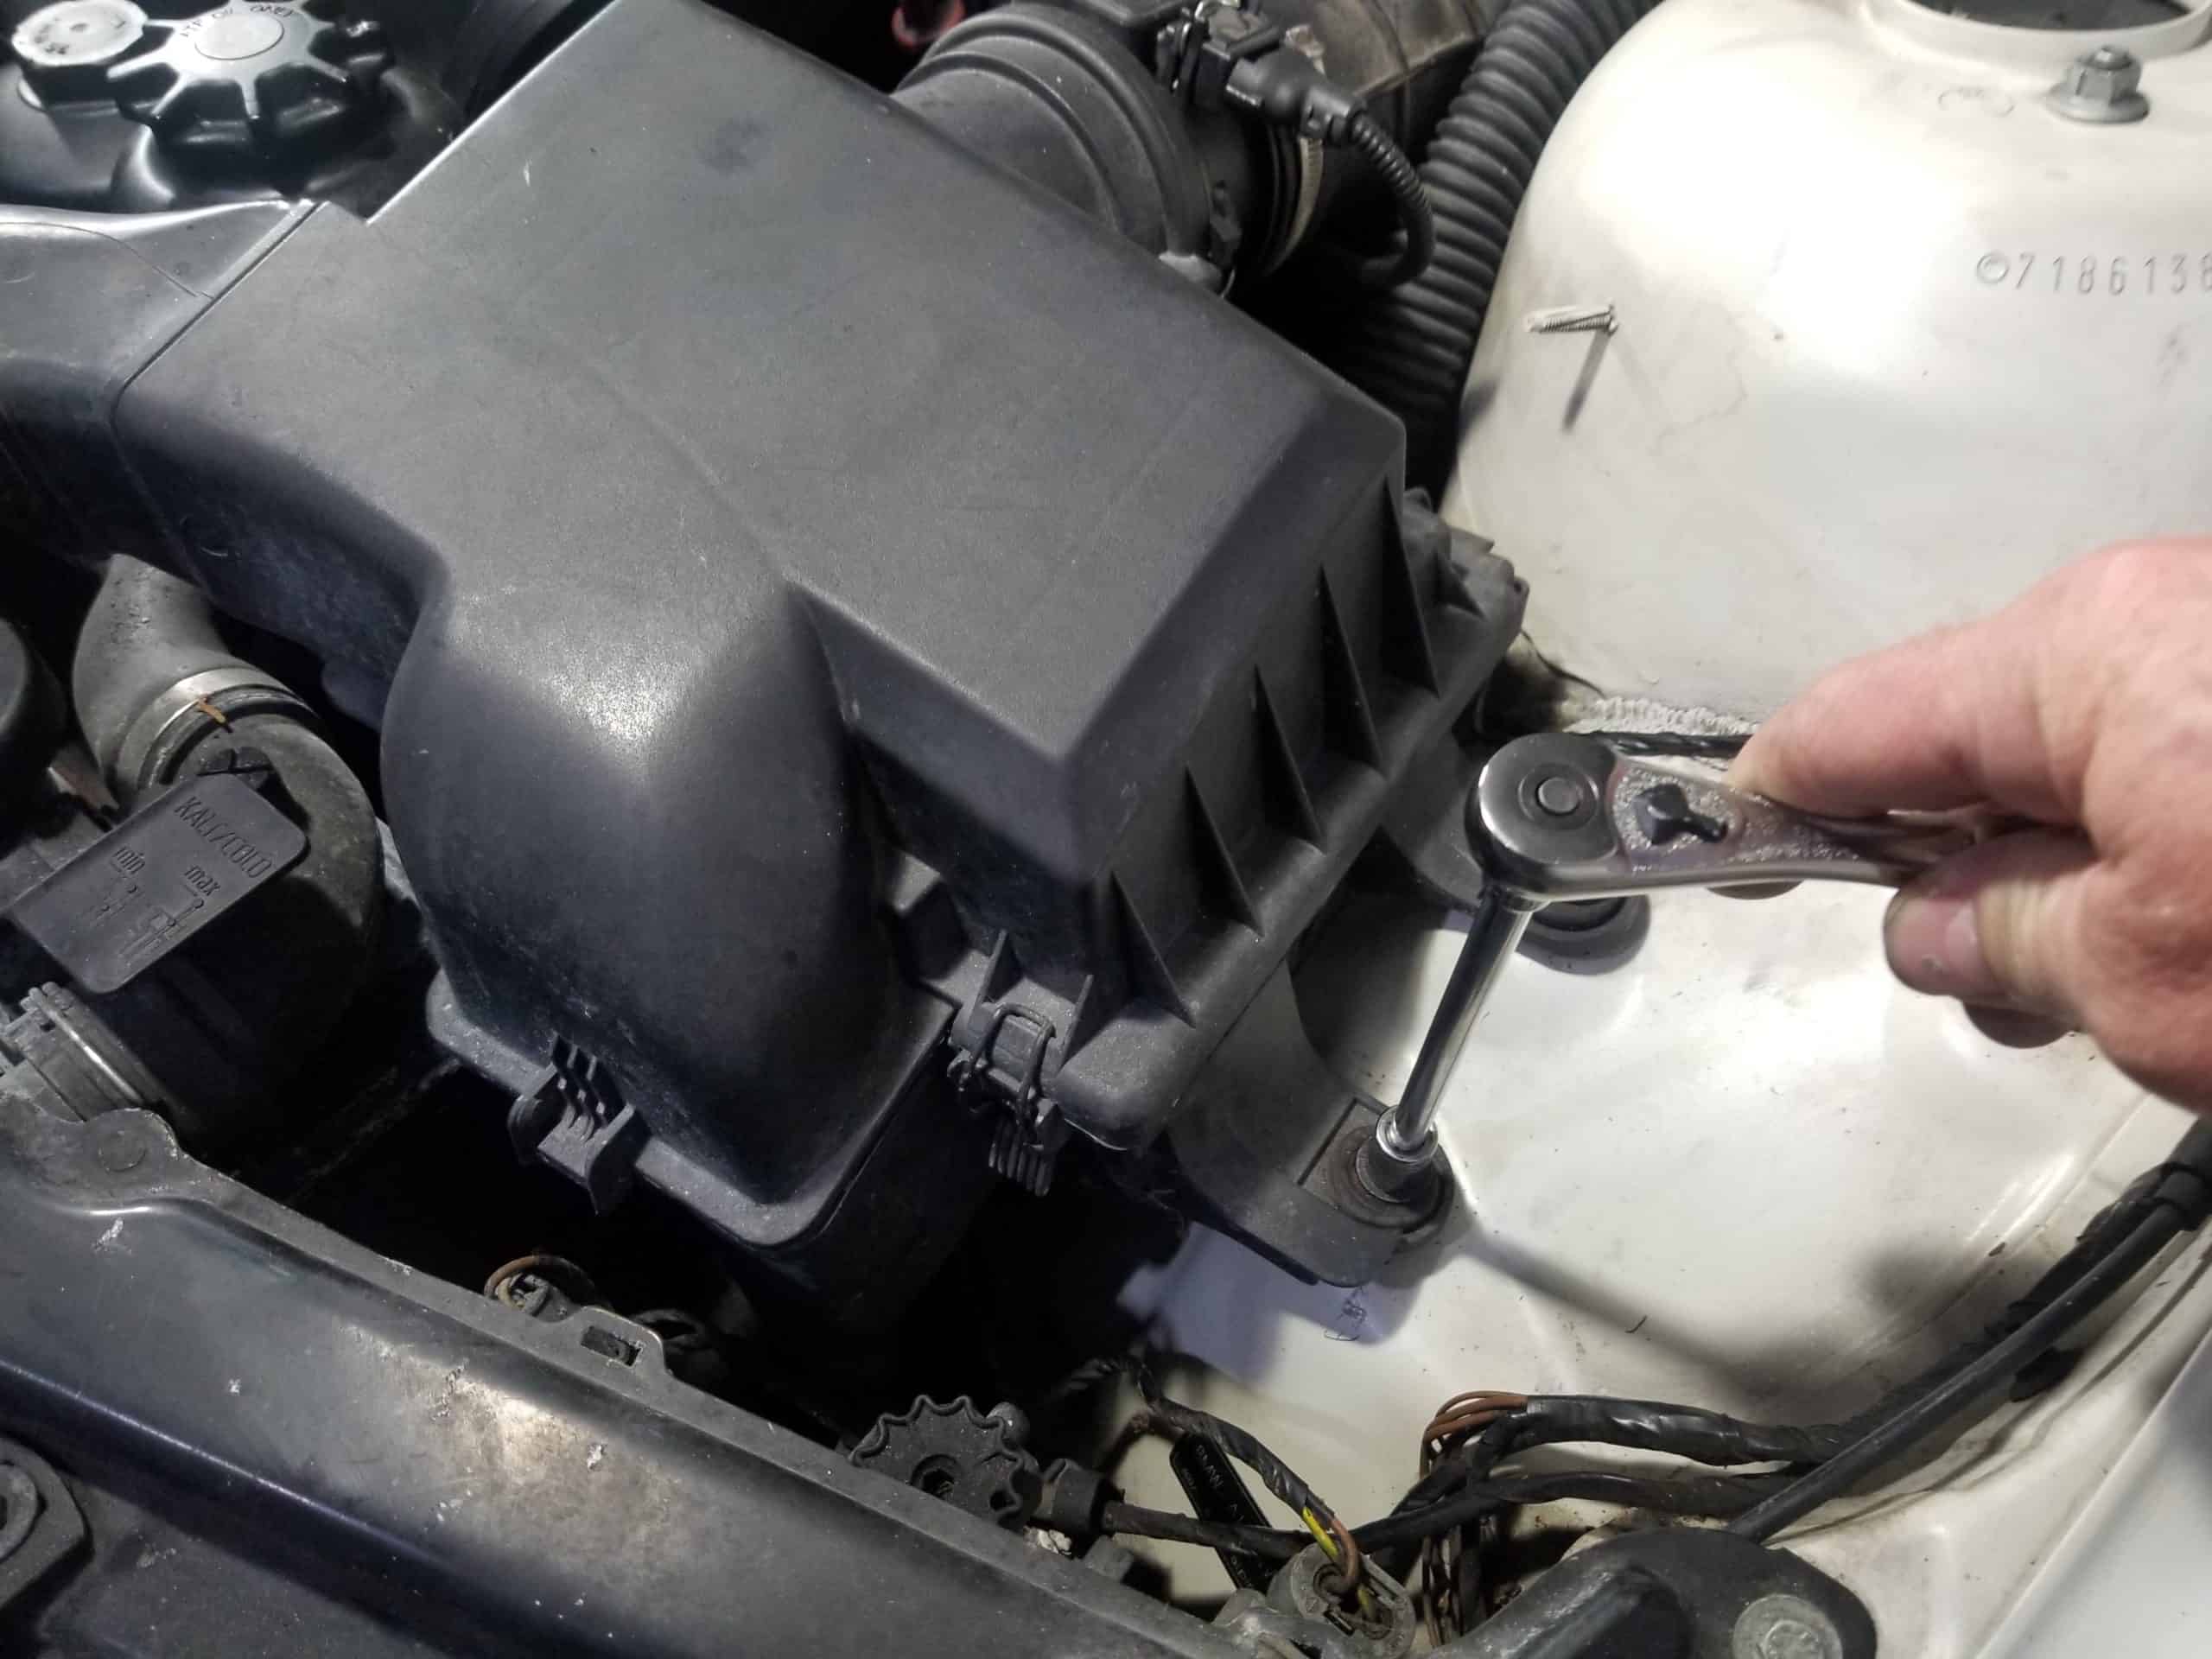
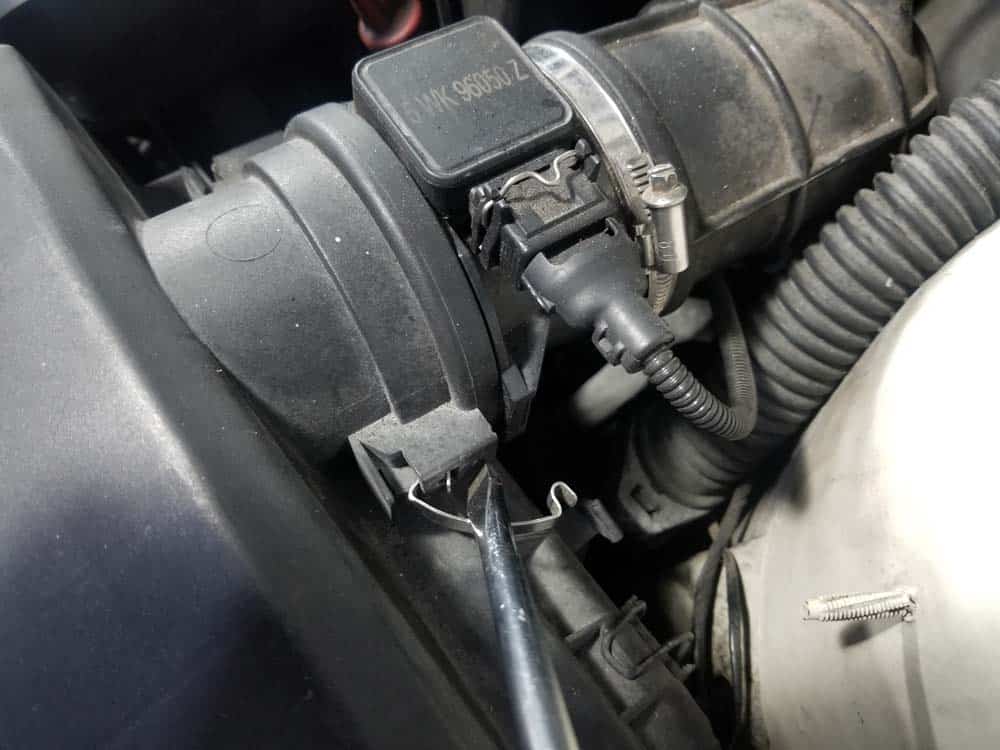
- Using a 10mm socket wrench, remove the two bolts anchoring the intake muffler to the vehicle. Unclip the intake muffler from the mass air flow (MAF) sensor and remove it from the vehicle.
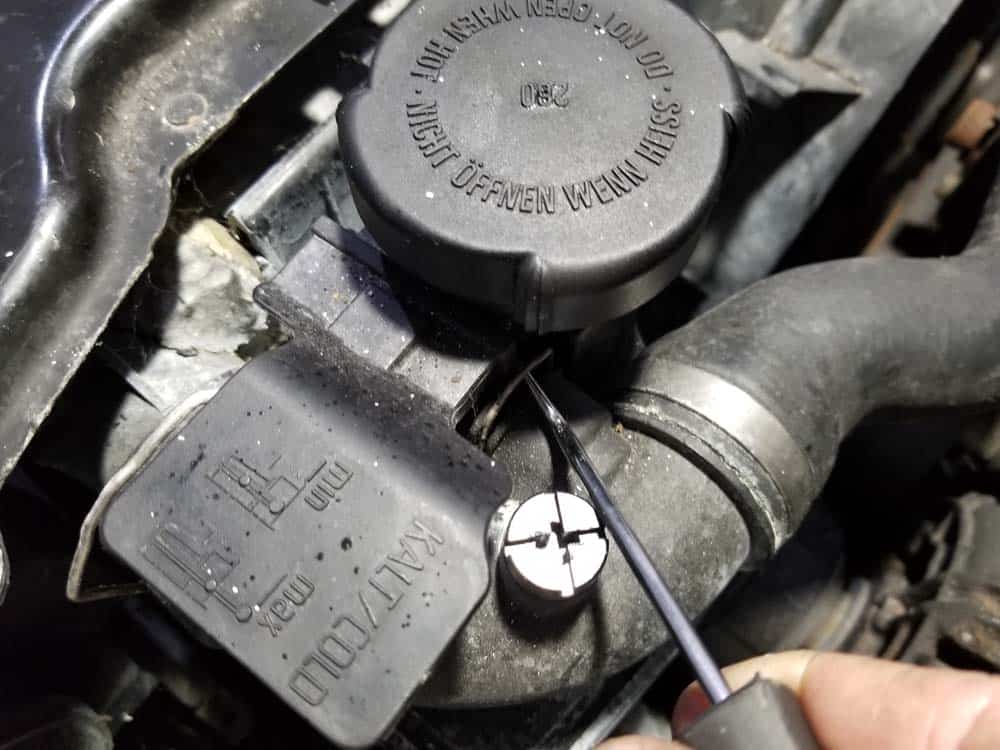
- Next, the upper radiator hose needs to be removed. Use a metal pick or flat blade screwdriver to release the two locking clips anchoring the upper radiator hose to the coolant expansion tank.
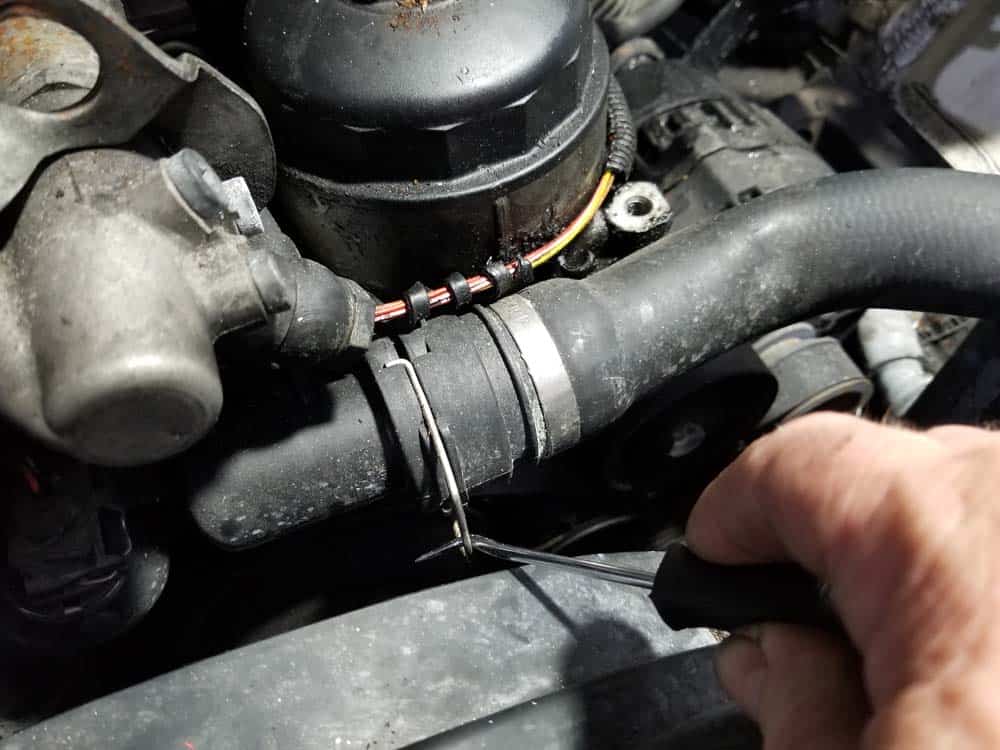
- Release the locking clip anchoring the hose to the thermostat.

- Grasp the hose and remove it from the vehicle. If the hose is stuck on one of the fittings, use a flat blade screwdriver to gently pry it off.
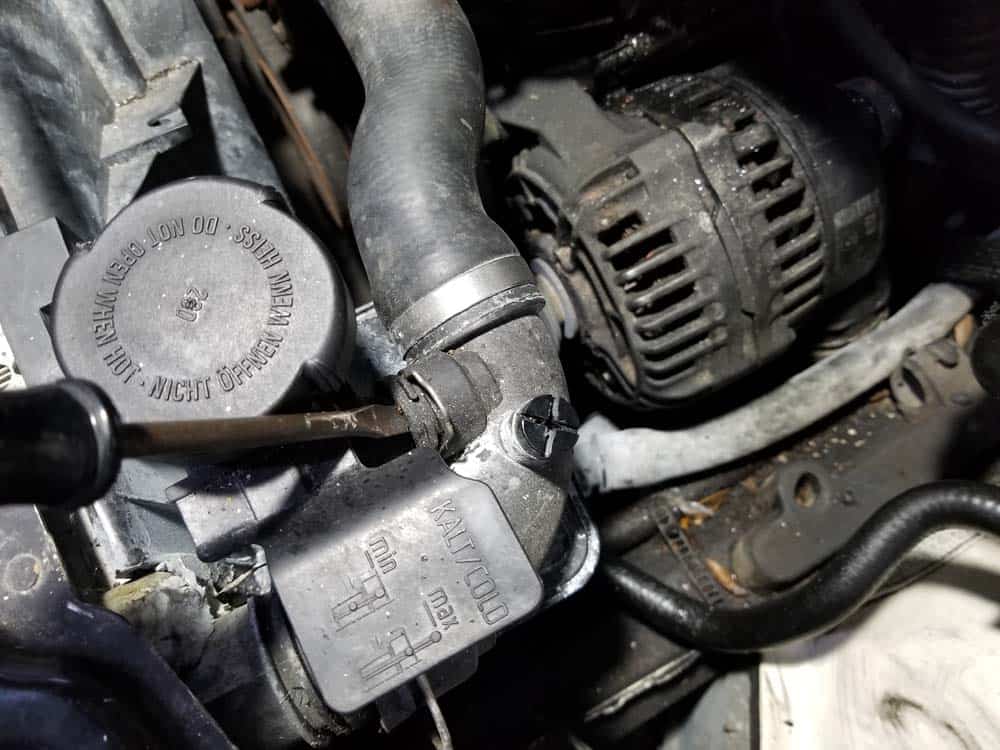
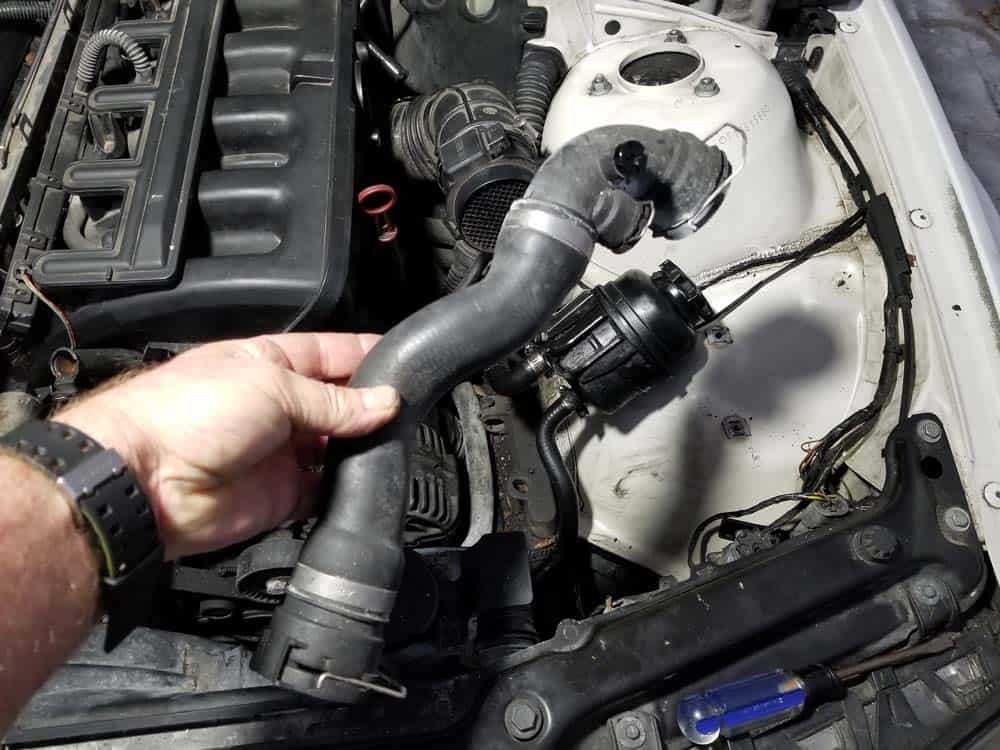
- Remove the air quality sensor and the wiring harness connection from the right side of the fan shroud.
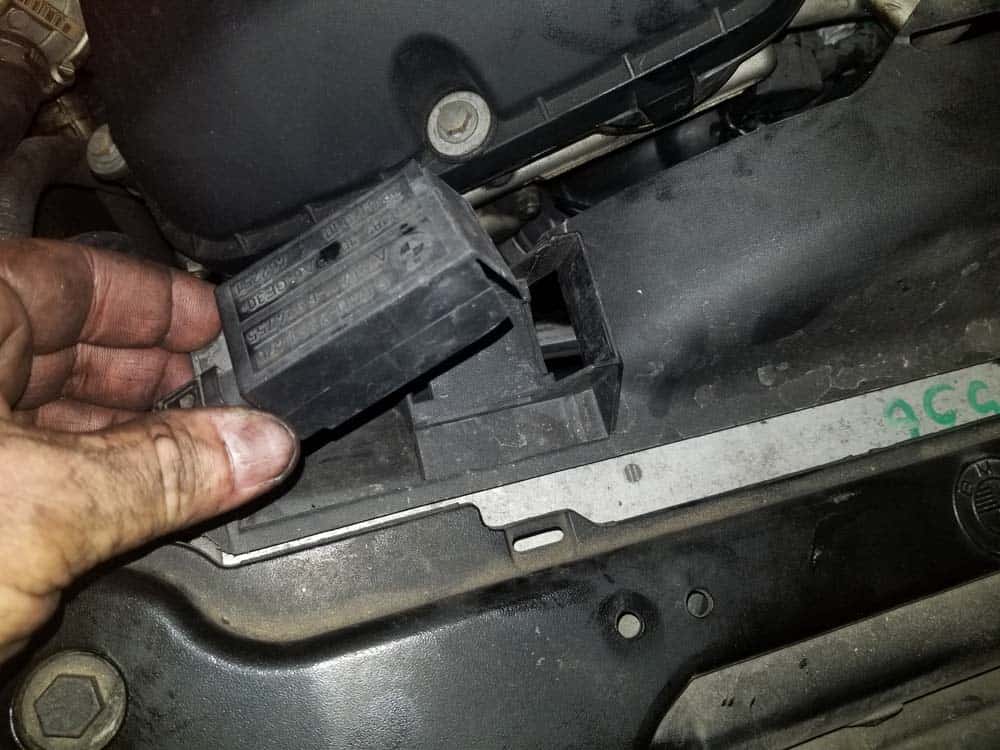
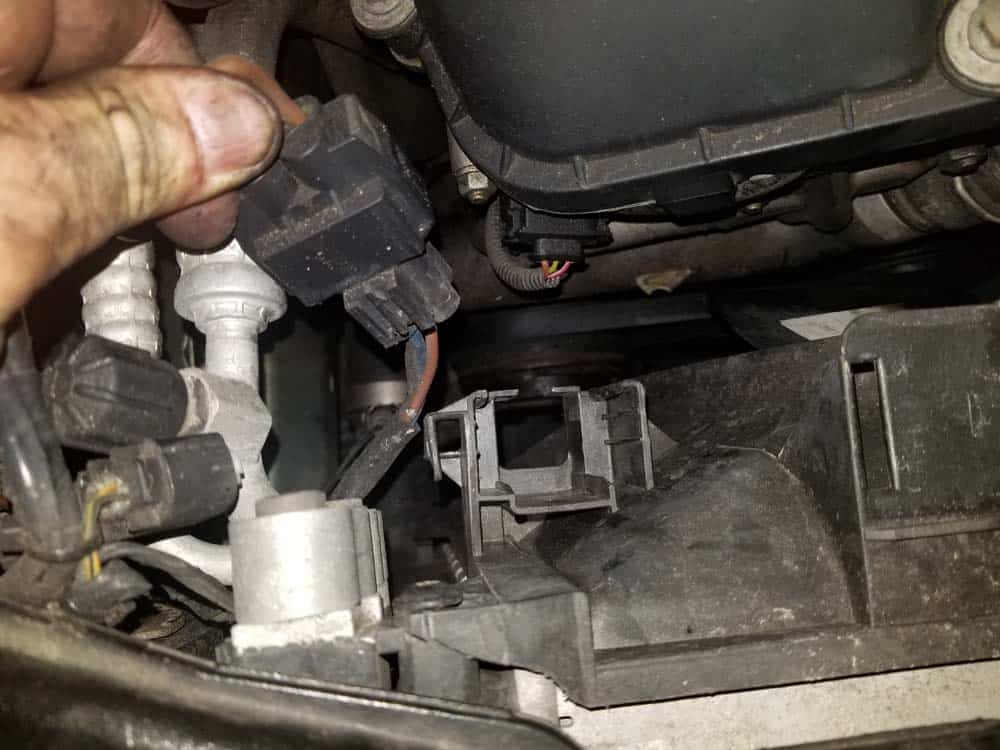
- Remove the two fasteners anchoring the fan shroud to the front of the vehicle. These fasteners are often lost or changed over the years, so there may be screws, plastic rivets, or even zip ties holding the fan shroud.
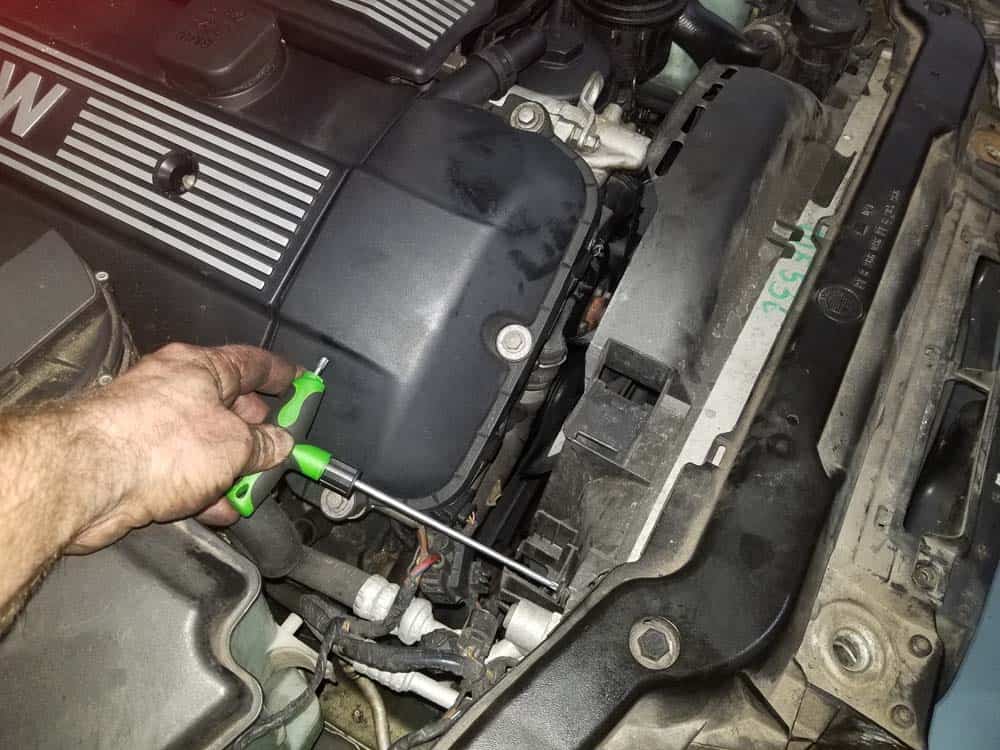
- Carefully remove the plastic fan shroud, paying attention to the fan blades during removal. It helps to have someone underneath the vehicle press in on the bottom of the shroud so it clears the fan blades. Once the bottom of the shroud is clear of blades, it will pull out smoothly.
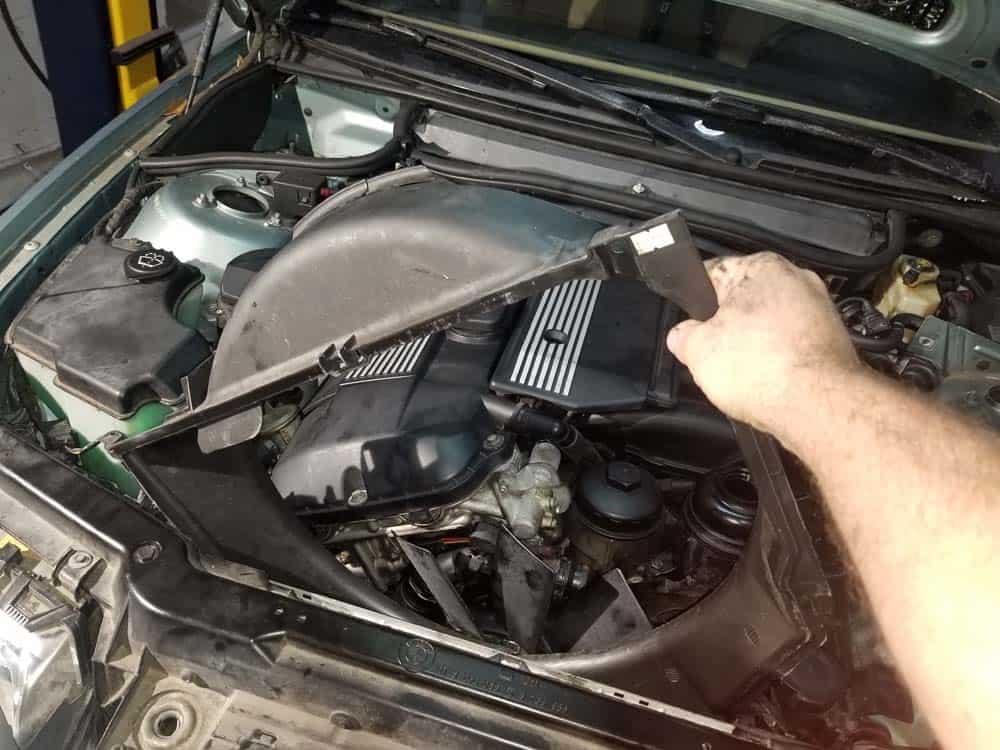
- With the fan shroud removed, you can now access the fan clutch nut. Use a BMW fan clutch tool to loosen the fan clutch nut. Remember...the fan clutch nut is a reverse thread! You must turn the nut clockwise (to the right) to loosen it. If you are able to loosen the nut with the tool, remove the fan and proceed to step 12. If you cannot loosen the nut with the tool, go to step 11.
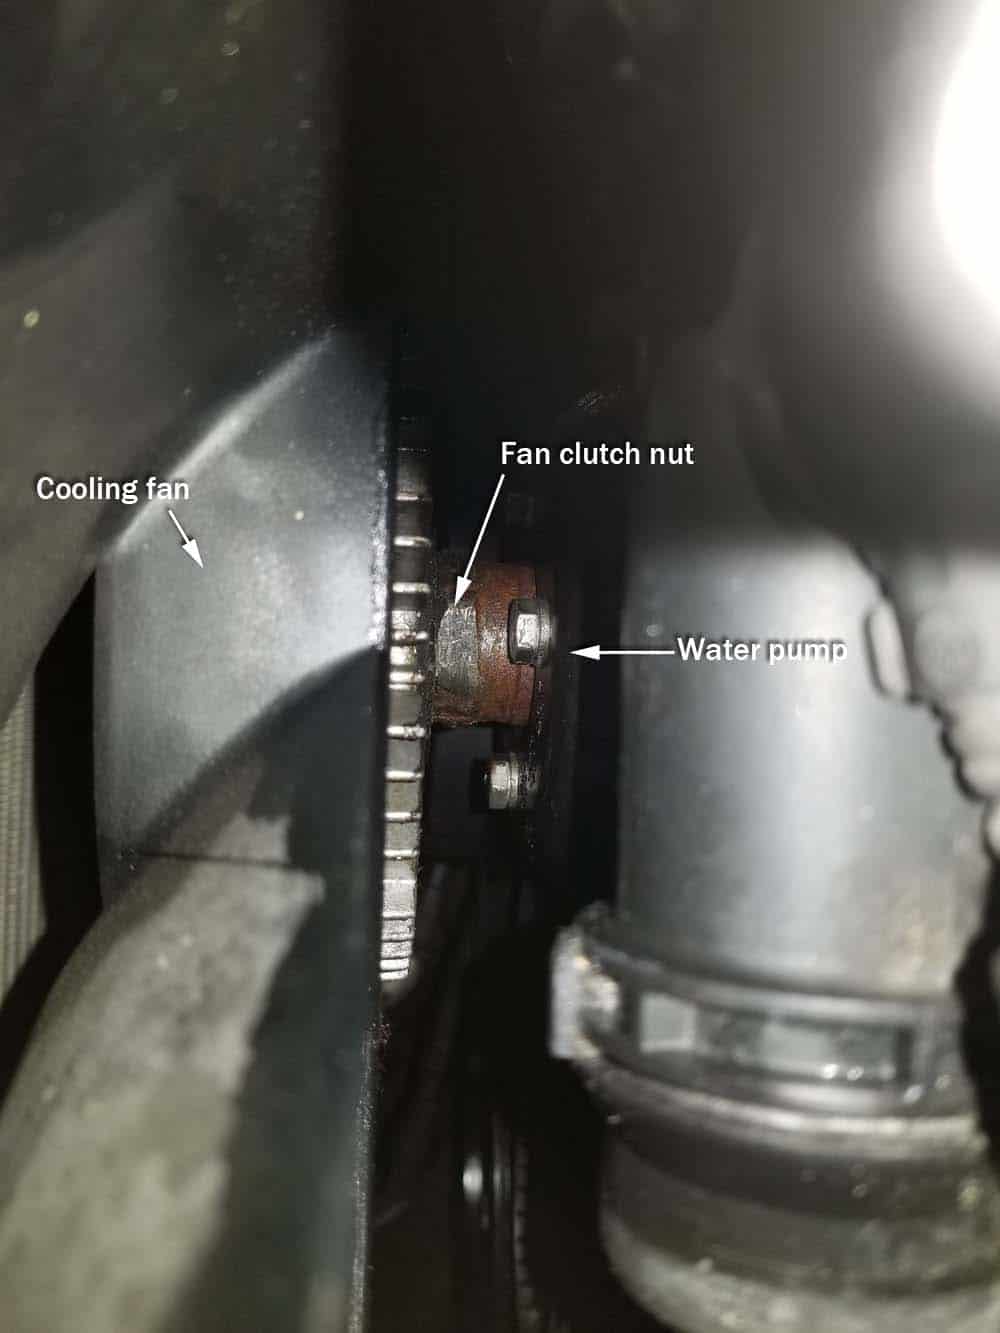
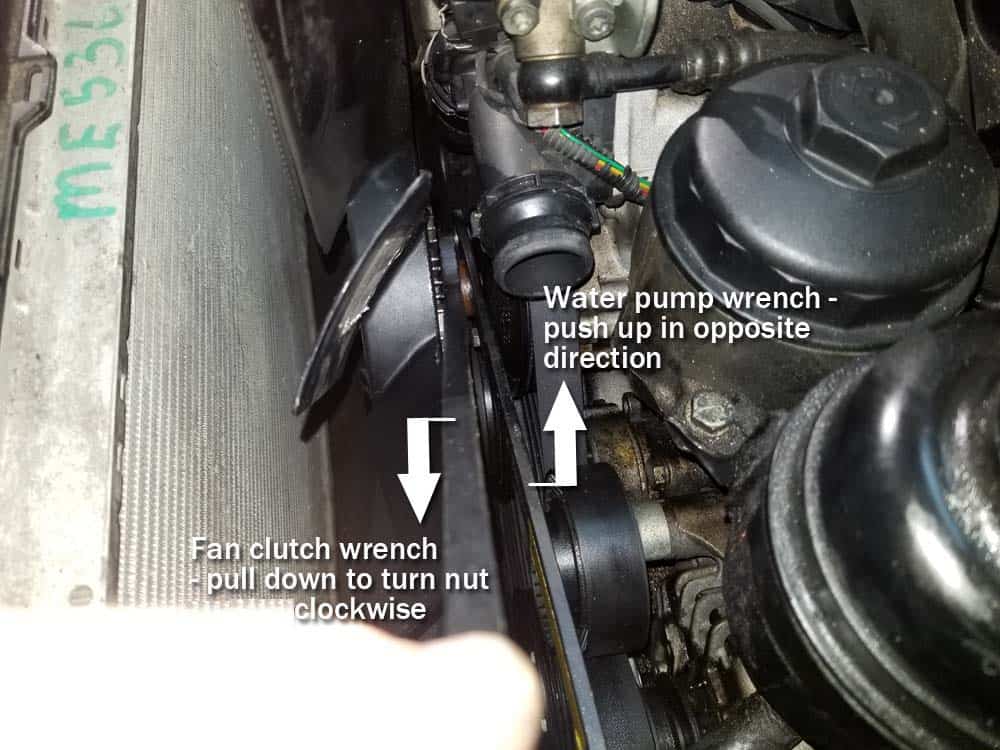
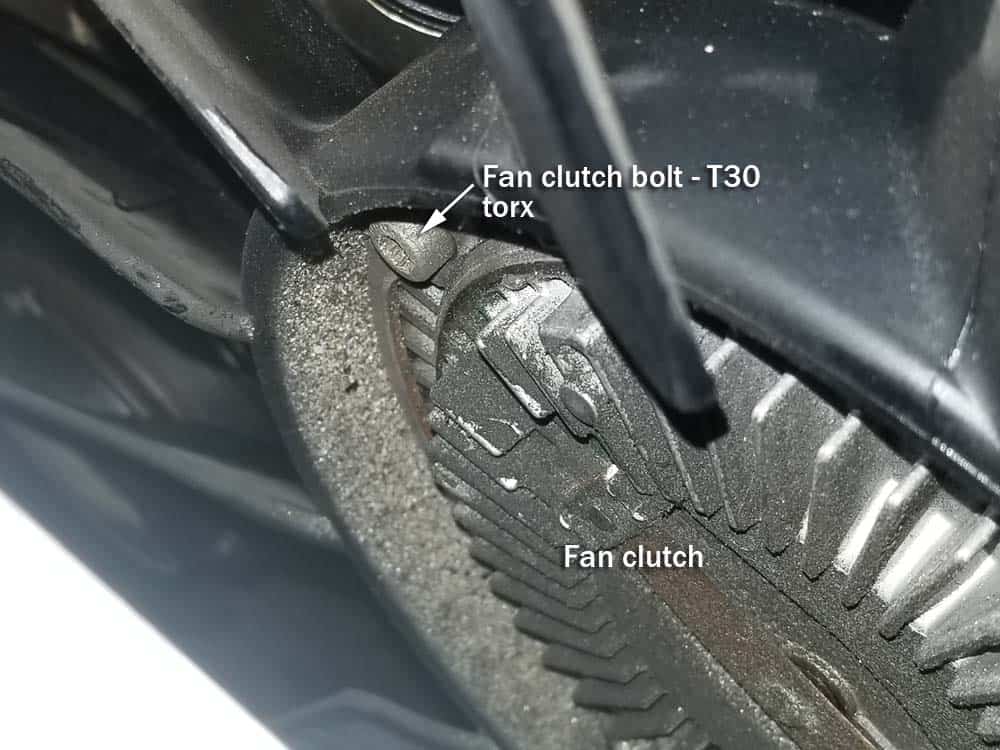
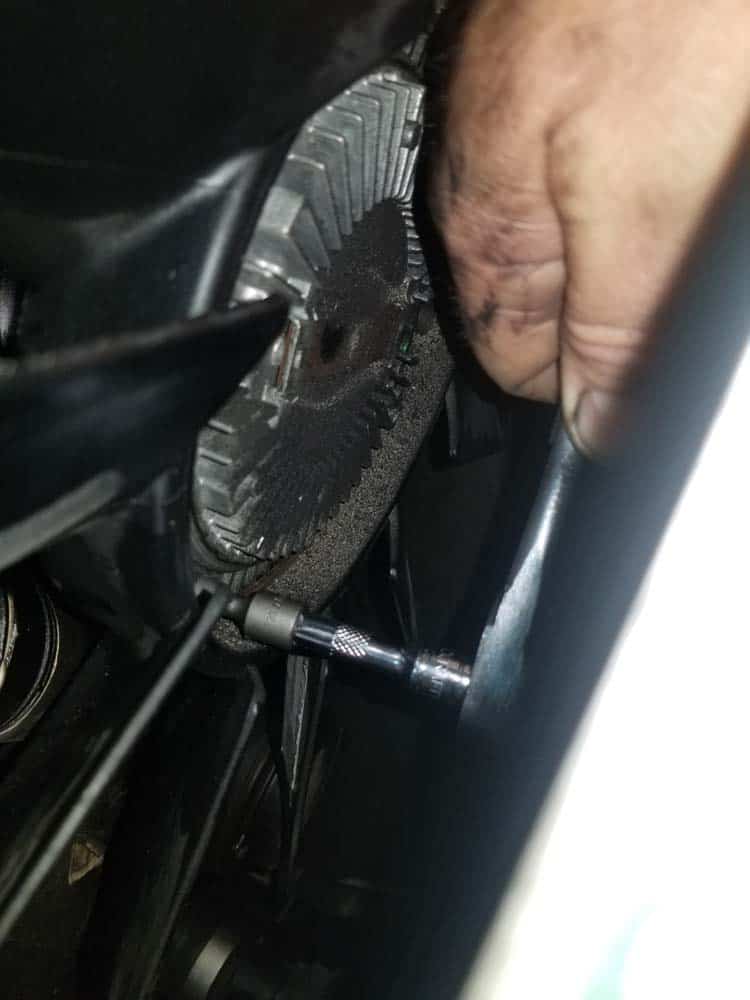
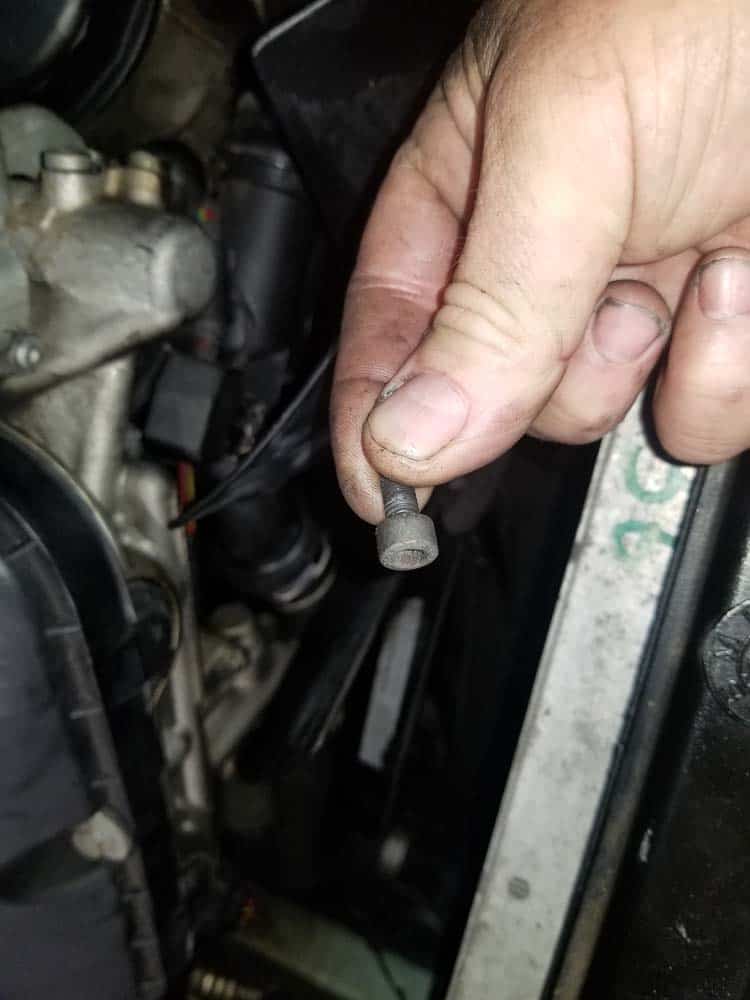
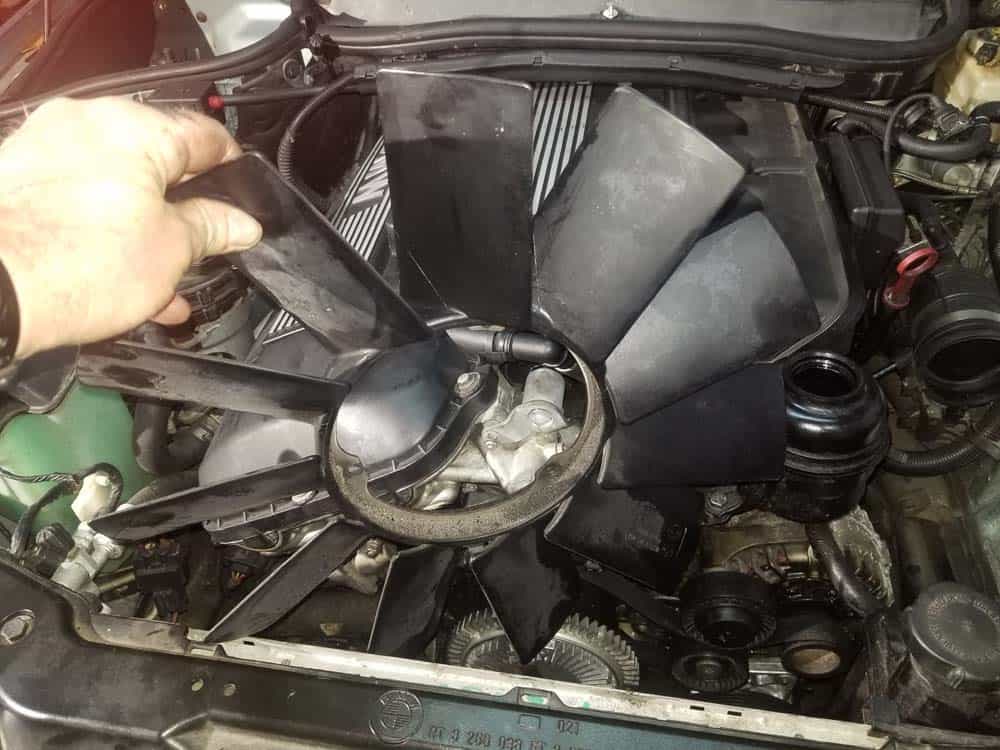
- It is very common for the fan clutch nut on BMW E46s to seize and not be removable with the fan clutch tool. Lack of maintenance and poor maintenance practices (not greasing nut during prior repairs) causes stripped and seized nuts, making them virtually impossible to remove. Many nuts will show the battle scars of mechanics attempting to remove them...a telltale sign that trouble lingers ahead. Your only option at this point is to remove the fan clutch bolts and remove the plastic cooling fan. Use a T30 torx bit to remove the three fan clutch mounting bolts. Remove the fan from the vehicle.
- Next, the belt tensioner will need to be retracted so the main accessory belt can be pulled loose from the alternator pulley. Locate the belt tensioner pulley and remove its dust cap. Using a T50 torx bit, rotate the pulley counterclockwise until it releases its pressure on the main accessory belt.
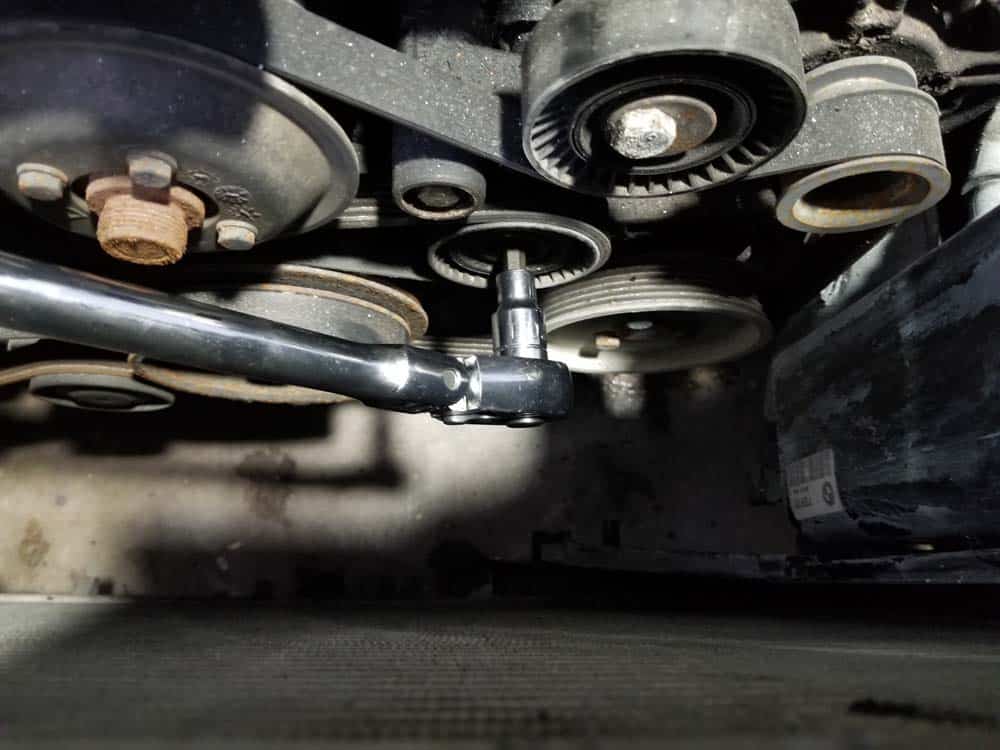
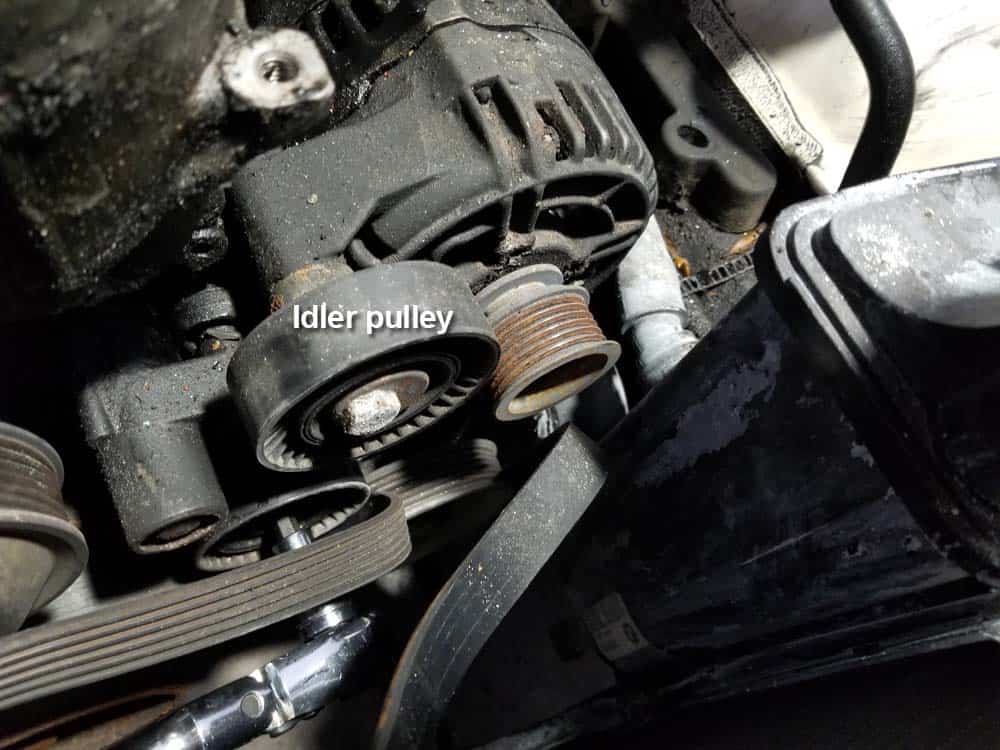
- With the pressure removed from the main accessory belt, pull the belt off of the idler and alternator pulleys.
Section 2 - Removing the BMW E46 Alternator from the Engine
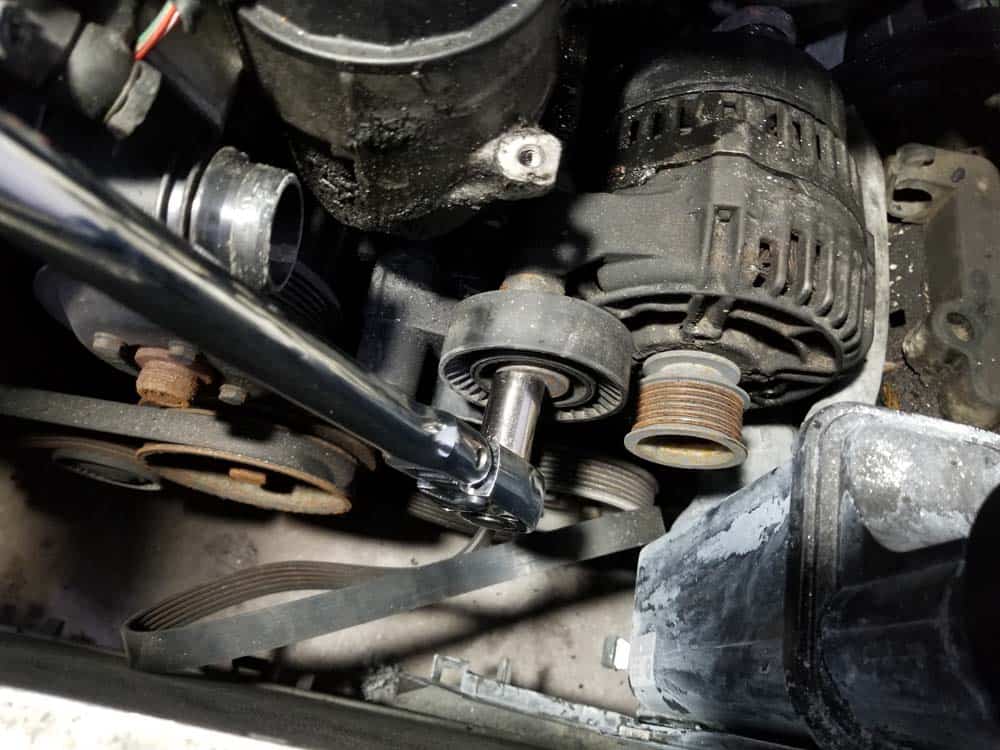
Removing the alternator from the engine of the vehicle is a simple process once you have cleared out the work area. The alternator is held in place with two bolts, one of which is also the mounting bolt for the idler pulley. Now is also an excellent time to replace the inexpensive (and often troublesome) idler pulley if you haven't done so lately. The area around the alternator is a notoriously nasty place; it is usually covered with grease and sludge from the engine's oil filter which has built up after years of service.- The alternator is anchored to the engine with an upper and lower mounting bolt. The top bolt also serves as the idler pulley mounting bolt.
- Using a 16mm socket wrench, remove the idler pulley/upper alternator mounting bolt.
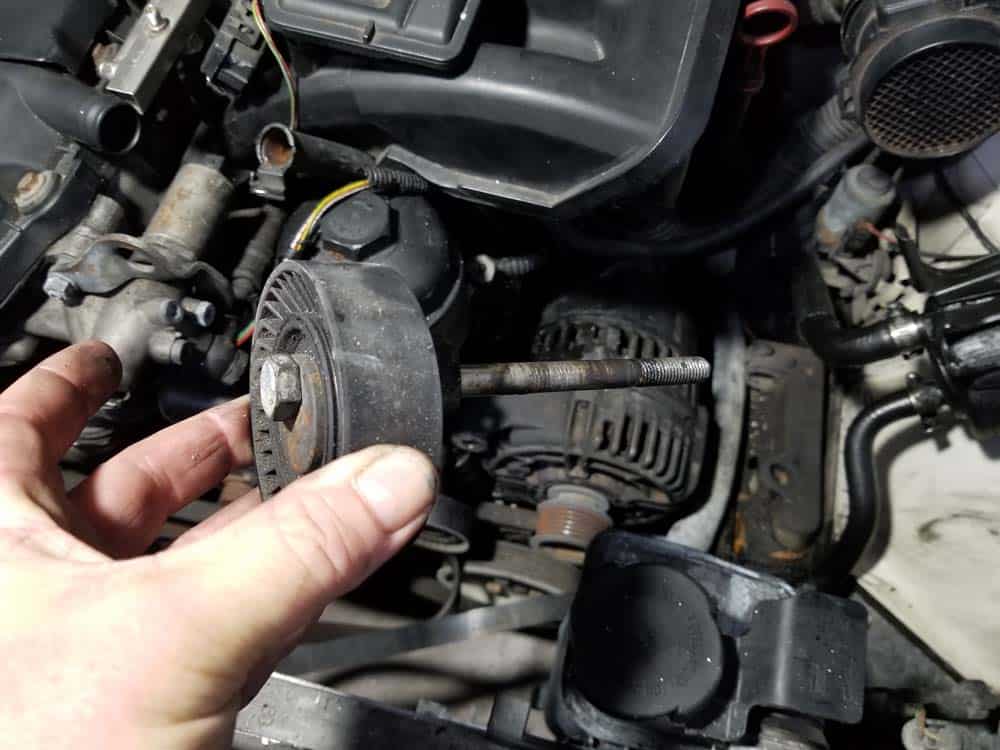
- Remove the lower mounting bolt with the 16mm socket wrench.
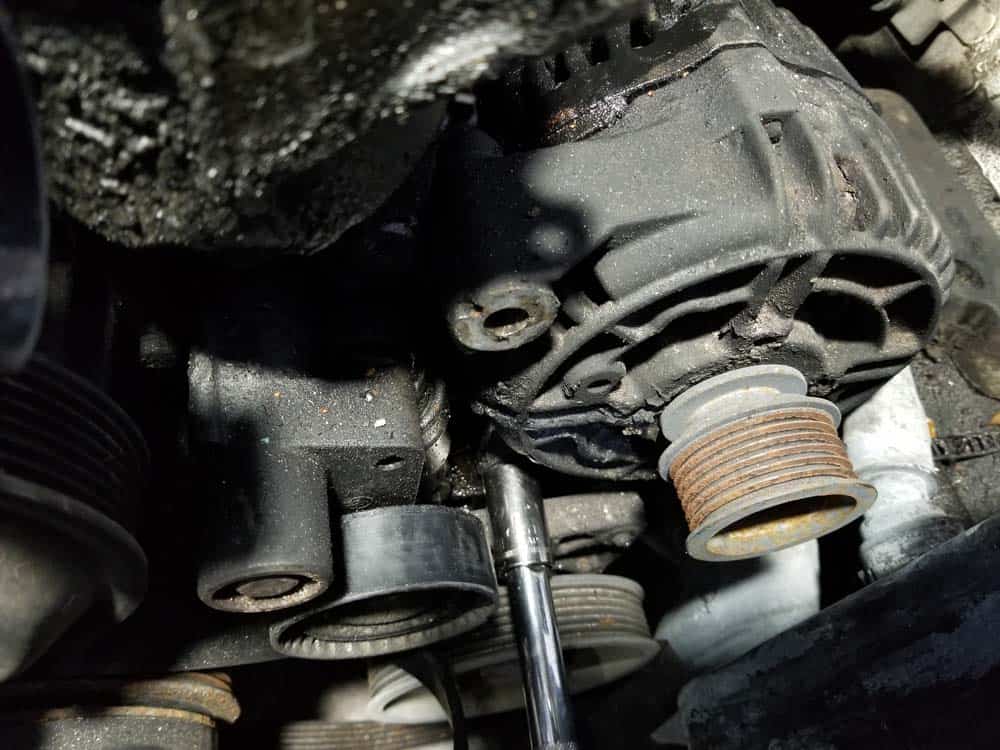
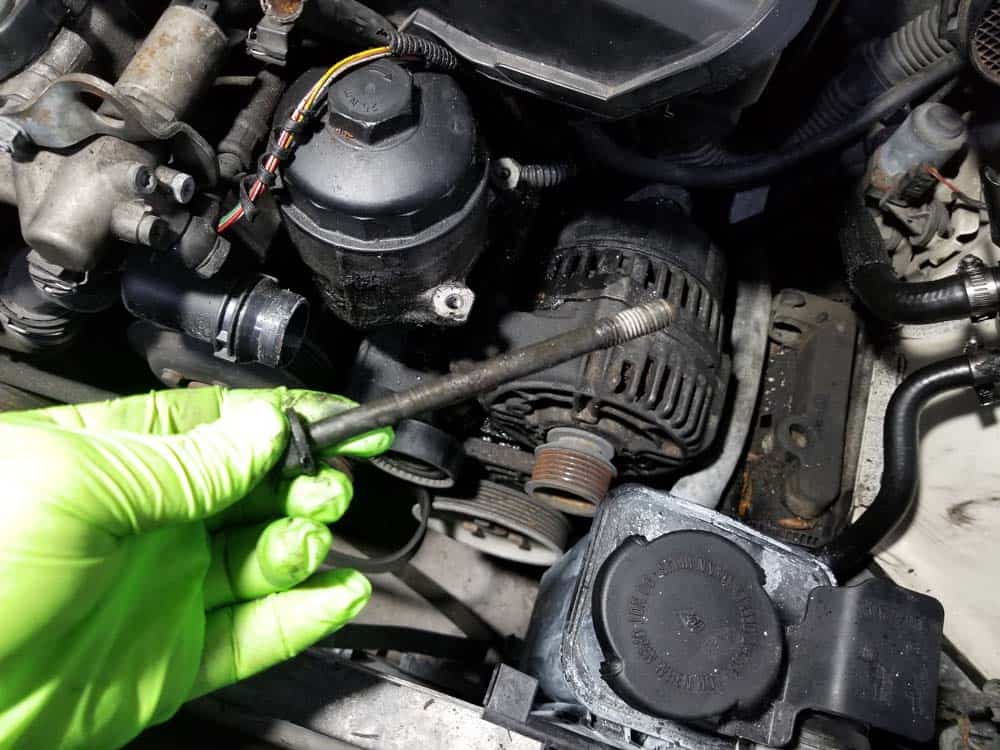
- Reach down and push the air cooling duct free from the alternator with your finger.
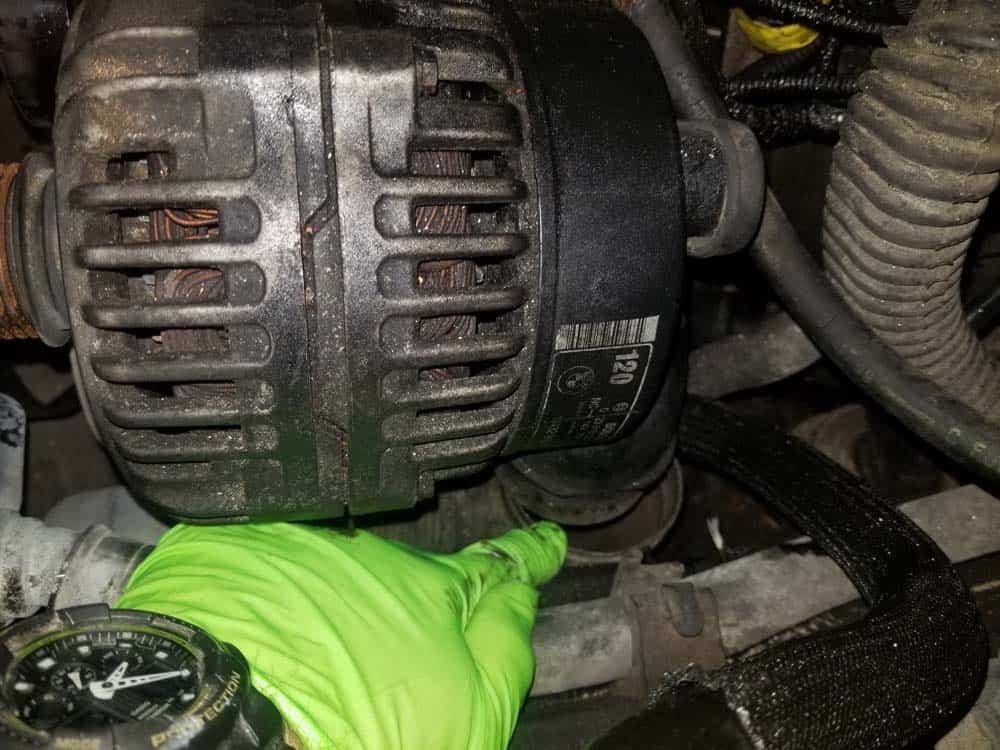
- Pull the protective rubber cap free from the positive battery cable connection on the back of the alternator. Using a 13mm socket wrench, remove the positive cable from the rear of the alternator.
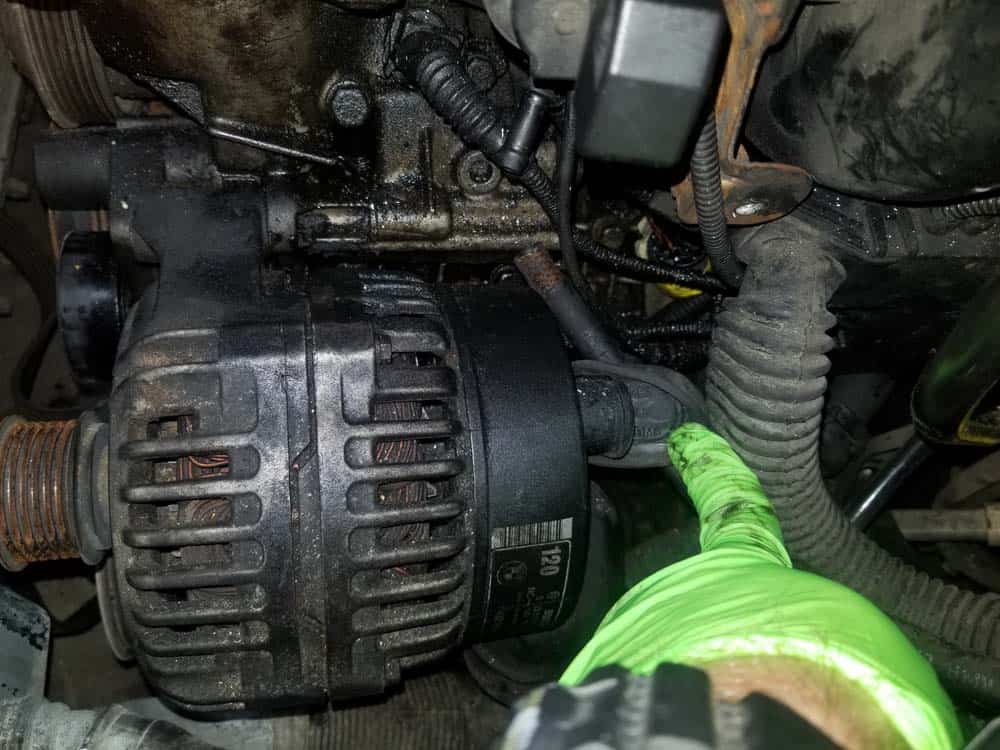
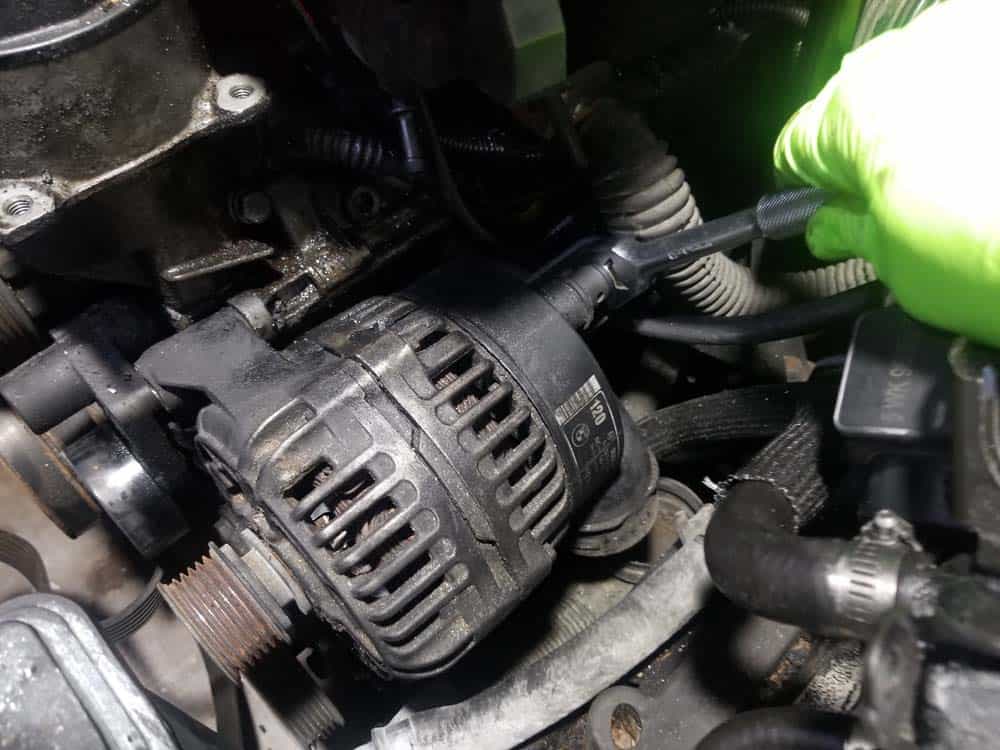
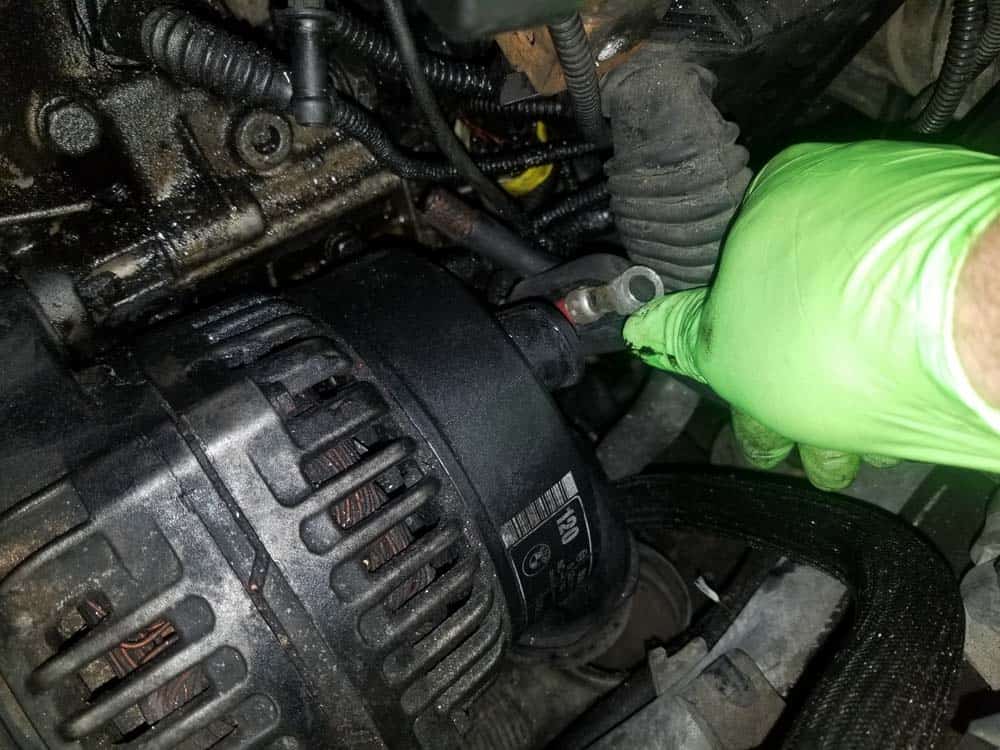
- Grasp the alternator and rotate it away from the engine.
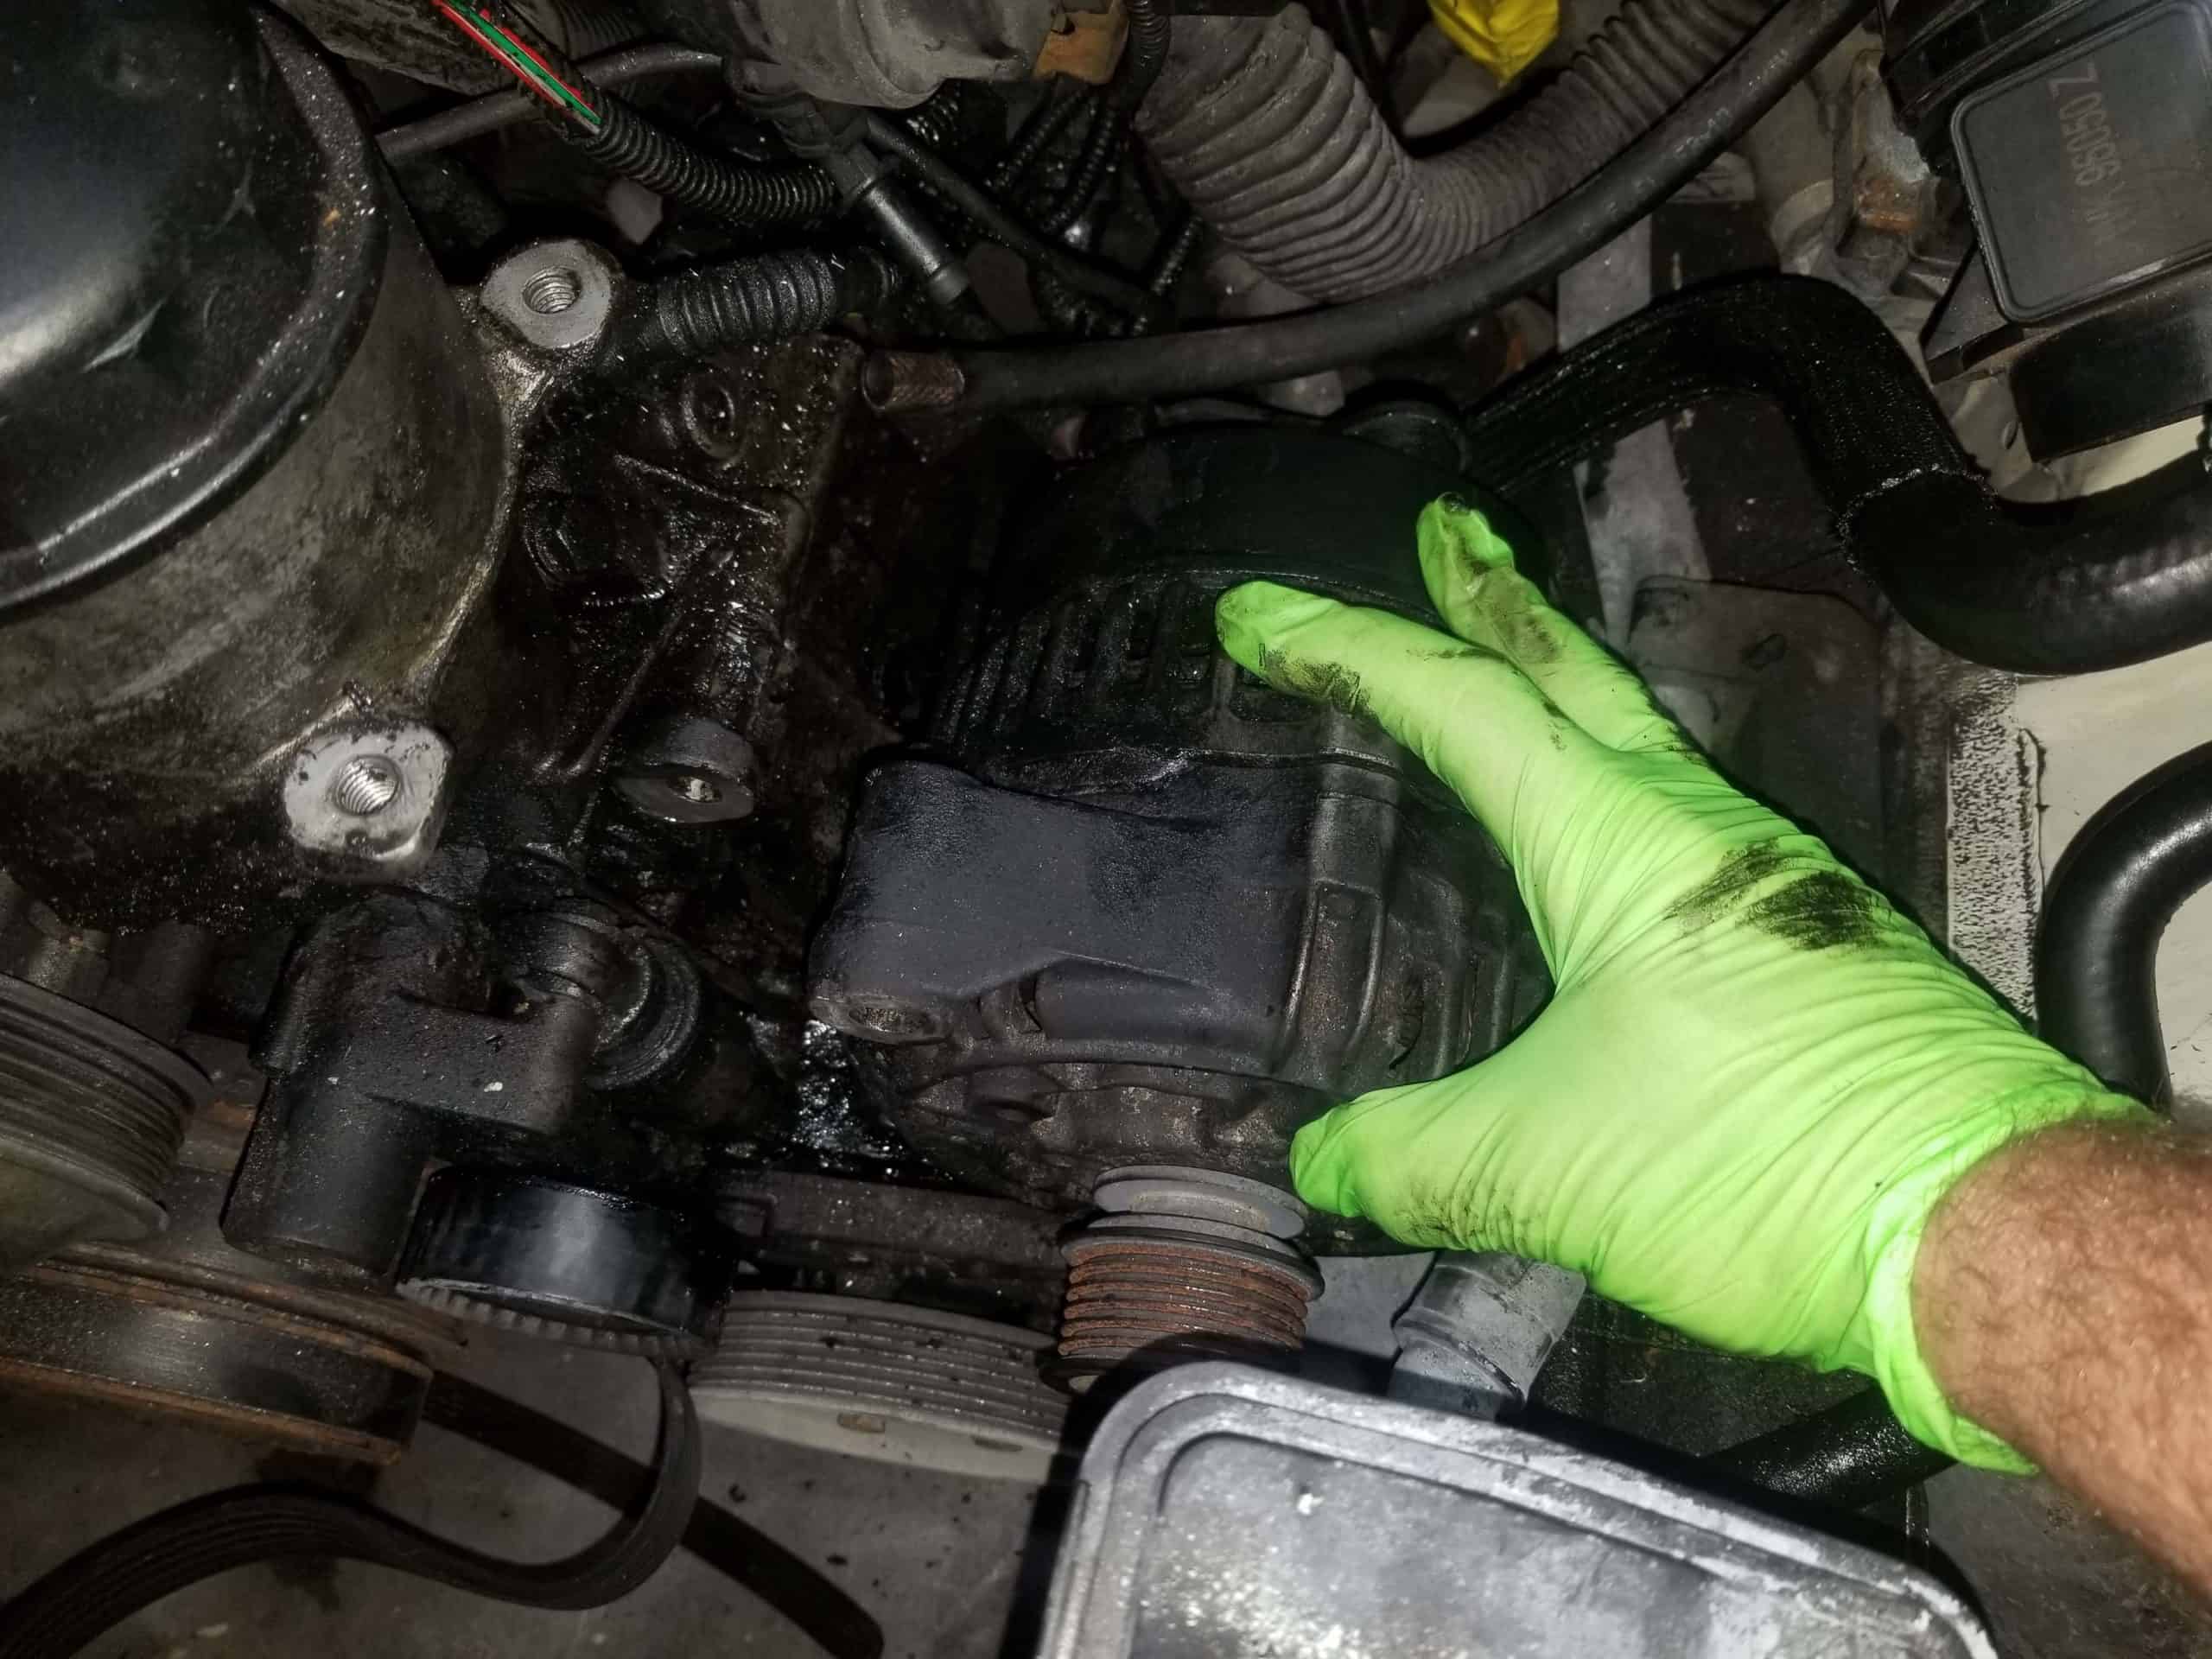
- Unplug the alternator sensor.
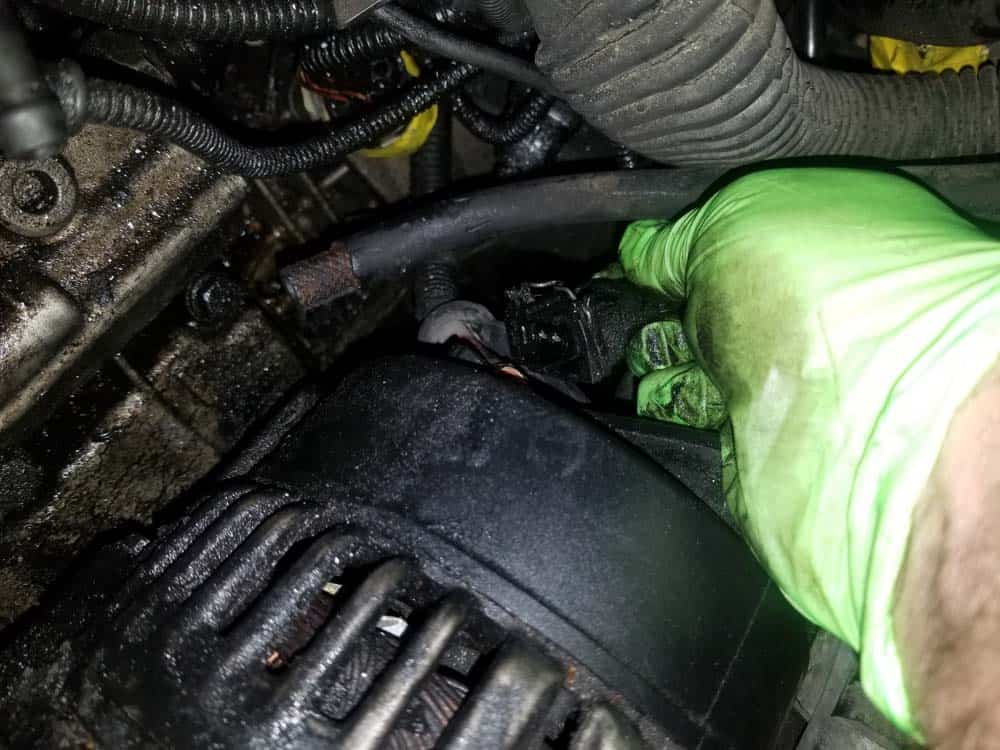
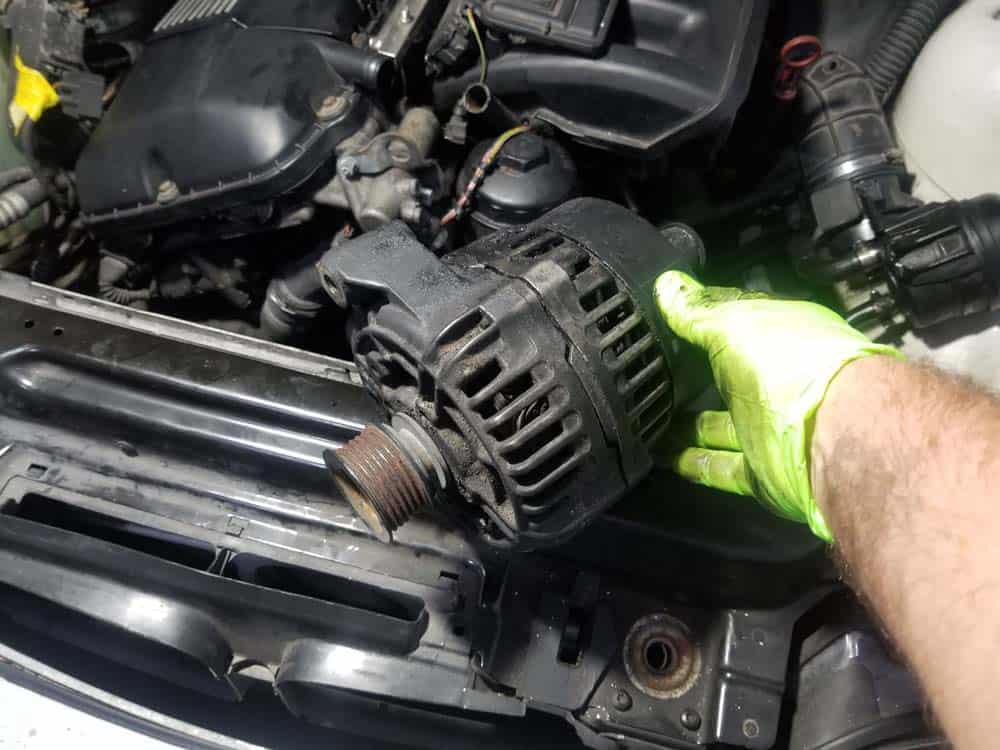
- The alternator can now be lifted off of its mount and removed from the vehicle.
Section 3 - Final Reassembly
Installing a new alternator and reassembling your vehicle is very straightforward...it is just the above steps in reverse with no special procedures. We have provided a handy checklist with the exact reassembly steps you need along with important torque values.BMW E46 Alternator Replacement Checklist
***The following steps were performed on a 2000 323i...other models may vary.- Place the new alternator in the car on its bracket.
- Plug the alternator sensor back in.
- Install the positive battery cable back on the alternator. Torque the mounting nut to 25 Nm (18 ft-lb).
- Reinstall the air cooling duct to the bottom of the alternator.
- Replace the upper (idler pulley) and lower mounting bolts and torque to 50 Nm (25 ft-lb).
- Replace the main accessory belt.
- Replace the cooling fan. If you were able to remove the fan by loosening the fan clutch nut, apply some grease to the threads before reinstalling (this will prevent the nut from seizing up and make future fan removals go easy).
- Reinstall the fan shroud.
- Reinstall the wiring harness connection and air quality sensor back on the fan shroud.
- Replace the upper radiator hose. BE VERY SURE that you hear the hose connections click onto their fittings.
- Install the intake muffler.
BMW E46 Alternator Replacement Finished

